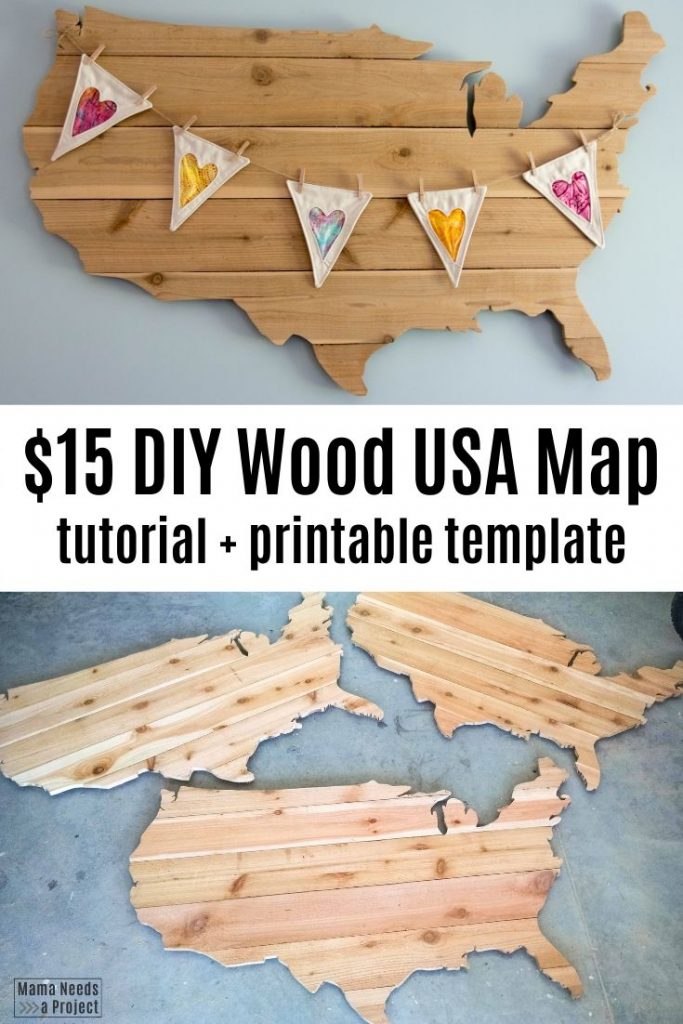
$15 DIY Wood USA Map
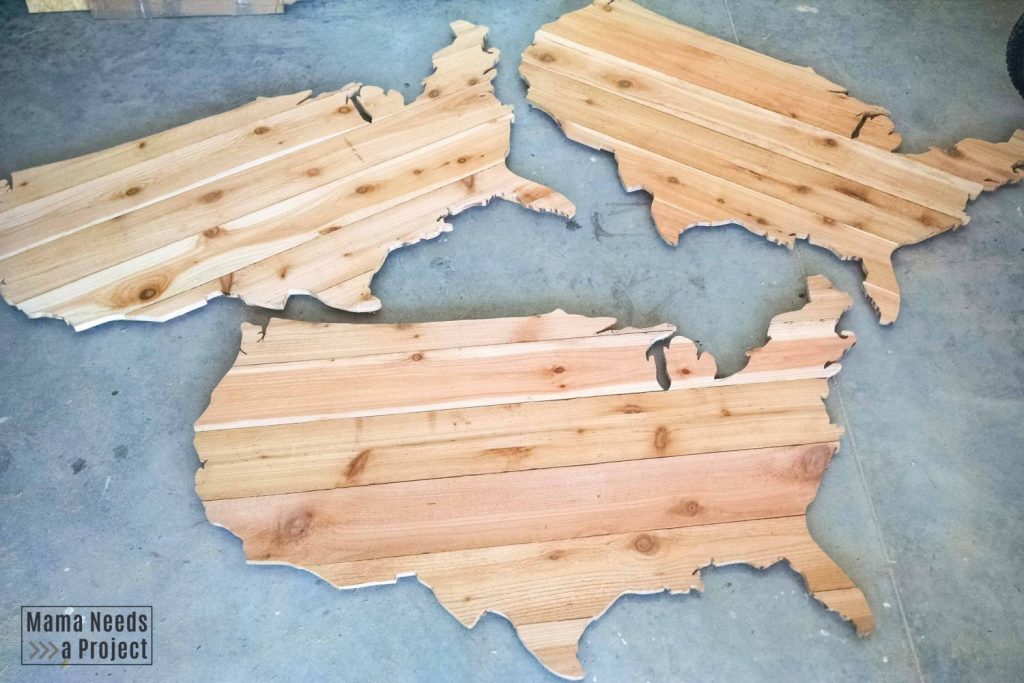
Several years ago I made a bunch of versions of this DIY Wood USA Map to sell locally. They were easy to make and a big hit among buyers! I’m sharing the step-by-step process with you today.
After making this DIY Wood USA Map many times, I kept the original and it hangs in my living room. I love the natural, unfinished cedar and the fact that this is one more handmade item in my home. Plus, the lumber for this project is only 6 cedar fence pickets, which costs less than $15.
Fence pickets are a great and inexpensive source of wood for projects. I’ve made several fence picket projects like my DIY Geometric Wall Art, Simple Wedding Centerpiece Boxes, and Fox Wood Quilt Block. Scroll through all of my woodworking projects for more ideas!
I put together a printable template for you to download to make your own DIY Wood USA Map. You can get the free template in my free resource library. I keep all of my printable woodworking plans and craft tutorials in a password protected library for email subscribers. You can join the Mama Needs a Project email list and get access to this project and many more by filling out your information below.
This post contains affiliate links.
$15 DIY Wood USA Map
Supplies
- USA Map Template
- 6 cedar fence pickets
- Jig saw
- Pencil
- Clamps
- Wood glue
- Scrap wood for back
- D-ring hooks for hanging
- Palm sander + sandpaper
- Brad nailer
Dimensions
The completed map measures about 4 feet wide and about 2.5 feet tall.
Skill Level
This project can definitely be completed by a beginner woodworker. The main tool used is a jig saw and it’s very beginner-friendly. You will need to know how to use basic tools and safety equipment.
How to use the USA Map Template
You can print your USA Map Template from my free resource library. The map has been sized to print across several pages. After printing, tape the pages together following the guidelines printed on the pages. Once the pages are taped together, use scissors to cut around the outside of the map. And, there’s your easy template!
Prep the pickets
First, sand all of your cedar fence pickets. I roughly sanded mine with a low-grit sandpaper and a palm sander. This will smooth out the fence pickets and make the wood grain really shine through. And, you get that amazing cedar smell.
It is much easier to sand the pickets before you cut them out. After the pickets are cut into the map shape the smaller sections will be too fragile to sand with an electric sander.
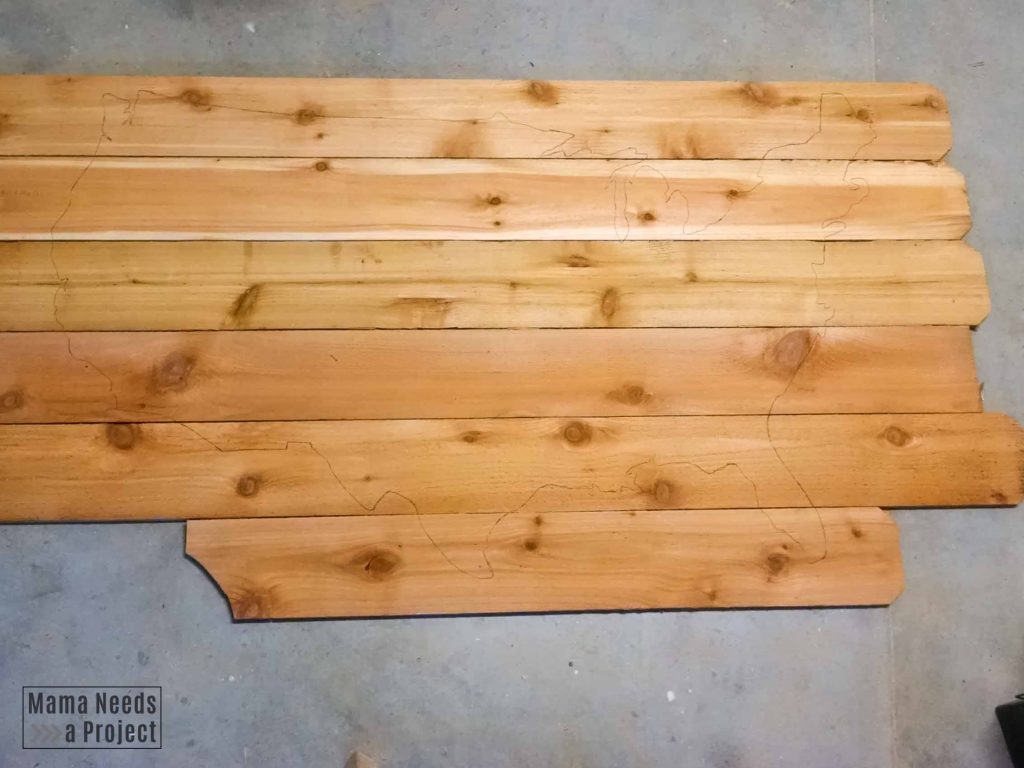
Trace the map
Lay your 6 cedar fence pickets on the ground in the order you want them for your completed DIY Wood USA Map. Then, place your map template on top of the fence pickets and trace around it. Keep in mind that more detailed areas are going to be harder to cut around with your jig saw. I find it easier to leave out the tiny details of the coasts and make a more general outline.
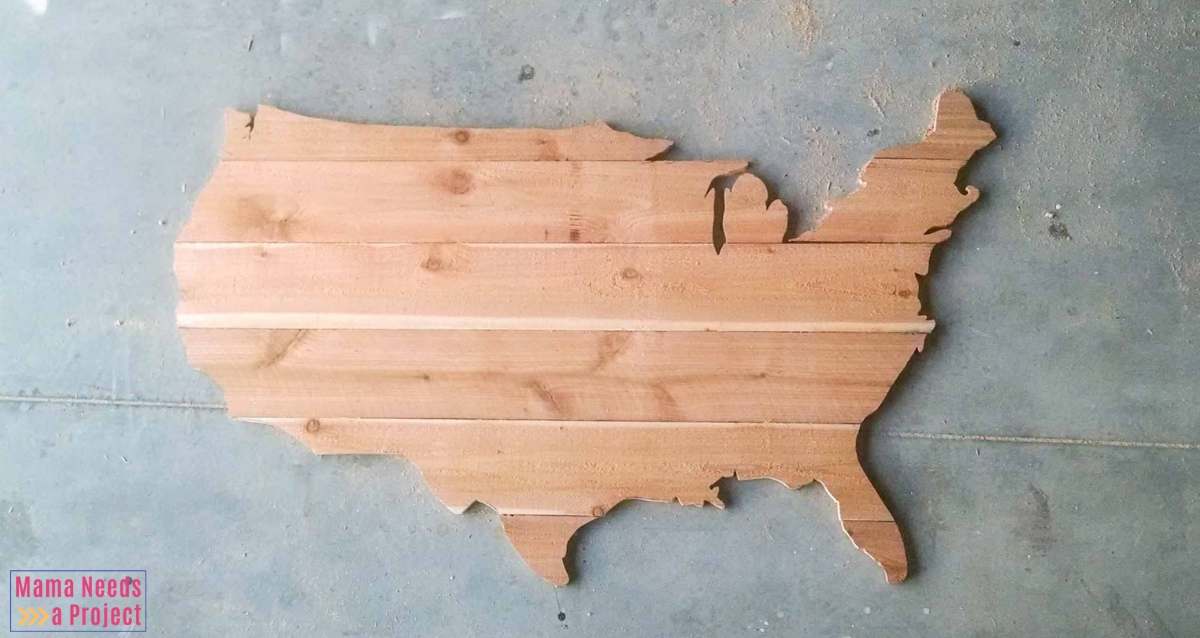
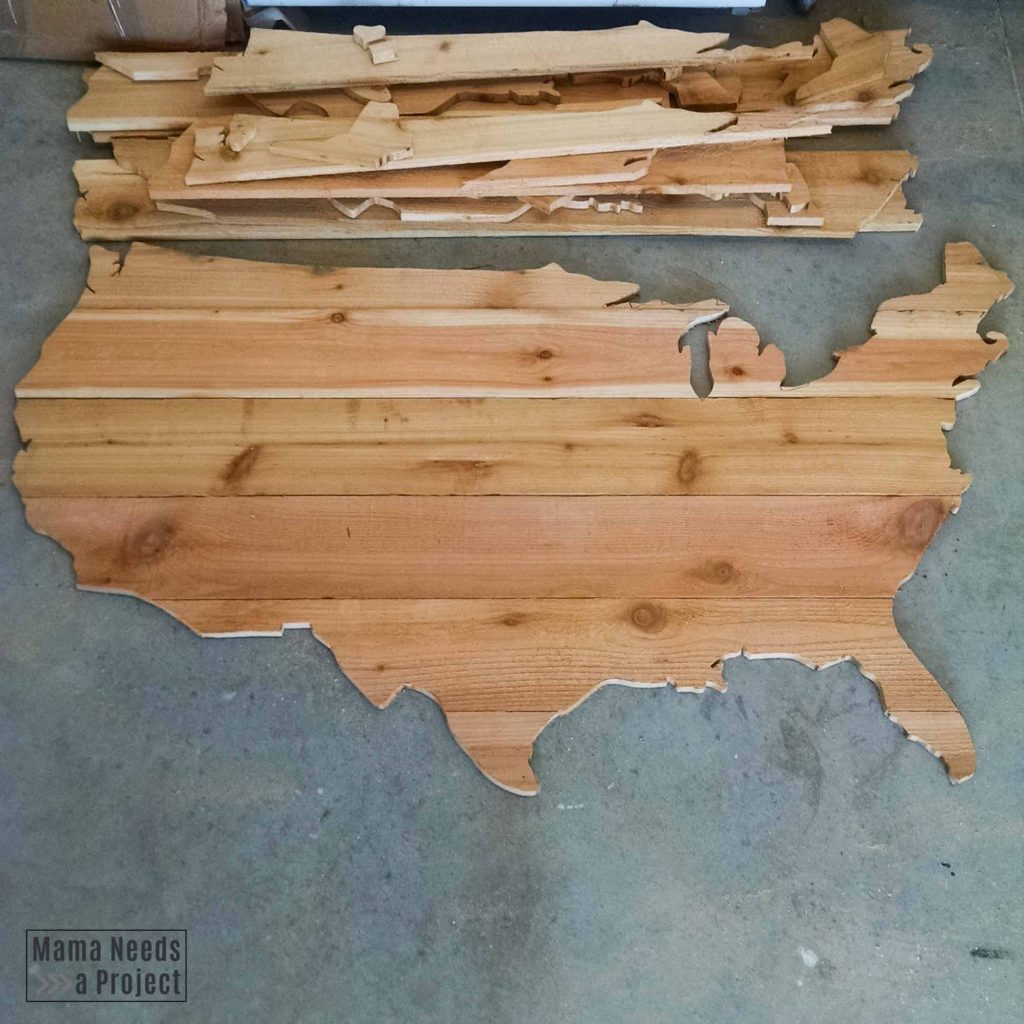
Cut it out
After you have traced the map outline you can cut along the outline with your jig saw.
Use wood clamps to clamp your cedar picket onto a level and sturdy surface. The line you need to cut along should be hanging over the edge of the work surface. Be sure that your cut line is far away enough from your work surface that you won’t accidentally cut through it.
Once you have the cedar picket securely clamped, start cutting along the map outline with your jig saw. Repeat with each fence picket until you’ve cut all the pieces for your map.
I have a very basic and inexpensive Black and Decker Jig Saw that I have used to make many of these maps. It works great, but I would love to have a nicer one to use like this Cordless Dewalt 20v Jig Saw. (I’m crossing my fingers for a sale.) My current jig saw puts off a lot of vibrations that can really hurt my hand after a while and moving the cord around as I’m working can slow me down. If you’re in the market to spend a little more I recommend getting a nicer jig saw to save yourself some hand pain.
You can get all of my jigsaw tips at How to Cut Shapes with a Jigsaw.
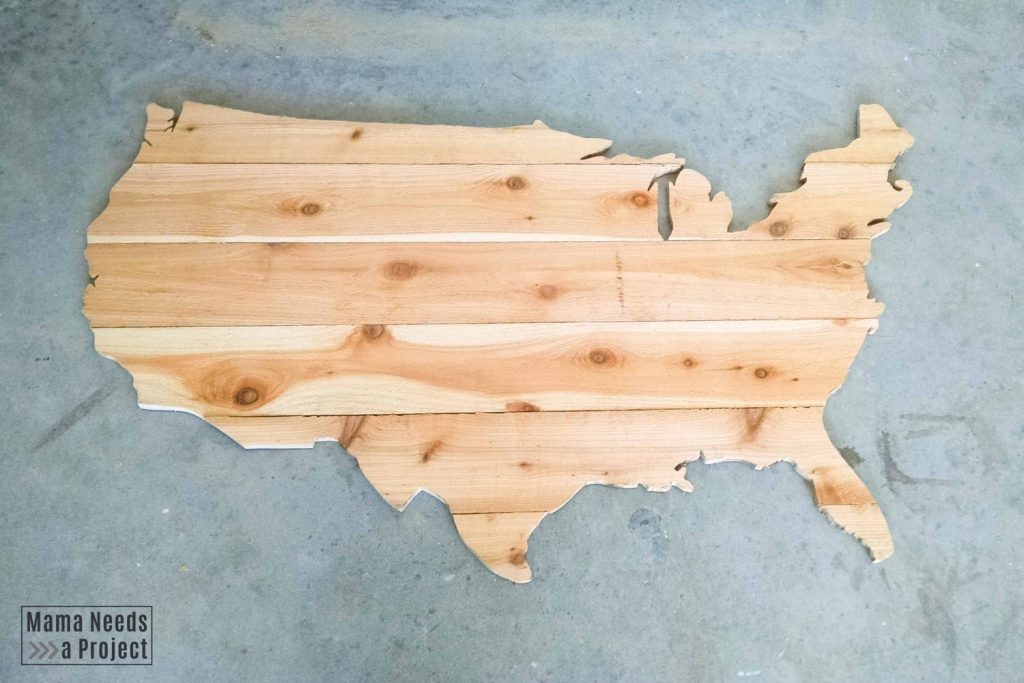
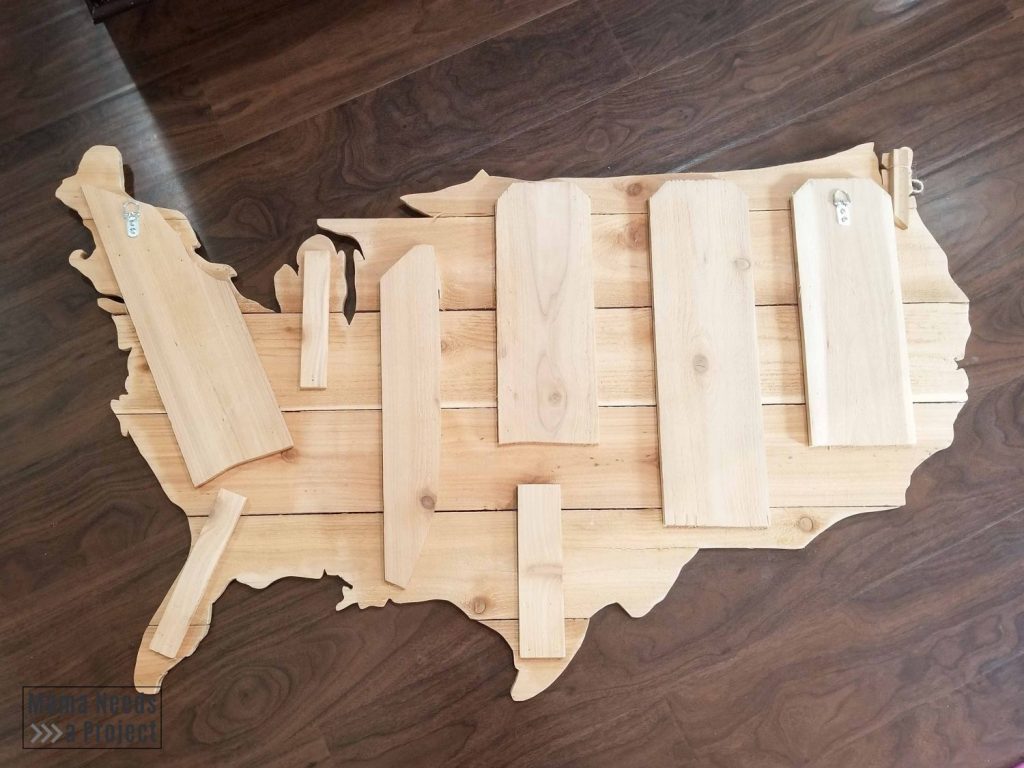
Connect the pieces
After all of your pieces are cut, lay out your map so that the front is facing the ground. Then, place scrap wood on the back of the map so that all of the pieces are connected. Use wood glue and a brad nailer to secure the scrap wood onto the back of the DIY Wood USA Map.
Hanging hardware
Lastly, add some hooks to the back for hanging. These are the exact D-ring hooks that I keep at home to use on my projects. Screw the hooks into the support pieces you just added to the back of your map.
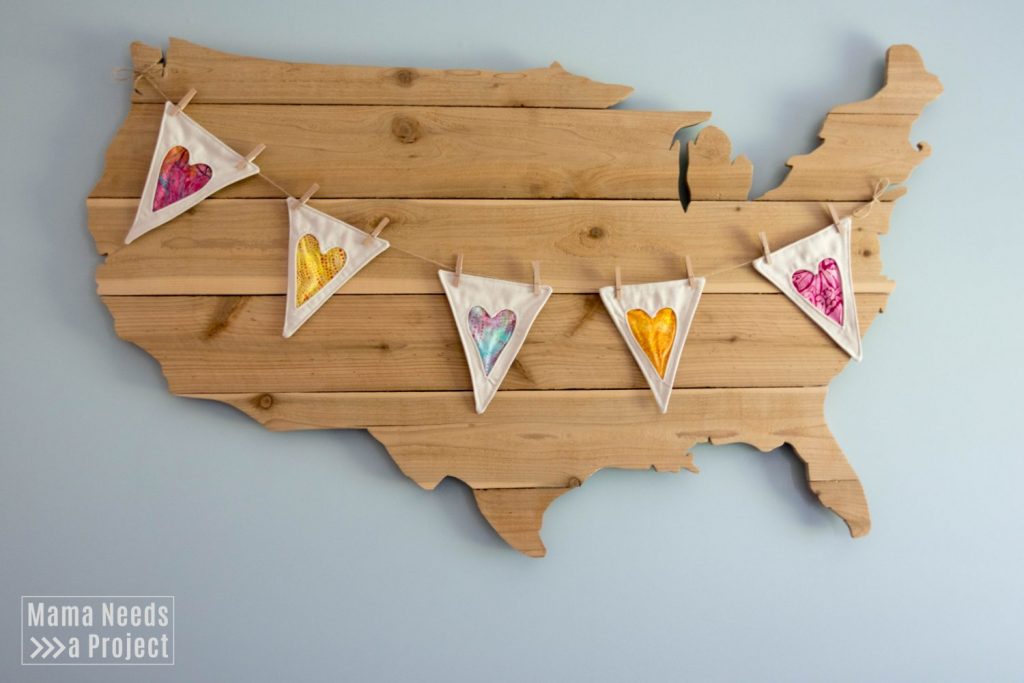
$15 DIY Wood USA Map
As a military family that has moved all over the country, I love having this big handmade map hanging in our living room. It reminds me of where we’ve been, where we could go and all of the friends and family we have spread out across the country.
I want to hear from you!
I hope you’ll make this map and love it just as much as I do. If you make this project, please share it with me! You can find me on Instagram and Facebook as @MamaNeedsaProject
If you have any questions about this project, drop them below and I’ll get right back with you.
Happy Building!