Sewing Tutorial: Basic Applique for Beginners
Follow along with a simple sewing tutorial to learn basic applique for beginners.
Applique is just a fancy word for sewing one piece of fabric to a larger piece of fabric. This can be super intricate with special stitches and detail work or, like this tutorial, it can be super simple.
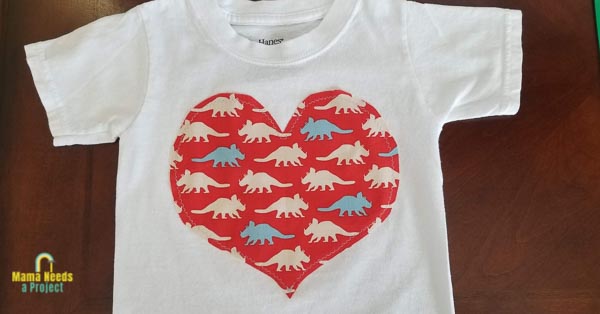
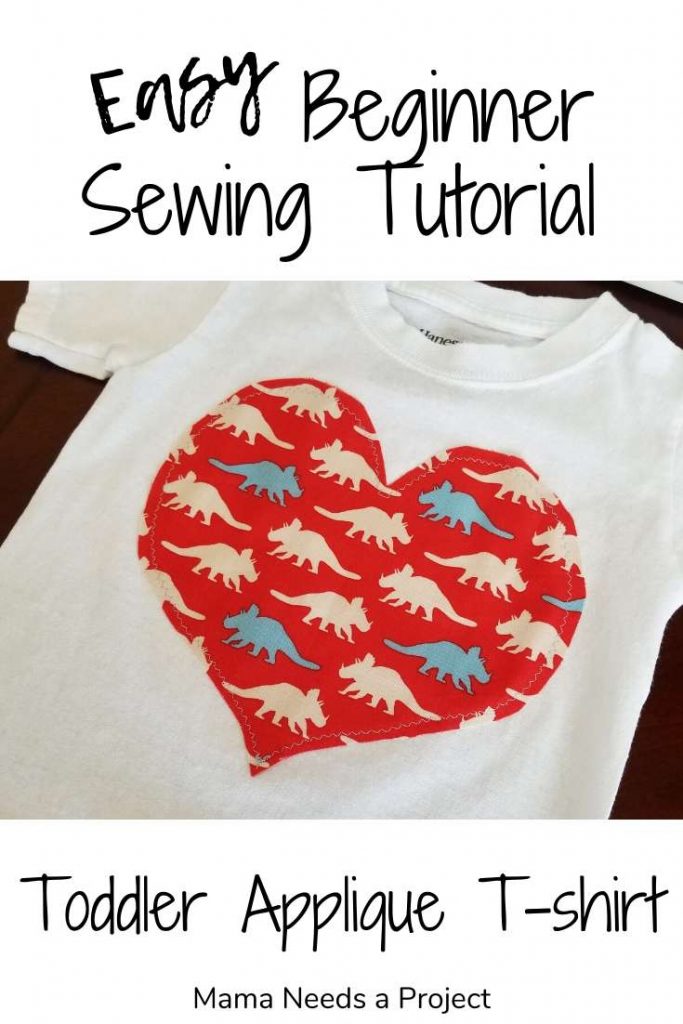
I sewed my son a quick Valentine’s Day shirt by appliqueing a heart to a white t-shirt. I took pictures along the way to show you just how simple it is.
You might also like this Easy Easter Egg Toddler Shirt sewing tutorial.
*This post contains affiliate links.
Save to Pinterest!
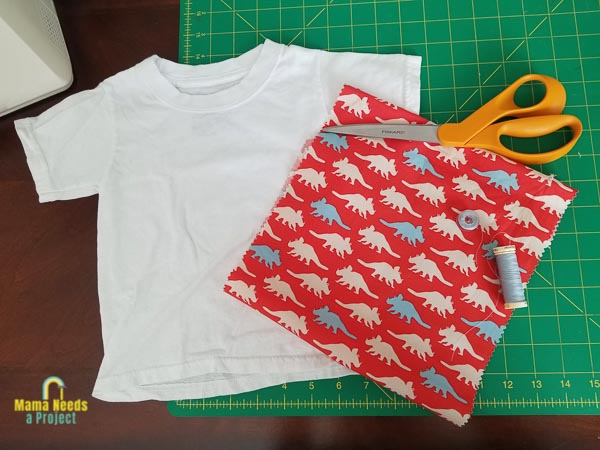
Supplies
- Fabric – for applique shape and main piece/background (in my case this was a t-shirt)
- Shape Outline
- Fabric Scissors (These are the ones I use and recommend.)
- Sewing Pins
- Sewing Machine
- Coordinating thread
Before you start
It is always a good idea to pre-wash your fabric before starting a sewing project. Many fabrics will shrink a bit in the wash and pre-washing will keep your final project from looking wonky when a piece of fabric shrinks more than the one it’s sewn to.
That being said, I did not pre-wash this fabric because I made this project pretty last minute and didn’t have time. So, pre-wash your fabric or skip it and live on the edge like me.
Basic Applique for Beginners
Cut your shape
To make my heart I folded my fabric in half right sides together and drew my outline. If you’re planning a more complicated shape you may want to use a template. You can easily create a template by doing a google image search for the outline you’re looking for and then print, cut it out and trace.
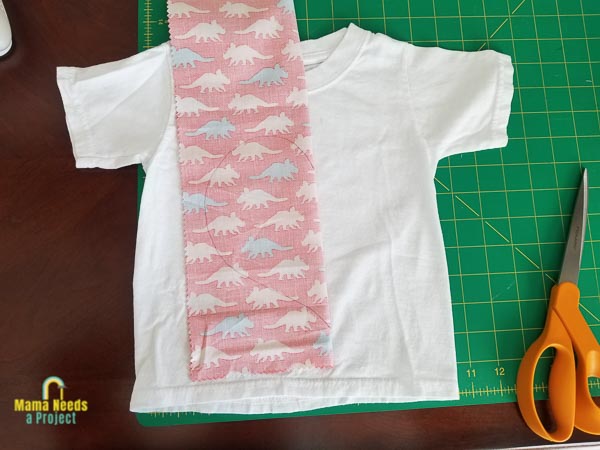
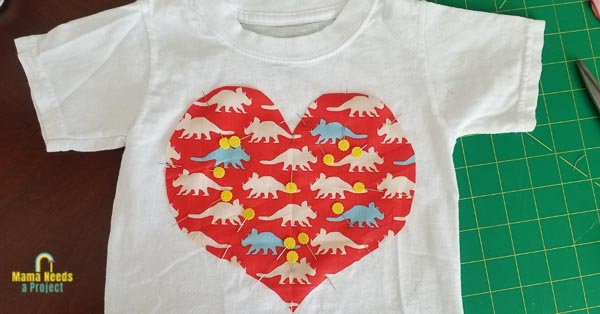
Pin the Shape
Use pins to secure your applique piece to your main fabric. If you’re sewing a shirt, make sure to only pin through the top layer of fabric. I find it especially helpful to pin around curves and at corners to keep the pieces of fabric from slipping while I sew.
Sewing Machine Settings
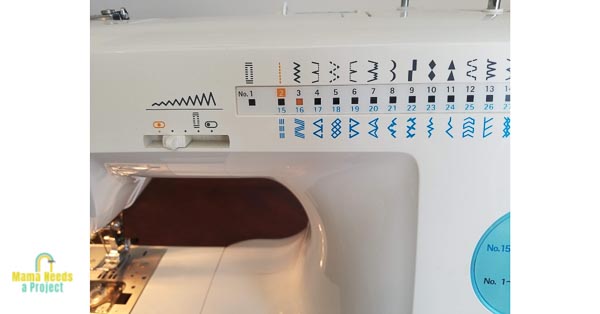
There are lots of unique and beautiful stitches you can incorporate with applique. Because I was doing this project quickly, I chose to use a basic zig zag stitch. The options for stitch settings on your machine probably look similar to mine in the picture below. The zig zag stitch is stitch setting number three on my machine, indicated by the orange box. The toggle on the left determines how wide the stitch will be.
When I change the settings on my machine, I always test the new settings by sewing a couple lines onto a scrap piece of fabric. This way I don’t have to pull stitches out of my project if I don’t have the settings quite right. I definitely recommend doing this. It will save you some time with your seam ripper.
If you’re having trouble figuring out the settings or your stitches just don’t look right, check in the manual for your machine. I keep mine in the top drawer of my sewing desk and refer to it pretty frequently. If you don’t have a copy of your manual, check the manufacturer’s website for a digital copy.
Sew Your Applique Shape
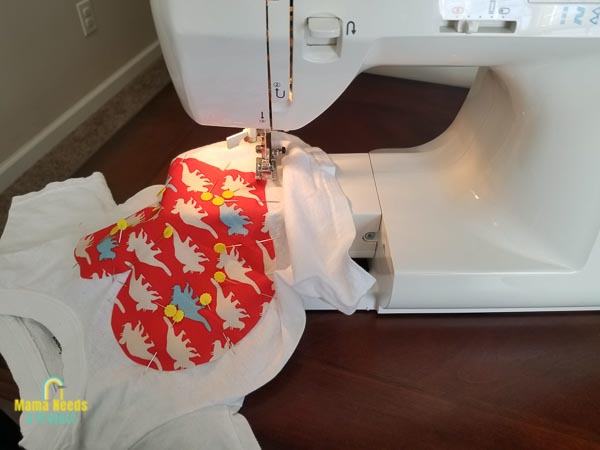
Start sewing!
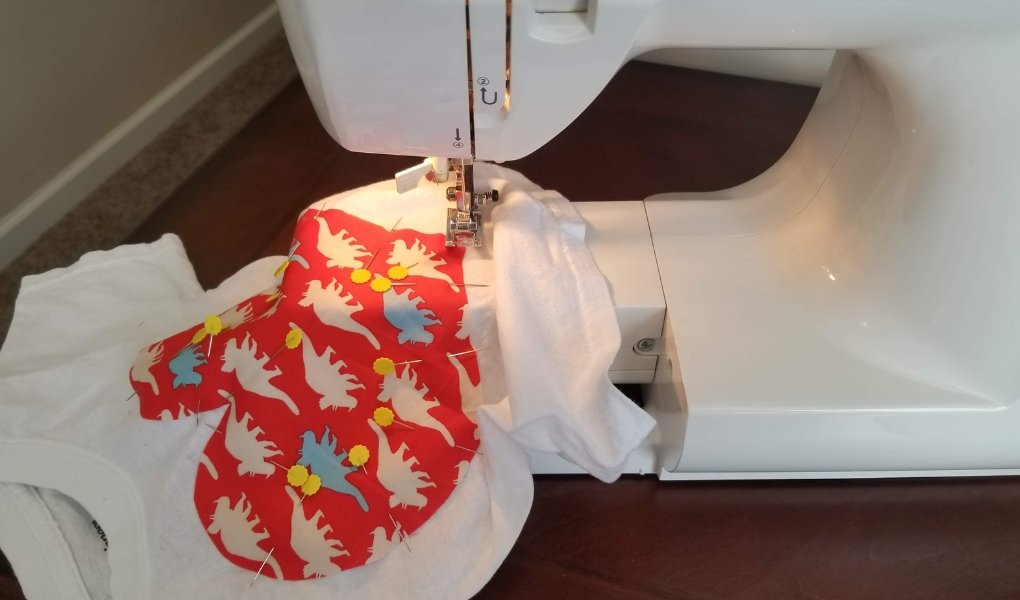
If you’re sewing onto a t-shirt, make sure you’re only sewing through the front. You’ll want to stop and check a few times while you’re sewing to make sure the back of the shirt hasn’t bunched up and gotten under the needle.
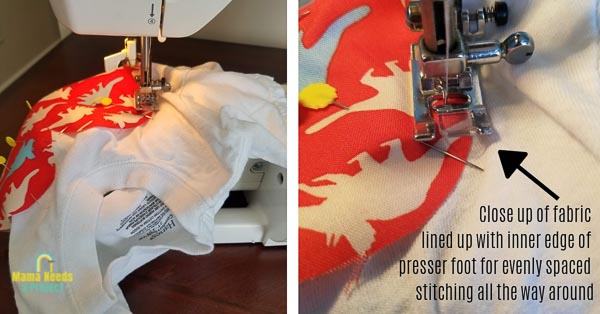
I lined my fabric up with the inner edge of the presser foot to get my stitches an equal distance from the edge of the fabric all the way around. This left about a quarter inch of space between the edge of the heart fabric and the stitching. As the shirt is worn and washed the fabric on the edge that is not stitched down will begin to fray.
If you don’t want your fabric to fray, try to sew right along the edge of your fabric, straddling the zig zag stitch between the applique fabric and the main fabric. This method is more difficult because if you get off track you can end up sewing directly on the main fabric and missing your applique piece.
Lock your stitch
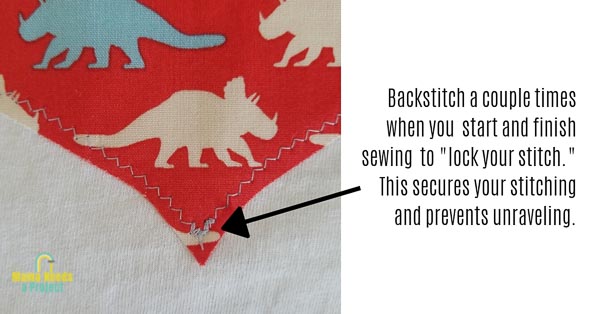
When you start and stop sewing, you’ll want to backstitch a few times to lock your stitch. Backstitching will strengthen the stitches and prevent unraveling. You can see in the picture above that I started and stopped sewing at the bottom of the the heart. I backstitched several times to secure the stitches.
Remove pins as you sew
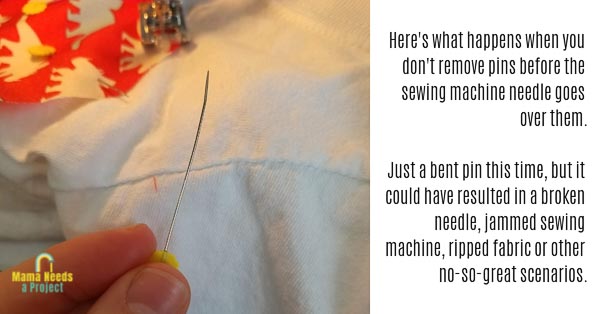
As you sew around your shape, it is recommended to remove pins before your needle passes over them. This prevents your sewing machine needle from hitting the pin. When your sewing machine needle hits the pin, a few things can happen.
- The needle slides off the pin and misses a stitch or makes the stitch look wonky
- The needle breaks
- The pin breaks
- The needle pushes the pin down into the sewing machine and gets jammed
- All of the above
With all of that being said, I don’t always remove the pins and all of these things have happened to me. Like the bent pin below from my sewing machine needle hitting it while sewing this little project.
So, you should probably remove the pins.
Sewing around corners
If your applique piece has corners, here’s how to sew around them.
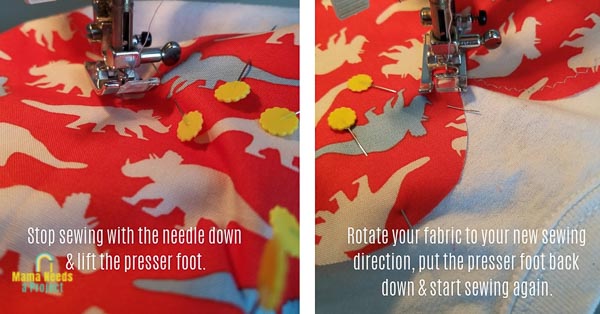
For this heart I needed to sew a sharp corner at the top center.
To do this, sew beyond the corner a little ways and then stop with the needle down. With the needle down, raise the presser foot like in the picture above.
Then rotate your fabric until it is in the new direction you need to sew, like the picture below. Put the presser foot back down and start sewing again. Easy peasy.
And you’re done!
That’s it! It’s super simple and there are tons of possibilities. This little shirt for my son took me about 20 minutes and most of that time was spent looking for the right color bobbin and taking pictures.
When you wash your project for the first time I recommend using a Shout Color Catcher to prevent any colors bleeding together. I wash all of my projects for the first time with one of these in the wash.
Basic Applique for Beginners
Trying something new can be intimidating, but way to go for pushing through and expanding your sewing skills! I hope this super simple tutorial gives you some more confidence with your sewing machine and is just the beginning of your creative sewing adventures.
Save to Pinterest!
I want to hear from you!
What sewing projects are you working on? Are you going to try applique?