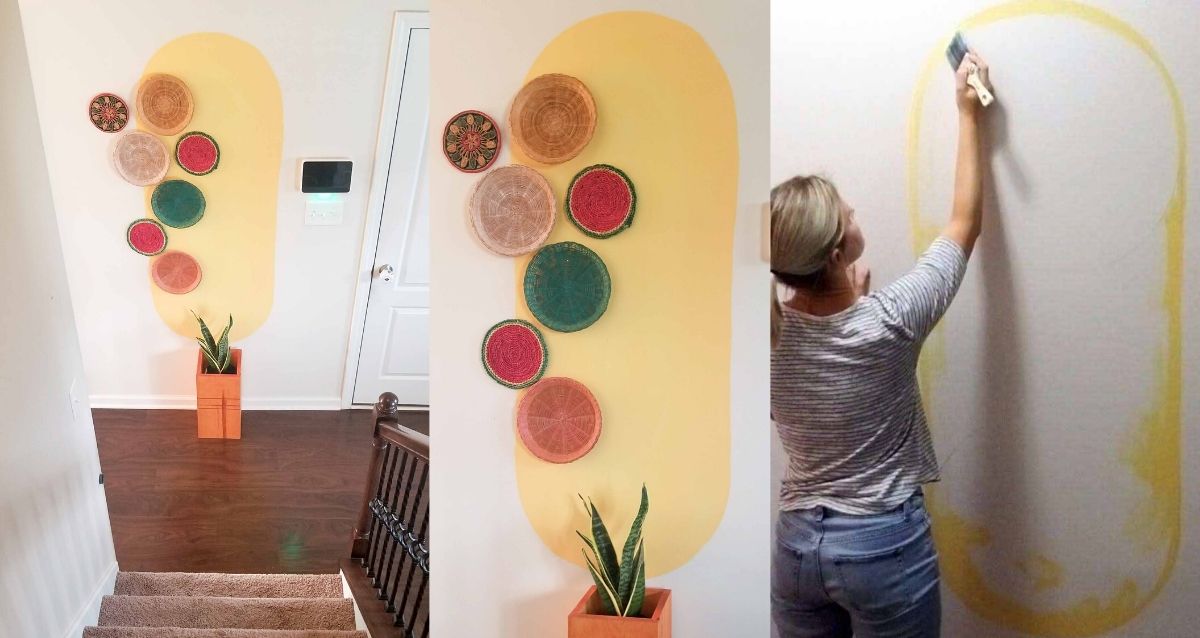
Big Yellow Oval on the Wall
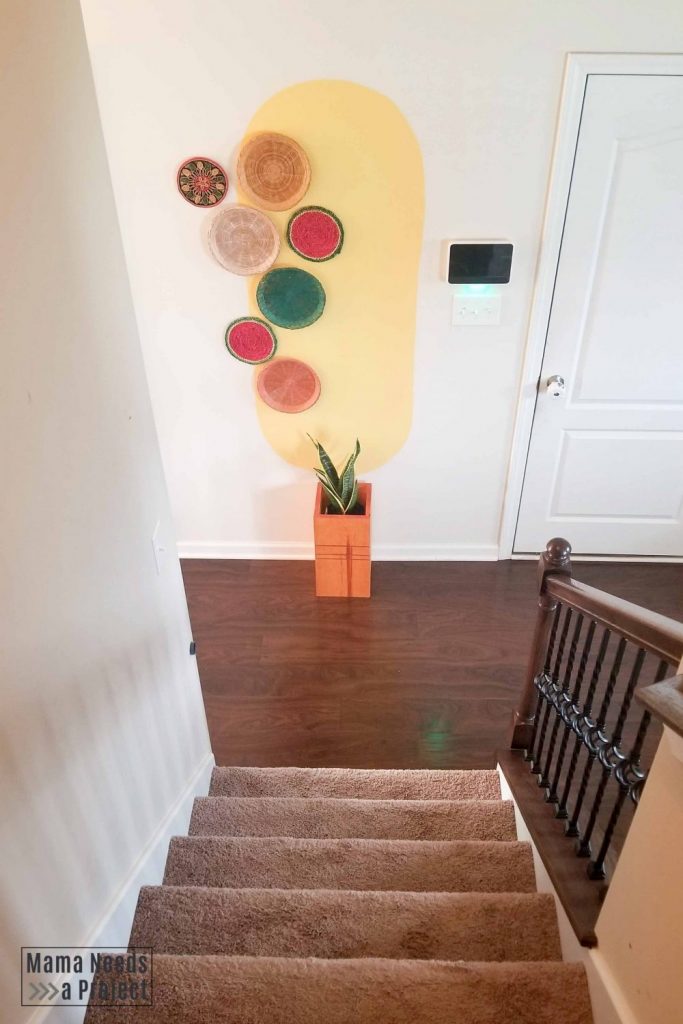
I’ve started adding some bold color to my walls and I absolutely love it! It started with an impulsive Watercolor Inspired Circle. This bright addition to my walls inspired me to find other areas to add surprising pops of color. Most recently, I’ve just finished painting this bright yellow oval on the wall at the bottom of my stairs.
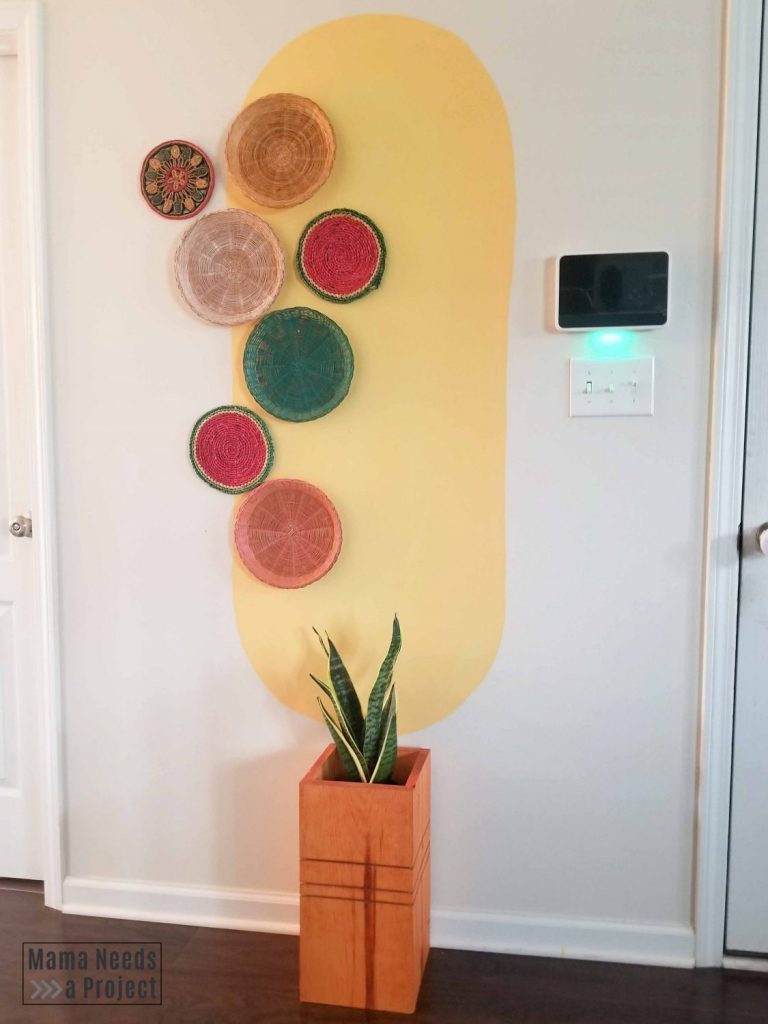
This wall was plain, empty and boring before. But with just a little paint it’s been totally transformed.
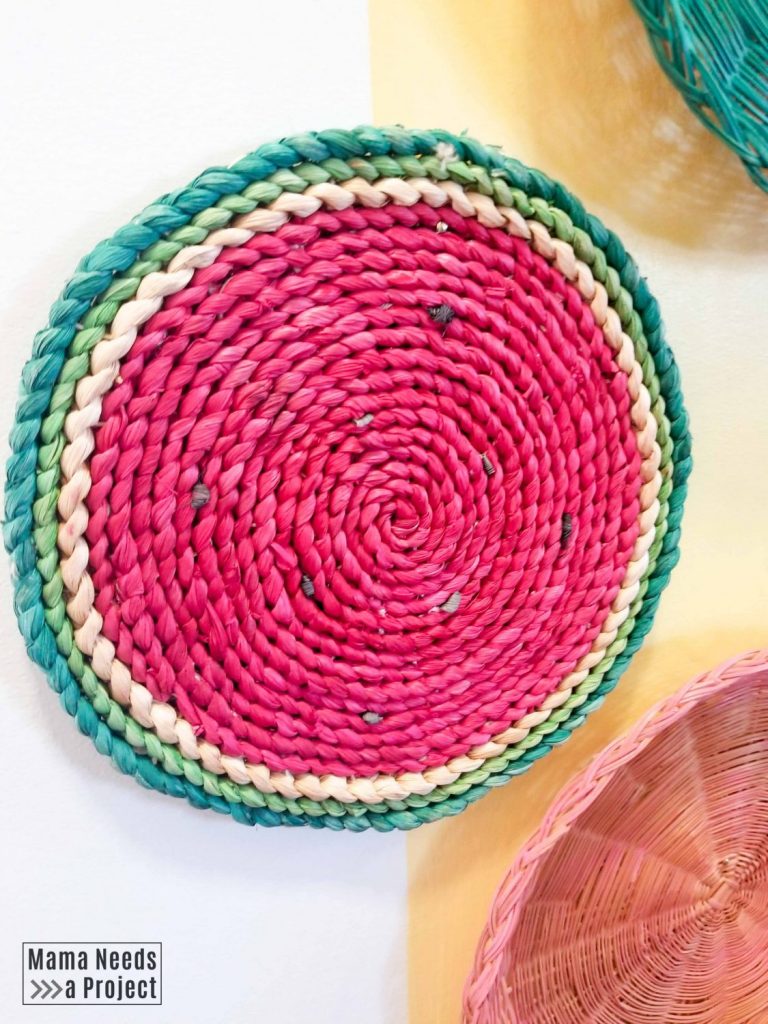
I decided to decorate it with some thrift store baskets and trivets. The little ones are watermelons and I think they’re so fun. I built a modern wood planter and put a snake plant on the ground in front to cover up that outlet. The plant definitely finishes the space out and doesn’t take up too much floor space – which is great because this is a hallway.
This post may contain affiliate links.
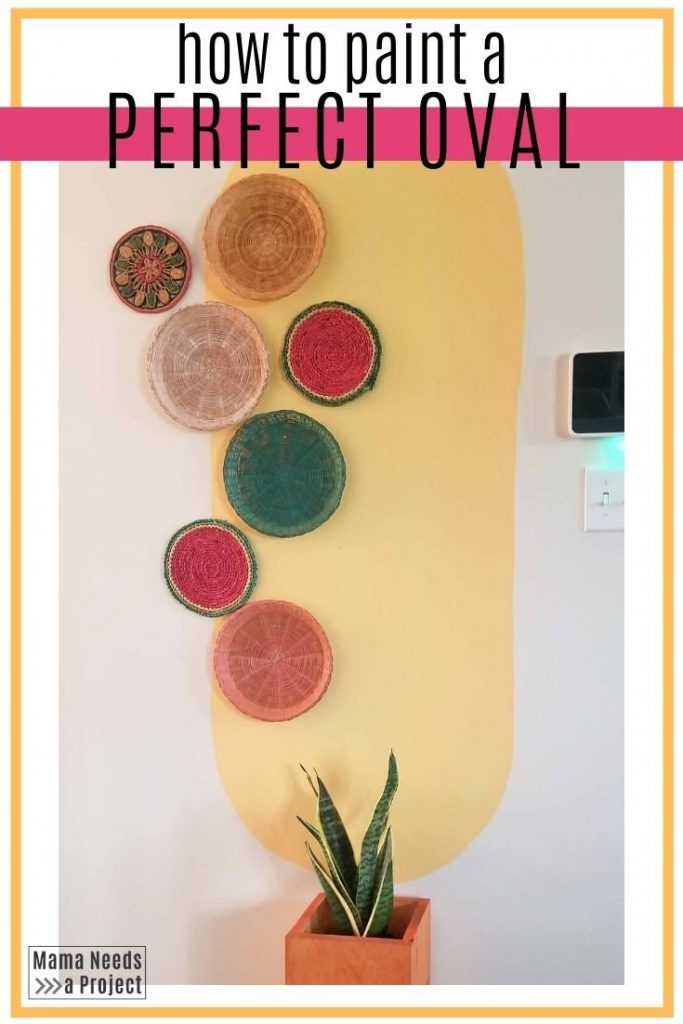
How to Paint an Oval on the Wall
I am not a skilled painter and can’t draw a straight line for the life of me, let alone freehand a perfect oval or circle. But that’s okay! You can create perfect curves and lines on your walls without any special tools or skills. I’m sharing my process so that you can create funky shapes on your walls, too.
Decide size
First, measure the width of your wall and make a little pencil mark on the center. (Or skip that part if you don’t want your oval to be in the center of your wall.) Then, make a pencil mark where you want the top center and the bottom center of your oval to be.
Draw two circles
Next, you’ll draw two circles. One for the top of your oval and one for the bottom. To make a perfect circle you’ll need a small nail or tack, a string and a pencil.
First, put your nail (or tack) in the wall where you want the center of the circle to be. Then, tie one end of the string to the nail. Next pull the string tight and hold it up to the mark you made for the top of your circle. Where the string crosses the mark on the wall is where you want to tie on your pencil.
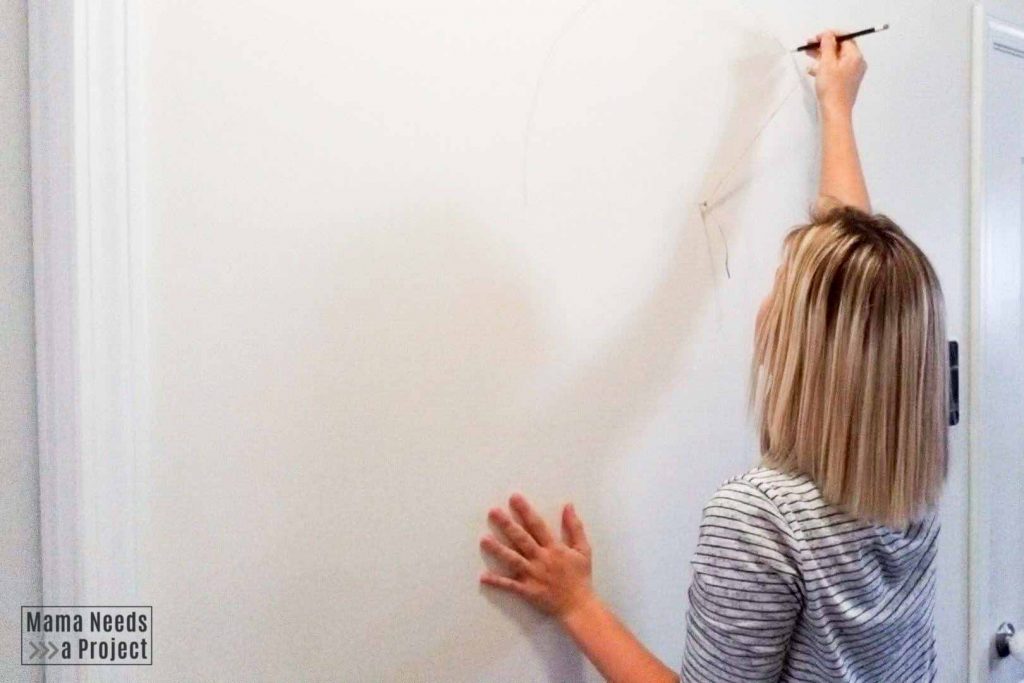
After you have tied your pencil on you can start drawing the circle. Hold your pencil with the string tight and let the string guide you to draw your circle around the nail.
Repeat this for both circles to create the top and bottom of your oval.
If you’re using a lighter paint color, I recommend going lightly with the pencil. For my yellow oval I drew my circles pretty dark. I had to use several coats of paint to cover of the pencil marks.
Connect the circles
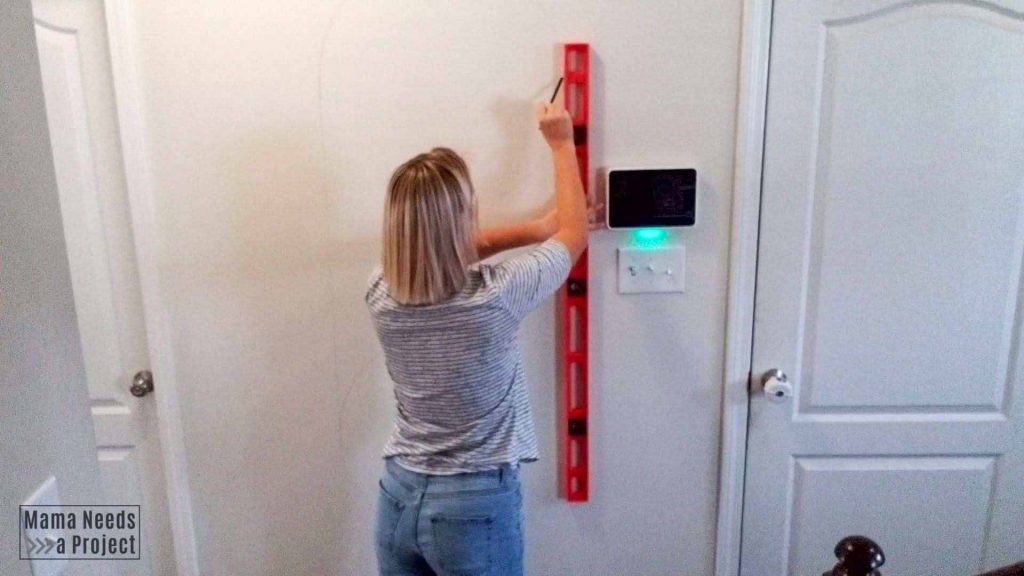
After you’ve drawn the two circles, connect the outer edges with a vertical line. I used a long level to get a straight line. You could use any long straight edge.
Get Painting
Now that you have the outline, it’s time to start painting the oval on your wall. Start by painting the outline of the oval with an angled paint brush. I prefer the short handled brushes like this one. They are easier to control around the curves.

After you finish painting the outline of the oval on your wall, fill in your oval using the paint brush or a small roller. This part is easy peasy. I ended up doing a couple coats of paint to get the coverage I wanted.
Paint an Oval on the Wall
And that’s it! This painted oval is surprisingly easy, even if you’re like me and have no painting skills. I love the bold statement it makes and the fact that it takes less than a sample size container of paint. $3 project with a huge impact – yes please!
I want to hear from you!
If you have any questions about this tutorial, please leave them in the comments below. And if you decide to paint an oval on your wall, I want to see it!! Please share your projects with me on social media. You can find me on Instagram and Facebook @MamaNeedsaProject.
Happy creating!