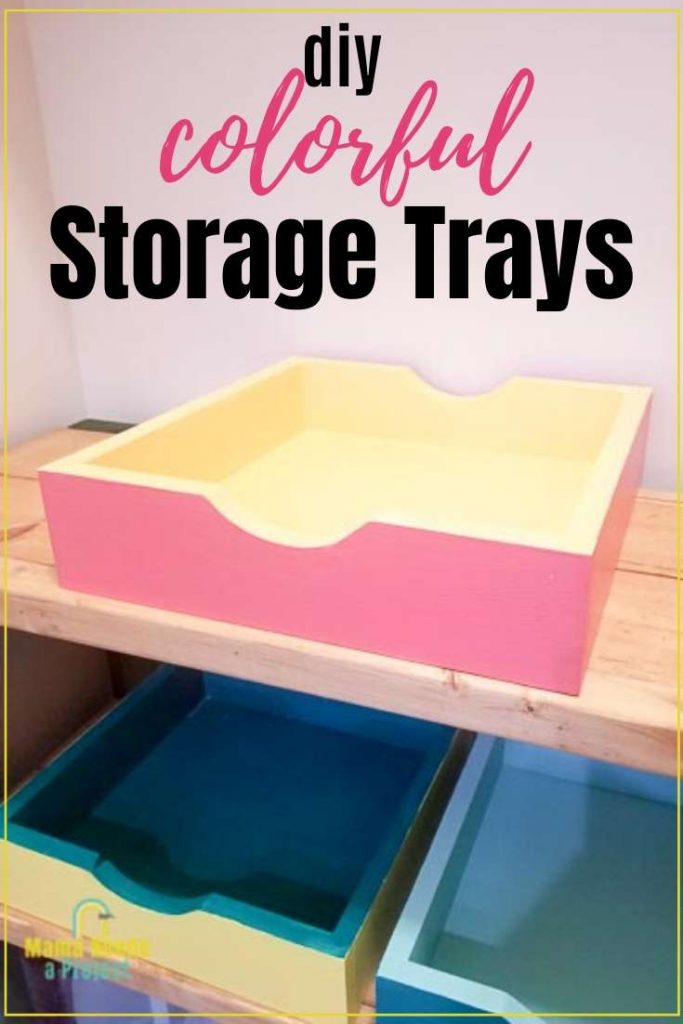
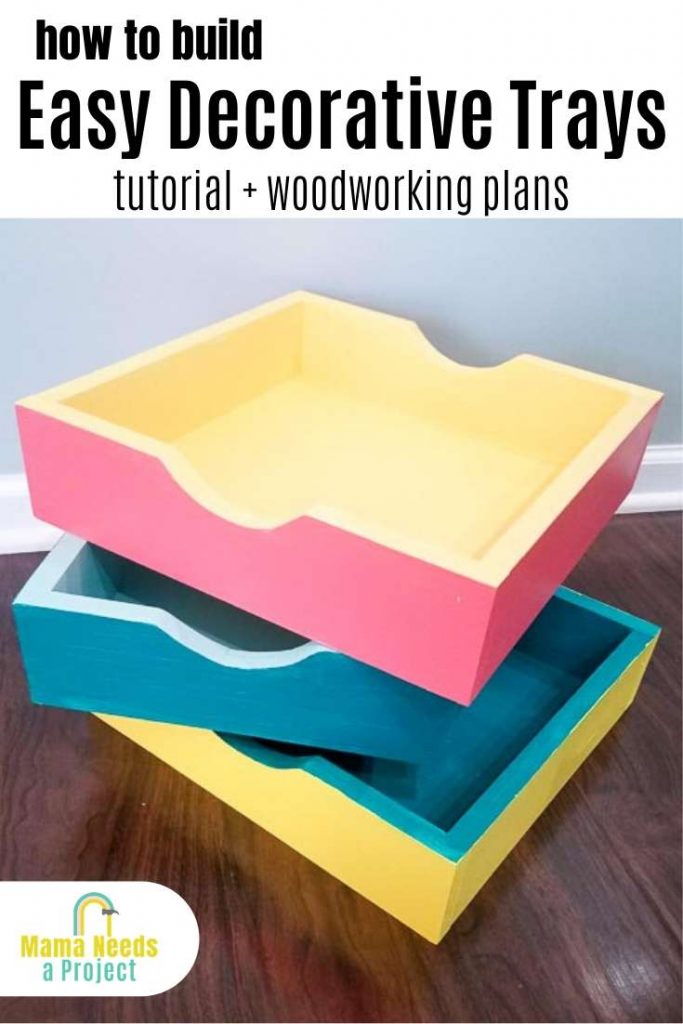
Build an Easy Storage Tray | Colorful Pantry Storage
Learn how to build an easy storage tray with my free woodworking plans and tutorial. I use this simple decorative trays to organize my pantry
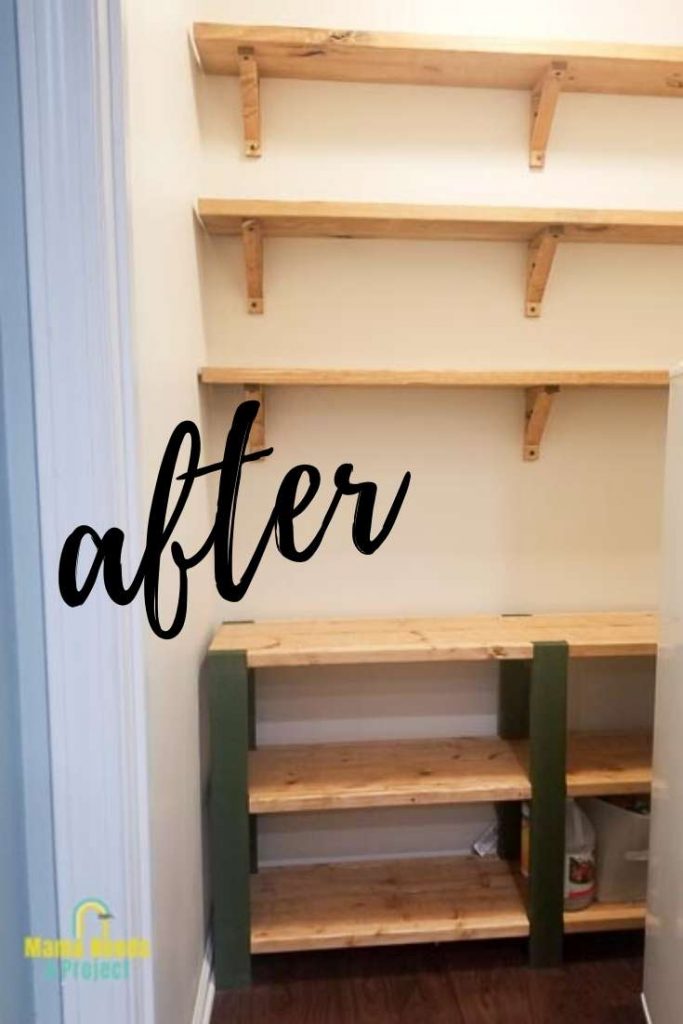
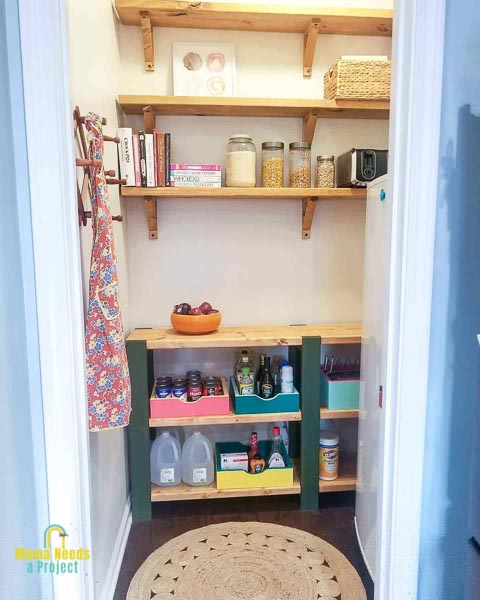
I’ve been slowly working through my Budget Pantry Makeover. So far I’ve built a Simple Storage Shelf and added open shelving with DIY Wood Shelf Brackets.
It looks so much better than the wire shelving I started with, but I know it’s only a matter of time before all of these open shelves get as disorganized as the wire shelving was before.
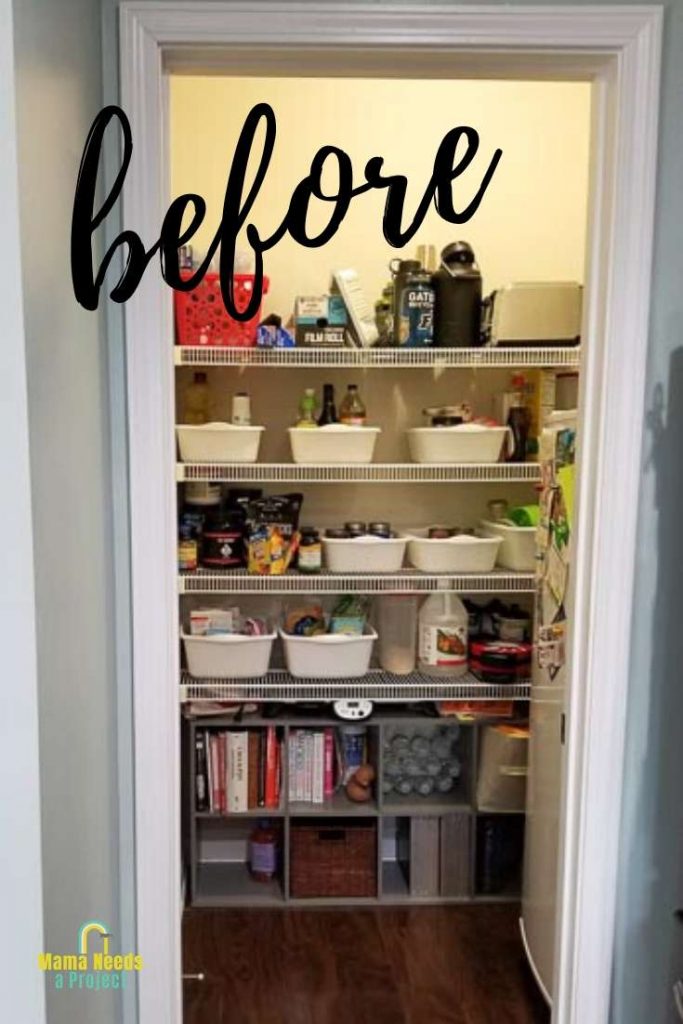
I needed a way to organize cans and boxes on the shelves so that it not only looked better, but so I could actually find what I was looking for.
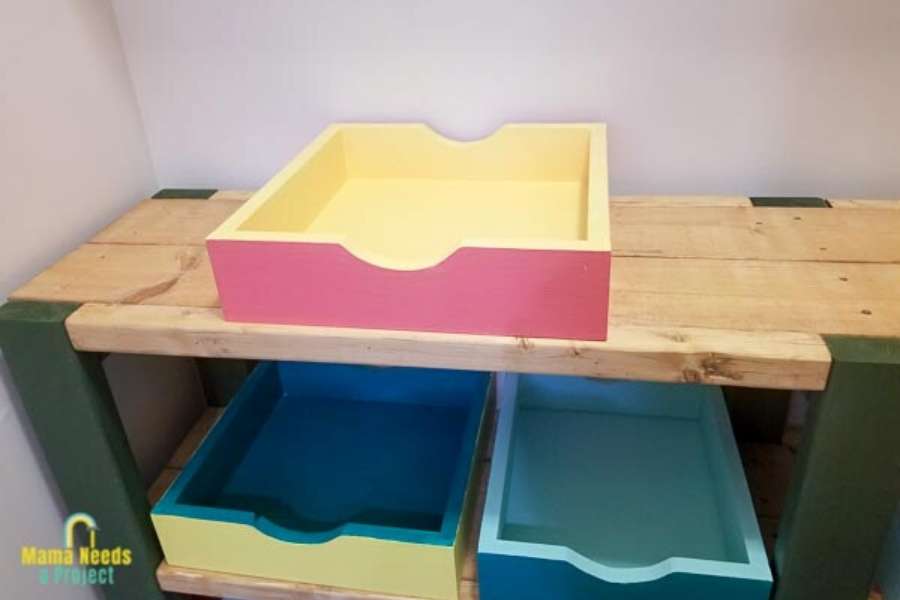
In comes the Easy Storage Tray!
I put these trays together using wood I already had on hand and I love how it turned out! They’re perfect for organizing items in the pantry. And, they give me the color I’ve been craving in this room.
Save to Pinterest!
Easy Storage Tray Woodworking Plans
The sizes of my storage trays are based on the supply of scrap wood that I already had on hand, but I put together some woodworking plans using common wood sizes so that you can easily recreate this project.
You can download the plans for free in my woodworking plan shop.
All of the woodworking plans in my shop include a lumber list, cut list and supply list. They also feature digitally rendered images and detailed instructions that walk you through each step of the build. I use easy-to-understand language that’s perfect for beginners.
Build an Easy Storage Tray
This quick project is great for beginners! Below I’ll share some tips from my building process, but you can get all of the details for this project (like a cut list and step-by-step instructions) in the downloadable woodworking plans.
Supplies
- Easy Storage Tray Woodworking Plans
- 1×12 board
- 1×4 board
- miter saw
- jig saw
- brad nailer or pin nailer
- wood glue
- wood clamps
How to Build an Easy Storage Tray
1. Cut the Lumber
I wanted to make these boxes as cheaply as possible so I dug through my scrap wood pile to find lumber that I had on hand to use. I ended up using a scrap piece of plywood for the base and a 1×4 for the sides.
The first thing I did was use my table saw to cut down the plywood. Then, I used my miter saw to cut the 1×4 down to size for the sides of my storage tray.
I wrote the easy storage tray woodworking plans to use a 1×12 as the base of the tray. You need to use very little of the 1×12 so plan to have quite a bit left over. Or just make a few trays.
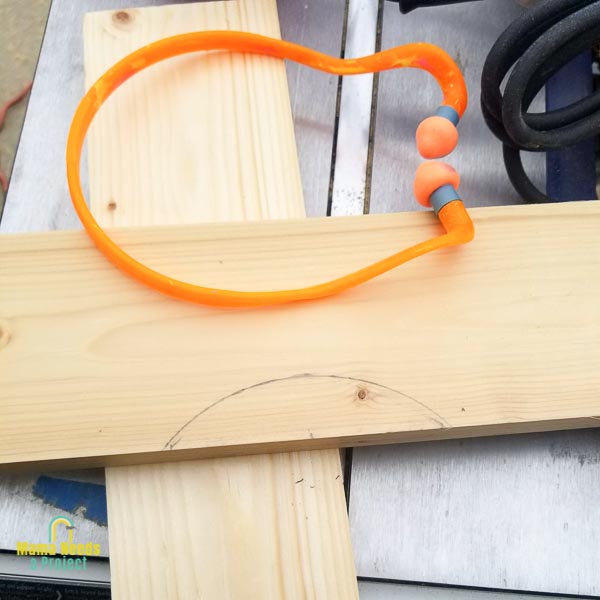
2. Make Handle Grooves
Once I had my wood cut, I used a jigsaw to create rounded handle grooves on the front and back of the storage tray. This detail is totally optional, but I love it!
I first tried to freehand draw the rounded line to cut along, but I couldn’t get it to look even. I ended up using a pair of ear plugs as a template to draw the half circle to cut along.
After I had the line drawn, I clamped the board to my work surface and used my jigsaw to cut along the line. I just got this new jig saw for Christmas and it’s such a nice upgrade from the one I’ve been using for the last several years.
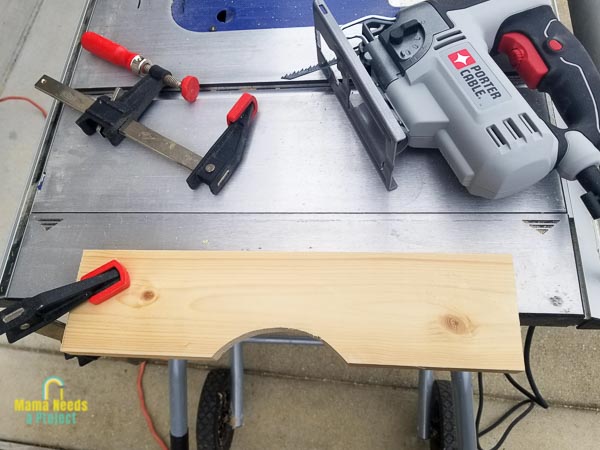
If you want some jigsaw tips, check out this blog post that goes into depth on using your jigsaw.
3. Sand
Once all of the storage tray pieces were cut, I sanded everything using my electric palm sander. I rounded the edges of the curved handle groove, but it was a little difficult to get the sander into the curved area. I ended up sanding those parts by hand. It takes a little extra time, but was worth it to get a nice smooth surface.
4. Assemble Easy Storage Tray
I chose to assemble the easy storage tray using wood glue and a pin nailer. After putting it together with glue and the pin nails, I clamped the tray and let it sit for several hours to let the glue dry.
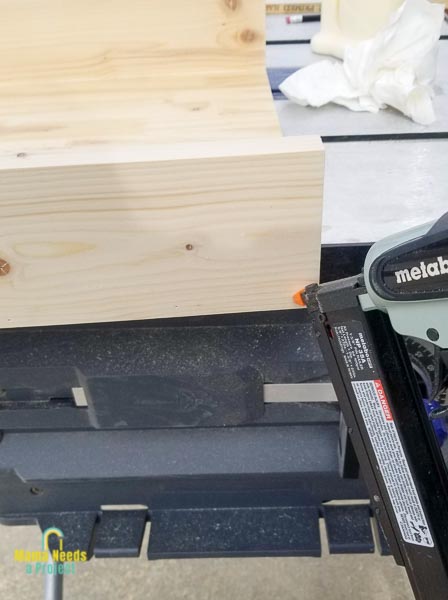
It is important to clamp your tray while the glue dries to make sure the glue adheres strongly. The pin nails won’t do much to hold the tray together, but the glue will create a very strong hold.
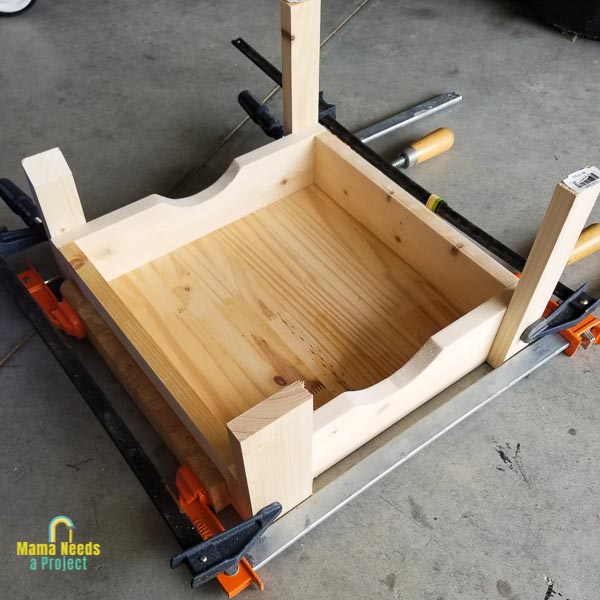
Clamping Tip: In order to prevent indents in your wood from the wood clamps, use a piece of scrap wood between the clamp and your project. The scrap wood will spread out the pressure of the clamp and protect your project from indents caused by the pressure of the clamps.
5. Paint
Once the glue was dry, painting was all I had left to do.
I primed the wood with this stain-hiding primer and let it dry for a few hours. I’ve learned that although this step takes a few extra hours, it’s totally necessary. Without the primer, knots in the wood always seem to show through the paint. Using a primer is the only way I’ve been able to mask the knots, especially when working with pine.
When the primer was dry I did a quick coat of some bright colors. My home is colorful and I wanted the pantry to match the style of the rest of the house so I chose a few happy colors to brighten up the space.
Easy Storage Tray
This quick project is super simple and useful. After finishing up my first storage tray, I built a few more to fill up the shelves in my pantry. It looks so much cleaner in there with everything in it’s own box!
Save to Pinterest!
I want to hear from you!
If you decide to tackle this project, I would love to see what you create! You can tag me on social media as @MamaNeedsaProject on Instagram and Facebook.