Can You Put Polyurethane Over Paint? (Tips & Tricks!)
Picture this. You’ve just finished painting a piece of furniture. It looks great, but there’s something missing. Perhaps you want a glossy finish, or maybe you’re worried that the paint is prone to getting scratched or chipped.
You might think about applying polyurethane. But can you use polyurethane over paint?
In this guide, I’ll discuss which polyurethanes can be used on paints, how to apply polyurethane to paint, and much more. Let’s dig in!
- Yes, you can put polyurethane over paint. Specifically, polyurethane can be applied to latex paint, acrylic paint, chalk paint, enamel paint, and spray paint. You can use both oil-based and water-based polyurethanes on most paints. Multiple coats of polyurethane are needed to form an effective barrier on paint.
Can You Put Polyurethane Over Latex Paint?
Yes, polyurethane can be applied to latex paint, but the paint must be cured completely before polyurethane can be applied.
Latex paint needs between 21 and 30 days to cure completely. Once this happens, either oil-based polyurethane or water-based polyurethane can be applied to the paint.
Wondering if you can stain over polyurethane? Check out this guide to using wood stain over polyurethane for more info!
Can You Apply Polyurethane Over Acrylic Paint?
Yes, polyurethane can be applied to acrylic paint as well, given the paint has had ample time to cure.
Acrylic paints typically need between 21 and 30 days to cure, and only after should you apply polyurethane.
If you apply polyurethane too soon on wet paint, you could negatively affect the end result.
You can use either oil-based poly or water-based polyurethane on acrylic paint, and the kind of polyurethane you use on the paint will play a large role in determining how the paint looks.
For example, if you’re putting oil-based polyurethane on paint, the result will be a glossy finish, whereas a water-based polyurethane finish is more muted.
Ultimately, applying polyurethane over acrylic paint can give you more protection against deep scratches and also a cleaner appearance.
How to Apply Polyurethane Over Paint
1. Assemble Your Tools & Materials
To apply multiple coats of polyurethane to a painted surface, you’ll need the following tools and materials:
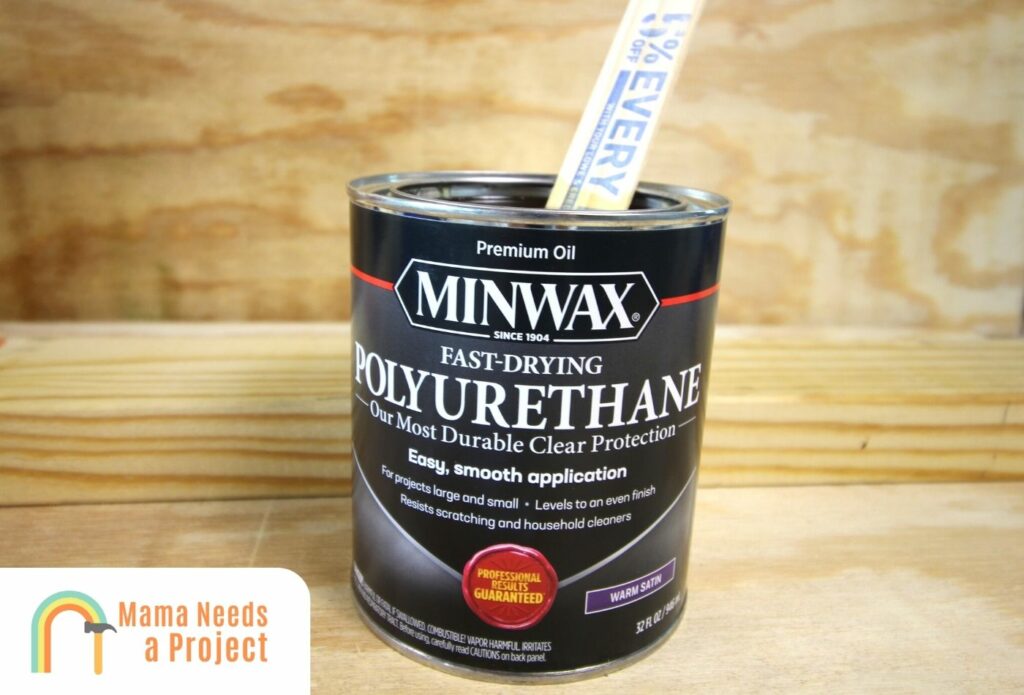
- Oil-based or water-based polyurethane
- A couple synthetic or natural-bristle brushes
- 120-, 180-, and 220-grit sandpaper
- An orbital sander or sanding block
- A tack cloth
- A few microfiber cloths
- A stirring stick, craft stick, or plastic spoon
- A vacuum
- A mild soap and water mixture
- Gloves
2. Pick the Right Polyurethane
Once you have all your tools ready to go, pick the polyurethane that’ll be best for your project.
It’s best to use oil-based polyurethane on exterior surfaces, as these are subjected to weather, temperature fluctuations, and other things that can wear down an exterior surface.
Water-based polyurethane should be used inside because it won’t be subjected round the clock conditions that erode paint.
3. Make Sure the Paint Is Cured
Unless you’re using enamel paint that cures in about 14 days, you need to wait 30 days for the paint to cure completely before you can add a layer of polyurethane over paint.
If you don’t wait to let the paint dry, there’s a chance the polyurethane may mix with the uncured paint, leading to an undesirable result.
I can’t stress this enough, always wait until the paint has fully cured before you try to add a layer of polyurethane over paint.
If you don’t want to wait nearly a month after painting to apply polyurethane, use enamel paint (if this is possible).
4. Clean the Painted Surface
Washing the painted surface beforehand is necessary because doing so removes all dirt, dust, and other particles that have accumulated since the paint has been applied.
If you don’t wash the surface before sanding, you could remove the paint when sanding.
You should use a mild detergent to wash the paint. Hard soaps may negatively affect the paint.
After lightly scrubbing down the surface with soapy water, rinse it off with a damp rag and wait till it’s dry before moving to the next step.
5. Start Sanding
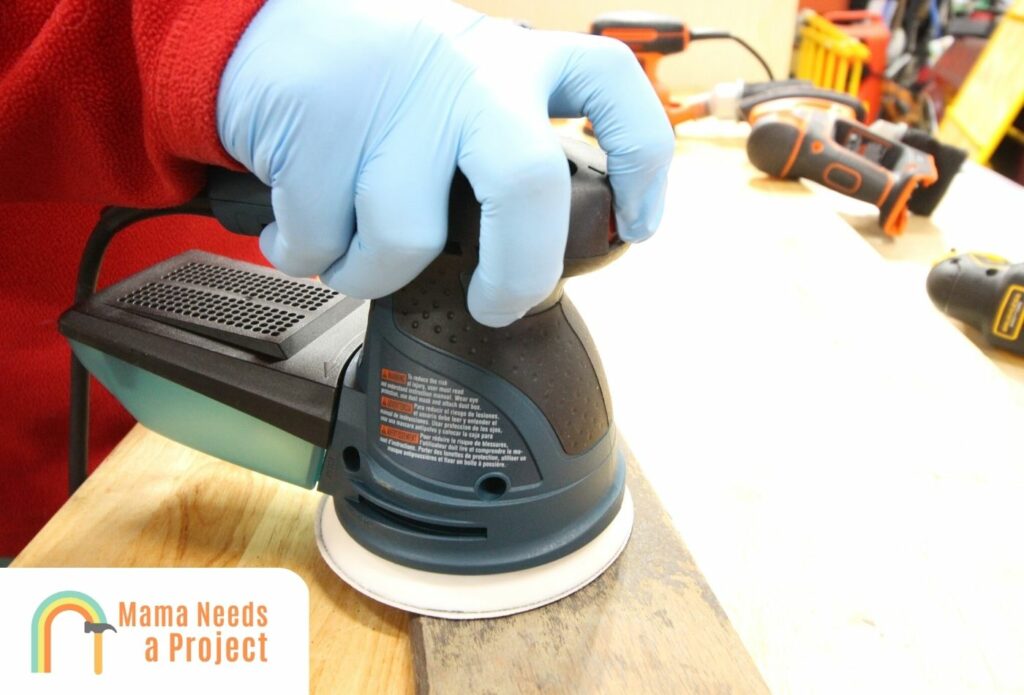
Now it’s time to sand the painted surface before you add polyurethane over paint.
This is one of the most important steps in the process, as proper sanding will ensure that the polyurethane adheres well.
You should use either 120- or 180-grit sandpaper to sand painted surfaces. When sanding, do so lightly and in circular motions. You’re not trying to remove the paint—you just want to scratch the surface so the polyurethane has something to adhere to.
6. Vacuum the Surface
Once the surface has been sanded, you need to vacuum off all the small dust particles. You should also wipe the surface with a tack cloth afterward so any dust the vacuum missed is removed.
If you found that you missed a spot when sanding, go over it again and remove the sanding dust when finished.
7. Get the Polyurethane Ready
Before you apply the polyurethane to the painted surface, you need to stir it and prep it.
You should also avoid applying it directly from the can. Instead, pour some into a large, dry container and use this amount to coat the painted surface.
If you’ve chosen oil-based polyurethane, you should add mineral spirits to it before you coat the painted surface. The ratio should be 75% polyurethane, 25% mineral spirits.
The reason why this is necessary is because it’ll help smooth out the polyurethane and prevent air bubbles from forming—air bubbles which could lead to the polyurethane drying in properly. There’s no need to thin water-based polyurethane.
8. Grab Your Brush
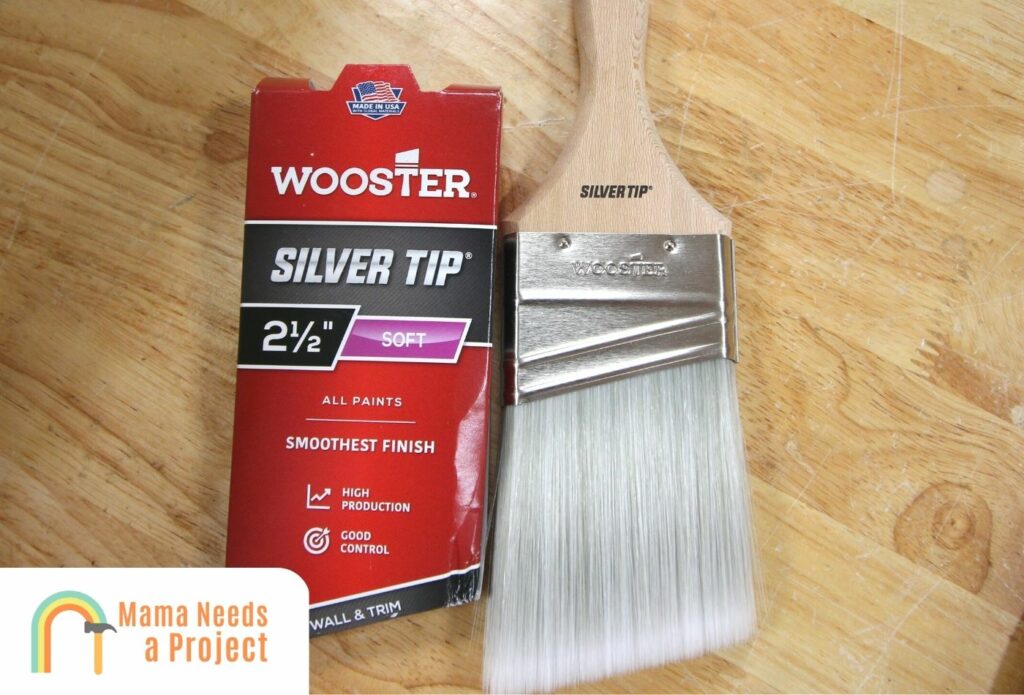
Using the right brush is essential when applying polyurethane. If you’ve chosen water-based polyurethane, then using a synthetic brush will allow you to apply polyurethane easily.
If oil-based poly is what you’re working with, using a natural-bristle brush is the way to go.
You can also use a foam brush that eliminates brush marks for a cleaner finish.
Here are the best brushes for polyurethane that I recommend.
9. Apply the Polyurethane
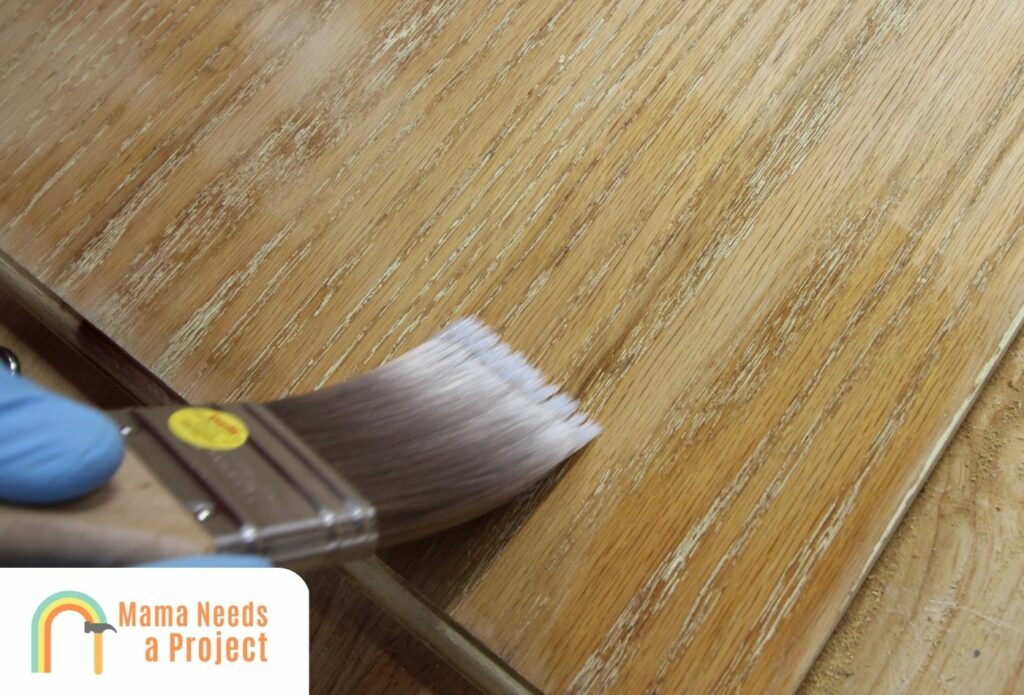
Now it’s time to apply the polyurethane to the painted surface.
First, dip your brush into the polyurethane you poured into the container earlier. Let the excess drip off.
Note: You don’t want to wipe the brush on the side of the container, as doing so can cause air bubbles to form.
Apply the polyurethane in strokes that go with the wood grain.
You want to cover the whole surface, but don’t spend too much time on one particular area, as this will cause the surface to be uneven. Overworking an area can also lead to air bubbles.
The first coat you apply should be thick and cover the entire board, as this is the coat on which all others will be based.
10. Let the Polyurethane Dry
Water-based polyurethane will need a few hours to dry (usually two to three).
Oil-based polyurethane, on the other hand, could take 12 to 24 hours to dry.
A lot of factors affect how long it takes polyurethane to dry, such as temperature, the surface the polyurethane is being applied to, and how much polyurethane was applied.
Once the polyurethane has had time to dry all the way through, you can make preparations to add another coat.
11. Sand Again
Now it’s time to apply the next layer of polyurethane. Before doing this, you’ll need to lightly sand the surface, except this time you should use 220-grit sandpaper.
And again, you should use a vacuum and a damp cloth to remove any present dust before you actually put polyurethane down.
Avoid sanding too hard, as if you do so you could take off the layer of polyurethane you just put on and elongate the process.
12. Add a Second Coat
Adding a second coat will add an even more durable finish to your wood.
Apply the polyurethane as you did before after your first coat has completely dried. If there’s no longer any polyurethane in the receptacle you were using, pour more out and then mix in the mineral spirits (if it’s oil-based).
Keep in mind that adding additional coats is meant to strengthen the painted surface and make it look more visually appealing.
But you don’t want to make additional coats as thick as the base coat, as then there will be too much polyurethane on the surface.
After your final coat – give your piece a look over to see if it’s the right sheen and amount of protection desired.
Once your poly has dried, you might find that you made a few mistakes along the way. Here’s how to fix polyurethane mistakes.
Need some help? Check out the video below!
Can You Put Polyurethane Over Chalk Paint?
Yes, polyurethane can be applied to chalk paint also.
And just like with the other paints mentioned thus far, you need to wait at least 21 days before applying polyurethane to chalk paint. It’s best, however, to wait 30 days before applying polyurethane to chalk paint.
Before you apply polyurethane to chalk paint, you should know that using such paint tends to result in a matte finish being created.
If you apply polyurethane to such a finish, you could nullify the matte quality and instead make the surface glossy. For this reason, most individuals who use chalk paint stay away from putting polyurethane over it.
That said, if applying polyurethane is the only option you have to make the paint more durable, you can do this.
Can You Put Polyurethane Over Enamel Paint?
Yes, polyurethane can be applied to enamel paint. And again, you can use either water-based or oil-based polyurethane on enamel paint.
But unlike the other paints mentioned thus far, enamel paint doesn’t need 21 to 30 days to cure. In fact, it can cure in as little as seven days, though it’s best to give this paint 14 days to cure completely.
Once it’s cured, you can apply the polyurethane.
Can You Put Polyurethane Over Spray Paint?
Yes, polyurethane can be applied to spray paint, but this isn’t done often.
One good thing about using spray paint is you don’t have to wait several days for it to cure; it’s usually cured in just a few days.
And after the paint is cured, you can use either water-based or oil-based polyurethane on it.
Using polyurethane on spray paint may seem unorthodox, but if your goal is to add a protective barrier to the paint while giving it some more shine, there’s really no reason why you shouldn’t use polyurethane to accomplish this goal.
Can You Put Polyurethane Over High Gloss Paint?
Yes, you can apply polyurethane over a high gloss paint just like other types of paint. Just be sure that the paint has fully cured before attempting to apply polyurethane over paint.
Reasons to Apply Polyurethane Over Paint
Whether you’re working with acrylic paint, latex paint, or another oil based paint – adding a layer of polyurethane on top can offer several benefits.
Firstly, you’ll get added protection. Think about painted furniture like a bed frame. Bed frames will often get kicked and run into on accident. By adding a polyurethane coat, you’ll add an additional layer of protection to avoid chipping and peeling paint.
Secondly, you can give your painted surface a unique look.
How Many Coats of Polyurethane for Paint?
There’s no magic number when it comes to how many coats of polyurethane you should apply.
If you’re using oil-based polyurethane, you won’t need as many coats as you would with water-based polyurethane, and that’s because oil-based polyurethane is thicker and stronger.
For water-based polyurethane, four to five coats are usually enough to create an effective layer of protection. For oil-based, usually two coats is sufficient.
No matter which kind of polyurethane you choose to use, if you anticipate the surface will be at risk of being dented or scratched, it’s best to err on the side of caution and apply more coats.
How Long Should Polyurethane Dry Before Applying Another Coat?
Every time you add a coat of water-based polyurethane to paint, you should wait at least three hours before adding another one. If you’re using oil-based polyurethane, it’s best to wait eight to 12 hours before applying a new coat.
When you attempt to apply another coat of polyurethane too soon, you run the risk of sanding off the previous coat.
So if you don’t want to spend a ton of time creating a polyurethane barrier, it’s best to use oil-based polyurethane, as only two coats will be needed; this job can easily be completed within a day.
When Can You Apply Poly Over Paint?
By now, you know that polyurethane should only be applied to a painted surface after the paint has had enough time to cure (21 to 30 days).
Again, the main reason why you have to wait for the paint to cure is because putting polyurethane on uncured paint will not only affect how the paint looks but also prevent the polyurethane from creating an effective barrier.
You should also put polyurethane on a painted surface before putting that surface in harm’s way.
For example, if you have a painted piece of furniture, you should put polyurethane on it before people start using this piece of furniture frequently. This way you have the best chance of protecting the whole piece from dings, scratches, and other things that mar surfaces.
If you wait to apply polyurethane and the piece of furniture suffers some damage while you’re waiting, you should refrain from adding polyurethane until the defects have been addressed.
In short, if you want a painted surface to look glossy and hold up well for a long time, applying a high-grade polyurethane after the paint has had time to cure is the way to go.
Oil-Based or Water-Based Polyurethane for Paint?
At this point, you should be familiar with both oil- and water-based polyurethane.
That said, it’s worth explaining the differences between these two polyurethanes in detail so you can clearly understand why oil-based polyurethane is best for some surfaces while water-based polyurethane is best for others.
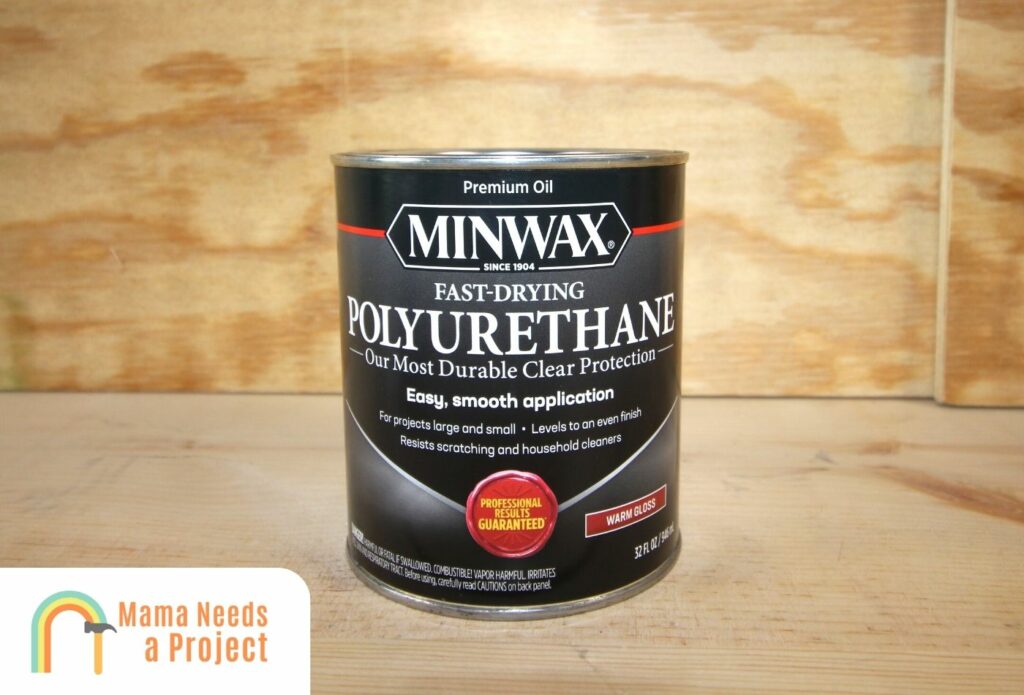
Oil-based Polyurethane
Since oil-based polyurethane has a light, amber tint, when it’s applied to a surface, it accentuates the surface’s colors and gives it an overall glossy finish.
But if you apply oil-based polyurethane to a surface that’s painted white, a yellow tinge will be the result—which is probably not what you’re looking for.
For this reason, it’s best to only use oil-based polyurethane on dark colors or natural surfaces.
Oil-based polyurethane also lasts a lot longer than water-based polyurethane. Specifically, oil-based polyurethane can last more than a decade, whereas water-based polyurethane lasts five to seven years.
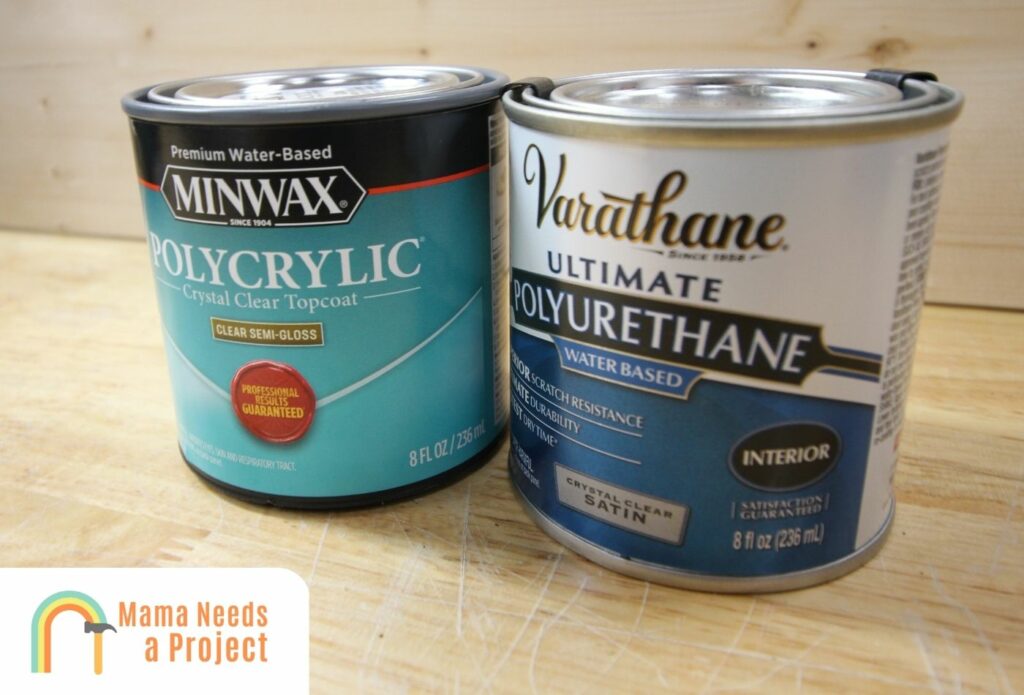
Water-Based Polyurethane
Water-based polyurethane is translucent. Light colors respond to this polyurethane well, and if you apply it to a white surface, for example, you don’t have to worry about the yellow tint discussed above coming through.
This polyurethane is great when you want to preserve the wood’s natural grain and its natural color.
Part of the reason why water-based polyurethane is more expensive than oil-based polyurethane is because it has more applications and it dries quicker.
How to Clean Up After Applying Polyurethane Over Paint
There’s no denying that applying polyurethane can be a hassle to clean up.
You should always clean your polyurethane brushes immediately after finishing the job. If you don’t – they can be very difficult to clean later and might be unusable.
You should also remove polyurethane from your hands or body that might’ve gotten onto you during the application process.
Again, this is much easier to do immediately after the application instead of hours later. You can use paint thinner to thin an oil based poly and use a mixture of warm water and soap to get rid of water based poly.
If the polyurethane has dried, try one of these methods to remove polyurethane from wood.
FAQS
Why would you put polyurethane over paint?
Although applying polyurethane to paint will improve the paint’s appearance, the main reason why polyurethane is applied to paint is because doing so adds a layer of protection to the paint that can last for years.
Specifically, it will be protected from sun fading, weather erosion, impact damage, and other things that can mar a painted surface.
For this reason, polyurethane is useful both indoors and outdoors.
Outdoors, polyurethane is used to coat decks, sheds, benches, and a variety of other structures and furniture.
Indoors, plenty of things can make paint come off, specifically moisture, mold, smoke, dirt, and grease. That’s why polyurethane—usually water-based polyurethane—is often used indoors.
Can you put polyurethane over painted stairs?
Yes, you can use polyurethane on painted stairs. In fact, this is recommended if your stairs are subjected to a high amount of foot traffic on a daily basis.
If your painted stairs don’t have a protective layer of polyurethane, it’s likely the paint will be worn down and taken off rather quickly.
So the bottom line is: If you don’t want scuff marks and dirt all over your painted stairs, apply multiple coats of polyurethane to them.
This finish may make the stairs glossy and smooth, but they won’t be so glossy and smooth that you have to worry about slipping and falling down them.
How much should I sand before applying polyurethane?
Before applying polyurethane, you should sand the surface you’re painting just enough so the polyurethane can adhere better. In other words, you’re not supposed to be taking off a lot of the finish.
How much sanding needs to be done depends a lot on how strong you are and what kind of sandpaper you’re using.
For example, if you don’t need to exert a lot of force to scratch the surface using 120- or 180-grit sandpaper, it should only take you a couple minutes to get the surface ready for the polyurethane.
On the other hand, if you need to bear down more when sanding, then this part of the process could take you more than five minutes.
Note: Remember that sanding must be done before every new coat of polyurethane.
Final Thoughts
Now that you know polyurethane can be added to paint, and more specifically which polyurethanes go best with certain paints, you can add polyurethane to painted surfaces around your home and ensure they’re both visually appealing and long-lasting.
And remember that polyurethane doesn’t just look good on painted surfaces; you can also apply polyurethane to stone countertops and unpainted surfaces to make them stronger and eye-catching.
Adding polyurethane to a painted surface is a simple yet rewarding DIY task, and you can learn a lot about finishing different materials.