Can You Sand MDF? (Easy Tips & Tricks!)
MDF is a popular choice for many woodworking and DIY projects because it is strong, durable, and most importantly – affordable. But can you sand MDF to get the look you want? Let’s find out!
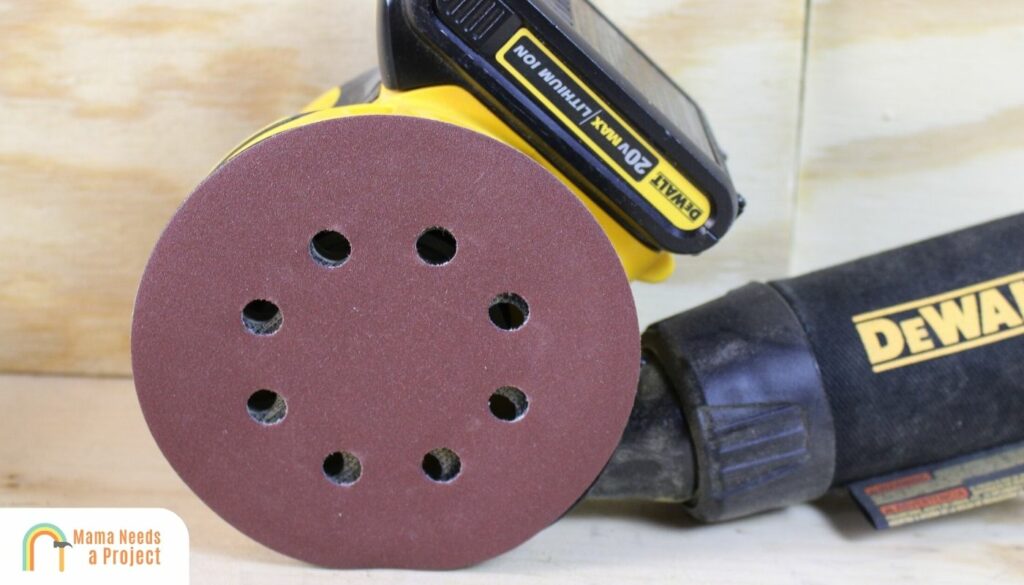
Yes, MDF can be sanded by using a sanding block or power sander. You’ll just need to start by lightly sanding with a coarse grit sandpaper (80 or 100 grit) and then following behind it with a medium grit (180 grit) sandpaper.
Can You Sand MDF?
Yes, you can sand MDF – and it’s easier than you might think. You’ll just need a few different grits of sandpaper and a bit of elbow grease to get the job done.
If you’re looking to paint MDF – sanding is an essential step to get the results you want.
Just remember that sanding MDF can reduce the woods protection and moisture resistance.
How to Sand MDF
Sanding MDF is as simple as sanding wood, although you don’t want to be as aggressive.
It’s best to either use a sanding block or light orbital sander as a belt sander can be too aggressive and cause more harm than good.
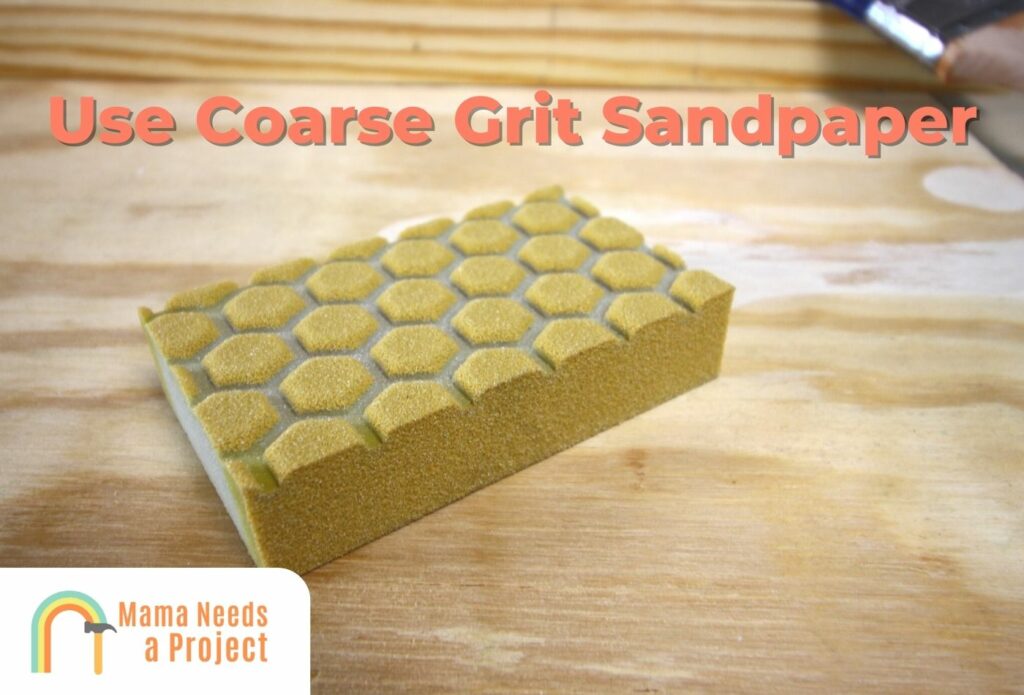
Begin with a coarse grit sandpaper – I recommend an 80 or 100-grit.
Since there’s no wood grain on MDF, you don’t have to worry about working in any particular direction. Just make sure to work in a consistent pattern.
Once you’ve gotten as far as you can with your coarse-grit paper, follow up with 180-grit. Once again, work in a consistent pattern and try not to linger too long in any one spot.
After that, you can opt to change to a 320-grit sandpaper and repeat the process for a super smooth finish. While this step isn’t 100% necessary – I’ve found it helps paint adhere better so I recommend it.
When you’re finished, use a shop vac to clean up as much of the sawdust as you can. Then wipe down your board with a tack cloth to remove any residual dust.
Have you ever tried liquid sandpaper? Check out my guide on how to use liquid sandpaper!
How to Sand the Ends of an MDF Board
Sanding the ends of your MDF board will remove the water-resistant finish. But if you plan on painting or staining your MDF, it’s essential to sand all six sides.
First, use a paintbrush to apply a shellac-based primer to the ends of your board. It should dry in about 45 minutes, but this can vary. You should wait until it’s completely dry before moving on.
Sand the area with 180-grit paper, and then wipe it down with a tack cloth and apply another coat of primer. Let it dry, then sand it again. Wipe it with a tack cloth again, and you should be left with a nice and smooth surface. That’s it!
What Equipment do I Need to Sand MDF?
To sand MDF, you will need the following equipment:
- 120, 180, and 320-grit sandpaper
- Hand sander (optional)
- Orbital sander (optional)
- Dust mask
- Shop vac
- Tack cloth
Final Thoughts
Sanding MDF is possible, but you should take some precautions before you start sanding.
Always wear protective gear like a dust mask when sanding and be sure to clean up all of the dust left behind once you’ve finished.