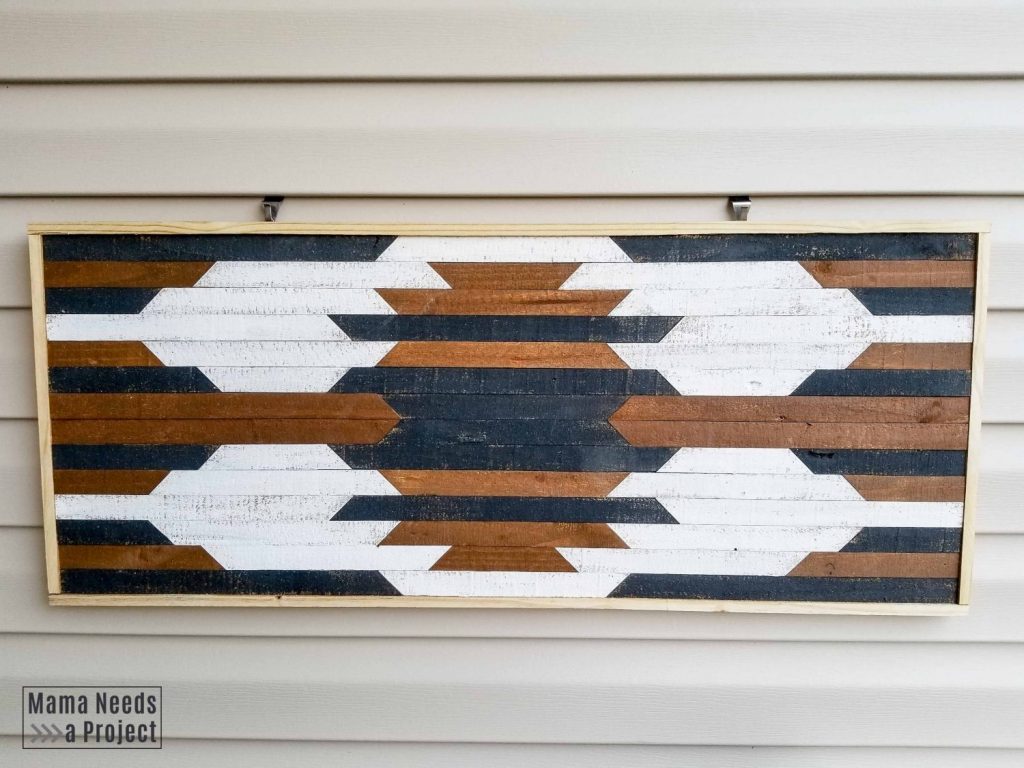
DIY Geometric Wall Art | Woodworking Plans
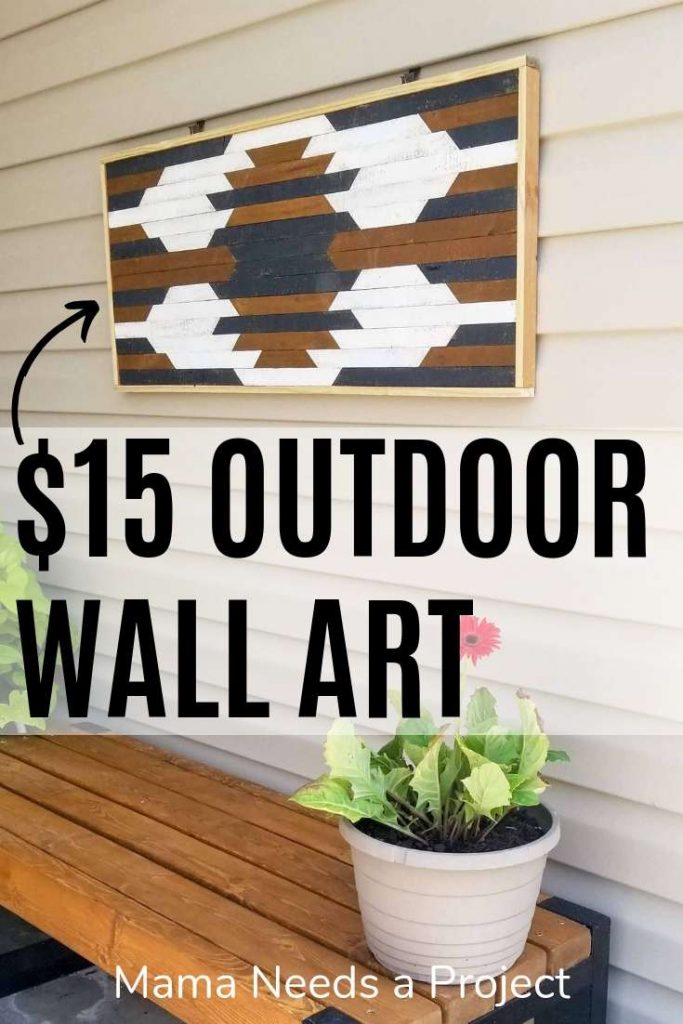
Make your own DIY Geometric Wall Art with the tutorial below and printable woodworking plans – complete with a supply list, cut list and pattern. This is inexpensive outdoor DIY project can be made for less than $15 in lumber!
Last week I shared my first project in my Budget Front Porch Makeover, a Modern 2×4 Bench that can be built for less than $15.
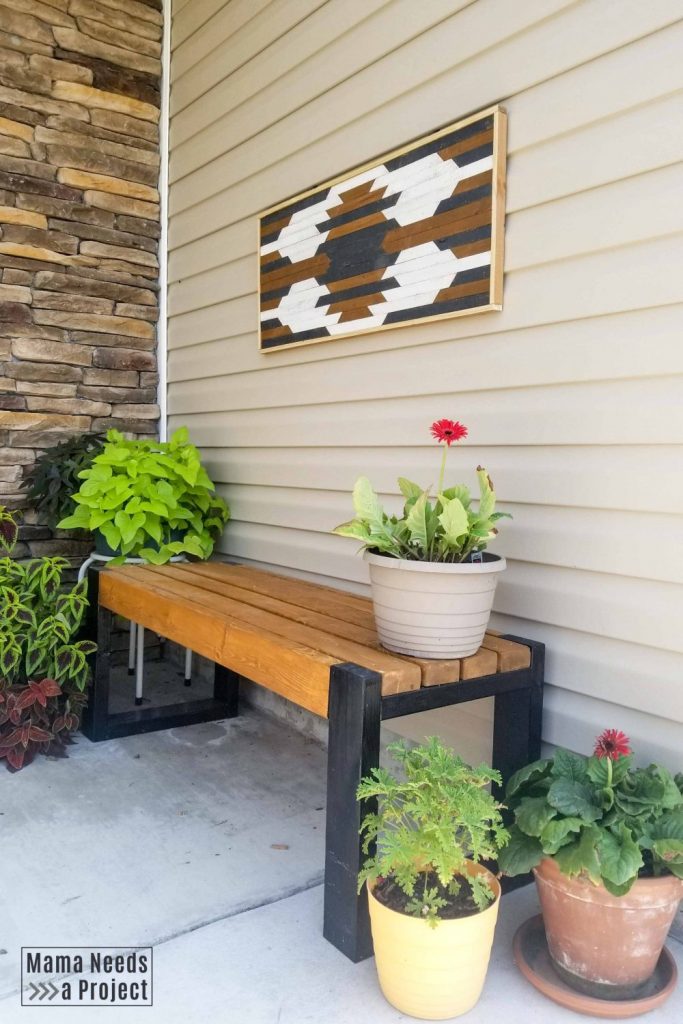
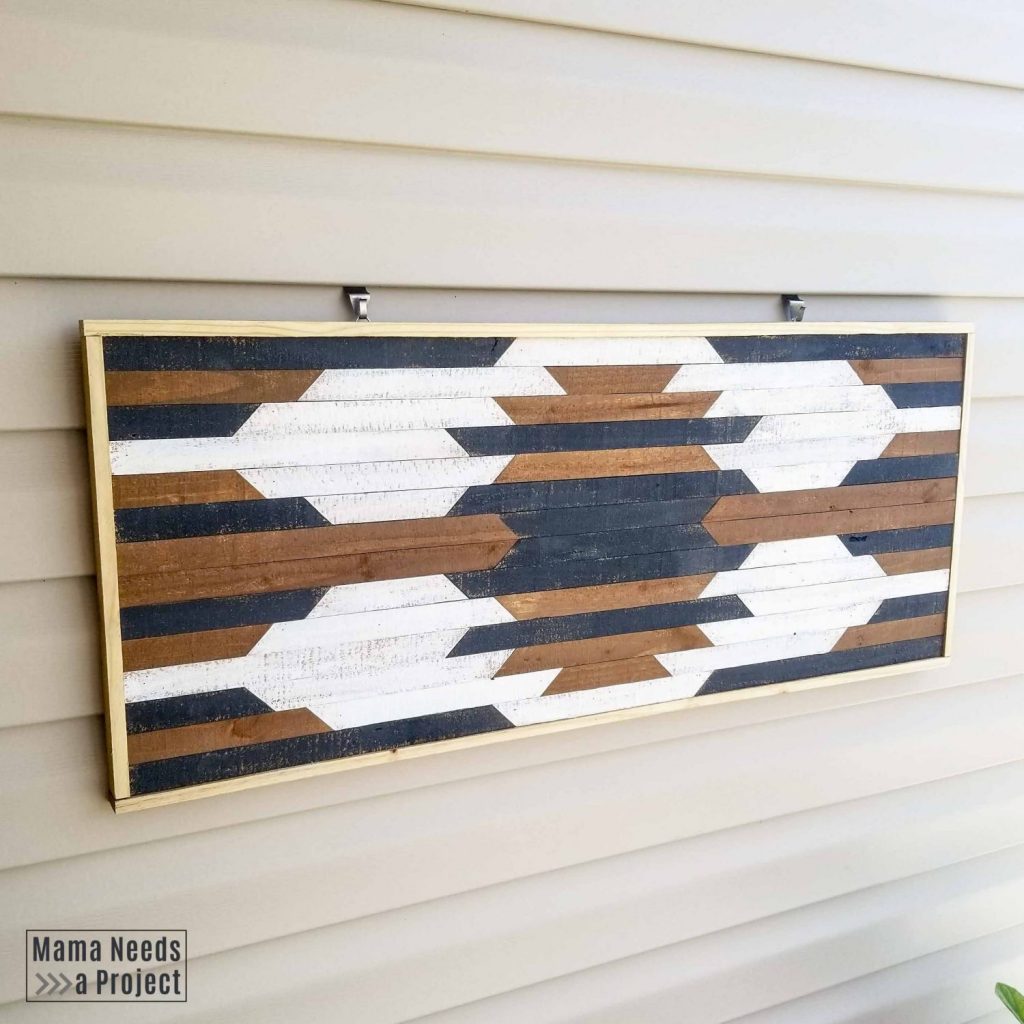
Keeping in the spirit of budget friendly projects, my DIY Geometric Wall Art can also be made for around $15 in lumber. What a big impact for something so cheap!
This post contains affiliate links.
Pin for later!
DIY Geometric Wall Art Plans
I made a similar project a few months ago, my Big X Wood Wall Quilt, without much of a plan before I started building. It was fun to create as I went along, but this time around I wanted to know what direction I was going from the beginning. So I created woodworking plans before I started and it made the project so much quicker!
I took the woodworking plans I created for myself and added step-by-step instructions, a shopping list and a cut list. The plans also include the DIY Geometric Wall Art pattern for easy assembly and painting instructions.
You can grab a copy of the woodworking plans here in my woodworking plan shop.
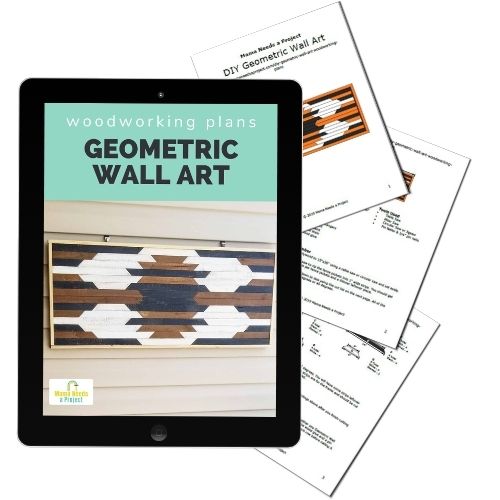
All of the woodworking plans in my shop include a lumber list, cut list and supply list. They also feature digitally rendered images and detailed instructions that walk you through each step of the build. I use easy-to-understand language that’s perfect for beginners.
Skill Level
This project can definitely be completed by a beginner woodworker You will need to be comfortable using a table saw and a miter saw. You may also need to use a circular saw or jigsaw to even up the edges of your project.
Project Time
I completed this project over 2 days, but it could easily be completed within a day. The part that takes the most time is waiting for the paint and wood stain to dry.

Estimated Lumber Cost
You will need 4 pine fence pickets (about $1.30 each in my area) and a scrap piece of 1/2” thick plywood. If you don’t have scrap plywood, expect to spend about $9 for a 2’x4’ sheet. In total you should expect to spend about $15 on lumber for your DIY Geometric Wall Art. I had all of these items in my lumber pile already so I was able to make mine for $0!
Materials Needed
- DIY Geometric Wall Art Plans
- (4) 1/2”x4”x6’ pine fence pickets
- Scrap 1/2” plywood – need 15”x36” piece
- D-ring hooks
- Vinyl siding hangers
- White paint
- Black paint
- Wood stain
- Wood glue
Tools Used
- Table Saw
- Miter Saw
- Circular Saw or Jigsaw
- Pin Nailer & 3/4” pin nails
Build your DIY Geometric Wall Art
You can get the full plans for this project here. I’ll share some tips for the building process with you below.
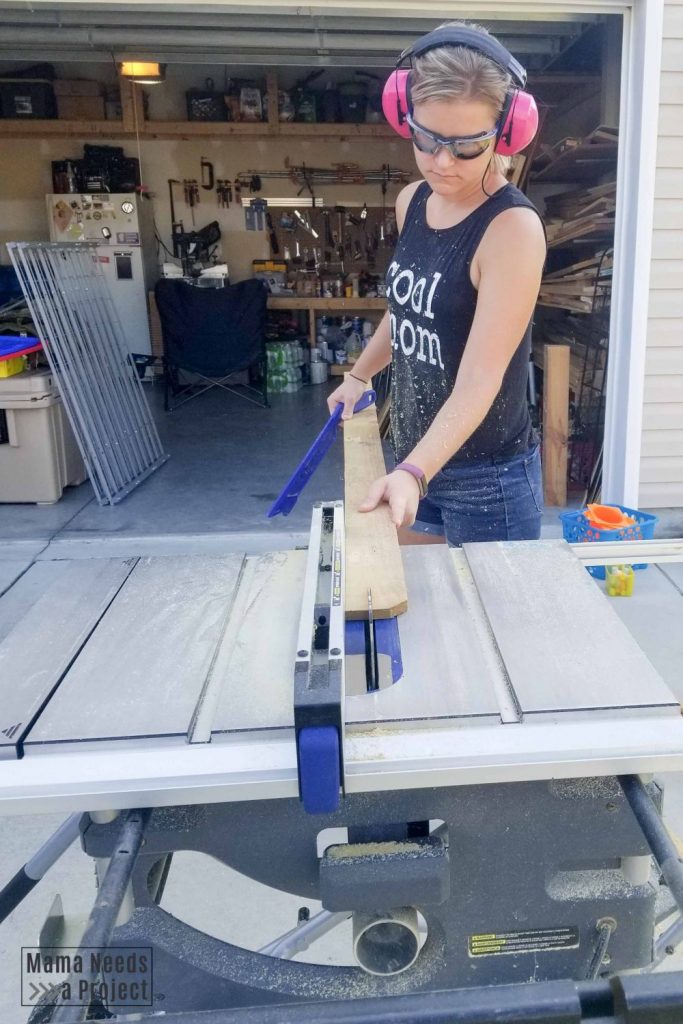
Rip the Fence Pickets
The first thing you’ll need to do is rip your fence pickets to 1” width with a table saw. You should get three 1” strips per fence picket with a smaller strip leftover. Set those smaller strips aside for another project (or cut them up to use as paint/stain stir sticks).
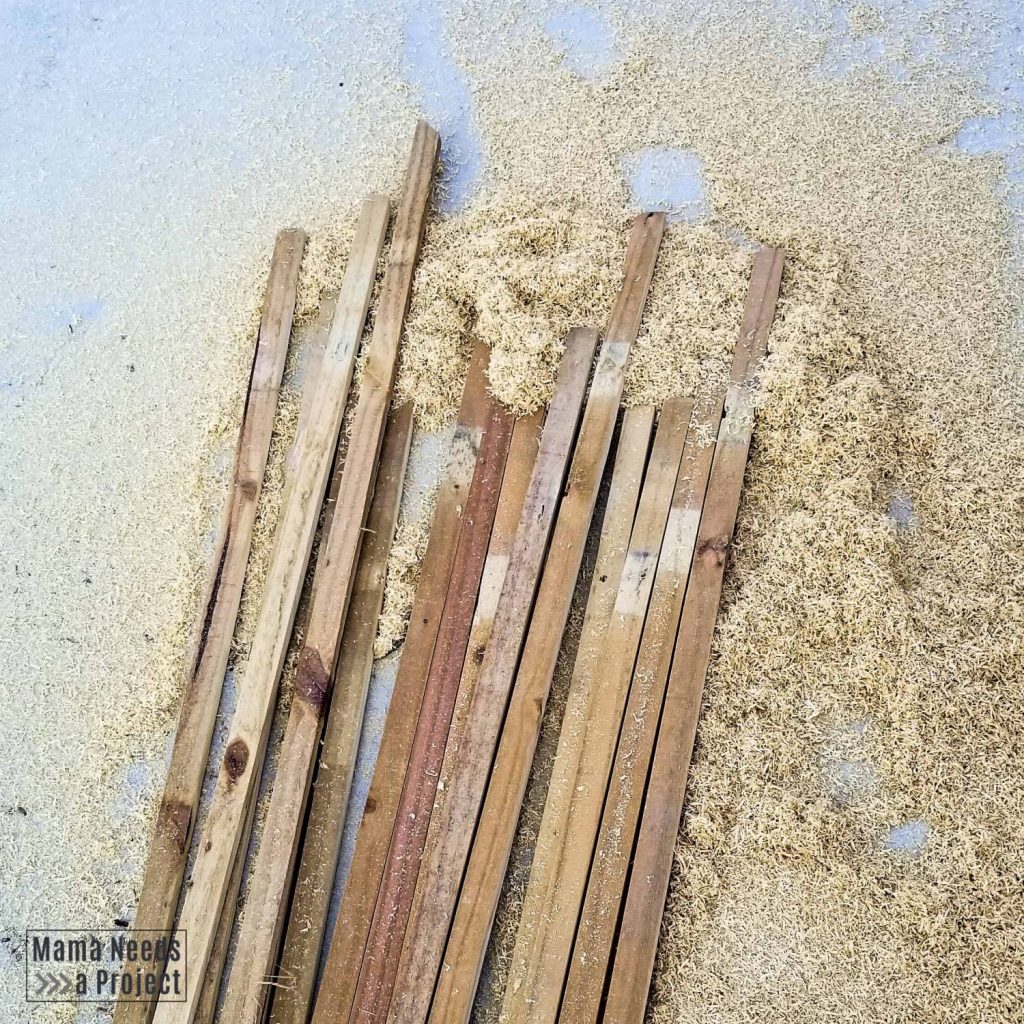
Cut to Strips to Size
Use a miter saw to cut your 1″ strips to size according to the DIY Geometric Wall Art Woodworking Plans. All of the angles for this project are either 90 degrees or 45 degrees. If you’ve never done angle cuts with your miter saw, this will be great practice.
Paint & Stain
Once all of your pieces are cut, it’s time to paint and stain them. The woodworking plans will tell you how many pieces to paint and stain for each size piece.

Here’s a tip to make this project a little easier: for the pieces with only one angled side, be sure to paint/stain both sides. This way whichever direction they need to face for the final project, they’ll be the right color. The pieces that are angled on both sides only need to be painted/stained on one side.
I used Rusteoleum Wheat stain, and flat finish black and white paints.
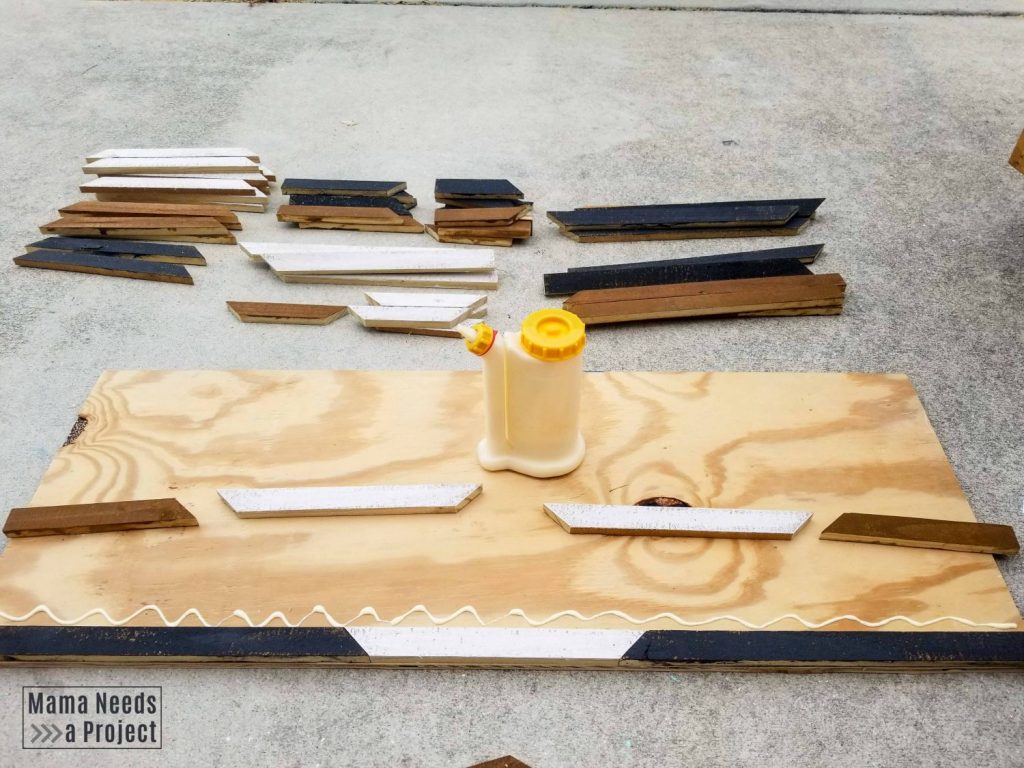
Arrange on Plywood Backing
After the paint and stain has dried you can start arranging the pieces on the plywood backing. The woodworking plans include a pattern you can follow to piece together your DIY Geometric Wood Art.
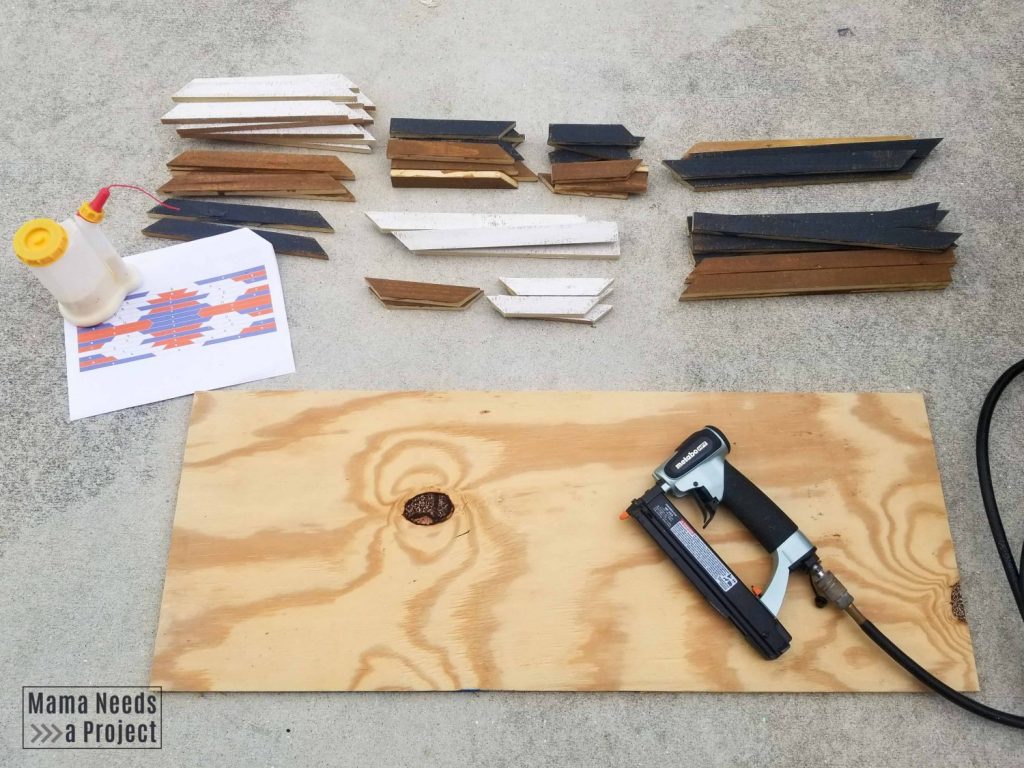
Start at the bottom and attach your pieces one row at a time. Use wood glue and a pin nailer with 3/4” pin nails to secure the pieces.
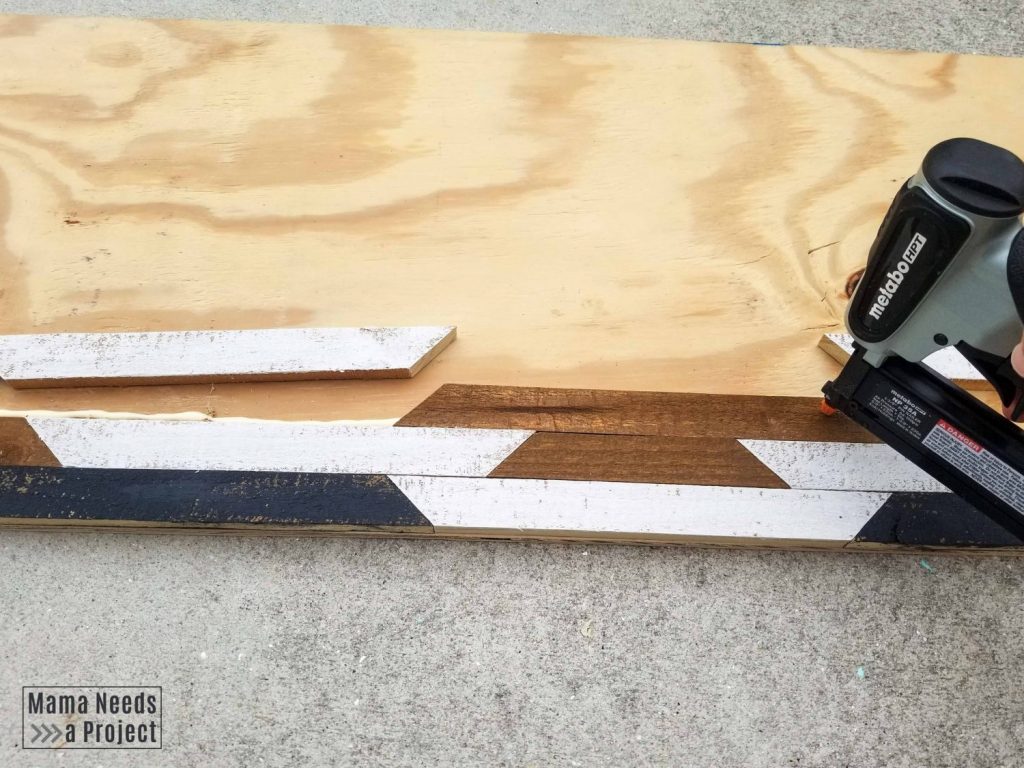
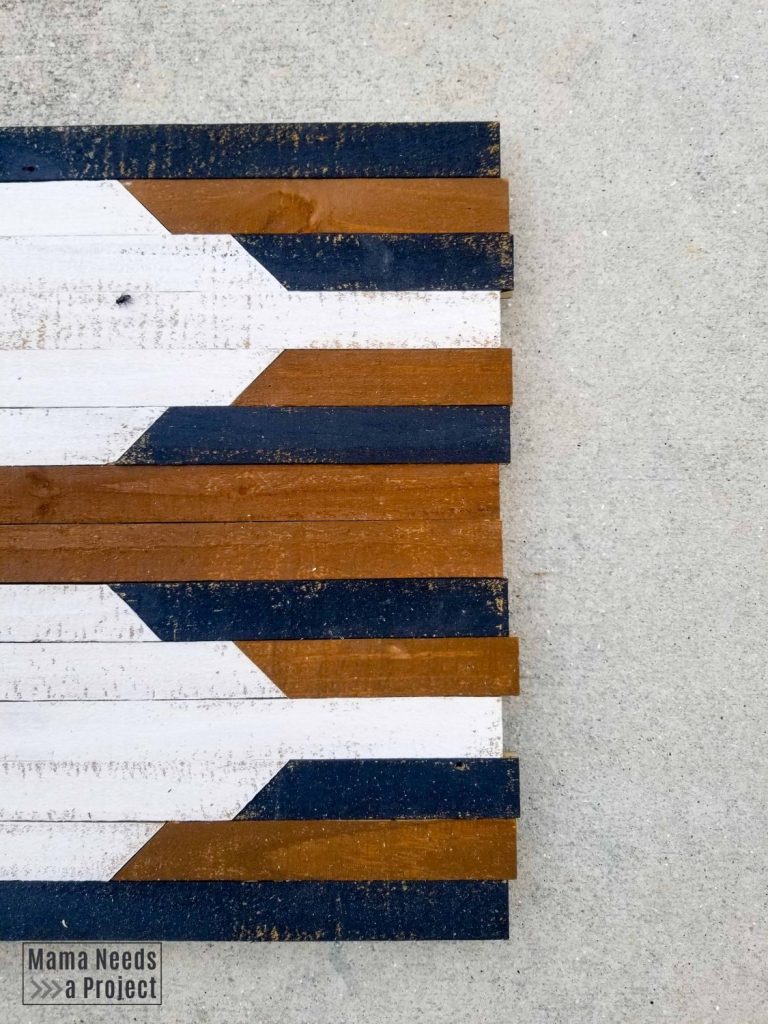
As I was assembling my Geometric Wood Art I found that my rows weren’t coming to exactly the same length due to slight variances in the angles I had cut and some bowing in my pieces. So I centered each row before nailing it down instead of aligning the outer edges.
Trim if Needed
Because of variances in my angles and some bowing in my pieces, I ended up with outer edges that were far from straight. I used a circular saw to trim the edges up and create a straight line. You could also use a jig saw or your table saw.
You may also need to trim the plywood backing. In the plans I’ve instructed to initially cut the plywood backing about 1” bigger than the actual height of the completed project. This is to allow some extra room if your pieces don’t fit together super snug. In my project I didn’t account for this extra room and my plywood backing ended up being about 1/2” too small.
Add Frame
After you have trimmed down your edges, it’s time to add the frame. In the woodworking plans I’ve included measurements for the frame, but I strongly recommend that you measure your actual piece and cut your frame to size. Your finished project will likely vary in size a bit from my finished project and even an 1/8” difference in size will make a big difference for the frame.
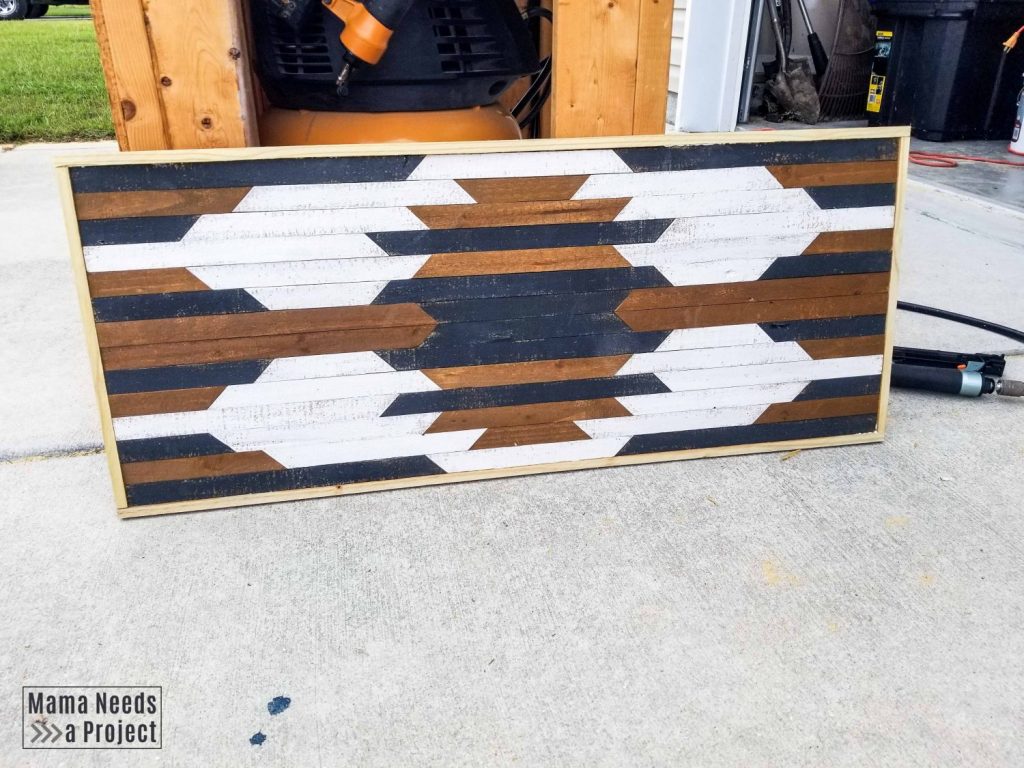
Attach the frame with wood glue and 3/4” pin nails. I left my frame natural, but if you plan to paint or stain your frame you’ll want to do it before attaching it to your project.
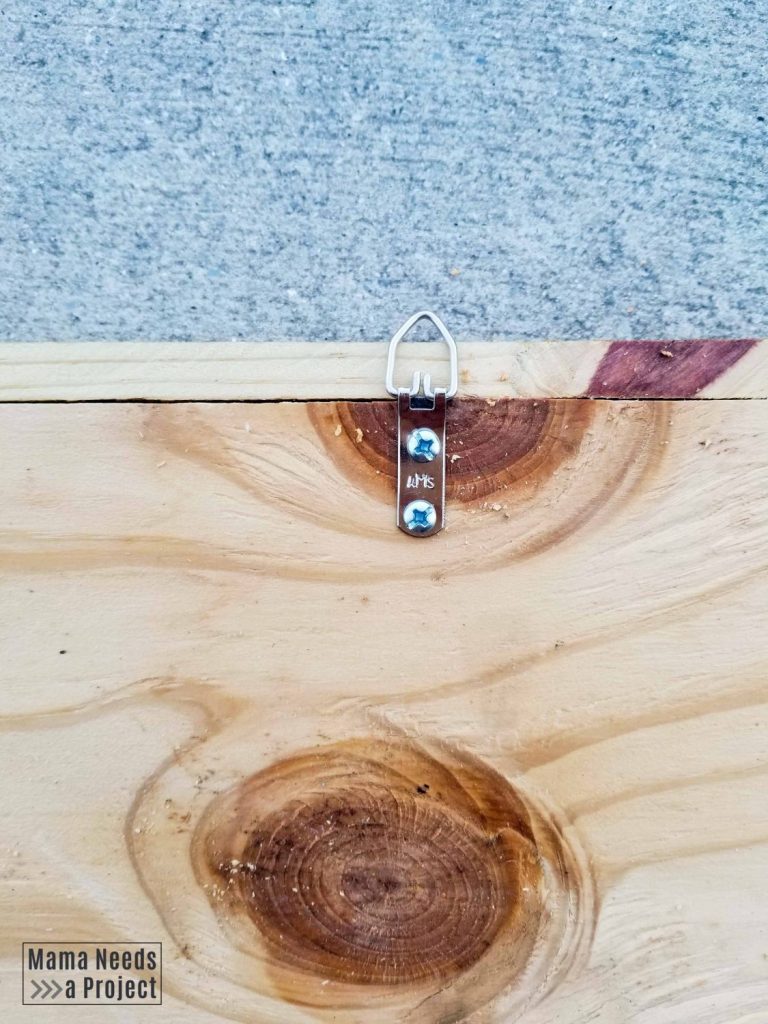
How to hang your DIY Geometric Wall Art
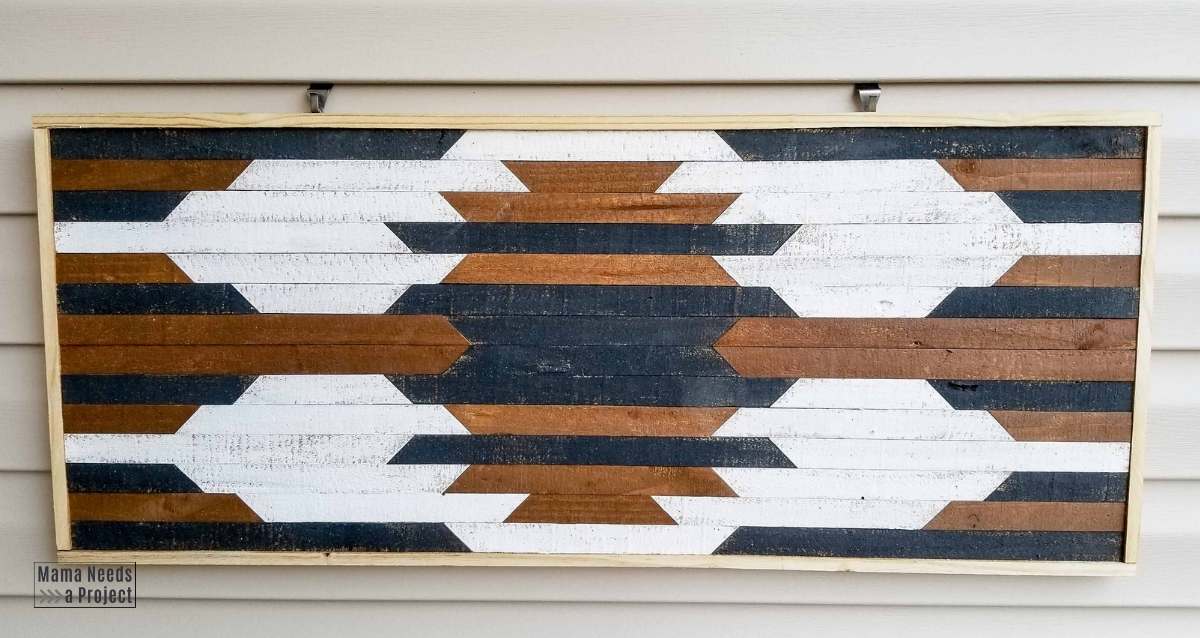
Yay you’re almost done! To hang your DIY Geometric Wall Art you can attach 2 D-ring hooks to the back. I attached mine at the very top so that the wall art would rest flat against the wall when hanging.
Then, to hang it on my house I used 2 vinyl siding hangers. Aren’t these things awesome!?
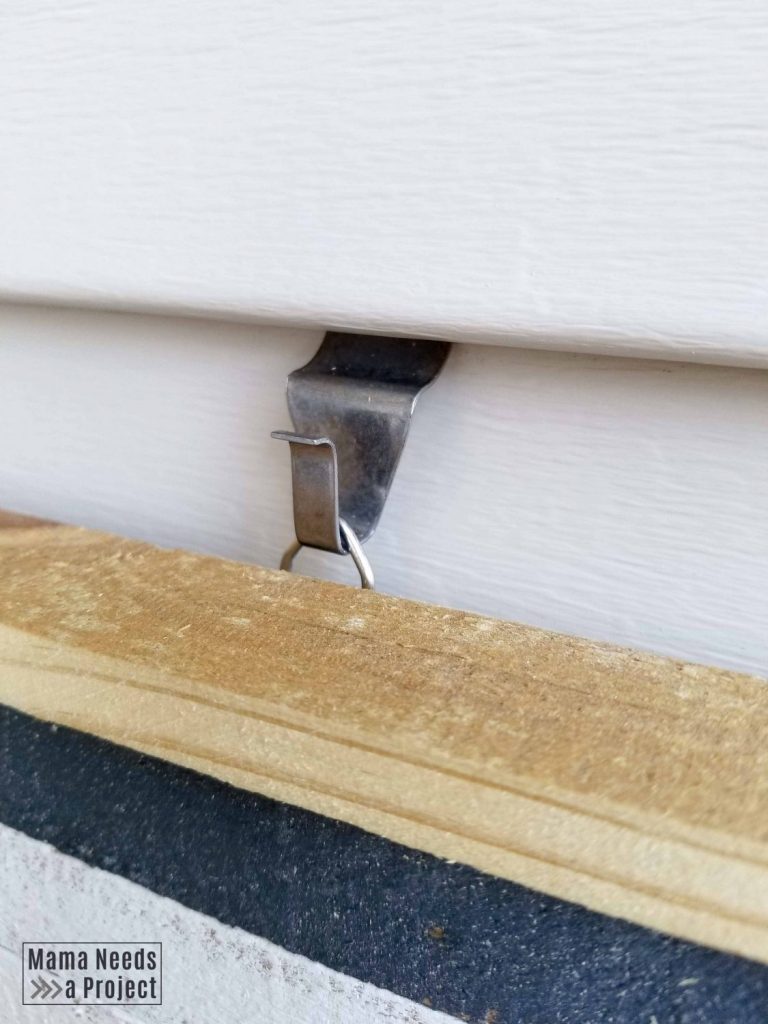
The vinyl siding hangers hook right into your siding without having to drill into the exterior of your house or create any holes. They just might be my favorite Amazon Prime discovery!
I want to hear from you!
If you build this project please, please share it with me! I love seeing your creations! You can tag me in pictures on Instagram @MamaNeedsaProject or share to my Facebook page. I can’t wait to see your project!