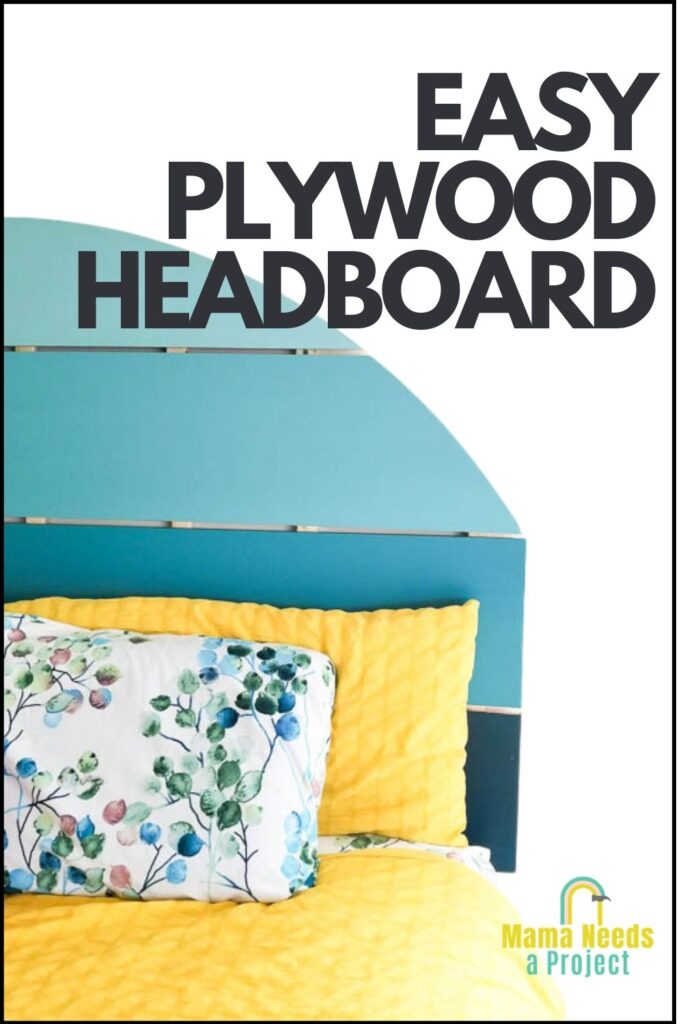
DIY Half Circle Headboard
I’m so excited to share my DIY half circle headboard with you!
It’s not often that I build things just for me, but I’ve been dying to change out the rustic farmhouse headboard I built several years ago for something more modern. I recently scheduled a photographer to take some family photos in our home and that was just the motivation I needed to finally get this project underway.
This DIY half circle headboard is such a better fit for my style now and I cannot wait to see it in our family photos.
As a side note, this DIY headboard project was my first time back to building since my daughter was born and wow did it feel good to get back to creating! It took me almost 3 weeks to finally get this headboard put together and in my room, but I’m so grateful to be able to squeeze in some ‘me time’ while caring for a newborn.
Okay, on to the project!
*This post contains affiliate links.
DIY Half Circle Headboard
Project Time
This DIY headboard project can be built in an afternoon. If you’re planning to paint it like I did then estimate another day or two to allow for time to apply the layers of primer and paint with enough drying time in between. If you plan on staining your headboard it can be completed much quicker.
Skill Level
Building my half circle headboard is pretty simple, but it does require using a couple different saws. You’ll need to be comfortable using a circular saw, jigsaw and sander. You will only need to use the basic functions of these tools and I promise it’s very beginner friendly.
Estimated Cost
Building this DIY headboard cost me about $40.
Your cost will vary depending on lumber prices in your area and what supplies you have on hand. I was able to purchase my sheet of plywood for about $30 and the 1×2 support boards for only a couple dollars per board. The paint and all of the other supplies I already had leftover from other projects.
Materials Needed
- (1) 4×8 sheet of 3/4″ thick sanded plywood
- (3) 1x2x8 boards
- 1-1/4 wood screws
- drill
- sander
- sandpaper
- circular saw
- jigsaw
- pencil
- primer
- paint
- paint brush
Build a DIY Half Circle Headboard
1. Cut Down Plywood
The first thing I did was cut my sheet of plywood down to size using my circular saw.
First, I cut the sheet of plywood to the maximum width I needed for my headboard. I chose to cut the width to 78″. A standard king bed is 76″ so this gives me an inch of wiggle room on each side of the bed.
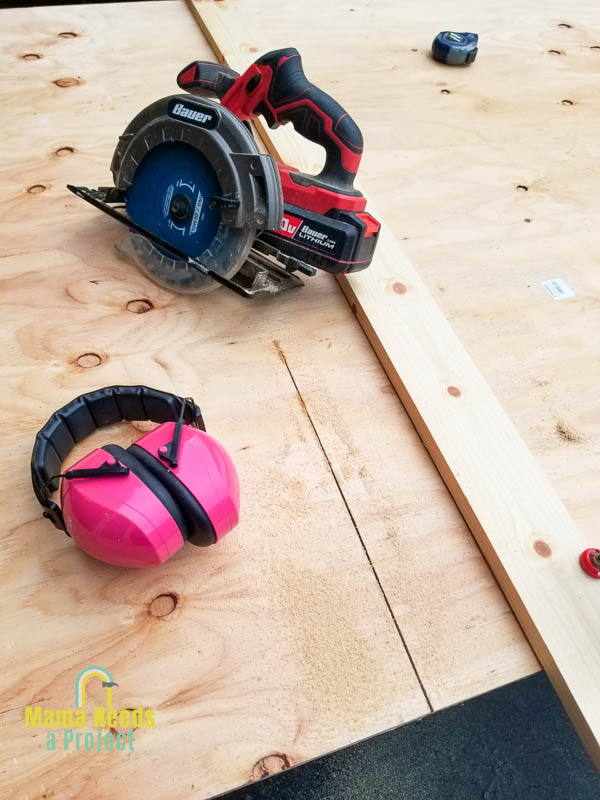
Next, I cut the plywood sheet into 12″ strips. I used my circular saw to do this.
To help me cut in a straight line I clamped a straight board onto the plywood and used it as a fence to guide my circular saw. You could also use this rip cut tool. (I have one, but it has yet to be unpacked from our move.)
Check out my tips for using a circular saw.
2. Trace Half Circle
After I had my strips of plywood cut I laid them all out on the ground to decide how much space I wanted between each strip.
Initially I planned on spacing them 3/4″ apart, using pieces of scrap wood to space them evenly. But, I ended up deciding to move the plywood strips closer together and used the width of my finger to determine the spacing. Not a super accurate measurement, but it worked good enough for me.
Once I had the spacing I wanted I drew my half circle onto the boards.
Making a perfect half circle is really easy. Start by hammering in a nail in the center of the bottom strip of plywood. Then tie a string to the nail. Tie the other end of the string to a pencil. Hold the pencil upright, keep the string tight and trace a circle around the nail.
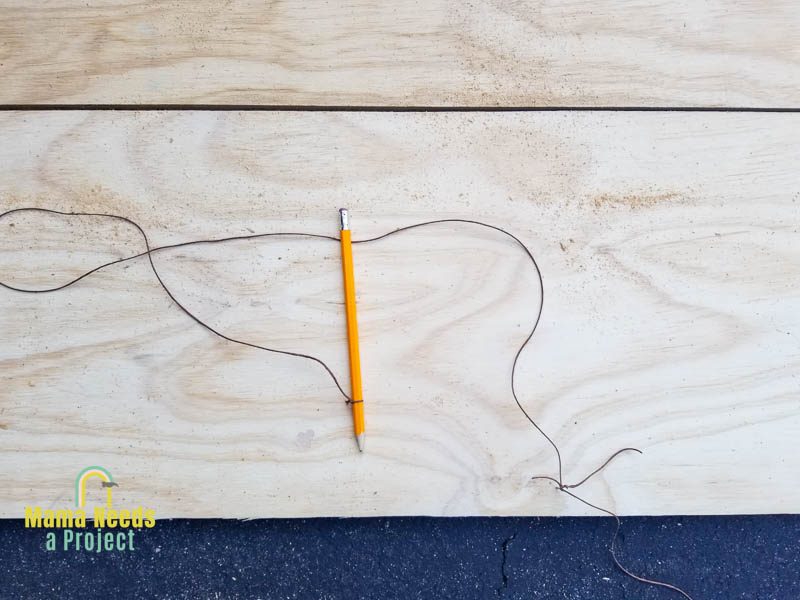
The length of the string will determine the size of your half circle. I tested out a few different sizes before deciding just how big I wanted mine.
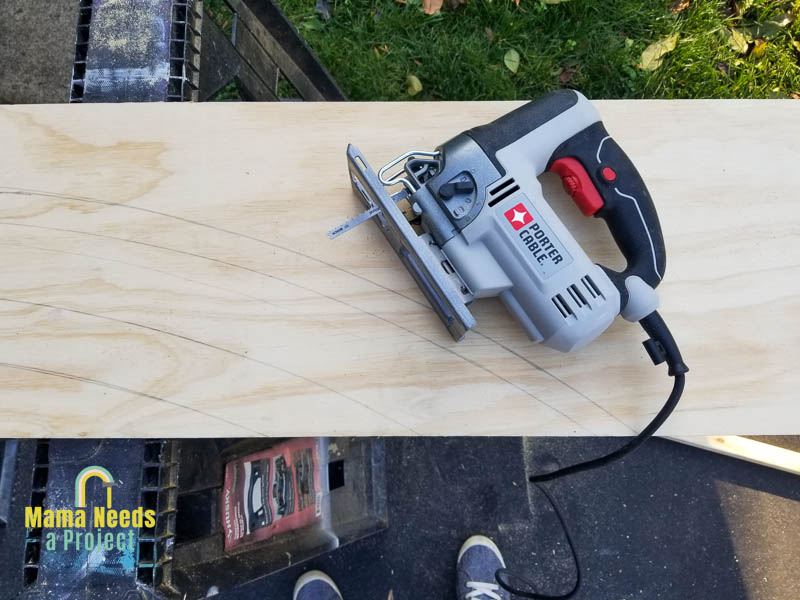
3. Cut Half Circle with Jigsaw
After you have the half circle traced onto your plywood strips for your DIY headboard you can go ahead and cut along the lines using a jigsaw. To minimize tear out on the plywood I recommend putting a new blade in your jigsaw before you start cutting and going slowly.
Read all of my jigsaw advice here.
4. Sand
Now you’re in the home stretch!
Use your sander and a medium grit sandpaper to smooth out the surface of the plywood. My plywood was already pretty smooth and I used 150 grit sandpaper to quickly clean it up.
You will also want to clean up the edges of the plywood, especially if you have any tearout from using the jigsaw. I just hand sanded the edges with 150 grit sandpaper to smooth out the edges.
5. Paint
After the sanding was done I started in on the painting. And then I quickly remembered how much I hate painting – it takes so long!
I started by applying 2 coats of primer to the headboard pieces.
I recommend using a primer for a couple reasons. First, plywood is pretty dry and will soak up a lot of paint. Using primer first will help you get a more even color. Second, if you use a stain blocking primer (I used this one) it will help to keep the tannins in the wood from bleeding through the paint over time. (Tannins are a natural coloration in wood found especially around knots.)
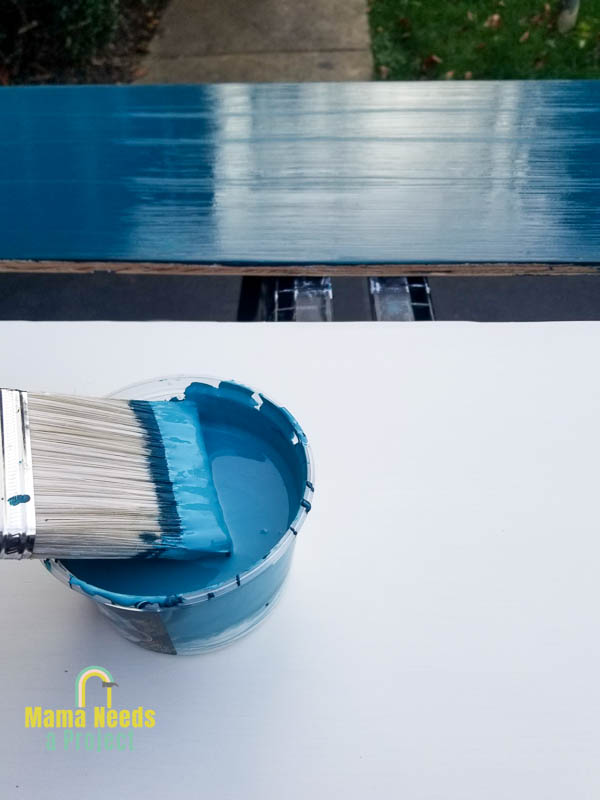
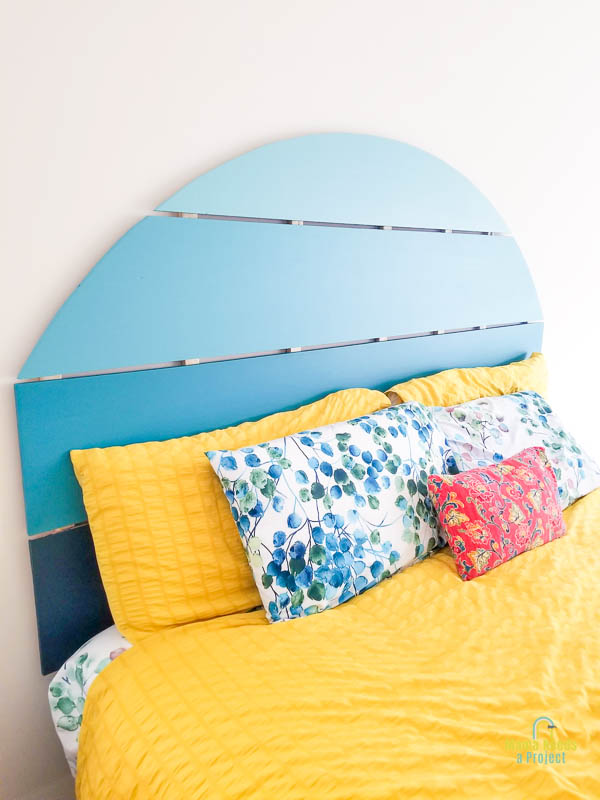
After the primer, I applied 2 coats of paint.
I wanted an ombre look to my headboard so I started by using the plain paint color on my bottom board. Then I mixed in some white paint for the second board. A little more white for the third board and a little more for the top board. I didn’t get too precise with my paint mixing, but just added white until I got a color I liked.
6. Add Back Supports
Once all of the paint was dry I laid out my half circle headboard pieces again, this time face down. I measured the distance from top to bottom in 7 spots and then cut my 1x2s down to those measurements.
I attached the 1x2s to the back of the headboard using wood glue and 1-1/4″ wood screws.
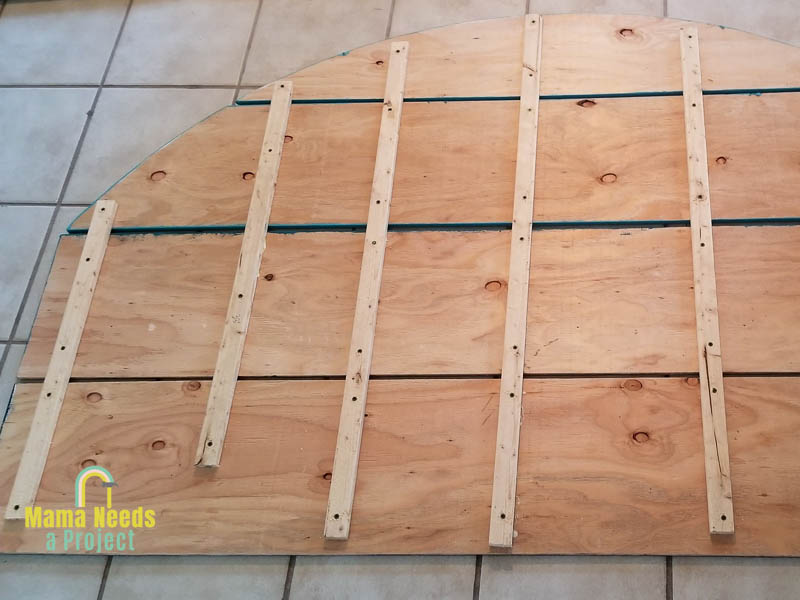
I recommend pre-drill your holes before inserting the screws. 1x2s are pretty thin and pre-drilling will help prevent the boards from splitting.
7. Hang it up!
The last thing to do is hang that sucker up! I mounted my DIY half circle headboard directly to the wall by attaching it to the wall studs. I drilled screws through the 1x2s in the gaps in the plywood. It was a super easy way to mount the headboard and the screws are fairly well hidden from view.
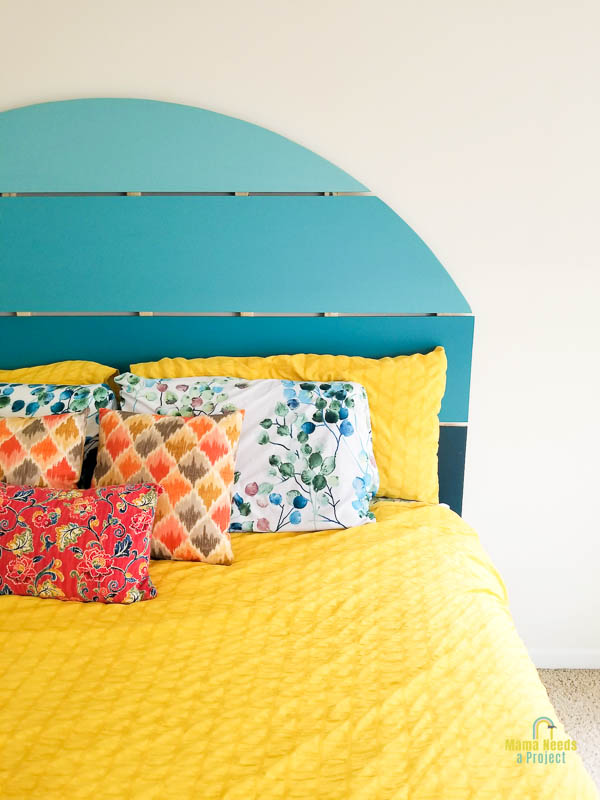
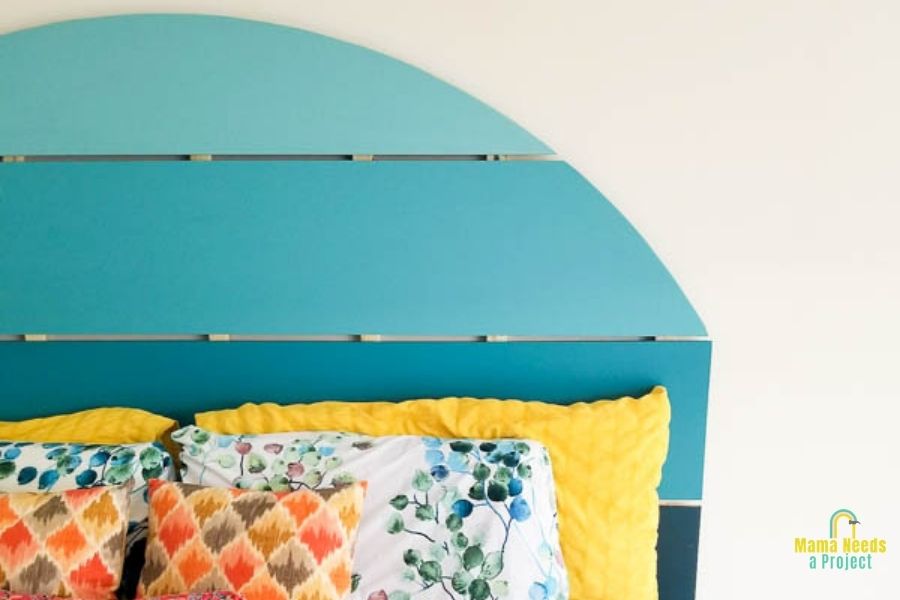
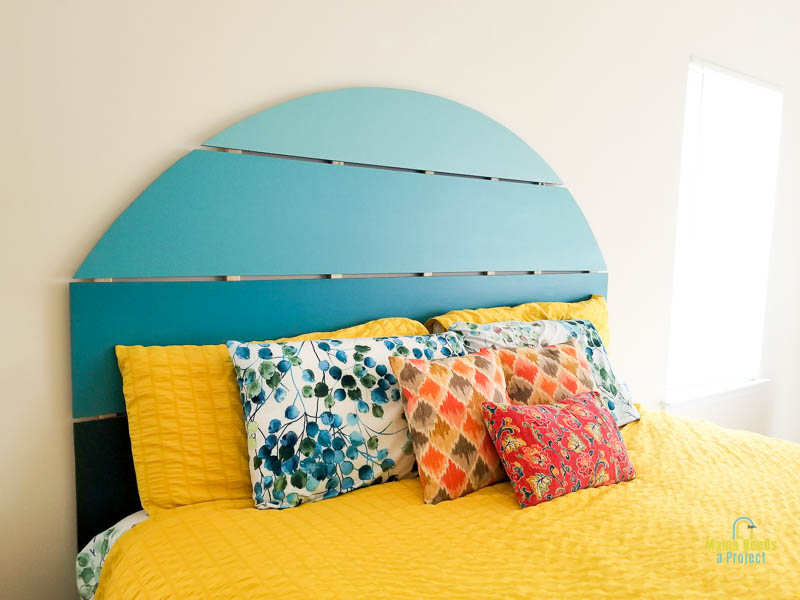
DIY Half Circle Headboard
I seriously LOVE this headboard! The style is fun and colorful and fits in with the bright decor in my bedroom. And the clean, simple lines are exactly what I was looking for.