DIY Nerf Gun Target Stand | Simple Scrap Wood Project
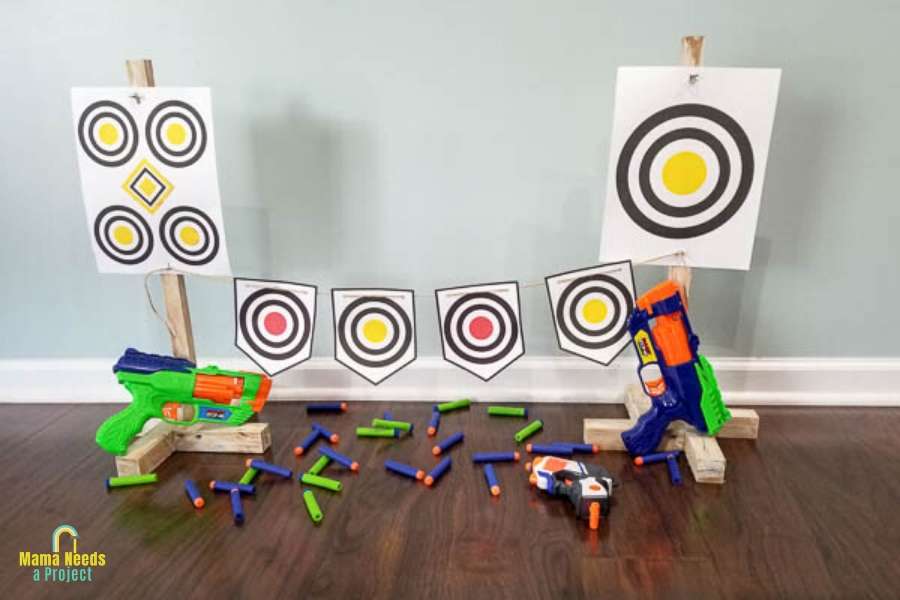
We’ve hit full crazy over here with quarantine life and the Nerf gun battles have begun. To make it a bit more interesting (and encourage my son to play with his Nerf guns independently) I put together some super simple DIY Nerf Gun Target Stands using scrap wood I had on hand.
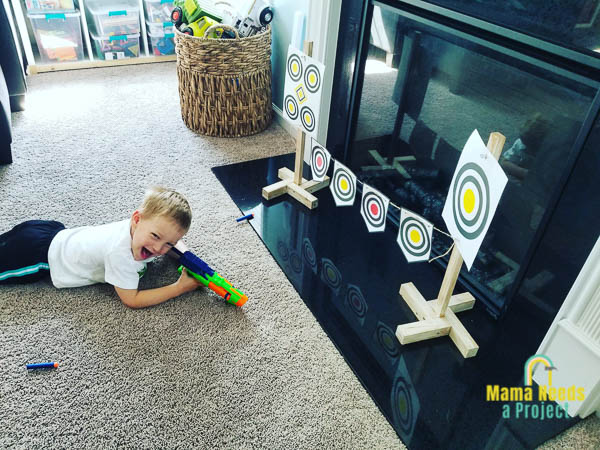
These mini target stands are super simple and can be built in about 30 minutes or less. Plus, it’s easy to customize to whatever scrap wood you have on hand.
And the best thing? Almost 1 whole hour where my son didn’t ask me a single question. It might not be peace and quiet with all the “Bullseye!” screaming in the background, but I take what I can get these days!
*This post contains affiliate links.
Save to Pinterest!
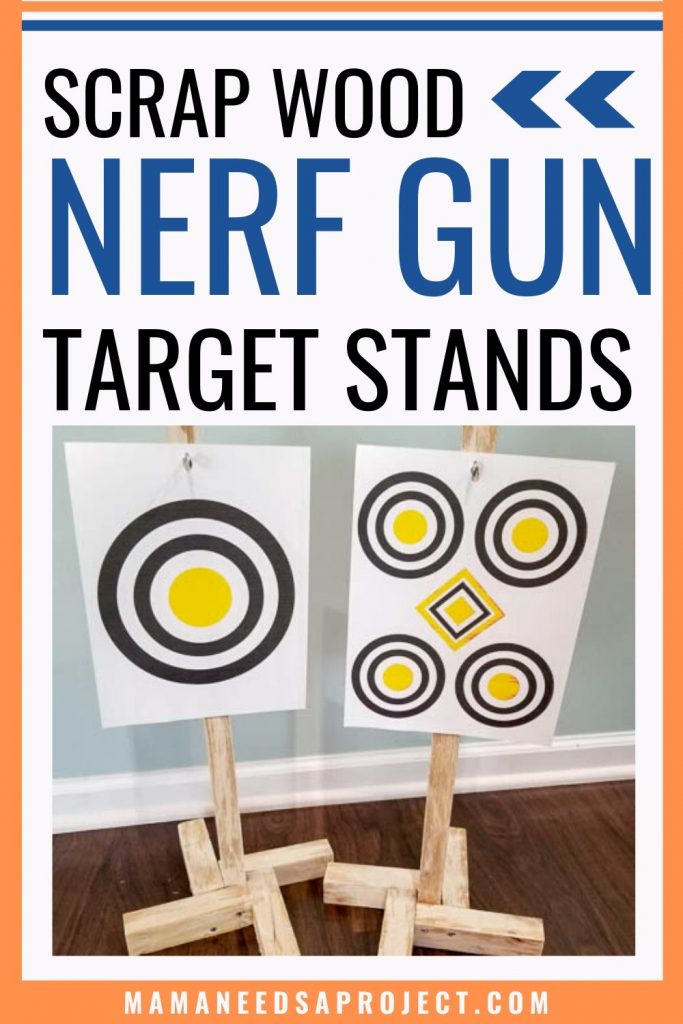
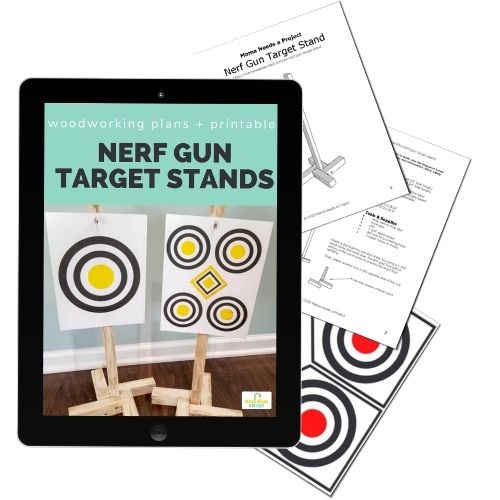
DIY Nerf Gun Target Stand Woodworking Plans
I put together some simple woodworking plans to go along with this project. You can grab them for free in my woodworking plans shop.
All of the woodworking plans in my shop include a lumber list, cut list and supply list. They also feature digitally rendered images and detailed instructions that walk you through each step of the build. I use easy-to-understand language that’s perfect for beginners.
Build Nerf Gun Target Stands – Prep
Supplies
- Nerf Gun Target Stand Woodworking Plans + Target Printable
- scrap wood: 1×2 & 2×2 boards
- drill
- wood screws
- drill bit for pre-drilling holes
- wood glue
- miter saw or chop saw
- 1-2 small hooks per stand – I used eyelet screws because it’s what I had on hand
- single hole punch
Project Time & Skill
This might be one of the quickest and simplest projects I’ve ever shared! From start to finish it should take you about 30 minutes or less to put together a DIY Nerf gun target stand or two.
You will need to use a chop saw or miter saw to cut your scrap to size. You will also be using a drill to attach the boards. And that’s it! I promise this one is about as easy as it gets when it comes to woodworking.
This would be a great project to do with your kids!
Save to Pinterest!
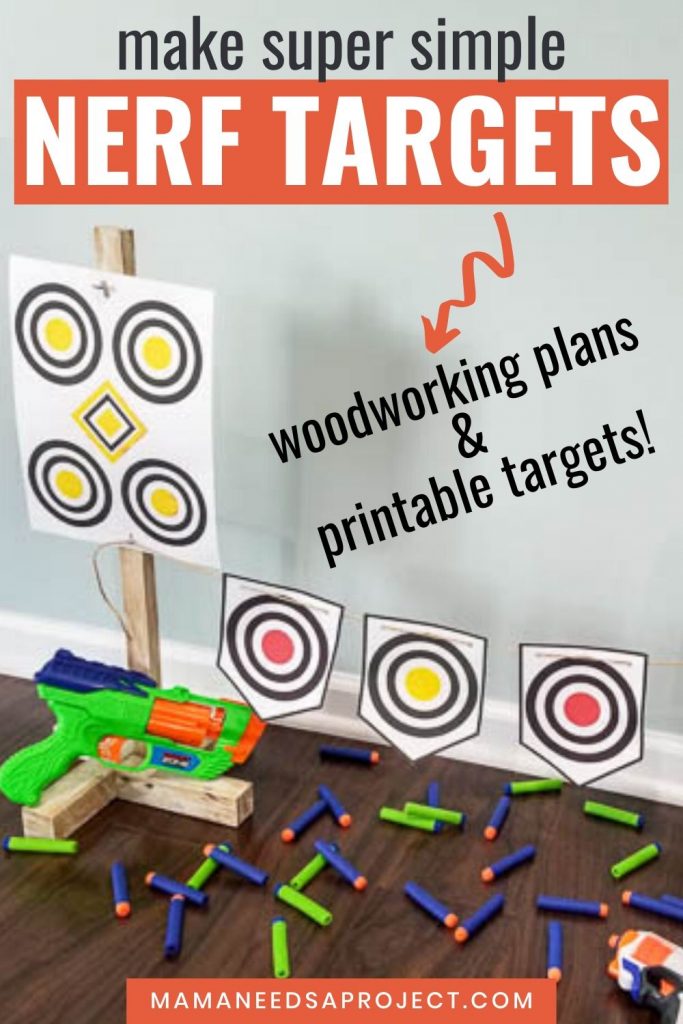
Build Your DIY Nerf Gun Target Stand
1. Cut the wood
First, cut all your wood to length. I did this using my miter saw, but you can use whatever type of saw you have access to.
My DIY Nerf gun target stands have a base made from 2×2 scraps. The tall part that the paper targets attach to is made from a 1×2.
You can easily modify these plans to whatever scrap wood you have on hand. Just keep in mind that you’ll want your base to be heavy enough to keep the target stand from tipping over in the wind or from an especially powerful Nerf gun.
2. Build the target stand
After the wood is cut, you’re ready to put together your DIY Nerf gun target stand.
The design is super simple. Start by attaching one base piece to the bottom of the 1×2. Then keep attaching base pieces until you’ve worked your way all the way around the bottom of the 1×2.
You can get all of the details for this build in the printable woodworking plans.
3. Insert Hooks
Once your stand is built, you can add a couple hooks to hold the targets.
Ideally you would use a small hook that can screw into your board. I didn’t have any hooks on hand so I used little eyelet screws instead. These are working just fine for us!
Attach one hook near the top of the board and the second hook about 10 inches down. I found that two hooks were necessary to keep the targets from blowing around in the wind.
You might want to wait to attach the second hook until you hang up a target to make sure the lower hook is in a good place to hold the target.
I was able to screw my hooks in easily by hand. If you’re having trouble getting the hooks in you can pre-drill the holes with a drill bit a tad smaller than the hook.
4. Add the Targets
Last, add your targets!
I printed my targets on cardstock and used a hole punch to add a few holes to hang them on the target stands.
Nerf Target Stand building tips
This project is super simple, but here are a few building tips to help you along the way.
- Pre-drill all of your holes using a drill bit like one from this set. This will prevent the wood from splitting when you drill in the wood screw.
- Use wood glue to create a more secure joint.
- Be mindful of your screw placement. You’ll have several screws going into the same area of the center board. Be careful to place your screws so that they don’t run into each other.
Nerf Gun Shooting Practice
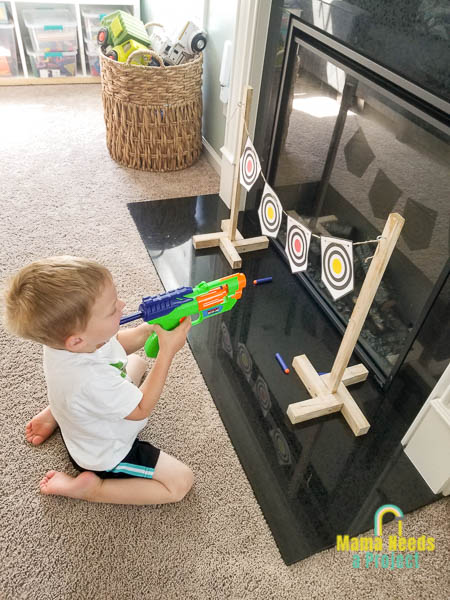
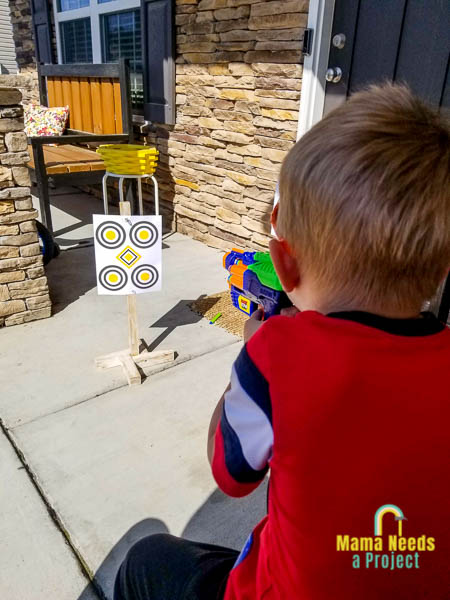
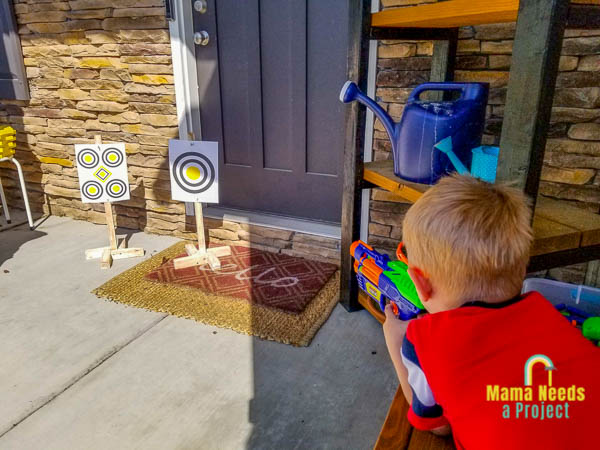
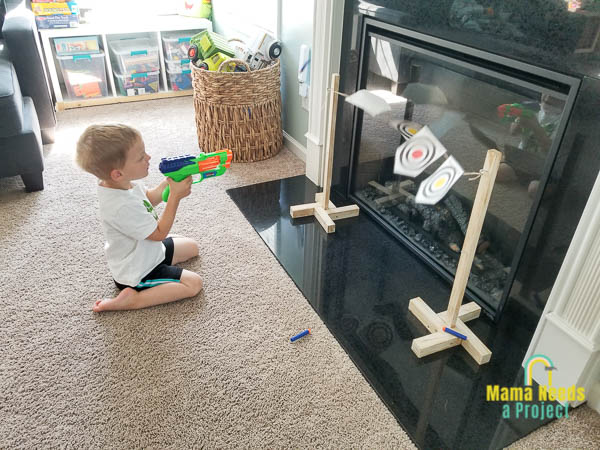
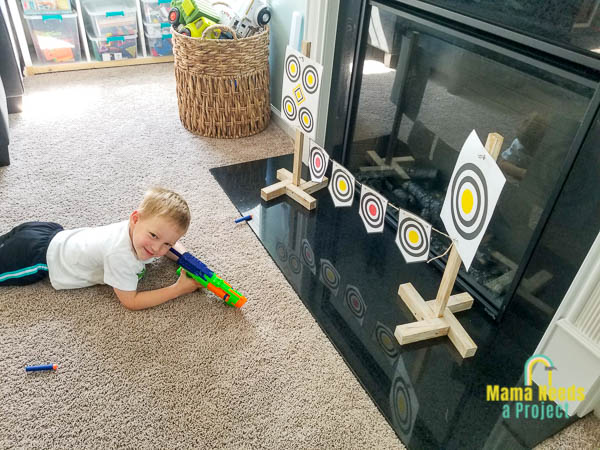
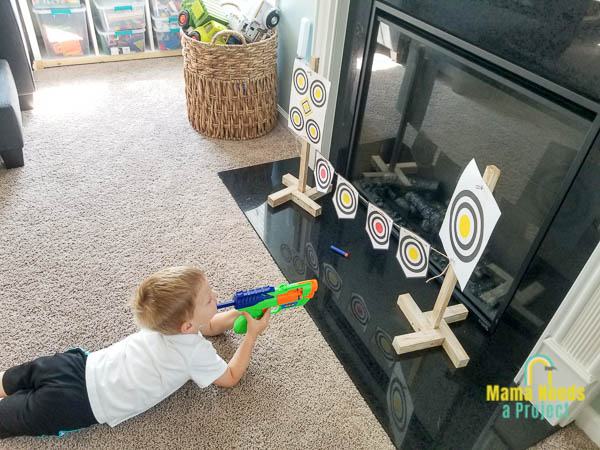
With your DIY Nerf gun target stands complete, there’s nothing left to do but have some shooting practice! We’ve taken our target stands outside (watch out for wind!) and done some shooting inside too. There are a few different ways you can set up the targets, but my son’s favorite is ALL the targets hanging up at once.
Here he is in action:
DIY Nerf Gun Target Stand
So far this quick scrap wood project has provided my son with HOURS of entertainment! And I’m definitely feeling like a cool mom for making him his own Nerf gun targets.
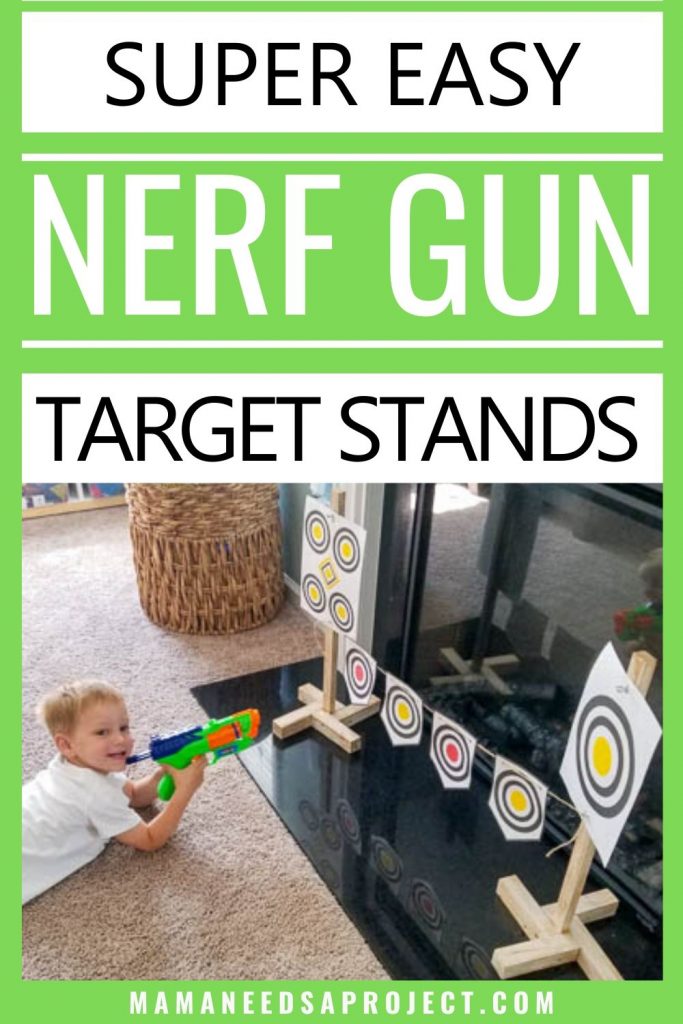
I want to hear from you!
If you build this project I’d love to see it! You can share it with me on Facebook or Instagram.
Happy Building!

