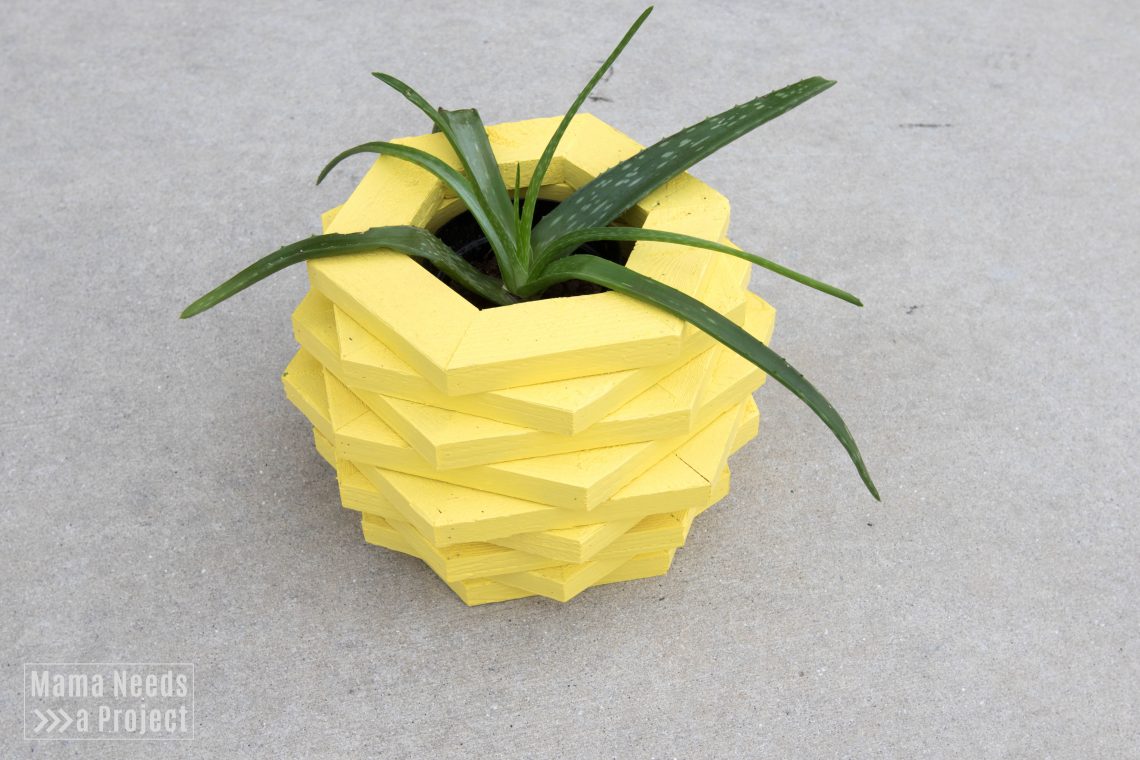
DIY Pineapple Planter Tutorial
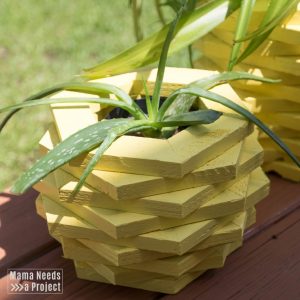
I seriously can’t look at this Pineapple Planter without laughing. It’s short and chubby and just perfect for the aloe vera plant I rescued from the clearance rack.

The idea to turn my aloe vera into a pineapple came about while I was making my Stacked Hexagon Flower Pot. After I painted it yellow my husband made a comment that it looked a bit like a pineapple. Once that comment was made there was no turning back. I couldn’t stop thinking about how funny it would look to turn my houseplants into pineapples.
Please tell me that I’m not the only one who gets a kick out how cute this little pineapple houseplant.
This quick project is very similar to the Stacked Hexagon Flower Pot. They are both made with a stack of hexagons to create the shape and are a great way to practice miter cuts. You’ll notice lots of similarities between the two building plans.
Be sure to share this project with your pineapple loving friends! Or better yet, build them one. 🙂
This post contains affiliate links.
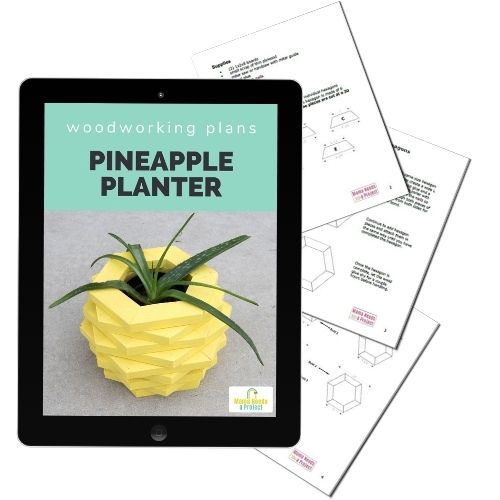
Pineapple Planter Woodworking Plans
All of the woodworking plans in my shop include a lumber list, cut list and supply list. They also feature digitally rendered images and detailed instructions that walk you through each step of the build. I use easy-to-understand language that’s perfect for beginners.
What do you need to build a Pineapple Planter?
Supplies
- printable Pineapple Planter woodworking plans
- (3) 1x2x8 boards (check out these woods for planter boxes)
- small scrap of thin plywood backing
- wood glue
- pin nailer & nails
- Jigsaw
- yellow paint
Build a Pineapple Planter
Completed Measurements
The completed planter is 6.75 inches tall and 10.5 inches wide. The opening at the top is 4.5 inches wide. The plastic flower pot I’m using inside the Pineapple Planter is 3.5 inches tall and 4 inches wide at the top.

1. Cut Hexagon Pieces
The Pineapple Planter is made of 9 individual hexagons stacked on top of each other. Each hexagon is made of 6 trapezoid shaped pieces. All of the pieces are cut at a 30 degree angle.

2. Build the Hexagons
To build a hexagon, place 6 same size pieces together into a circle with the shorter sides in the middle. Ta da!
Connect each joint of the hexagon using wood glue and a pin nailer. I used 3/4″ nails for this. Let the glue dry for a couple hours before moving on to the next step.
There is also a detailed guide to building hexagons in the Pineapple Planter woodworking plans that is super helpful!

3. Paint
Once I finished building my hexagons, I went ahead and painted them. You can either paint them as soon as you finish building them or wait until your done building the planter completely. I’ve done it both ways and I think it’s a little bit faster to paint once the whole project is complete.

4. Cut & Attach Plywood for Plant Shelf
To get my plastic pot to sit at the right height within the Pineapple Planter I put a thin plywood backing on one of the hexagons to make a shelf.
The plywood backing attaches to one of the 3.25″ hexagons.
Trace around a 3″ hexagon on the plywood. Then cut the hexagon out of the plywood using a jigsaw.

Once you’ve cut out your plywood hexagon, you can attach it one of your 3.25″ hexagons. Use a pin nailer and glue to attach it.

5. Assemble Pineapple
Now it’s time to build your pineapple!
You’ll stack your hexagons in the following order:
- 2.5″
- 2.75″
- 3″
- 3.25″
- 3.5″
- 3.25″ with shelf
- 3″
- 2.75″
- 2.5″
I’ve written the hexagon measurements based on the pieces cut for each hexagon, not the completed hexagon size.

Start with a 2.5″ hexagon and put a ring of glue on it. Stack a 2.75″ hexagon on top, offsetting it like the picture below. Use a pin nailer and 1″ nails to secure your hexagons. Attach all of your hexagons this way, following the stacking list above.
The plywood backing on the 3.25″ hexagon will face the bottom of the planter.


6. Pop in that plant
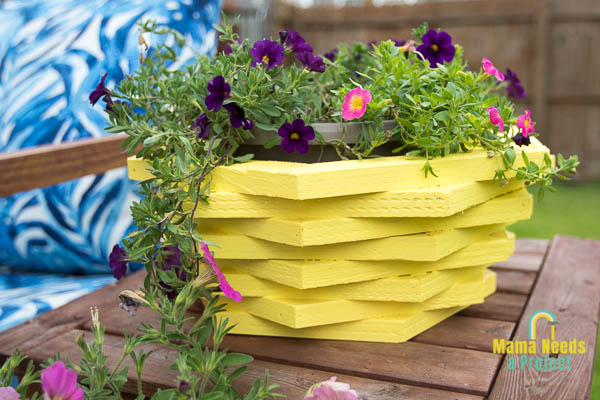
You’re done my friend! Once you’ve attached all of your hexagons and let your glue dry it’s time to put in your plant. And then laugh just a little bit at how silly it looks. Maybe you’ll even feel compelled to make your Pineapple Planter a friend like the tall one I made for my spider plant. It’s made the exact same way, but with a stack of 3.5″ hexagons.


Happy Building!
If you decide to build a DIY Pineapple Planter, please show me! Share it on the Mama Needs a Project Facebook page or tag Mama Needs a Project on Instagram. I would love to see your creations!