DIY Wedding Centerpiece Boxes (for less than $6 each!)
A few years ago I ran an Etsy shop that sold wedding centerpiece boxes and other woodworking items. It was a lot of fun and I was even pretty successful for a little while! Eventually I ended up closing that Etsy shop down to move on to new things.
Today I’m sharing a super simple tutorial to build your own centerpiece boxes. These aren’t the exact ones that I sold in my Etsy shop, but this plan uses less tools and is easy enough for anyone (ANYONE) to make!
Each box only uses 2 cedar fence pickets and a couple tools. And, it’s totally doable to build these without any power tools at all! While I call them wedding centerpiece boxes, they also work for fireplace mantles, dining room tables centerpieces, outdoor table centerpieces, or long flower arrangements.
Why cedar pickets are my fave
I use cedar fence pickets for many projects (like this one, and this one). I started buying cedar pickets for projects when I first started building and it has been my favorite cheapskate building “hack”. Here are some of the benefits of using cedar pickets:
- They’re inexpensive (around $2.50/board in my area)
- beautiful color variation
- lightweight (this is especially nice if you’re mailing items)
- suitable for indoor or outdoor projects
- they smell awesome
That last one is just an extra bonus. But seriously… ahhh cedar. It smells so good!
This post contains affiliate links.
DIY Wedding Centerpiece Box Woodworking Plans
I’ll go over the building process in this tutorial here, but you can grab the full woodworking plans for free in my plan shop.
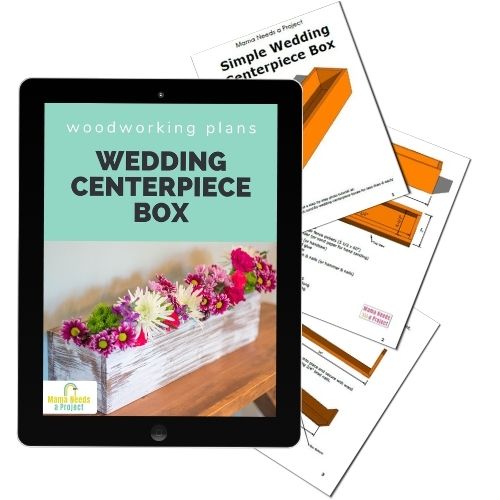
All of the woodworking plans in my shop include a lumber list, cut list and supply list. They also feature digitally rendered images and detailed instructions that walk you through each step of the build. I use easy-to-understand language that’s perfect for beginners.
What do you need to build a DIY Wedding Centerpiece Box?
Supplies
- Simple Wedding Centerpiece Box printable woodworking plans
- 2 cedar fence pickets (5-1/2″ x 60″)
- sander
- wood glue
- nail gun
- clamps
- miter saw
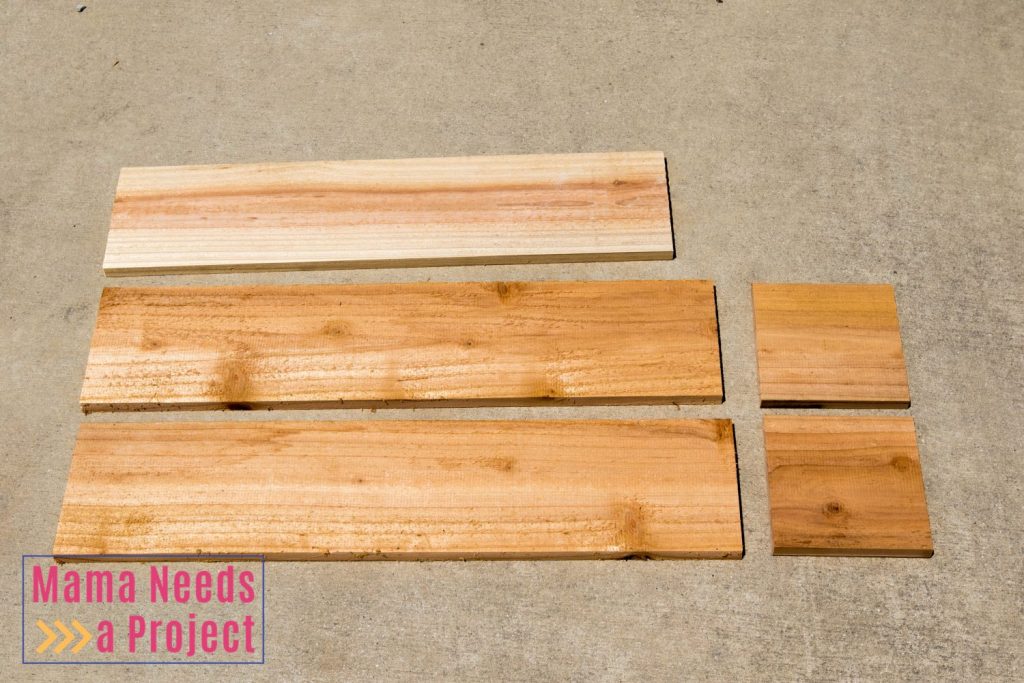
Cut List
- (2) 24″ long
- (1) 22 1/2″ long
- (2) 5 1/2″ long
Build a DIY Wedding Centerpiece Box
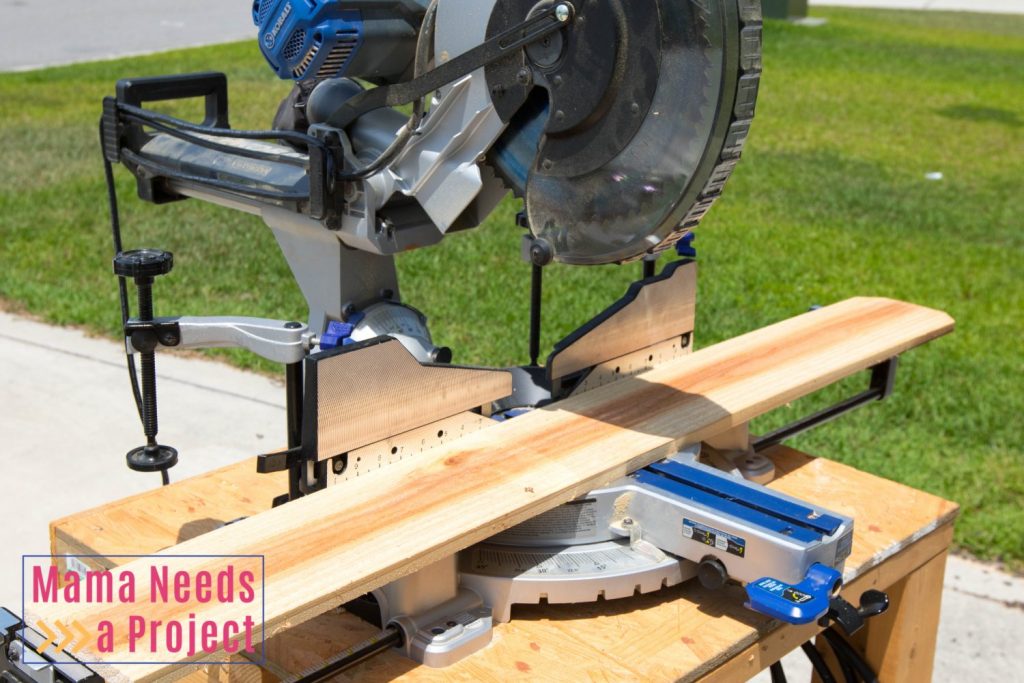
1. Cut cedar pickets
Cut your pickets down to the measurements listed above. I use my miter saw for this, but you could totally do this with a hand saw if you don’t have big tools yet.
(If you’re still building up your tool supply, here are my recommendations.)
2. Sand
Sand down your cut pieces. This step is optional. If you plan on leaving them natural you can skip sanding and leave the rough texture. If you want your finished boxes to be painted or stained, I recommend sanding. This will make it a lot easier to apply your finish.
I use this sander and 100 grit sand paper to do a quick sand. Sand both sides of each board.
You also use a sanding block if you don’t have a sander.
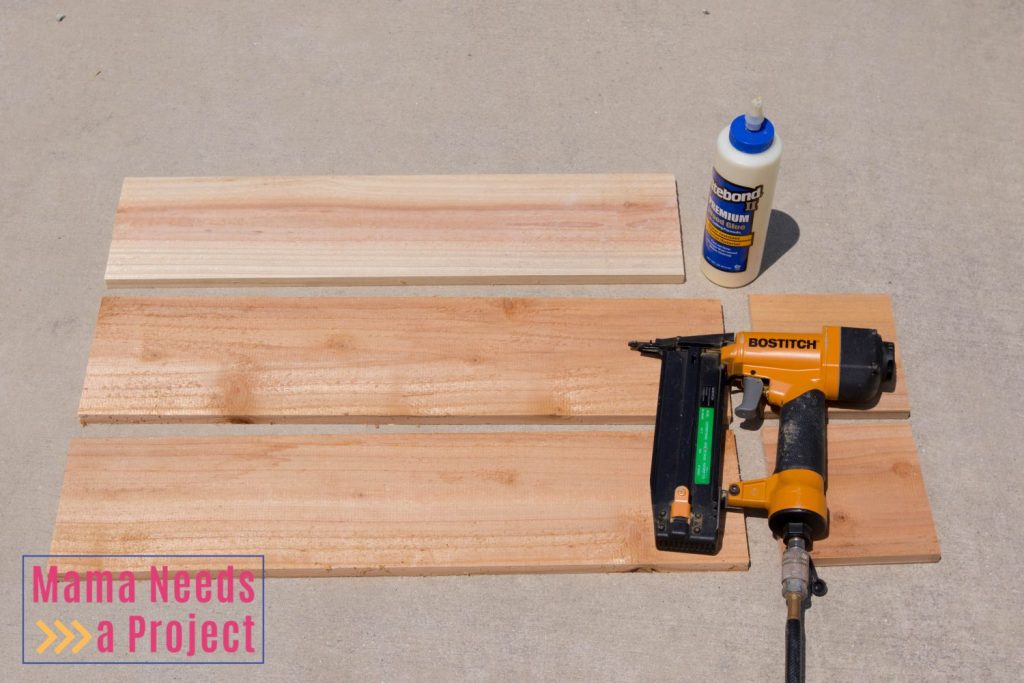
3. Assemble
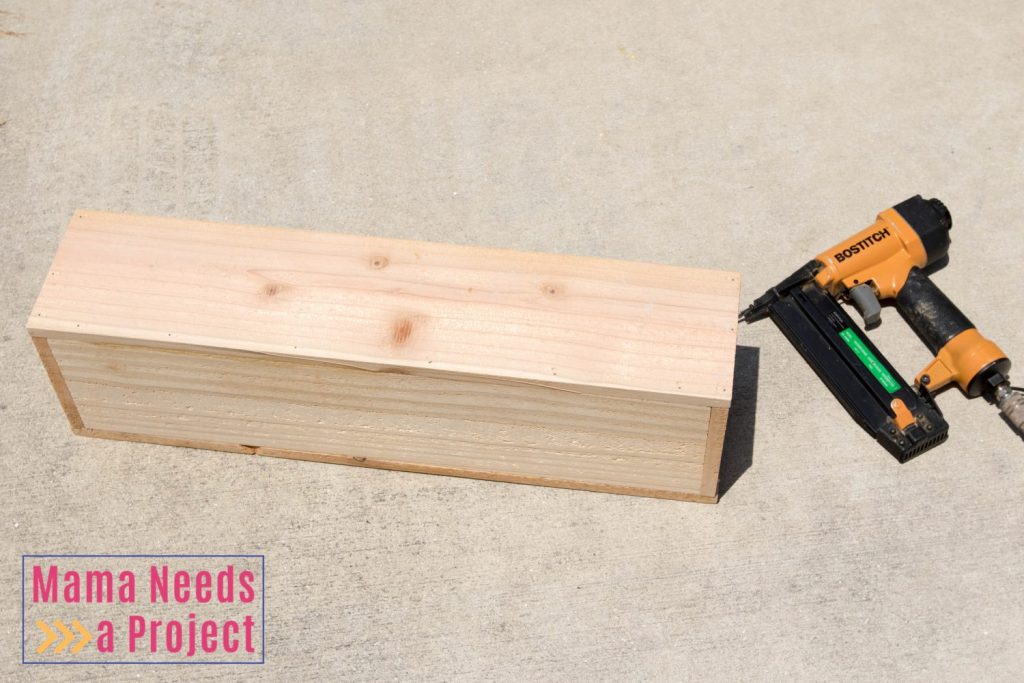
This is a basic box and assembly is pretty straight forward. I use a pneumatic nail gun (a nail gun powered by an air compressor) and wood glue to assemble the box. Then I clamp any areas of the box that need a little extra pressure.
You can build this box with just wood glue and clamps if you don’t have a nail gun. Or your could use small traditional nails and a hammer. You’ll see the nail heads if you do this, which will add some cool details to your box.
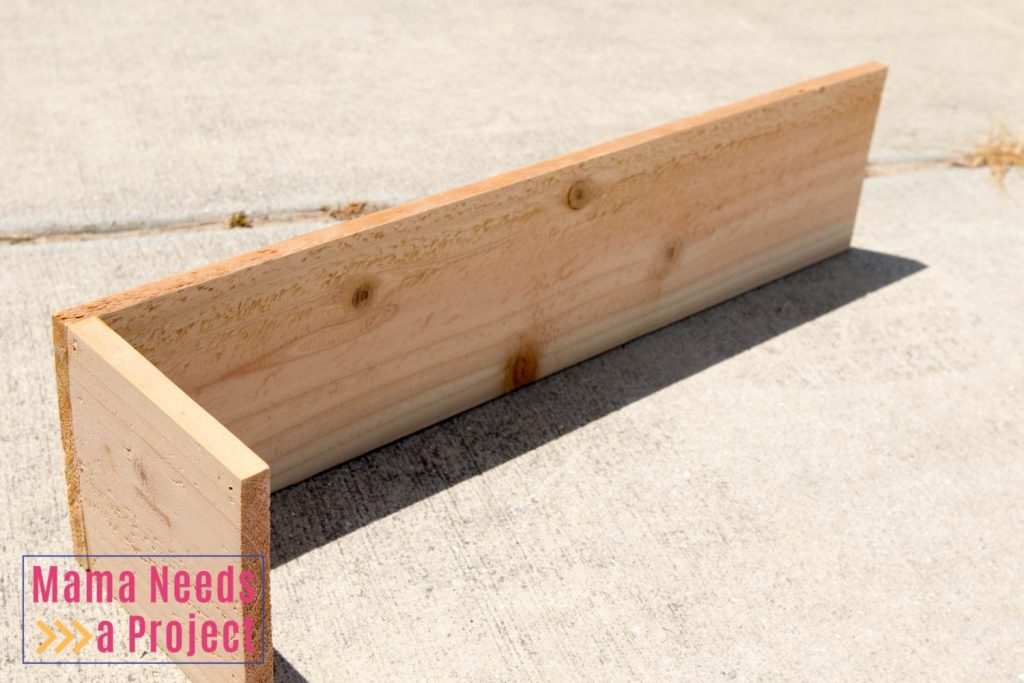
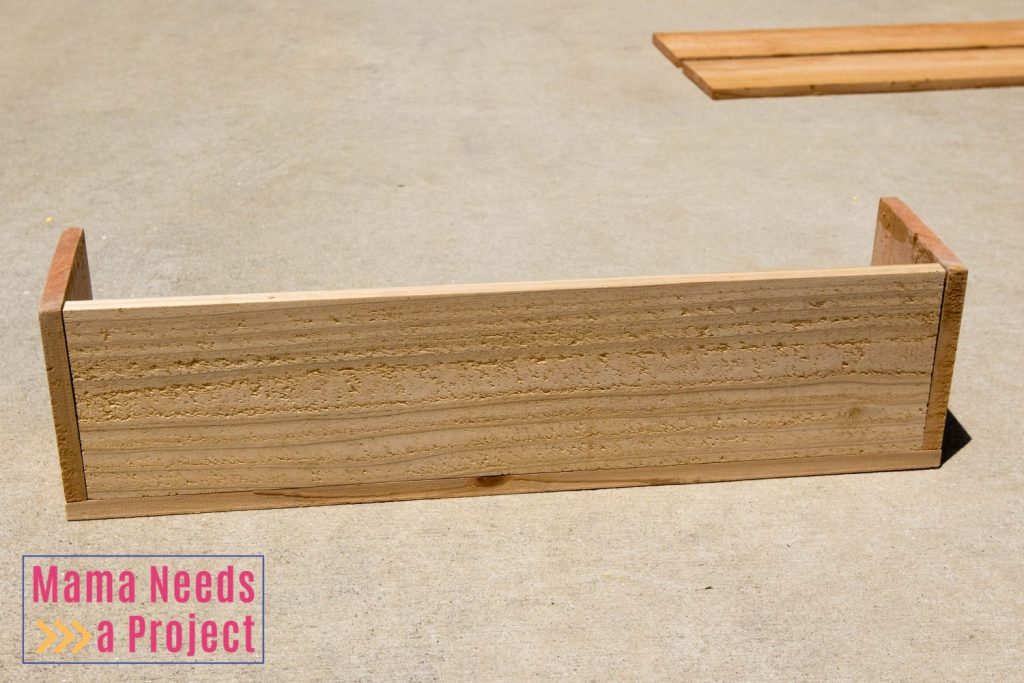
Start by connecting the one of the 5-1/2″ pieces to one of the 24″ long pieces. Use wood glue and a nail gun. The 5-1/2″ piece will go inside the 24″ piece like the picture below. Connect the other 5-1/2″ piece to the other side in the same way.
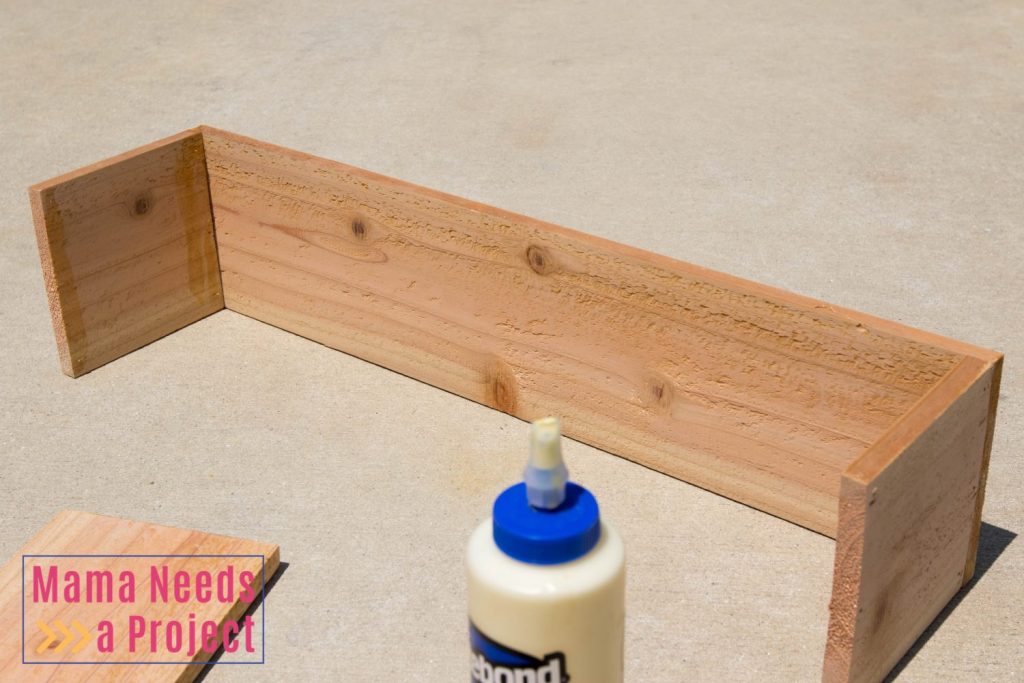
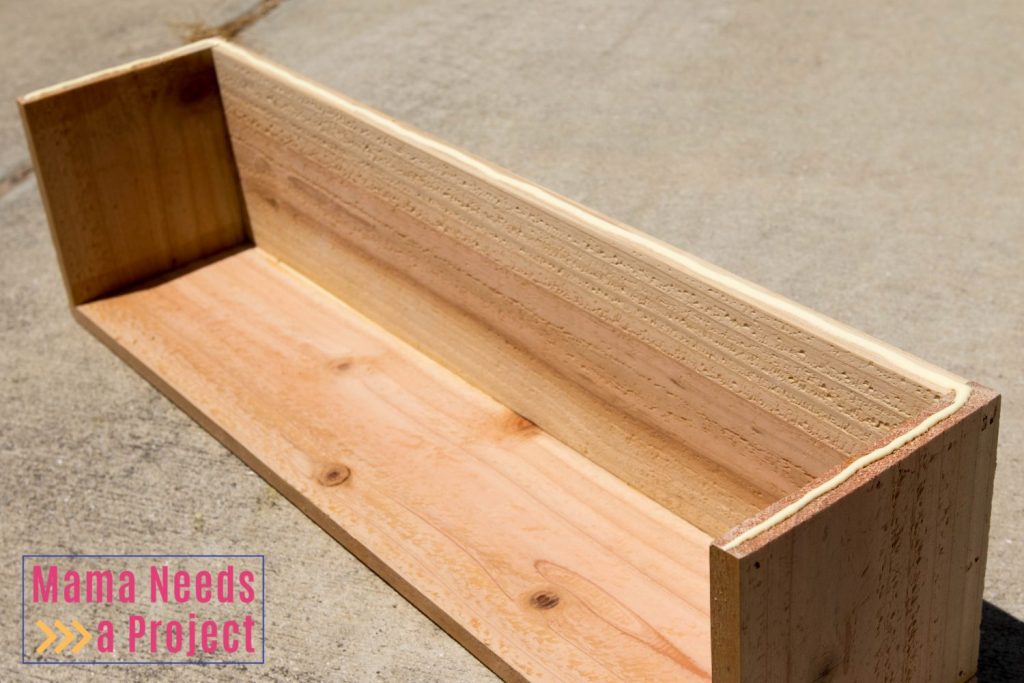
Next, slide the 22-1/2″ bottom piece in like the photo below. Secure with wood glue and nails.
Then, add glue to the open side of your box and attach your last 24″ piece.
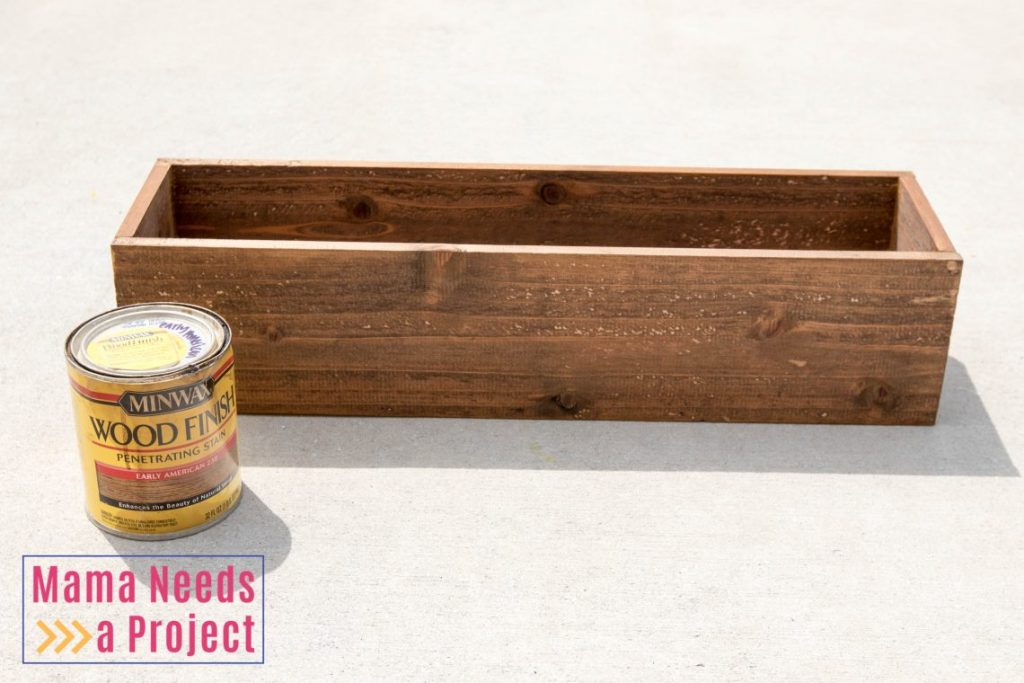
4. Finish
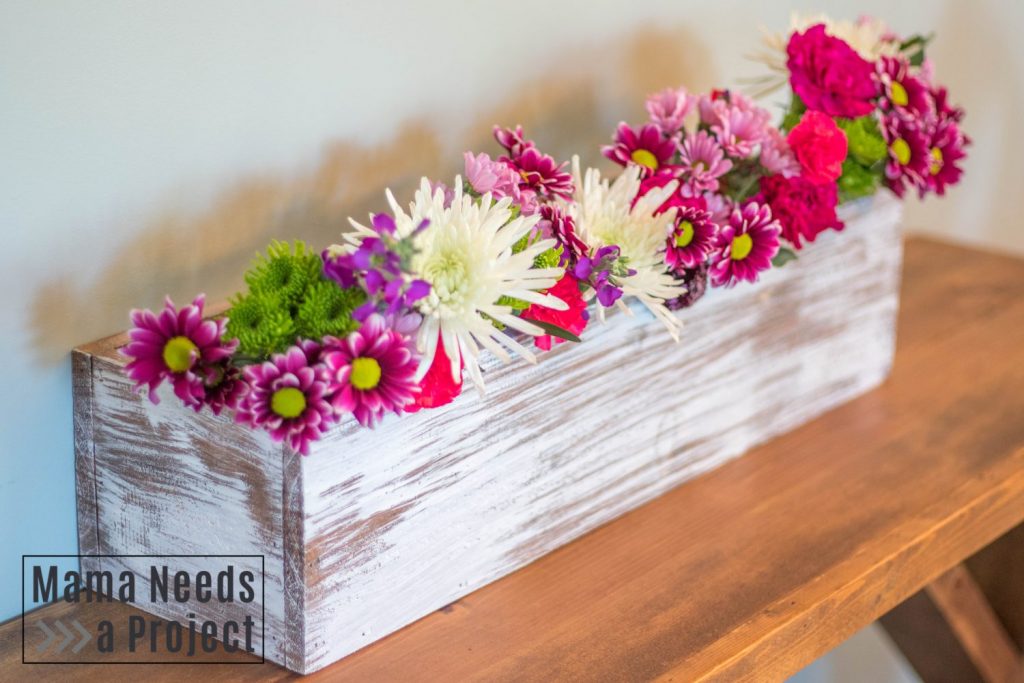
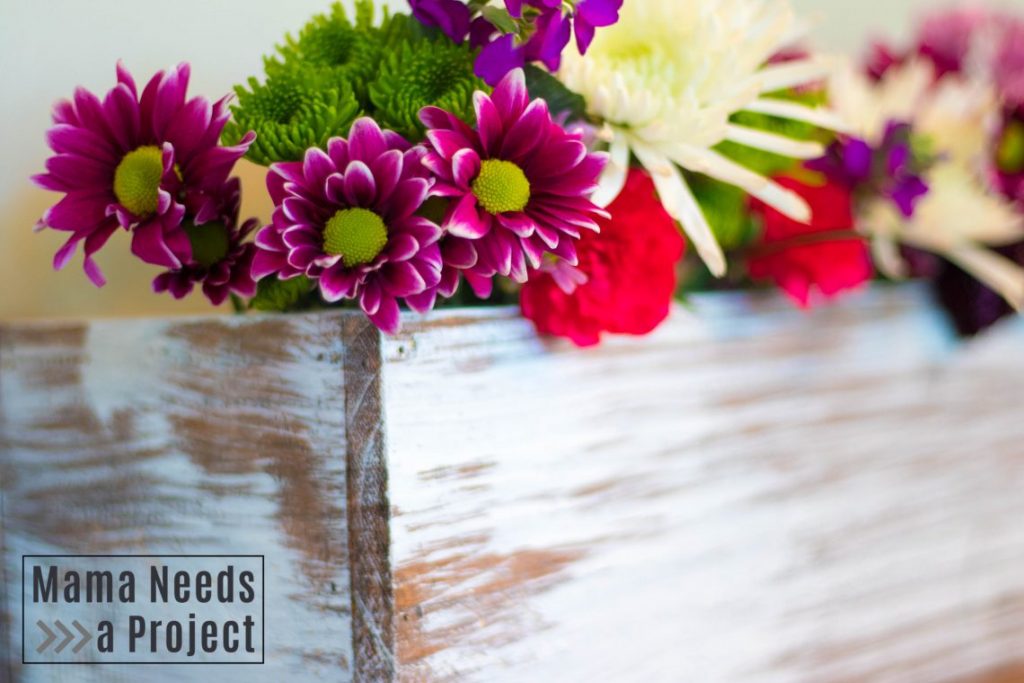
I’ve finished up these boxes in many different ways depending on the style of the bride requesting them. The easiest finish is a solid color paint or stain. You could also leave them natural. Or just coat the outside with polyurethane for a shiny finish. My most popular finish when I was selling these wedding centerpiece boxes was a layered stain and paint look.

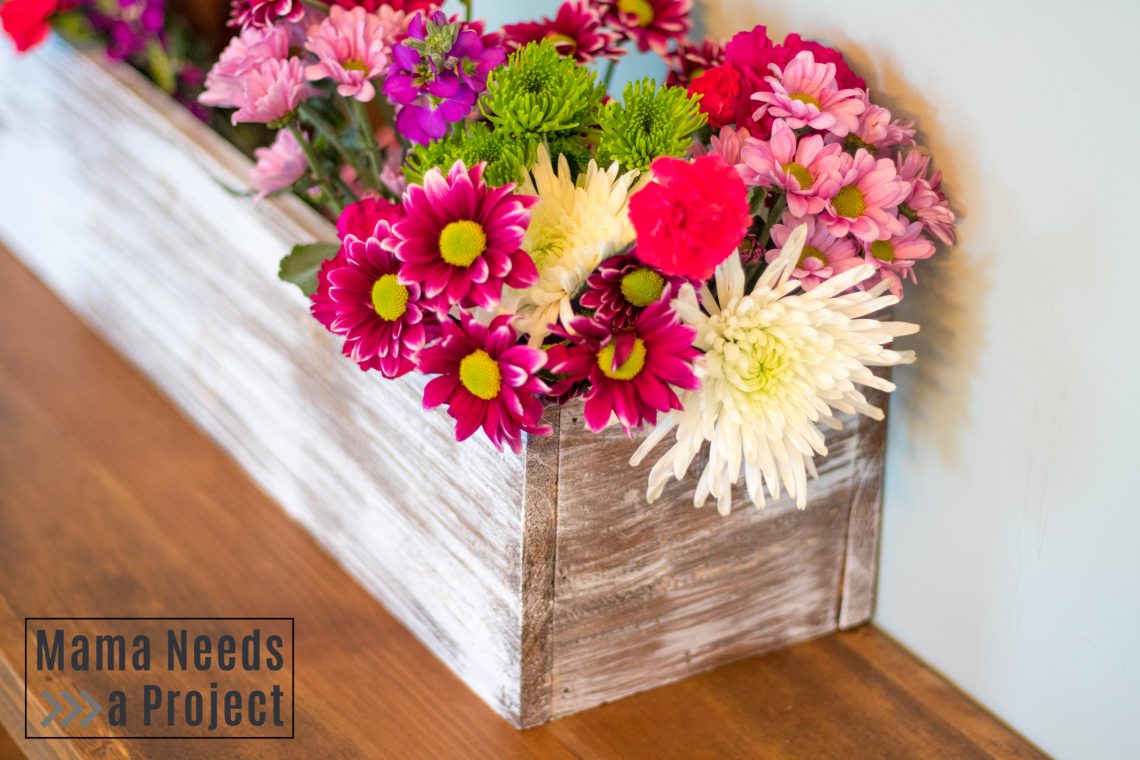
DIY Wedding Centerpiece Boxes
That’s it! These DIY Wedding Centerpiece Boxes are simple to make and so easy to customize with different finishes. Using cedar fence pickets makes them an inexpensive and unique touch to your extra special day.
I want to hear from you!
If you use this tutorial, please let me know! Post on the Mama Needs a Project Facebook page or tag Mama Needs a Project on Instagram.