Easy DIY Square Caddy with Handle
This DIY Square Caddy is a super easy build! It’s a great small project for beginner woodworkers.

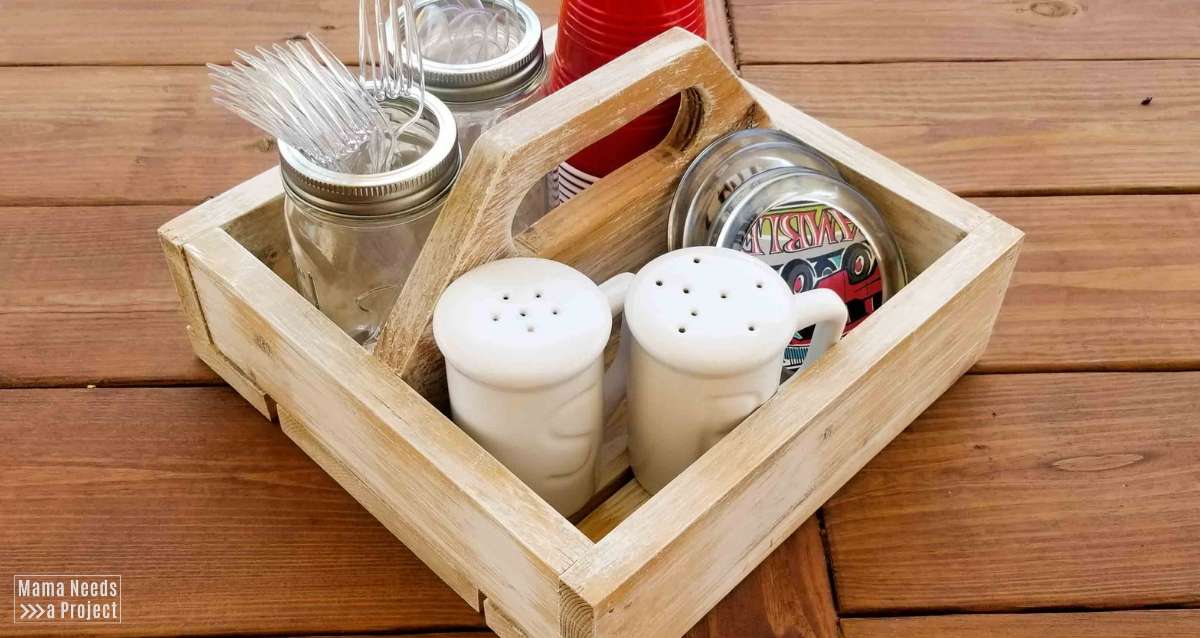
I built this wood caddy a few years ago using scrap wood from previous projects. It’s been used for a variety of things around the house since then: dinner table organizer with coasters, salt & pepper shakers & napkins; BBQ caddy for the deck to hold plastic silverware and napkins; desk organizer with pens and office supplies. This square caddy is totally functional and has a million uses.

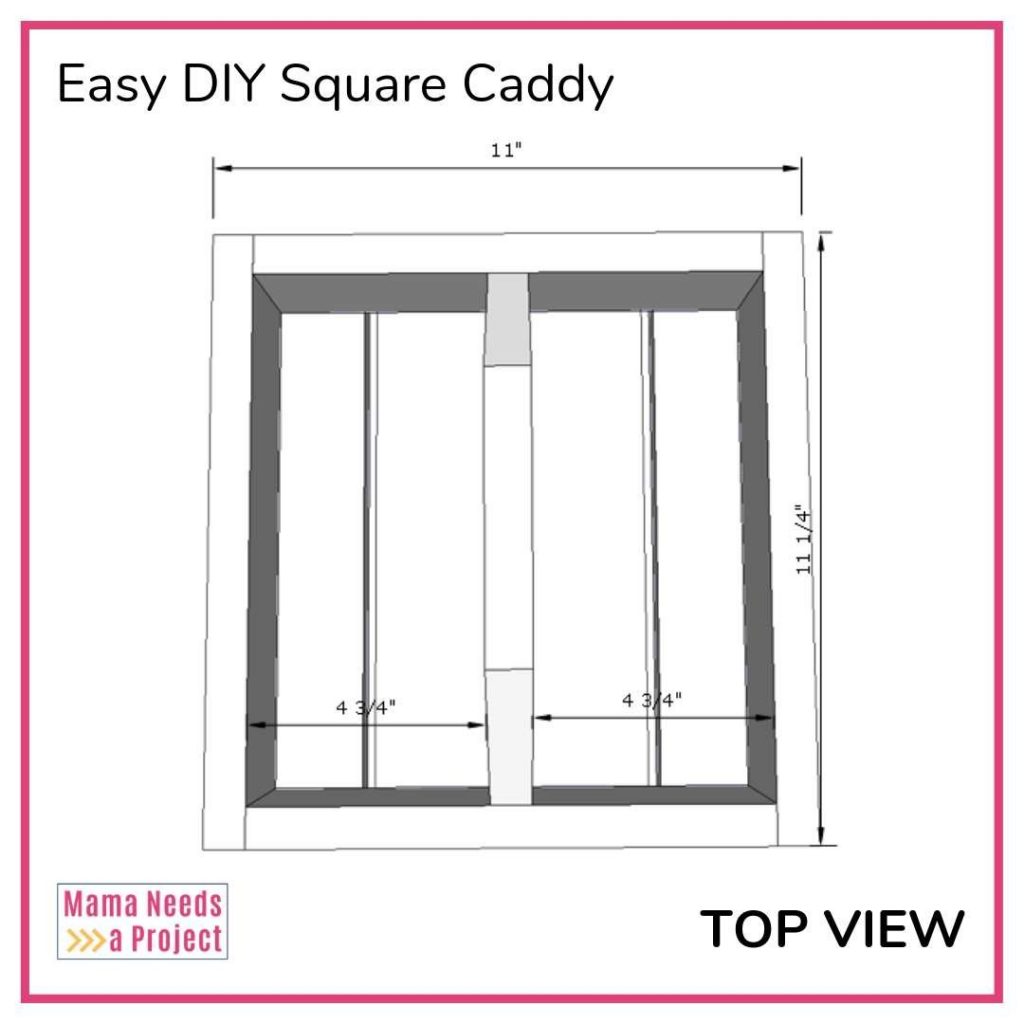
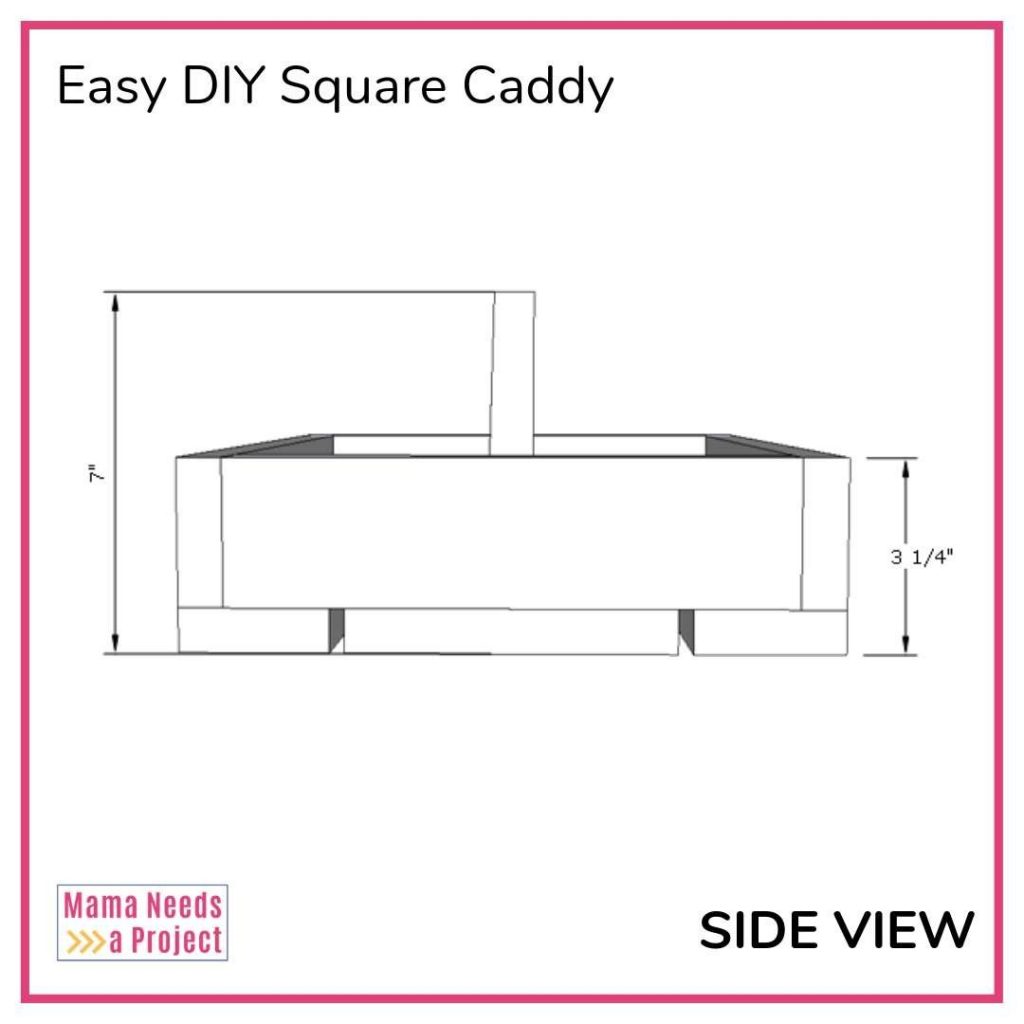
Easy DIY Square Caddy Dimensions
The finished square caddy is 11″ x 11.25″. The box is 3.25″ tall on the exterior and the handle is 7″ tall. See the diagrams below to get a better idea of the dimensions.
This post contains affiliate links.
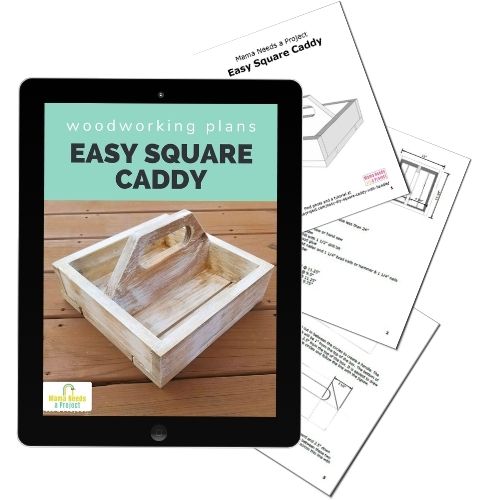
Easy Square Caddy Woodworking Plans
I’ll share a quick tutorial of how I build this square caddy below, but you can find the full woodworking plans in my woodworking plan shop.
All of the woodworking plans in my shop include a lumber list, cut list and supply list. They also feature digitally rendered images and detailed instructions that walk you through each step of the build. I use easy-to-understand language that’s perfect for beginners.
Build an Easy Square Caddy
Lumber & Tools
- Easy Square Caddy Woodworking Plans
- (1) 1x3x6
- (1) 1x6x4 – will use less than 24″
- miter saw or hand saw
- jigsaw
- wood glue
- brad nailer with 1.25″ brad nails OR hammer & 1.25″ nails
- drill with 1.5″ spade bit like this one
- sander
How to Build an Easy Square Caddy
Make the handle piece
The handle is made using a 9.75″ 1×6. To make the cut out for the handle I used a 1.5″ spade drill bit to drill two holes into the board. Then, I connected the holes to make a handle using my jigsaw.
After making the cut out for the handle, I cut the top corners at an angle with my jigsaw.

Build the square caddy
After making the handle, this caddy is a quick build. I used wood glue and a brad nailer with 1.25″ brad nails for all of my joints. If you don’t have access to a brad nailer, you could also construct this box with 1.25″ nails. It will just give it a different look.
If you’re having trouble getting your pieces to attach securely with just the brad nailer, I recommend clamping the caddy until the wood glue dries. The glue will create a super strong hold.
Sand & Finish
Let your glue dry for a couple hours and then your DIY Square Caddy is ready for a quick sand. I used a coarse grit sandpaper to round the edges of mine, especially on the handle.

For my finish I used a light stain and then dry brushed some white paint on top to give it a little texture. Dry brushing is when you add just a tiny bit of paint to the very end of the bristles on your paint brush and then brush it on. You can do a few layers of dry brushing to add to the depth and texture.
