Easy Pom Pom Christmas Tree Ornaments
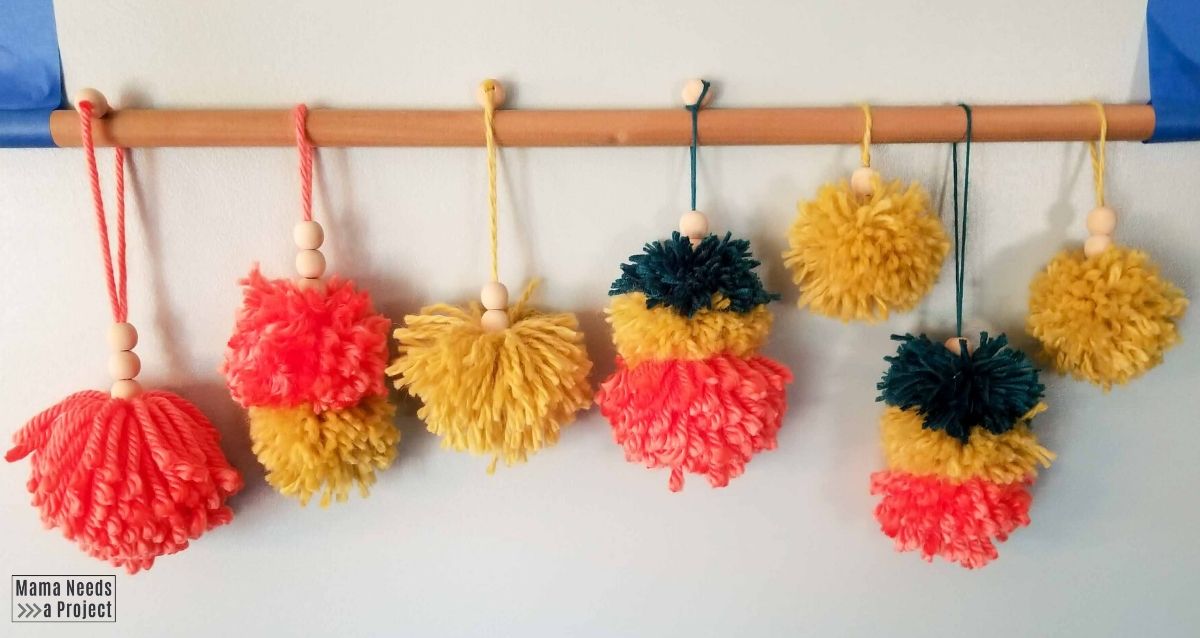
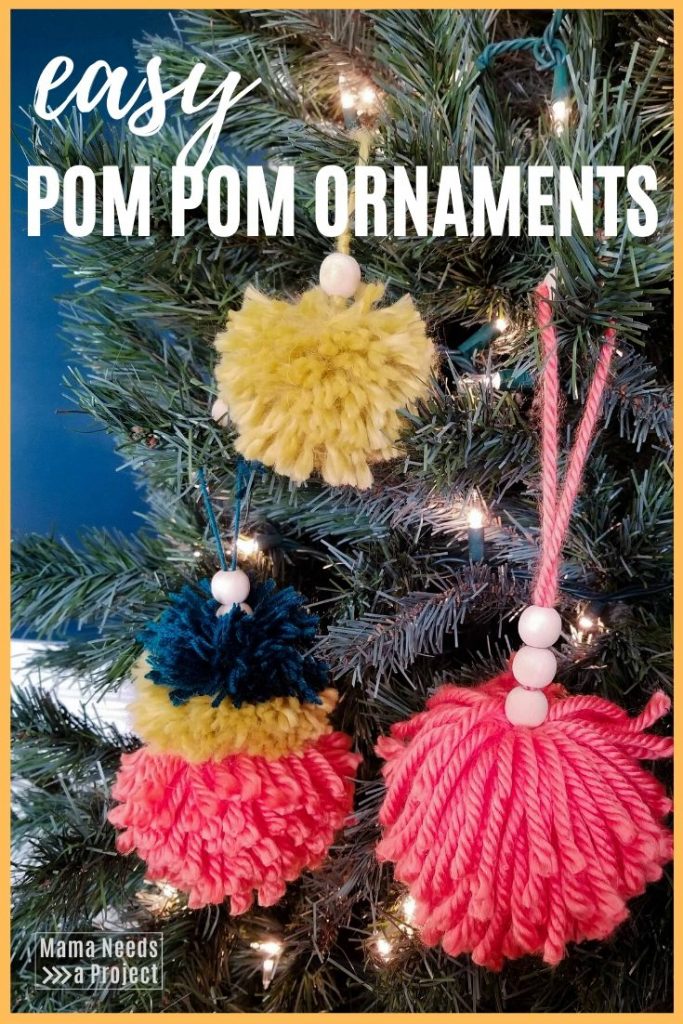
I have been on a serious pom pom kick lately! I recently learned how easy it is to make them and I just can’t stop. I’ve turned many of my cute little pom poms into DIY Pom Pom Christmas Ornaments and they’re so cute!
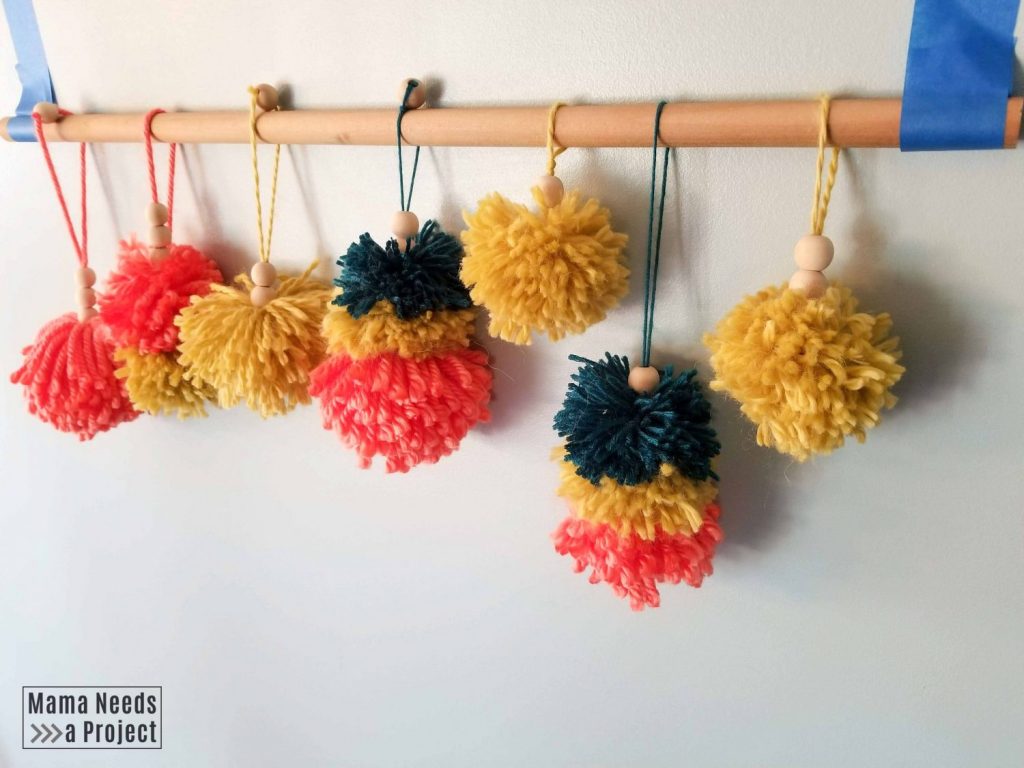
I’ve always decorated pretty traditionally for Christmas, but this year I’m embracing my rainbow-loving self and we’re having a colorful, playful Christmas instead. I’m creating as much decor as I can and, you guys, it’s going to be so bright and fun!
First on the DIY Colorful Christmas list is these super simple DIY Pom Pom Ornaments. I’ll walk you through how to make them and then you won’t be able to stop either – they’re just so cute!
Download the Templates
Easy Pom Pom Christmas Ornaments
This post contains affiliate links.
Supplies
- DIY Pom Pom Templates
- Cardboard
- Yarn
- Regular scissors
- Small fabric scissors
- Wood beads
- Plastic straw
Pin for later!
Make your Pom Pom Maker
First, you’ll need to make your pom pom maker. The DIY Pom Pom Template in the free resource library has 4 different size pom poms you can choose from to create your pom pom maker. I suggest using all of the sizes so you have some variety in your Pom Pom Christmas Ornaments.
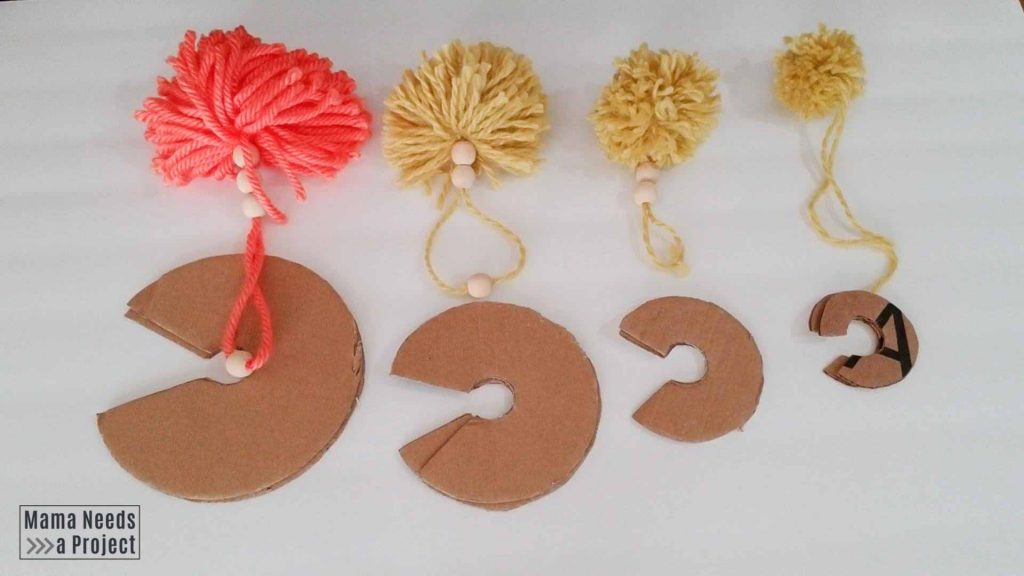
To use the template, print it out on regular paper. Then, cut out the size you will be using. Trace the template onto cardboard and cut out two copies of the same size out of cardboard. You can use any type of cardboard, but stiffer cardboard works best. The two pieces of cardboard will serve as your pom pom maker.
Wrap the yarn
Place the two pieces of your cardboard template on top of each other so that the openings line up. Then, start wrapping your yarn around the template from the inner circle to the outer circle.
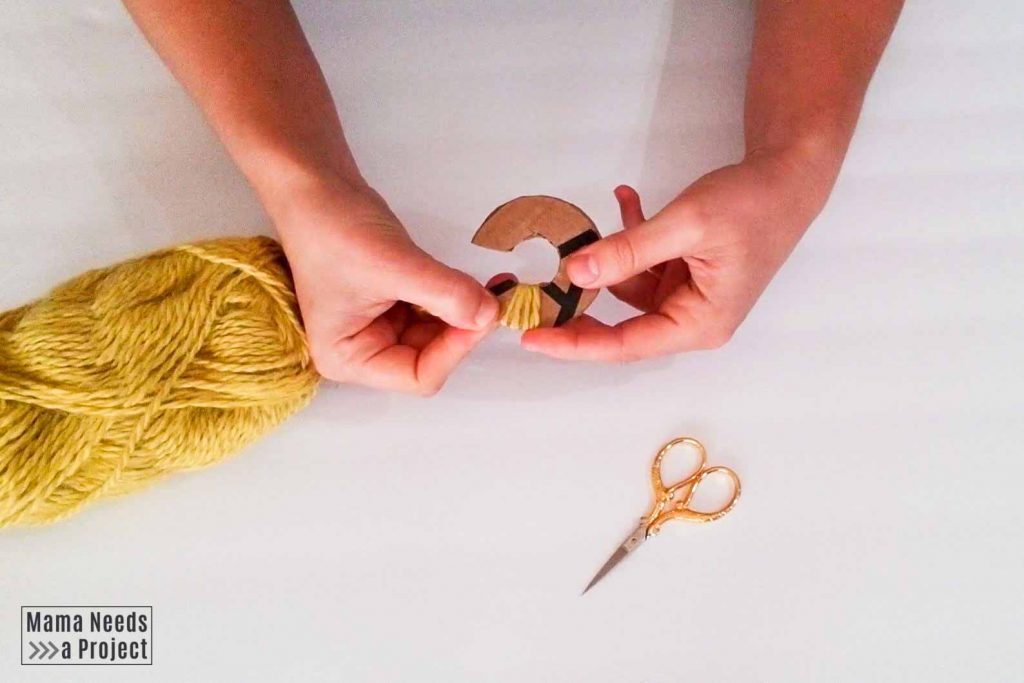
Wrap the yarn tight enough that it will not come off of the pom pom maker, but not so tight that it bends your cardboard.
Cover the entire template with yarn. The more yarn that you use, the fluffier your pom pom will be.
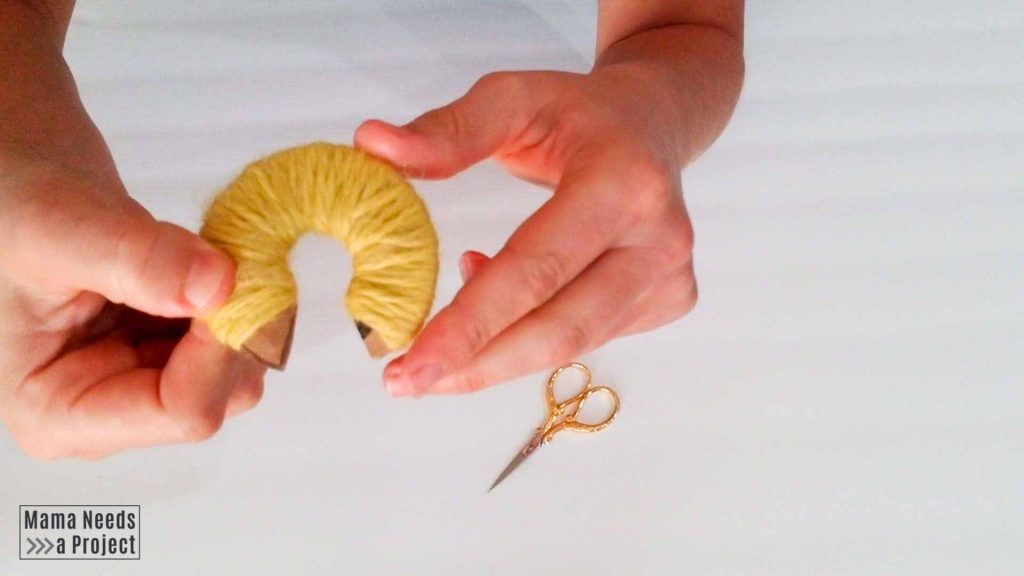
Once you have covered all of the cardboard, cut the end of piece of yarn so the pom pom maker is no longer attached to the yarn bundle/skein.
Cut around the outer edge
After the yarn is wrapped completely around the cardboard pom pom maker you will use your fabric scissors to cut it.
Place your scissors on the outer edge of the pom pom maker between the two pieces of cardboard. Cut around the pom pom maker right in between the two pieces of cardboard.
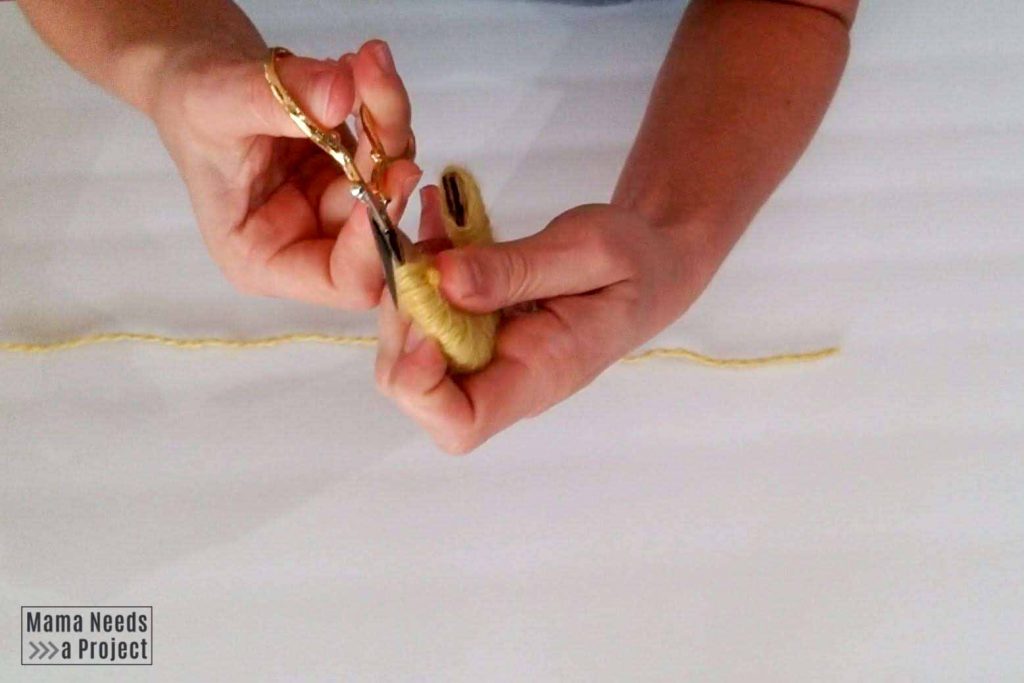
As you’re cutting, use your thumb to keep the cut pieces of yarn in the center of the pom pom maker. This is a little more difficult with the smaller size pom poms because the yarn is so short, but it is much easier with the larger pom poms.
Tie it together
Next, grab some more yarn and wedge it in between the two pieces of cardboard. Wrap it around the pom pom a couple times and then pull it tight. You’ll start to see the cute little pom pom shape for your Christmas ornament now!
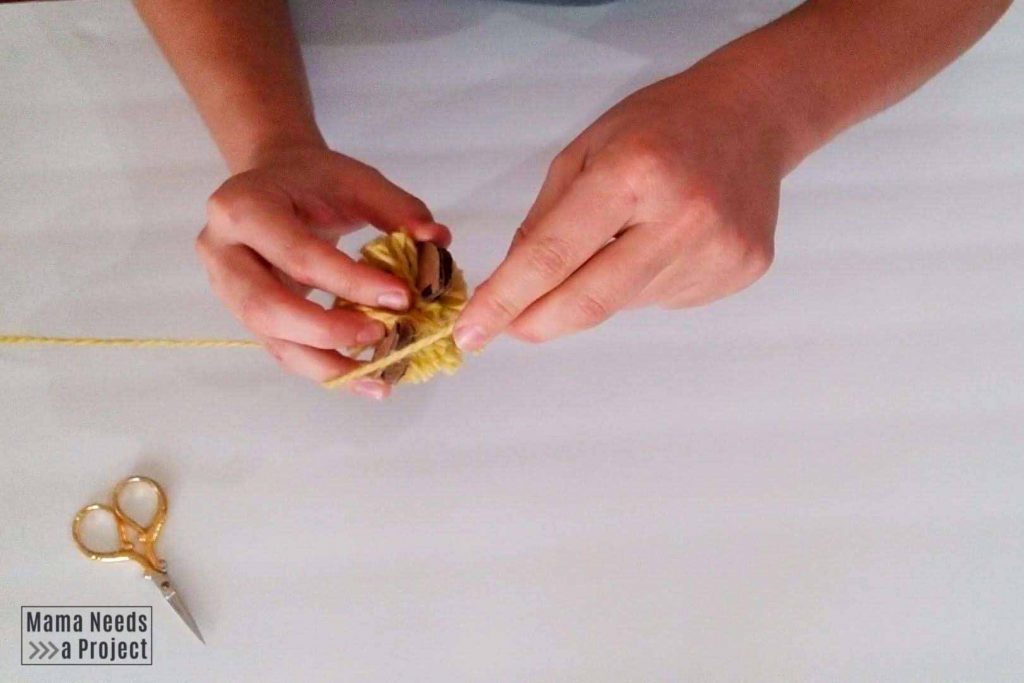
When you’re pulling the yarn tight, be sure to hold on to the cardboard template with your other hand. If you don’t, the yarn will all go flying – I found this out the hard way.
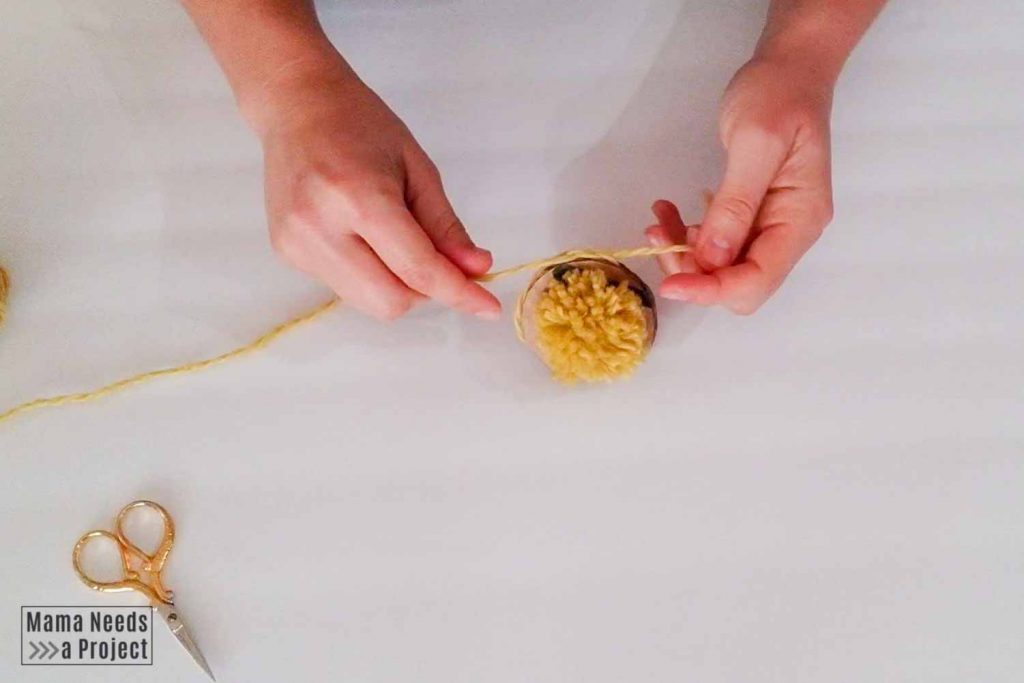
Once you have your string tight, tie it in a knot right between the two pieces of cardboard. Then, you can remove your pom pom from the cardboard pom pom maker.
Add some beads
Now, let’s add a few beads to this Pom Pom Christmas Ornament. I used natural wooden beads and I think they look so good with the colorful, fluffy pom poms.
When selecting beads to use, look for beads with a larger opening in the center. It will be much easier to thread them onto the yarn if the hole to put the yarn through is larger.
It is difficult to thread beads onto yarn because the yarn fibers tend to go in all directions instead of straight through the opening. I used a plastic straw to guide the yarn through the beads. I’ll show you two different ways you can use the straw to thread the beads.
Plastic Straw Method 1
This first method works best with thinner yarn.
Cut your plastic straw so that you have a small piece about 1” long. Then, twist the long pieces of yarn on your pom pom together so they are thin. Push the yard through the straw. Then, put the straw through the bead.
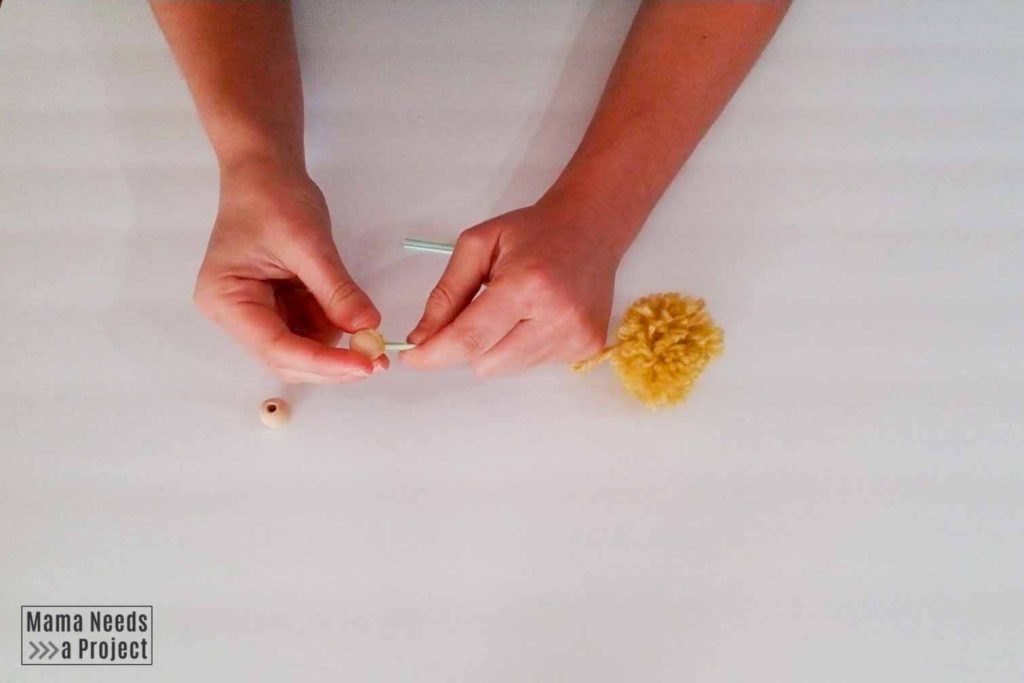
The straw works to stabilize the thread so that it is easier to pull through the wooden bead.
This only works if the hole in the bead is big enough for the straw to go through. You can also fold the straw in half lengthwise after inserting the yarn to push the straw through a smaller bead.
Plastic Straw Method 2
This second method is what I have been using for thicker yarn.
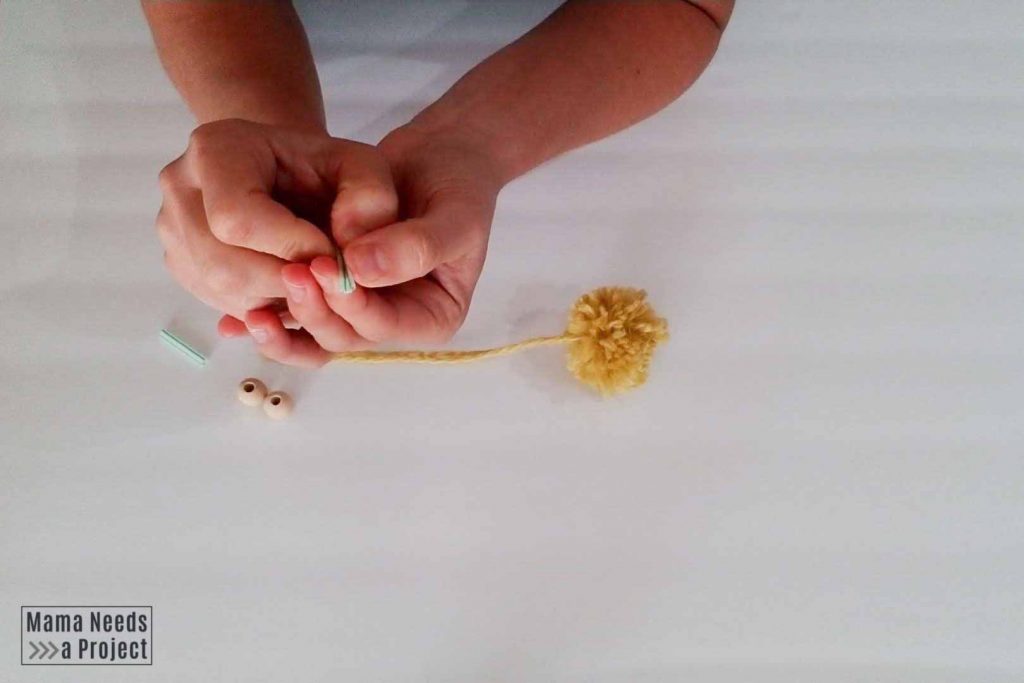
Cut another piece of your plastic straw to about 1” long. Then, flatten the straw. After the straw has been flattened, fold it in half lengthwise. (For us Americans, that’s hot dog style.)
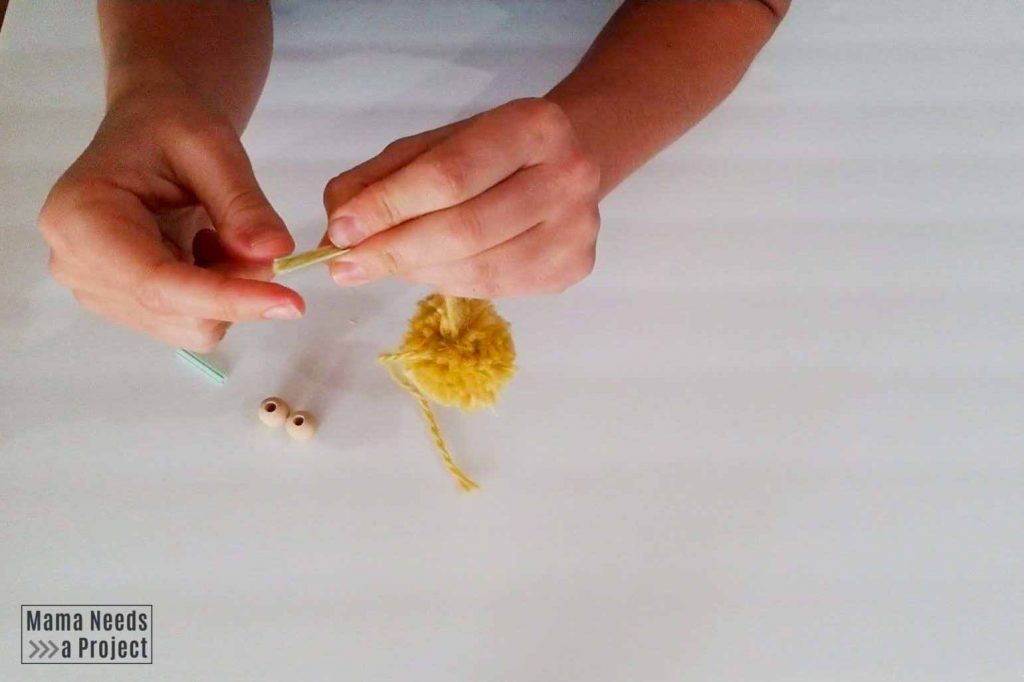
Place your yarn in the fold of the straw and wrap it over the end. Hold the yard tightly onto the straw. Then, thread the straw through the bead. Use the folded straw to push the yarn through the bead.
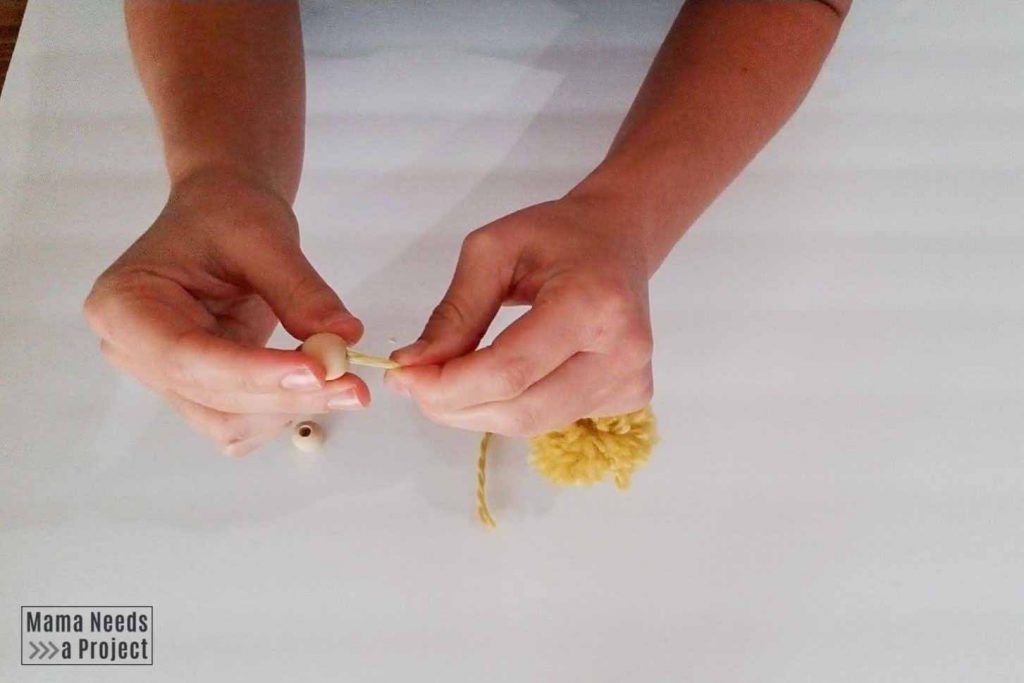
This method takes a bit more time, but it’s the best way I’ve found the get the beads onto thicker yarn.
DIY Pom Pom Christmas Ornaments
After you have threaded the beads onto the pom pom, tie a few knots above the beads to keep them in place. Then, tie the two pieces of yarn together to create a loop to hang your DIY Pom Pom Christmas Ornament with.
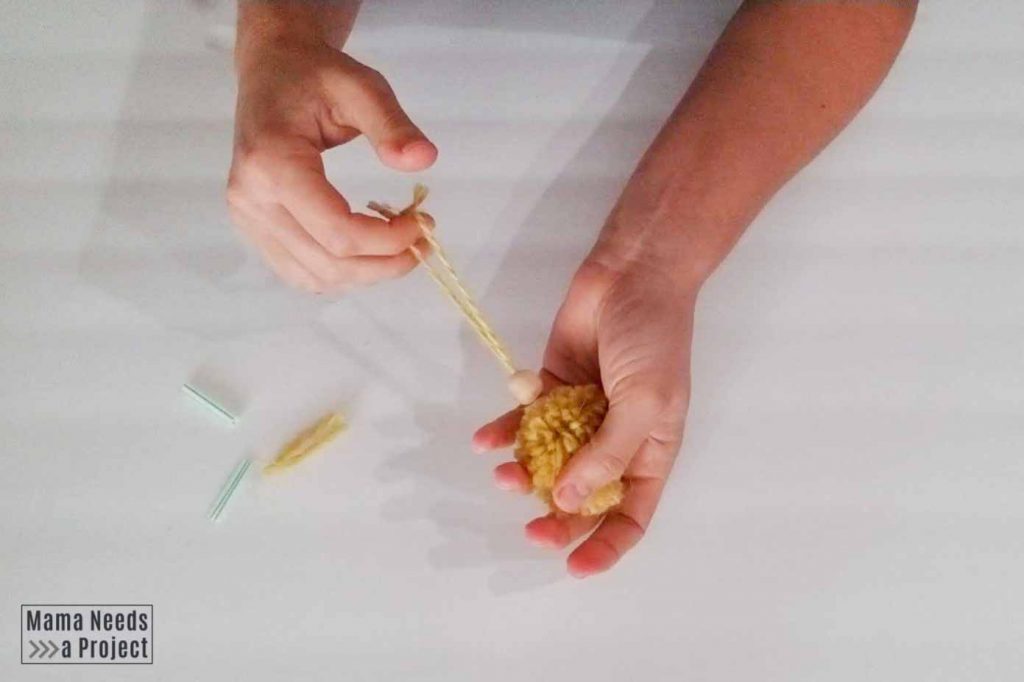
And you’re done! Isn’t it so stinking cute?
Making Pom Pom Christmas Ornaments is a super easy and inexpensive Christmas craft that will add some serious playfulness to your colorful holiday decor. I’m all about the color and fun this year!
I want to hear from you!
If you make some Pom Pom Christmas Ornaments, will you share them with me? I’d love to see! You can find me on Instagram and Facebook as @MamaNeedsaProject Share your creations with me and you may just get featured!
Talk to you soon, friend!

