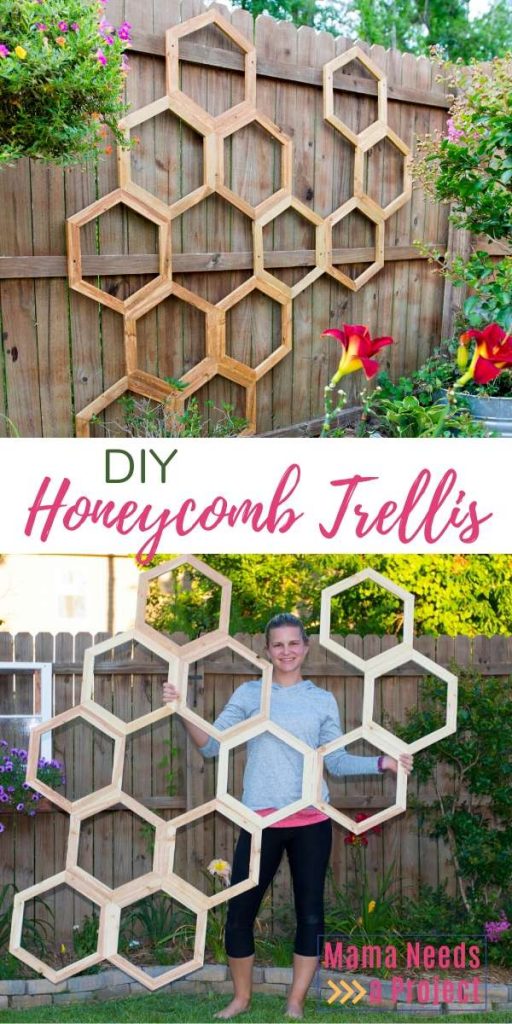
Honeycomb Garden Trellis | DIY Garden Trellis Tutorial (with video!)
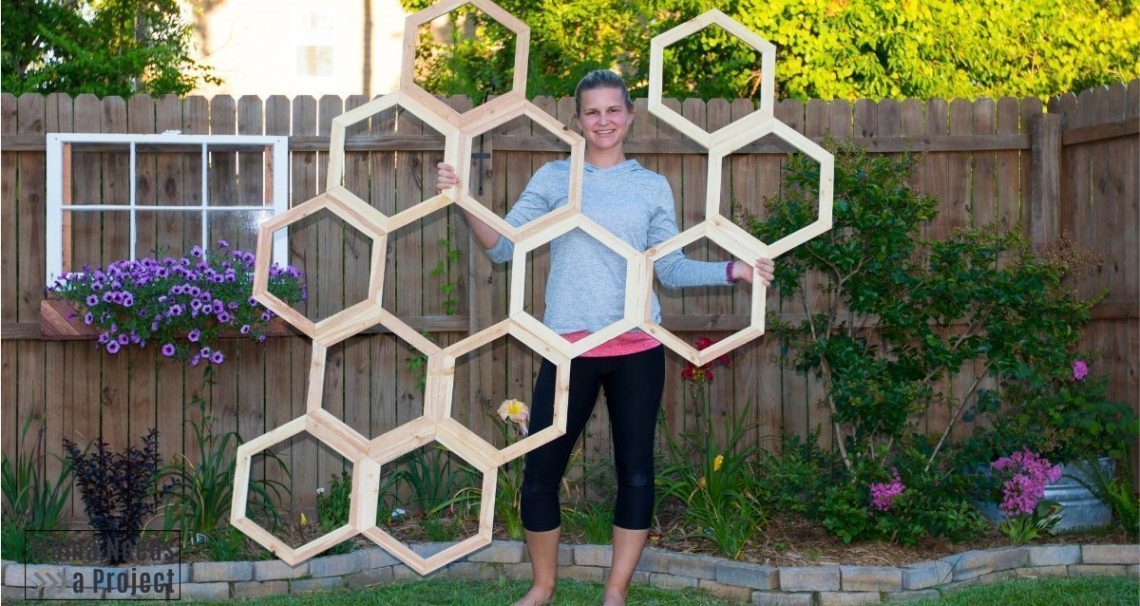
Today I’m teaching you how to build a Honeycomb DIY Garden Trellis.
It is my favorite garden project to date and I know that you’re going to love it, too! You can follow along with my simple tutorial and even grab my printable woodworking plans to build your own DIY garden trellis.
This Honeycomb DIY Garden Trellis is the newest addition in my recent string of hexagon projects. And, it’s totally my favorite!
First there was the Stacked Hexagon Wood Flower Pot.
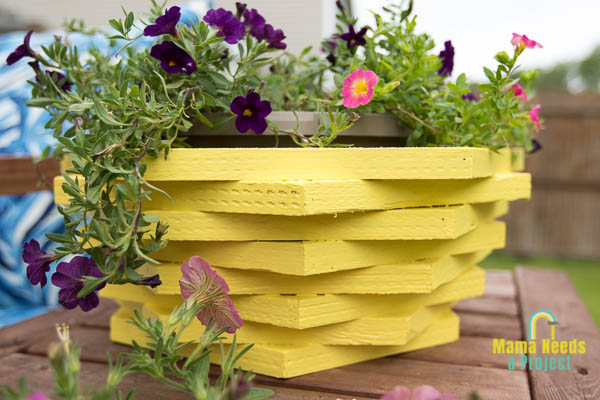
And then there was the Pineapple Planter.

And now, this seriously amazing garden statement piece.

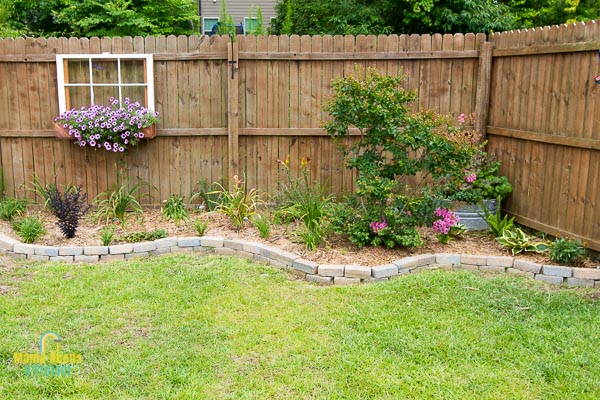
I absolutely love how this garden is coming together!
It’s been a labor of love with lots of special touches. The flowers on the Fence Mounted Window & Flower Box have exploded with the recent rain here. That purple is so perfect! And the red day lilies – so good! My crepe myrtle is just starting to bloom – see the pink on the bottom – with so many more buds ready to open. I can’t get over how seriously amazing this little corner is!
And, surprisingly, the marigolds in Charlie’s Rainbow Garden have not only survived his aggressive gardening, but they are thriving! Maybe he’s on to something with those dump trucks derbies he holds in there.

But, back to the Honeycomb DIY Garden Trellis. This latest project adds some serious punch to the garden design and if you can’t tell, um I love it.
Below I’m sharing the steps I took to build my DIY garden trellis and I hope it will encourage you to build your own!
*this post contains affiliate links
Honeycomb DIY Garden Trellis Woodworking Plans
I’ll go over some of the details of this project here. You can grab the full instructions in the printable woodworking plans in my woodworking plans shop.
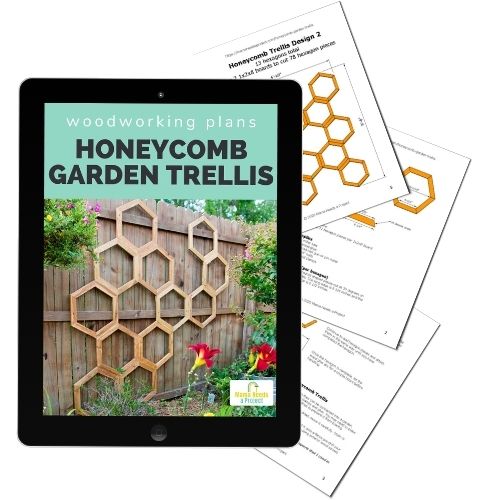
All of the woodworking plans in my shop include a lumber list, cut list and supply list. They also feature digitally rendered images and detailed instructions that walk you through each step of the build. I use easy-to-understand language that’s perfect for beginners.
Build Your Honeycomb DIY Garden Trellis
Supplies
This post contains affiliate links.
- Honeycomb DIY Garden Trellis Woodworking Plans
- 1x2x8 pine boards
- miter saw
- nail gun or pin nailer
- wood glue
- clamps
- drill
- (optional) chicken wire
1. Measure Your Space
Before starting I recommend measuring the space where you plan to mount your honeycomb DIY garden trellis.
When mounting the trellis onto the fence, it needs to be screwed into all 3 horizontal fence supports. So you’ll need to measure the distance from the bottom support to the top. For me this was about 60 inches.
I also measured how wide I wanted the trellis to be. My measurement for width was about 55 inches. But, I let the width be flexible based on the design.
You can create the same honeycomb designs that I made by following the templates in the Honeycomb Garden Trellis woodworking plans.
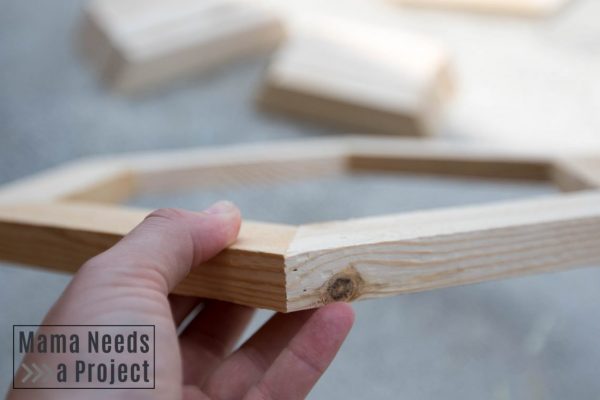
2. Cut Hexagon Pieces
Hexagons are surprisingly easy to create with a miter saw. Adjust your miter saw to cut at a 30 degree angle. You will cut all of the pieces at this angle.
The hexagons I built for my honeycomb trellis are 16-1/2 inches wide when measured from corner to corner. To make the hexagons I cut 6 pieces of 1×2 into trapezoids with a 30 degree angle on each side. The short side of the trapezoid measures 6-1/2 inches and the long side measure 8-1/4 inches.
I was able to make just shy of 2 hexagons at this size per 1x2x8 board.
You can also use a table saw if you have one handy, and a circle saw will also get the job done.
If you don’t have a saw handy, you can try some of these ways to cut wood without a saw – but it’s easiest just to use a saw.

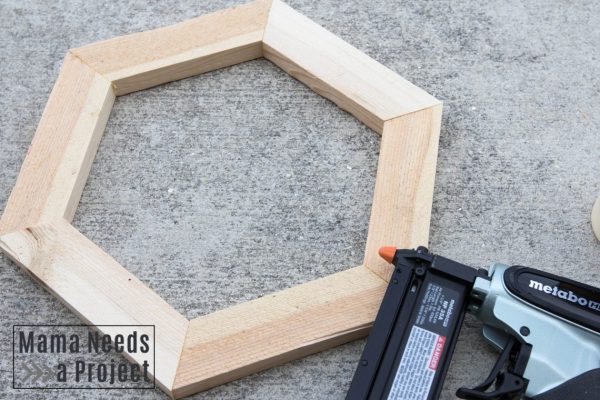
3. Build Hexagons
To build a hexagon, place 6 trapezoid pieces together into a circle with the shorter sides in the middle. Ta da!
Connect each joint of the hexagon using wood glue and a pin nailer. I used 3/4″ nails for this. Let the glue dry for a couple hours before moving on to the next step.
Want more advice on cutting and building hexagons? Click to be taken to post with a detailed hexagon tutorial.
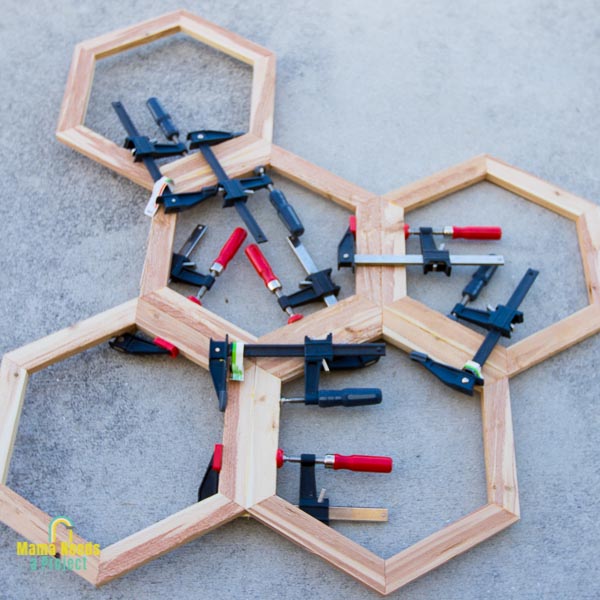
4. Connect Hexagons into Honeycomb Shape
After I finished building my hexagons, I spent some time laying them out in different patterns until I was satisfied with how they looked.
This is when it’s important to remember those measurements you took originally. Make sure your honeycomb trellis is tall enough that it can be connected to all 3 horizontal fence supports.
Once I had a design that I liked, I connected the pieces with wood glue and clamped them for several hours. I didn’t have enough clamps to do this all at once so I clamped it in stages.
I recommend leaving your trellis clamped for at least 3-4 hours to make sure the glue has dried. The time it takes the wood glue to dry will depend on the temperature and humidity.
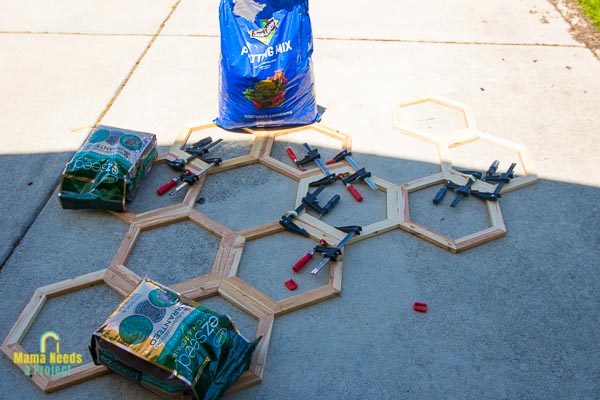
In order to keep the trellis flat while the glue was drying, I stacked some heavy items on areas that were bowing up.
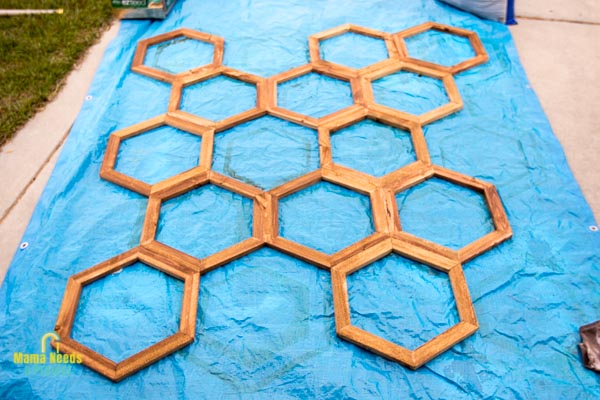
5. Stain
After the glue has dried it’s time to stain that beautiful honeycomb!
I chose a light/medium stain and applied it with a rag. I think it would look great with an even lighter stain to add some real contrast to the fence.
I recently compiled a list of some of the best wood stains for pressure treated wood that would be perfect. While these are often used on decks, they can also be used on wood fences!
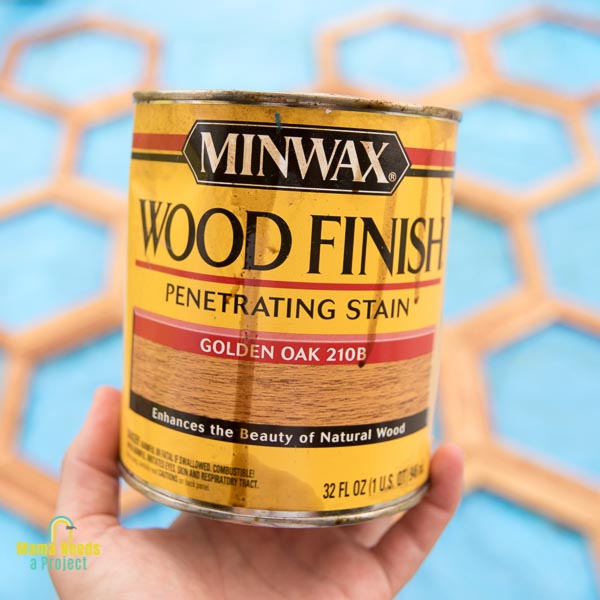
update: The stain I used for my trellis was not an outdoor stain and the color faded pretty quickly. I recommend using an outdoor stain to help protect the color from fading in the sun and rain.
6. (Optional) Add Wire Mesh
I had initially planned on installing some chicken wire on the back of my trellis to give better support to whatever vine I end up growing on it. But, I changed my mind when I saw how shiny the wire looked against the wood. It totally took away from the affect of the DIY garden trellis and so I opted to wait to install the wiring until I was ready to start growing my vines.
If you want to put a wire mesh like chicken wire behind the trellis you can do so pretty easily with a staple gun. I had planned on stapling the chicken wire to the fence and mounting the honeycomb garden trellis on top of it. Then, trim the wire down to match the outline of the honeycomb.
I may end up adding chicken wire for support later depending on what type of vining flower I plant.
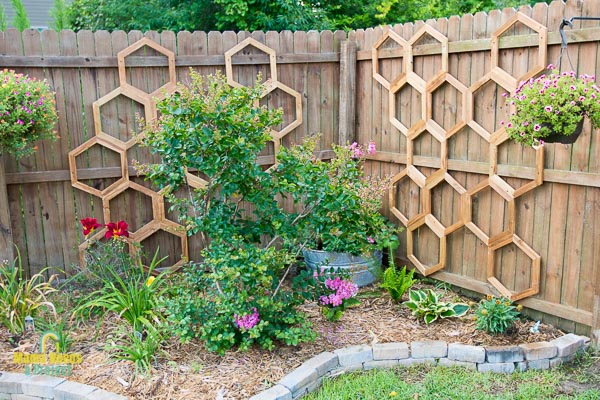
7. Mount on Fence
The only step left is to mount the trellis to the fence!
I used 2″ exterior wood screws and attached the trellis at every point that it met up with the horizontal supports of the fence. Be sure to pre-drill your holes to prevent the wood from splitting.
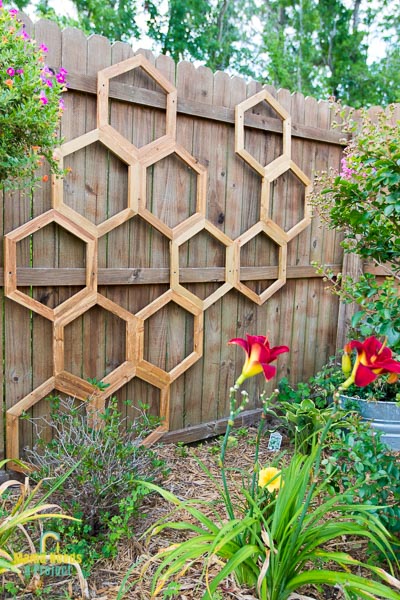
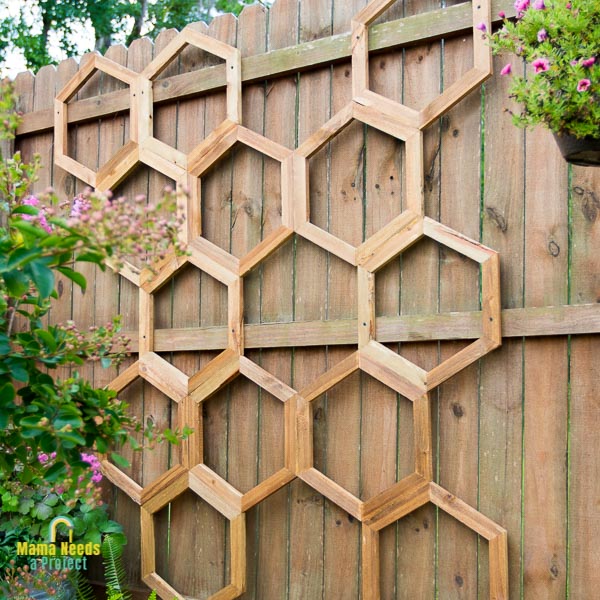
Honeycomb DIY Garden Trellis
Now that you know just how easy it is to build this honeycomb trellis, I hope you’ll make one for your garden! I absolutely love the texture it adds to my little corner garden! Even without any vines growing up it, it’s a seriously beautiful statement piece in my garden. I love that it adds height and vertical interest in that once boring corner.
If this wasn’t my favorite spot before, it definitely is now!
Save to Pinterest!
I want to hear from you!
Tell me what you think in the comments below! I’m happy to answer any questions you have about building this project. And if you have any suggestions for what you think I should plant on this trellis – let me hear it!
If you decide to build this Honeycomb DIY Garden Trellis or a version of it, pretty please share it with me! You can find me on Instagram @mamaneedsaproject or on the Mama Needs a Project Facebook page.
Happy building! 🙂