How Long Does Polycrylic Take to Dry? (Quick Drying Tips!)
If you have a wood project you want to seal, there are tons of different options. One of the most popular is polycrylic – a water based sealant that you can use to seal all sorts of DIY projects.
But you might be wondering how long it takes polycrylic to dry once applied. In this guide, I’ll explain exactly how long it will take your piece to dry and cure. Let’s dig in!
- Under normal conditions, it takes polycrylic around 30 minutes to 2 hours to dry and 1-2 days to cure completely.
- There are numerous factors that affect the dry and cure time of polycrylic including temperature, humidity, air flow, and thickness of application.
How Long Does Polycrylic Take To Dry?
Since polycrylic’s base is water, it will dry faster than oil-based polyurethane. Drying time will depend on the environment in which you apply the polycrylic; however, there are a few general time measurements you should know when working with polycrylic finish.
Polycrylic takes about 30 minutes to one hour to dry to the touch. At this point, you want to ensure you don’t bump or place anything on the surface since this could chip or create a dent in the finish.
Allow the polycrylic to sit for at least two hours between coats. During those two hours, the water from the polycrylic will evaporate. Avoid applying another coat before it is completely dry to ensure you don’t mess up the previous coat.
How Long Does Polycrylic Take to Cure?
Polycrylic cure also depends on environmental details such as room temperature, airflow, thickness, and humidity.
Generally speaking, you need to allow it to cure for at least 24 hours but in some conditions it can take up to 72 hours to cure.
The curing process allows all the water to evaporate from the finish, leaving you with a solid, impenetrable coating on your wood surface.
How Many Coats of Polycrylic Should You Use?
The amount of coats of polycrylic you need is subjective and will depend on how thick you apply the coats as well as how much protection you want. In many cases, the manufacturer will place a suggested number of coats on the label, but this isn’t always the case.
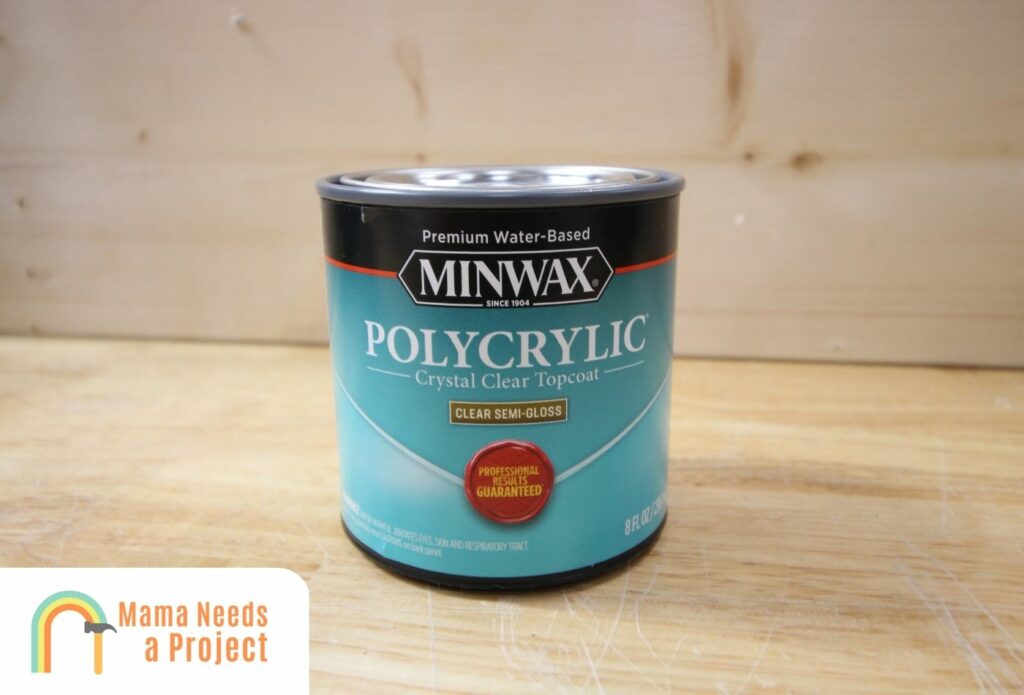
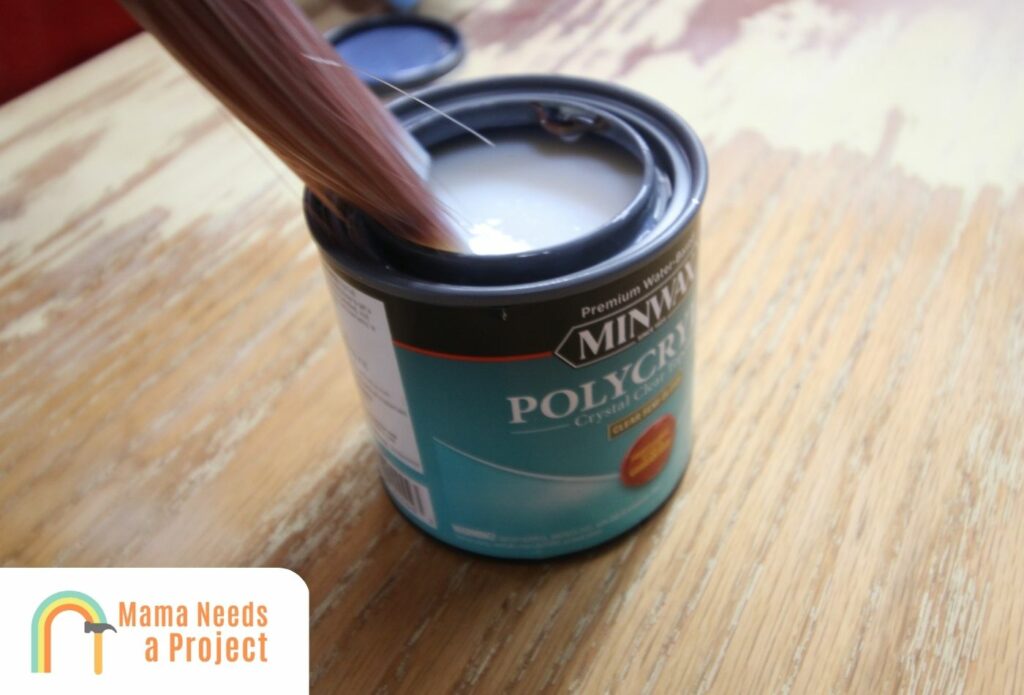
For example, on a container Minwax polycrylic protective finish, you will see a recommended three coats. Other companies might recommend two coats of polycrylic.
A good rule of thumb is to go with at least two or three coats, but a fourth coat may be necessary, especially on wood surfaces that are used frequently, such as cabinet doors.
How to Speed Up the Drying Time
If you’re in a time crunch and need your polycrylic to dry quickly and evenly, try one of these methods to speed up the drying process.
1. Increase Air Circulation
Airflow is a major factor that can slow down the drying process of your finish. Stale air can really slow it down so if you’re applying it indoors, try the following steps to increase air circulation.
- Open all the windows in the room
- Turn on ceiling and floor fans
- Open any doors you can to allow increase air circulation
If you are applying polycrylic to a wood project outside, the breeze may help dry it quicker. However, it may be more humid outside than in your house, which can become counterproductive depending on the levels.
Also, you should be aware of bugs and debris the wind may carry. It would be a bummer to complete a project but then realize after there is dust or a bug forever sealed in your polycrylic finish.
2. Use Heat
Heat can help to speed up the drying process when you apply polycrylic – but you have to be careful. Too much heat can cause some common polyurethane mistakes that can be a pain to fix.
A regular household hairdryer can dry polycrylic quicker, though it works best on a smaller project since you can only apply heat to a small area. I recommend using the low or medium setting and holding the hairdryer at least 10″ from the surface to get an even dry area. This will also help with air circulation.
3. Apply Thin Coats
It’s common sense that if you use a thinner coat, it will dry quicker than a thick coat.
Make sure the thin coat covers the entire surface of the wood, but you don’t want it to be too thick or have a “goopy”-looking.
4. Keep Humidity Low
A dehumidifier can be your best friend when applying polycrylic to your projects.
The general rule is the humidity of the room should be less than 50% to allow the polycrylic to dry completely.
As soon as you start your project, turn the dehumidifier on and let it do its job. Just keep in mind, you may need to work quicker while applying each coat since the drying process will be sped up using a dehumidifier.
How To Apply Polycrylic
Applying polycrylic is a fairly simple process that you can complete with just a few steps.
1. Prep the Wood Project
Before you apply any type of finish to wood, you need to prep it properly.
This means you need to sand the surface to make it as smooth as possible so the finish can be applied evenly and smoothly.
It’s best to sand using coarse grit sandpaper first to get any rough patches smoothed out, then switch to a fine grit sandpaper to get it even smoother.
Once you’ve sanded, be sure to remove all the dust from the surface. If you plan on staining or painting the project before applying the polycrylic protective coating, then you should do that now. Follow the instructions for the specific paint or stain you choose.
Once you have finished staining or painting and allowed it to cure completely (or if you are sealing bare wood), you can move on to the next step.
2. Apply the First Coat
Next, you can apply the first coat of polycrylic to your surface. It’s critical to mix the polycrylic completely before applying it. Do not shake it as this can cause bubbles in the sealant which you don’t want.
Always wet the brush with water before dipping it into the polycrylic mixture.
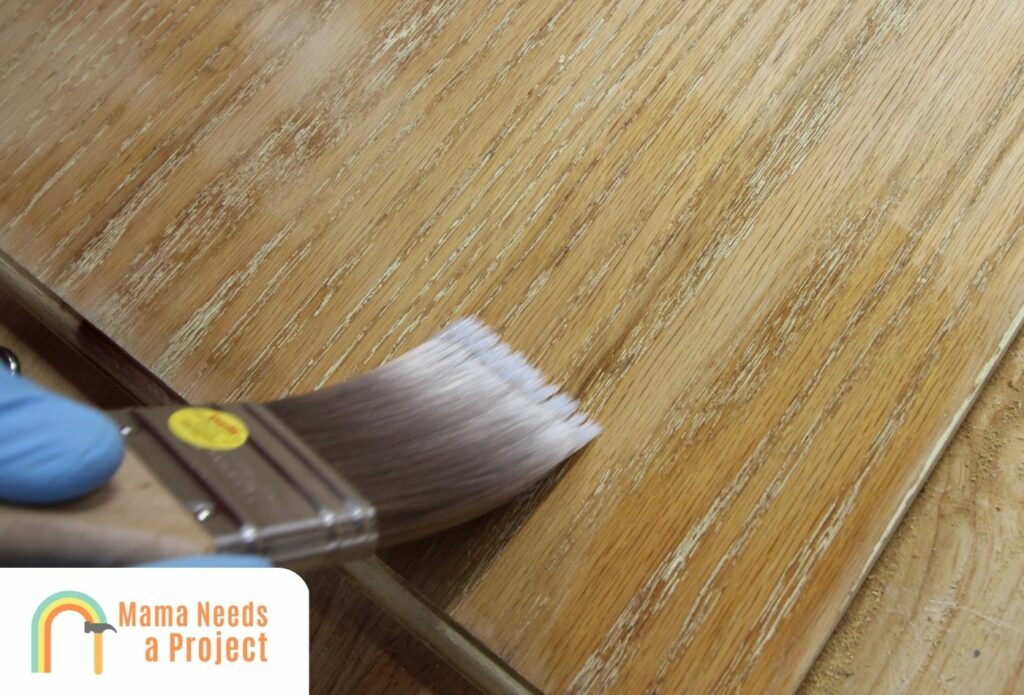
You want to move quickly when applying polycrylic and use as few brush strokes as possible to avoid any brush marks or an uneven coat. You should use large sweeping strokes in the direction of the wood grain.
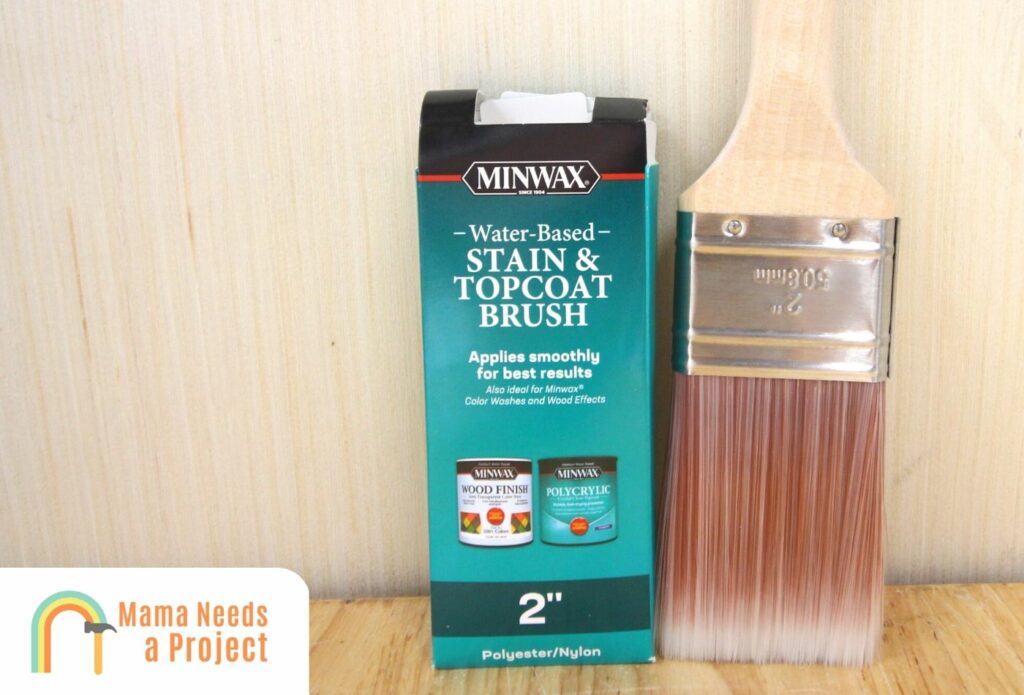
I recommend using one of these polyurethane brushes when you apply polycrylic. There are three types of brushes I would recommend: a natural bristle brush, a synthetic bristle brush, or a foam brush. To limit brush strokes, I’ve found that natural bristle brushes work best.
If there are any noticeable brush strokes, it’s best to go over them again before it has dried.
3. Sand the Polycrylic
After the first coat has dried for about two hours, take a very fine sandpaper and lightly sand the polycrylic protective finish. This will give the surface a glass-like look.
You don’t want to sand it down too much to the point where you’re removing the finish, you want a very light sand to roughen up the surface a bit.
Next, remove all the dust from the surface before applying the second coat.
4. Apply Additional Coats
In many cases, you’ll need more than one coat to properly protect your wood.
Repeat Steps 1-3 until you come to your last coat. Do NOT sand the final coat.
Finally, set the piece aside and allow it to cure completely (at least 24 hours, but sometimes up to 72).
Check out this guide to learn how to make polycrylic more slippery!
FAQs
Polycrylic vs. Polyurethane
There is a time and a place to use both polycrylic and polyurethane finishes. Here are a few things to keep in mind when trying to decide which to choose for your next woodworking project.
- Polyurethane can have a much stronger chemical smell than polycrylic.
- Polycrylic is not quite as durable as polyurethane.
- Polyurethane comes in oil-based and water-based options.
- Polycrylic should only be used for interior wood projects.
- Polycrylic is not a good choice for sealing floors, but polyurethane is.
How to Avoid Bubbles in Polycrylic
There are a few different ways you can avoid air bubbles. First, use a clean damp cloth or rag to apply polycrylic to your project. You also want to make sure you mix the can of polycrylic completely and soak the brush with water before dipping it into the can.
How to Avoid Polycrylic Yellowing
Polycrylic is one of the few clear protective finish options that won’t yellow over time. You should be safe from your projects turning yellow if you use polycrylic.
Is Polycrylic Waterproof?
Since polycrylic is water based, it is not waterproof. However, it is water resistant, and as long as you wipe away any moisture left on the surface shortly after a spill or leak, your surfaces should be safe.
How Long Does Polycrylic Last?
Most polycrylic applications will last between two to four years. You will then need to reapply to give your wood surfaces a brand-new seal.
Final Thoughts
Polycrylic finish is an excellent choice for all kinds of wood projects, from furniture to doors. As long as you apply polycrylic properly, it will be a protective finish that also looks gorgeous and displays the natural beauty of your wood.
Polycrylic will dry in around 30 minutes to a couple of hours and it completely cures in under 72 hours.
If you’re in a pinch and need to to dry quicker, be sure to apply thin coats, ensure there is proper air flow, and the humidity is low.

Miriam Ronne wears many hats, including but not limited to freelance writer, blogger, professional quilter, serial DIYer, and obsessed dog mom. She loves to teach beginners how to do all sorts of crafts and techniques. If she’s not writing her next blog post, she’s either sewing a new project or playing with her pup. You can find Miriam on her blog, Stitch Obsessed, or connect with her on Instagram.