How Many Coats of Polyurethane? (Simple Answer!)
Polyurethane is my go-to finish for many projects, including ones that need maximum protection.
But you might be wondering how many coats of polyurethane you really need.
After all, waiting in between coats takes time, and it’s more work.
Whether you’re looking to give a piece of furniture a smooth finish or you want to add protection for your kitchen cabinets – using a polyurethane is a great idea.
In this guide, I’ll explain exactly how many coats of polyurethane you should apply and much more. Let’s dig in!
Depending of the type of polyurethane you’re using, the outcome you desire, and the type of surface you’re coating – it can take anywhere from two coats to over five coats of polyurethane to get the job done. For surfaces with more wear and tear, like floors and furniture – apply at least 3 coats.
How Many Coats of Water Based Polyurethane?
If you’re using water-based polyurethane, you should apply at least three coats to the surface. To create an especially thick surface, five to seven coats may be necessary.
Even though some products are advertised as “one-coat polyurethane” – it’s best to apply multiple coats to ensure a strong barrier is created.
The main reason why more coats are required is because water-based polyurethane is thinner. And if you’re applying water-based polyurethane to a surface that you expect will receive a lot of foot traffic, it’s best to use more not less to ensure the polyurethane barrier holds up for a long time.
How Many Coats of Oil Based Polyurethane?
Applying three to four coats of oil-based polyurethane to a surface should create a strong and long lasting barrier. Even though oil-based polyurethane is thicker, you still have to apply multiple coats to ensure the entire surface is protected.
And because oil-based polyurethane isn’t self-leveling, you’ll need to make sure the polyurethane is evenly spread across the surface.
Applying with careful, slow brush strokes is one way you can ensure the polyurethane coat is even before you let it dry.
Applying coats of oil-based polyurethane will be a multi-day process, especially since oil-based polyurethane takes longer to dry. That being said, applying oil-based polyurethane takes as much time as applying water-based, in large part because more coats of the latter polyurethane are needed, meaning the process is spread over a longer period.
How Many Coats of Polyurethane on Floors?
Whether you’re using water-based polyurethane or oil-based polyurethane, you should apply three to four coats on a hardwood floor to ensure a thick, sturdy, and long-lasting barrier.
The reason why you need more coats is because hardwood floors are subjected to foot traffic constantly, and without a sturdy polyurethane barrier a floor will get dented and scratched quite easily.
For this kind of polyurethane application, it’s best to use a roller for the majority of the floor; edges and corners should be addressed with small, thin brushes.
How Many Coats of Polyurethane on Table?
In order to form an effective polyurethane barrier on a kitchen table, at least two to three coats will be needed. The more coats you apply, the smoother the table will be.
In this scenario, one thing to keep in mind is that adding a lot of polyurethane will make the table more glossy. Therefore, if your kitchen table is directly under a light, having too much polyurethane on it may make it too shiny when the light is on.
To get a smooth surface without making the surface too glossy, apply a couple layers of water-based polyurethane, as this is not as reflective as oil-based polyurethane.
How Many Coats of Polyurethane on Wood Countertops?
Whether you’re using oil- or water-based polyurethane, you’ll need two to three coats for a wood countertop.
Some say only one coat is necessary for a wood countertop, but if you’re constantly using this surface, and therefore it’s at a greater risk of getting scratched or dented, it’s best to err on the side of caution and use multiple coats.
And again, glossiness should be considered when you’re determining what kind of polyurethane to use. If, for example, the countertop is too glossy because it’s under a cabinet light, it may be uncomfortable to work on this surface.
Note: If you want less gloss without sacrificing strength, choose water-based polyurethane.
How Many Coats of Polyurethane on Cabinets?
Kitchen cabinets will also require two to three coats of either oil- or water-based polyurethane. Polyurethane should be applied to the cabinets only when they’re off the walls; even low-level cabinets should be dismounted before polyurethane is applied. Once a long-lasting polyurethane barrier has formed, the cabinets can go back on the walls.
Some worry about the polyurethane emitting vapors if the cabinets are above a hot appliance like a stove, but this is an unfounded concern, as polyurethane doesn’t emit toxic vapors once it’s dry.
Because cabinets are not at risk of getting dented and scratched like countertops are, you can apply less polyurethane and get away with it. That being said, if you want the cabinets to be glossy so they match the glossiness of a nearby wood countertop, it’s best if both surfaces get the same number of coats.
How Many Coats of Polyurethane on Stairs?
If you’re applying polyurethane to stairs, you’ll need at least four to five coats for an effective polyurethane barrier to form. Stairs are subjected to foot traffic constantly, and sometimes individuals pound on these with their feet, which makes the barrier all the more necessary.
Depending on how big the stairs are and how they’re arranged, you may need a roller and brush to apply the polyurethane coats. And it’s wise to coat the entire staircase with polyurethane—not just on the steps. If there are banisters, these too should be coated with polyurethane so they match the stairs and don’t wear down before the steps do.
How Many Coats of Polyurethane on Furniture?
Many kinds of furniture can benefit from getting a coat of polyurethane or two, but how many coats is enough? Well, the answer here in large part depends on what the furniture is and what it’s made of. Wood tables, desks, bureaus, nightstands, and vanities should get two to three coats so they are scratch- and dent-resistant.
You also need to consider the conditions the furniture is subjected to routinely before determining how many coats are necessary. In other words, if you’re applying polyurethane to an end table that’s rarely used, you won’t need as many coats as you would if you were applying it to a rocking chair that’s used every evening.
How Many Coats of Polyurethane on a Door?
The number of polyurethane coats a door needs is largely determined by the material it’s made of and the type of door it is. If it’s an exterior door, for example, it’ll need four to five coats, as it’ll be subjected to the elements regularly and need to be sturdy. An interior door, on the other hand, will only need two to three coats.
Doors made of fiberglass or metal will only need one to two coats of polyurethane for an effective barrier to form. This is because these doors are sturdy on their own, so they naturally resist scratching, dents, corrosion, etc. better than their wooden counterparts.
While interior doors generally don’t need as many polyurethane coats as exterior doors, if the door you’re applying polyurethane to is used frequently, applying more coats is better, as this way you ensure the door stays sound for a longer period.
2 vs 3 Coats of Polyurethane?
If you’re wondering if you need 2 vs 3 coats of polyurethane, it will ultimately come down to how much protection you want.
For example, floors, tables, or other projects that require more protection will require at least 3 coats of polyurethane while other projects might only require 2.
Is 4 Coats of Polyurethane Too Much?
4 coats of polyurethane is not too much for some projects that require maximum protection.
In some cases, like hardwood flooring, you might even apply more than 4 coats!
Types of Polyurethane
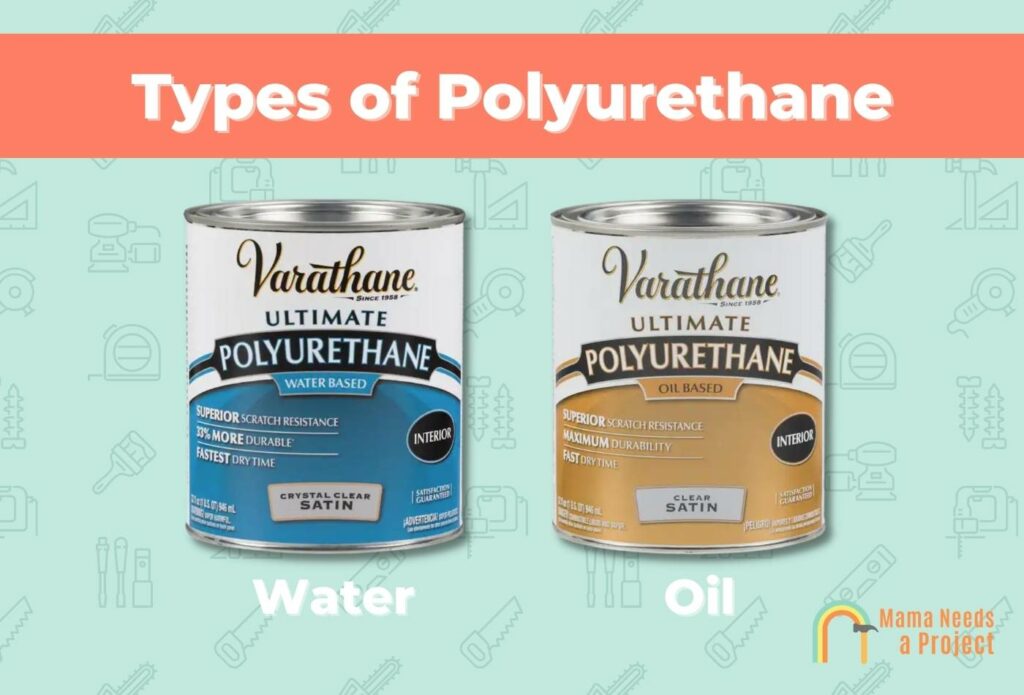
There are two main types of polyurethane: oil-based and water-based. Some surfaces are more receptive to water-based polyurethane, whereas others require oil-based polyurethane. Here’s what you should know:
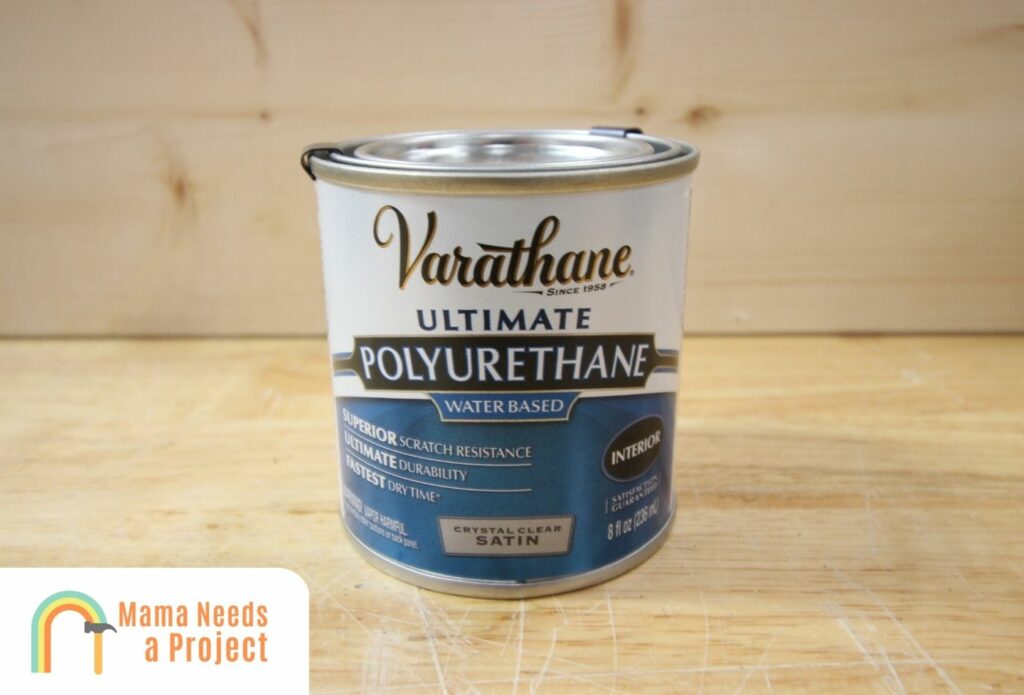
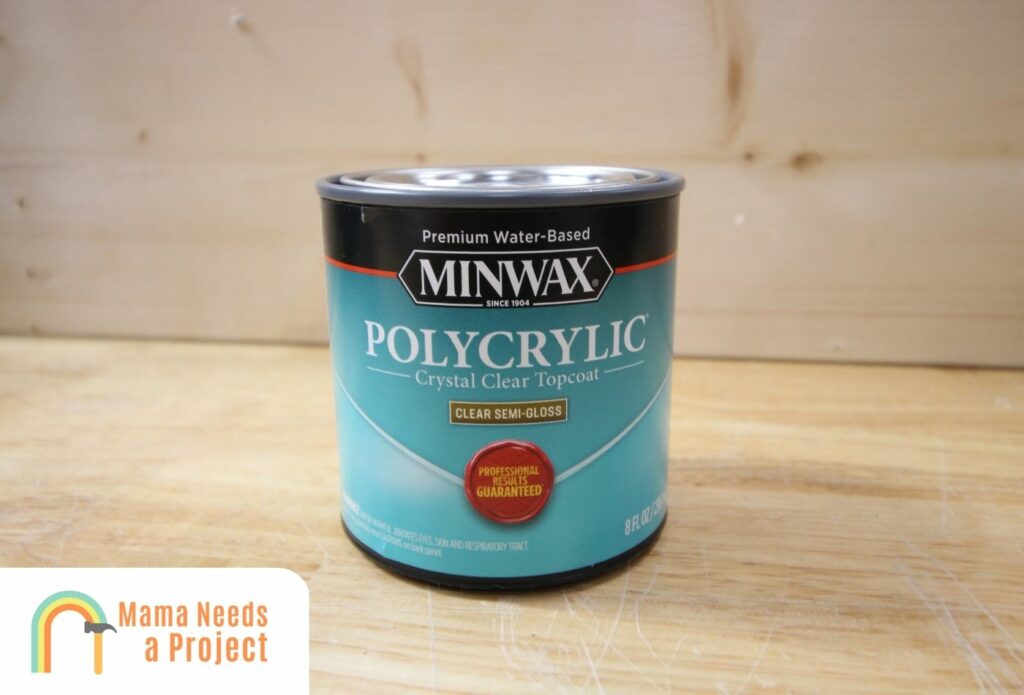
Water-Based Polyurethane
Water based polyurethane is attractive for several reasons.
It’s eco-friendly, self-leveling, easy to apply, odor-free, and just about as durable as oil-based polyurethane.
Generally, a few coats are needed to achieve a smooth surface, as water-based polyurethane is thin; usually at least three coats will do the trick but sometimes as many as five coats will be necessary.
One reason why water-based polyurethane is preferred over oil-based polyurethane is because it dries quicker. And whereas oil-based polyurethane has a strong odor, water-based polyurethane gives off virtually no odor.
In terms of price, however, water-based polyurethane is the more expensive of the two options, usually costing about $3 or $5 more than oil-based polyurethane.
And as far as visual quality is concerned, some argue that oil-based is superior, while others assert both kinds deliver similar visual quality.
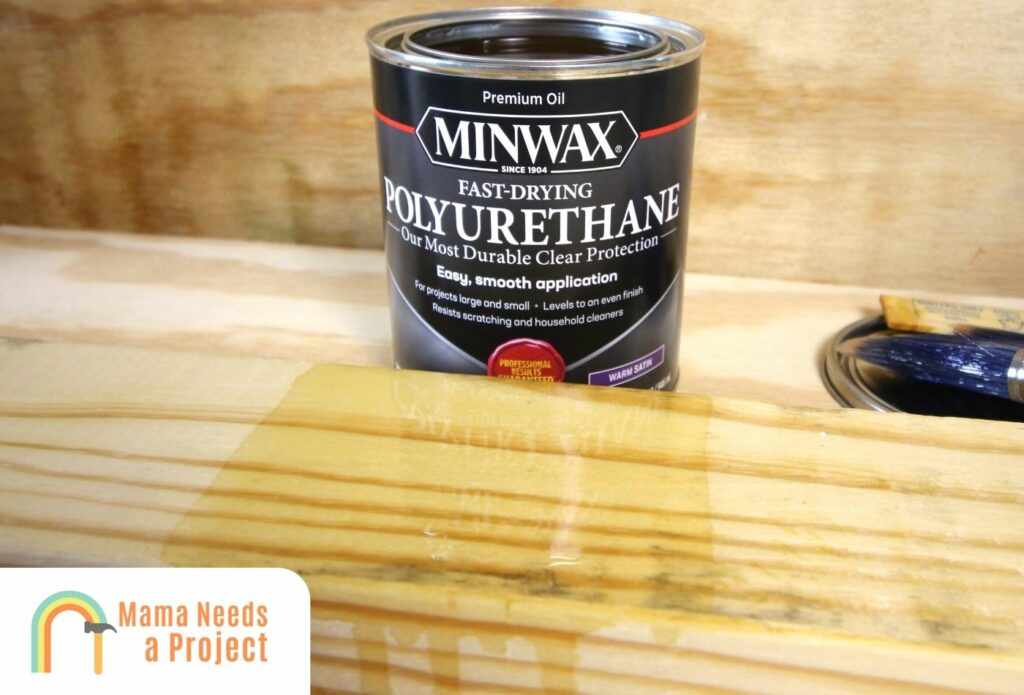
Oil-Based Polyurethane
Oil-based polyurethane is thicker than water-based polyurethane, and it’s brownish whereas the other is translucent.
Because of its thickness, it’s strong and long-lasting, which in part explains why it’s used on surfaces that are regularly subjected to elements that cause wear and tear, e.g. foot traffic in the case of hardwood floors.
Oil-based polyurethane contains more volatile organic compounds (VOC), so it’s not the most eco-friendly resin. And because it has such a strong odor, it’s best to only work with this in a garage, outside, or in a well-ventilated area.
And just because it’s thicker doesn’t mean one coat is sufficient.
In most cases, you’ll need to apply three to four coats of oil-based polyurethane to create a smooth, durable barrier.
Note: It could take days to achieve a sound and visually appealing oil-based polyurethane layer, as it takes awhile for this resin to dry and you’ll at least two coats
Benefits of Using a Polyurethane Coating
1. Protection
A polyurethane coating will serve as a transparent, smooth barrier, protecting a surface from a range of elements that would damage it otherwise. And when combined with epoxy primer, polyurethane becomes corrosion-resistant as well, which is why you’ll often see this coating used on coastal structures that are constantly subjected to sand and salt air exposure.
Polyurethane has been used throughout various sectors of the construction industry for decades, in large part because it can withstand numerous eroding elements and remain visually appealing all the while.
If you want additional protection to your surface, adding a polyurethane resin is a great option.
2. Versatility
Polyurethane’s versatility is another thing that makes it attractive.
It can be applied to a range of materials, including steel, non-ferrous metals, wood, stone, engineered foam, and engineered plastic.
There are also a wide range of finishes available, including metallic, pearl, and numerous solid colors. And as far as sheen is concerned, you can choose either glossy or matte finish.
It can be applied in a few different ways as well. Specifically, there’s spray-on, brush-on, and roll-on polyurethane, and each kind has benefits and drawbacks.
3. Safety
Another thing that makes polyurethane attractive is that it’s safe.
That is, after it’s had time to dry completely, you don’t have to worry about it emitting harmful vapors, even when it’s exposed to high temperatures or humidity for a prolonged period.
But when you’re applying spray-on polyurethane, it’s important to wear a respirator as well as other necessary safety gear, as this way you won’t be harmed during the application process.
Additionally, only apply polyurethane in a well-vented area so you don’t get sick or pass out as a result of being exposed to the fumes for too long.
4. Visual Appeal
Applying a polyurethane coating to a surface can make the surface more visually appealing.
For example, when a transparent polyurethane coating is applied to wood, it accentuates the wood’s natural elements while ensuring the material is smooth and both scratch- and dent-resistant.
When a polyurethane coating is applied to stone, the result is often a glossy, reflective finish that looks amazing under the right lighting. And when a polyurethane coating is applied to metal, it makes this material easier to clean. In most homes, the kitchen is where the visual appeal of polyurethane-coated surfaces is put on full display.
Another great looking finish is spar urethane. Check out my polyurethane vs spar urethane finish comparison for more help choosing the right one for your project!
5. Long-Lasting & Energy-Saving
Since a polyurethane finish can last a long time, you won’t need to replace surfaces that have this coating often, which keeps your home’s carbon footprint low.
Plus, when a polyurethane coating is applied to doors, roofs, windows, and other important structural components, the overall structure will be better insulated and therefore more energy-saving.
Additionally, since a polyurethane coating makes a surface more heat-resistant, you won’t have to spend as much on cooling your home in the warmer months if surfaces throughout it are coated with polyurethane.
Tips for Applying Water-Based Polyurethane
When it comes to applying water-based polyurethane, unfortunately a bit of trial and error will be part of the process. Don’t worry though, as the tips below can help you avoid common mistakes when it’s time to apply polyurethane.
Tip 1: Don’t Sand Too Hard
After applying a coat of water-based polyurethane, you need to abstain from forcefully sanding, as doing so could completely wear down the dried polyurethane. In this case, you’d have to start over again.
Tip 2: Be Generous With How Much Polyurethane You Apply
Another thing you can do is be generous with how much polyurethane you apply. Don’t dump the quart on the table, but put enough on the surface so the whole thing is cloudy; don’t worry, it’ll dry clear.
Tip 3: Use a Brand New Brush to Apply the Polyurethane
You should avoid using brushes that have been used for other tasks. If a brush has had paint on it in the past, for example, remnants of that paint may be inadvertently applied to the surface, discoloring the polyurethane barrier.
A two-inch brush will run you $10 to $15 at most big box hardware stores; this is the best kind of brush, as far as bristle length is concerned, for applying polyurethane.
Tips for Applying Oil-Based Polyurethane
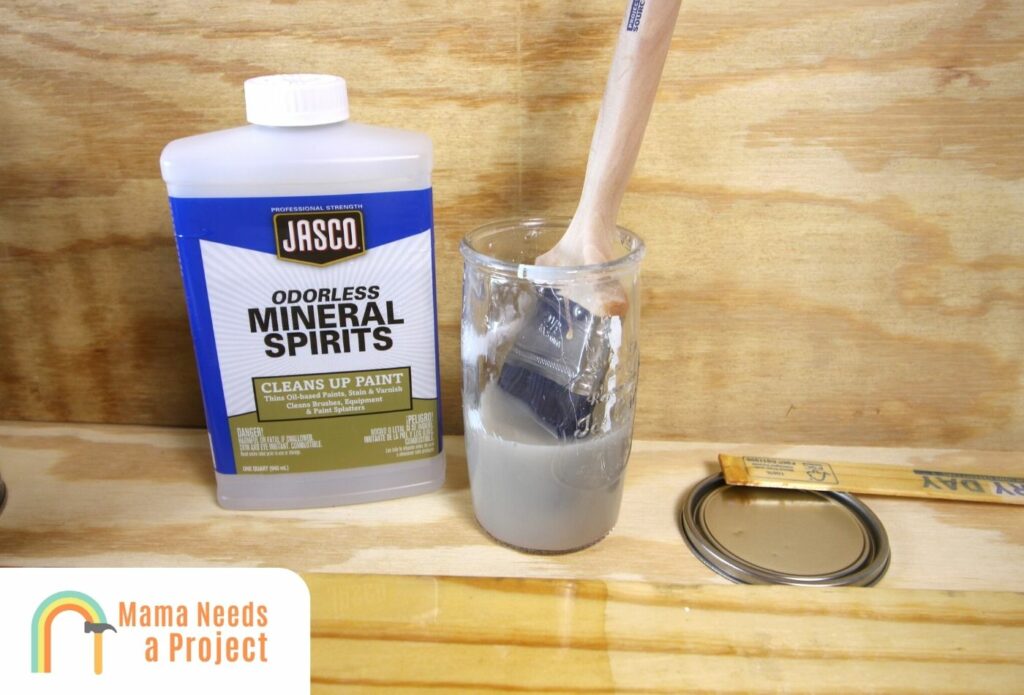
Tip 1: Thinning Polyurethane Makes It Dry Quicker
Want to thin oil-based polyurethane so it dries quicker? You’ll need mineral spirit, lacquer thinner, or naphtha to do this. If your intention is to spray oil-based polyurethane, it’ll need to be thinned before this is possible. Just keep in mind that the first coat of polyurethane should never be thinned, for it won’t adhere to the wood properly if it is.
Tip 2: Use Natural Bristle Brushes to Apply Polyurethane
Natural bristle brushes are the best for applying oil-based polyurethane, mainly because the bristles are durable and tightly packed.
And here too you should avoid using brushes that have been used for other projects, as it’s likely these have paint remnants or other dried liquids on the bristles that’ll affect how the polyurethane dries.
Although you don’t have to worry as much about discoloration because oil-based polyurethane is naturally dark- or light-brown, dried materials make a polyurethane barrier less sound.
Tip 3: Brush With the Woodgrain to Ensure an Even Surface
When applying polyurethane to wood, brush with the woodgrain—not against it—as doing so can ensure an even surface. It’ll take longer for the oil-based polyurethane to set into the wood’s pores, which is why multiple brush strokes will be required.
If you’re still not satisfied with how the polyurethane has been dispersed, you can use a thin razor to level out areas that have too much polyurethane. Doing so will create overflow and drips at the edges of the surface, so be ready to catch these with a clean cloth.
Curious how much time you should wait in between coats? Check out my guide on how long between coats of polyurethane!
How to Apply Polyurethane (Step by Step)
Polyurethane can be applied to a surface in three simple steps. Each step is discussed in detail below. Don’t move on to the next step until all the bullets in the step you’re currently on have been addressed.
Step 1: Rough the Surface
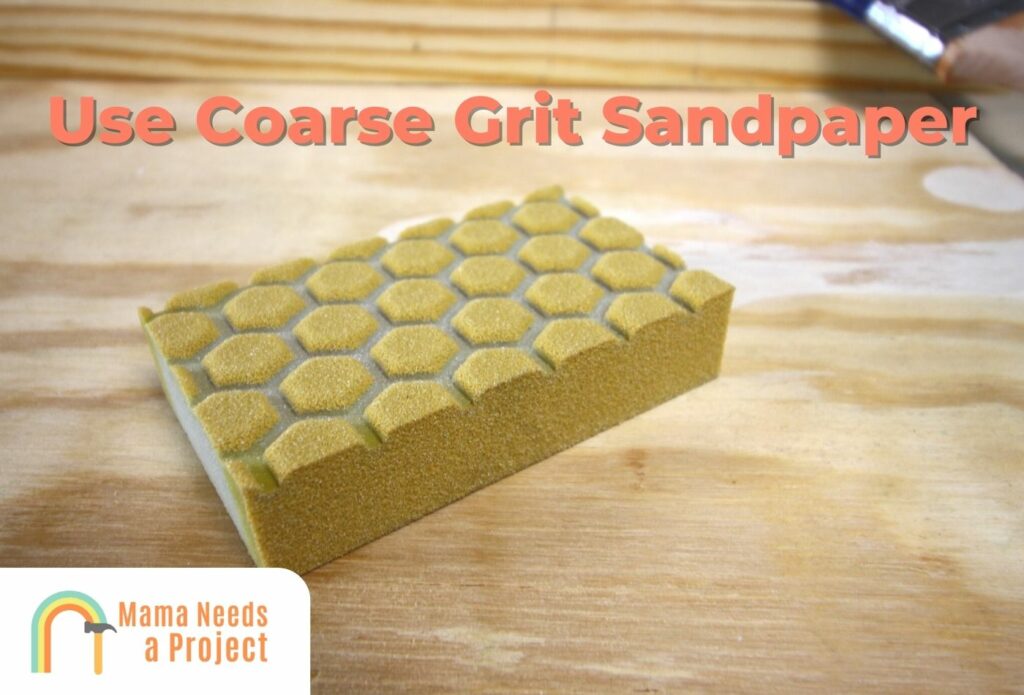
The first thing you’ll need to do is rough the surface with sandpaper. Both 120- and 320-grit sandpaper will do. Sanding is done to remove imperfections and make the surface more receptive to the first coat of polyurethane—the most important coat. Sanding also ensures a smoother finish. Here’s what you have to do:
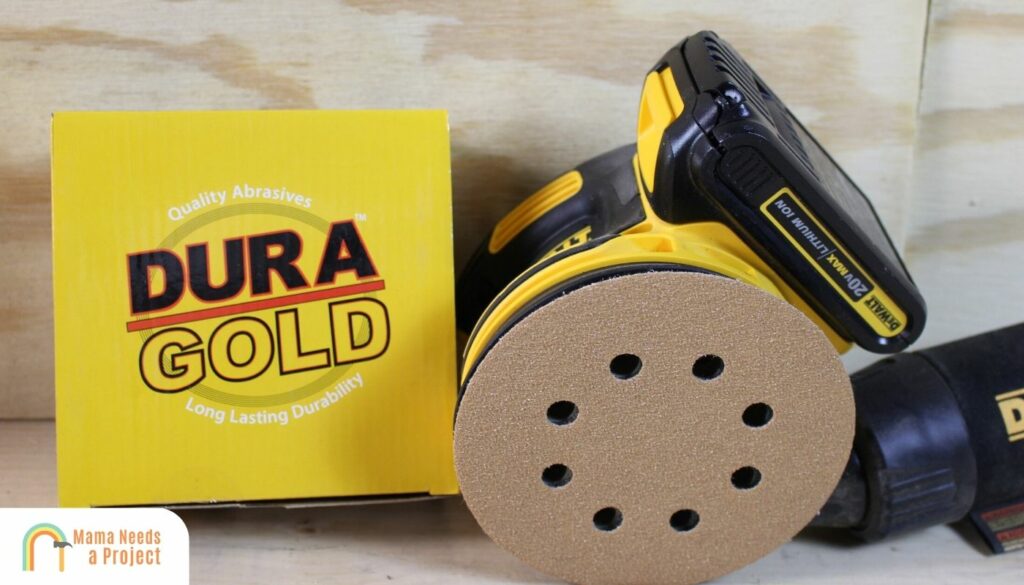
Sand slowly; sanding too fast will cause you to remove too much from the surface. I use a power sander with variable speed and put it on the lowest speed possible.
Start sanding at a corner and sand in an up-down motion; don’t apply too much pressure, as this will cause you to take off too much of the surface.
You’ll know your sanding is having an effect once the surface starts to get hazy; this indicates the top layer is being taken off.
Once you’re done with sanding, get a vacuum and remove the leftover dust.
Note: Effective sanding at this stage usually takes 10 to 15 minutes, though how long it takes really depends on how big the surface is.
Step 2: Apply Mineral Spirits
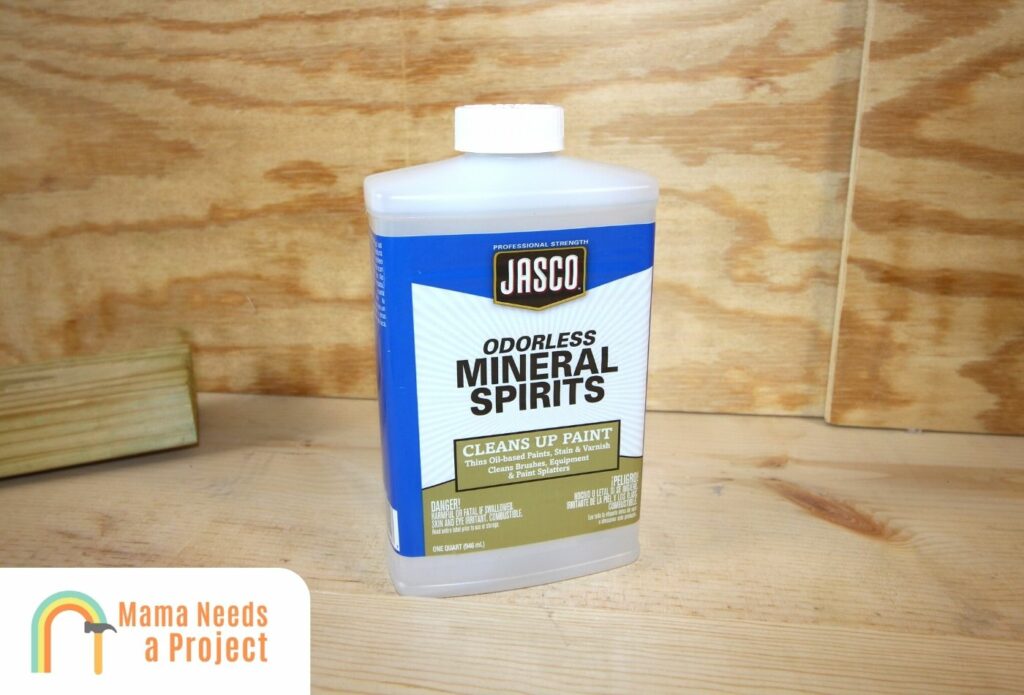
Now it’s time to use mineral spirits to complete the cleaning process. You don’t want to use water to clean, as this can crack, swell, discolor, or warp the wood. Mineral spirits are easy to apply, in large part because you can track what spots have been covered as you go. Plus it dries quickly. Here’s how mineral spirits should be applied:
- Pour the mineral spirits on a paper towel, rag, or paint brush.
- Now gently begin wiping down the surface. Once you start wiping, you’ll notice leftover dust collecting on the rag, indicating the mineral spirits are doing what they’re supposed to.
- Once the surface has been cleaned top to bottom with mineral spirits, it’s at this point that polyurethane can be properly applied.
Note: Before you apply mineral spirits, make sure there’s proper ventilation and that you have on the right safety gear, as these can emit fumes that may overwhelm you if you’re not prepared.
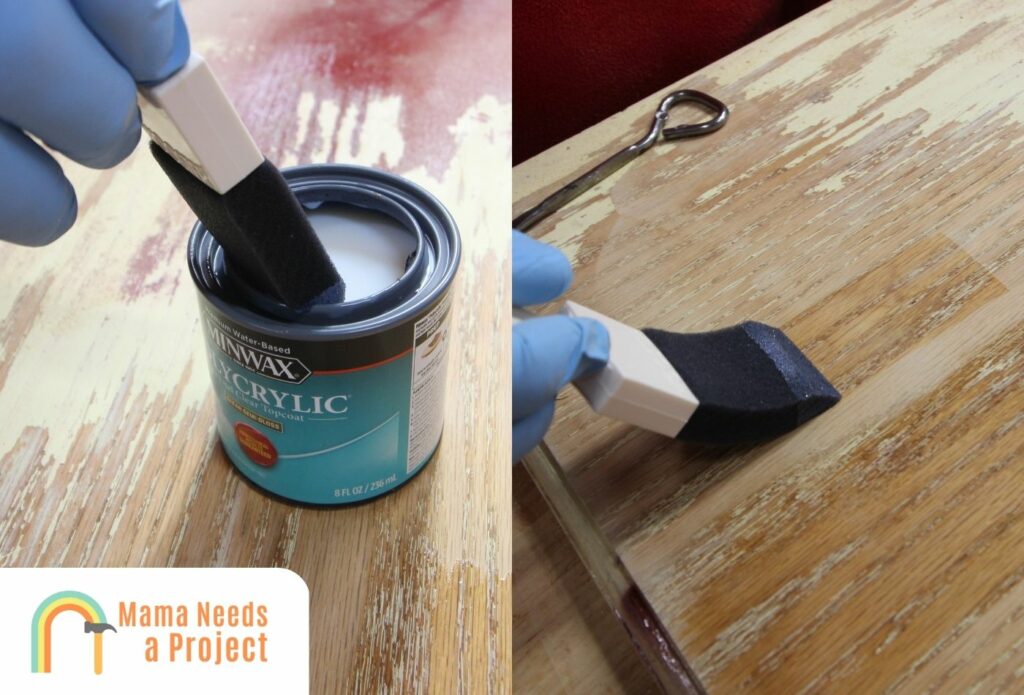
Step 3: Apply the Polyurethane
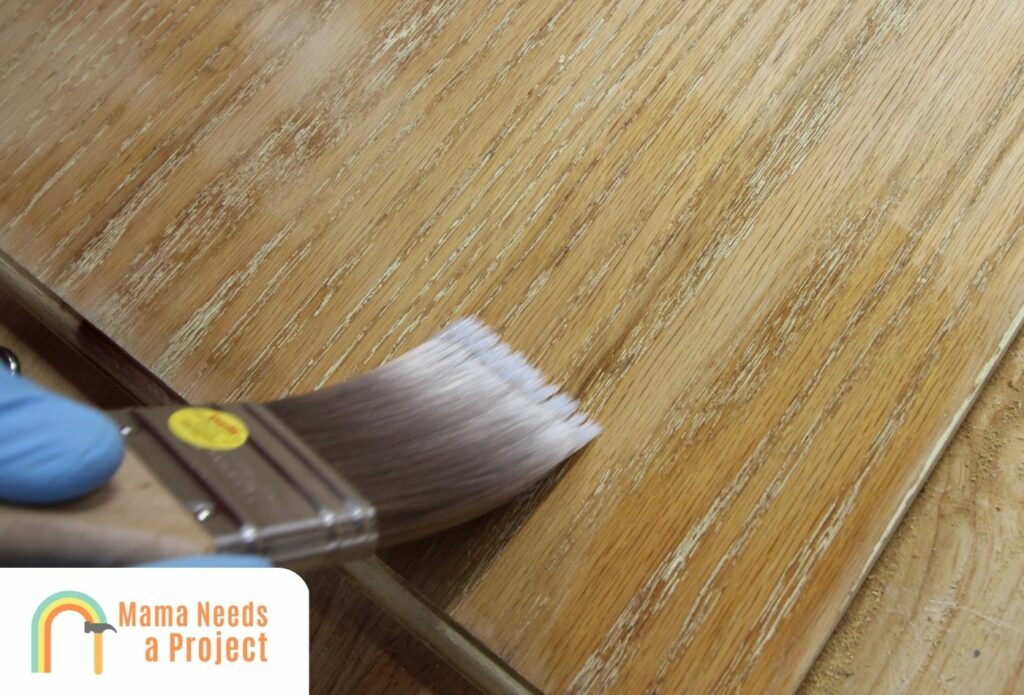
Regardless of whether you’re using water-based or oil-based polyurethane, you should be generous when applying coats. Here’s how the polyurethane should be applied:
- As far as brushstrokes are concerned, there isn’t one definite superior method; some brush in long strokes while others swirl and dab.
- You should apply polyurethane with the grain, and make sure you fill in creases and knots; these will take awhile to dry, but filling them is necessary.
- Once the surface looks cloudy, cease applying polyurethane and let it dry.
Important: Follow the steps above for each coat. Pay particular attention when applying the first and top coats, as these are the most important coats by far.
Step 4: Clean Up
Once you’ve finished applying your polyurethane, it’s time to clean up.
You’ll need to remove the polyurethane from your hands if you aren’t wearing gloves.
You’ll also want to remove the poly from your brushes so it doesn’t harden on them so they can be reused.
If you need more help, check out the video below!
FAQs
Do you really need 3 coats of polyurethane?
In most cases, applying three coats of polyurethane is enough to create an effective barrier. In some instances, however, you’ll need four or five coats for such a barrier to be achieved.
When it comes to applying polyurethane, it’s better to apply more not less, as a thicker coating equates to more strength and a longer lifespan. That being said, if you want to use as little polyurethane as possible, go with an oil-based polyurethane, as generally less coats are required.
How long do you wait between coats of polyurethane?
After you apply polyurethane, you’ll need to wait for it to dry before you can sand it and then apply another coat. A lot of factors collectively determine how long it takes polyurethane to dry, but generally it takes 12 to 24 hours.
If you’re using water-based polyurethane, the surface could be dry within 12 to 18 hours. On the other hand, if you’re using oil-based, expect the polyurethane to take 24 hours to dry.
Note: Don’t attempt to accelerate the drying process by using a hairdryer or other blowers, as these can create bubbles and cause the polyurethane to dry incorrectly.
Do you sand between coats of polyurethane?
Sanding in between coats of polyurethane is incredibly important. Sanding ensures that the polyurethane adheres well and dries properly. You should sand by hand so you don’t take too much of the polyurethane off. After sanding, you should use a vacuum to remove the dust, but refrain from wiping it down with water, as doing so can distort the wood in numerous ways.
Note: Some say that you don’t have to sand if you use mineral spirits, but it’s best to sand in combination with using mineral spirits so the polyurethane adheres to the surface without issue.
Can you do just one coat of polyurethane?
Yes, you can use just one coat of polyurethane on a surface, but if you do so you can’t expect the barrier to be all that strong. If you want to get away with using just one coat, it’s better to use oil-based polyurethane over a water-based, as the latter is thinner and therefore unable to provide all that much protection in just one coat.
Usually naturally strong materials, like metal, only need one coat of polyurethane, whereas wood, which is not the strongest material, needs multiple coats.
How many coats of polyurethane is too many?
More than five coats of polyurethane is too much for most surfaces. In the majority of cases, three to four coats achieve desired results. That being said, you can still find individuals on the internet who swear that as many as seven coats should be applied. If you want to see what 40 coats of polyurethane looks like on a surface, check out this video.
The point behind applying polyurethane to a surface is that doing so creates an effective barrier. Still, it should be your goal to achieve this result using as little polyurethane as possible, as using too much is not only wasteful but expensive.
How can I remove bubbles when applying polyurethane?
The best way to avoid bubbles is to apply polyurethane with a roller, but if this isn’t possible, there are things you can do to eliminate bubbles that are left by brushstrokes.
If the bubbles are fresh, gently burst them with a fine brush while you’re evening the coat before it dries. Also, refrain from wiping the polyurethane against the side of the can before applying, as this can lead to bubbles.
If bubbles appear in the hardened polyurethane, you’ll need to sand them away. After sanding, apply a fresh coat of polyurethane. The best sandpaper for sanding bubbles away is 120-grit fine sandpaper. Use your hand, not a machine, to sand the polyurethane coat.
How can I remove brush marks when applying polyurethane?
Removing brush strokes is possible during the sanding phase. You can use sandpaper to get rid of brush strokes, or wet sand with mineral spirits. If you want to avoid brushstrokes from the start, use a roller instead of a brush. Brush strokes can only be removed after the polyurethane has dried; don’t start sanding unless it’s had at least 24 hours to dry.
Final Thoughts
The number of coats you’ll need to apply will depend on several factors including the types of polyurethane, your desired appearance, and the level of protection you want.
In general, it’s wise to apply at least 2 coats of polyurethane to any wood surface, but it could require as much as 5 or 6 for some surfaces.
Applying polyurethane is one of the easier and simpler DIY tasks, so if you’re looking to undertake more projects around the house, applying polyurethane to some surfaces you use often is a great place to start.