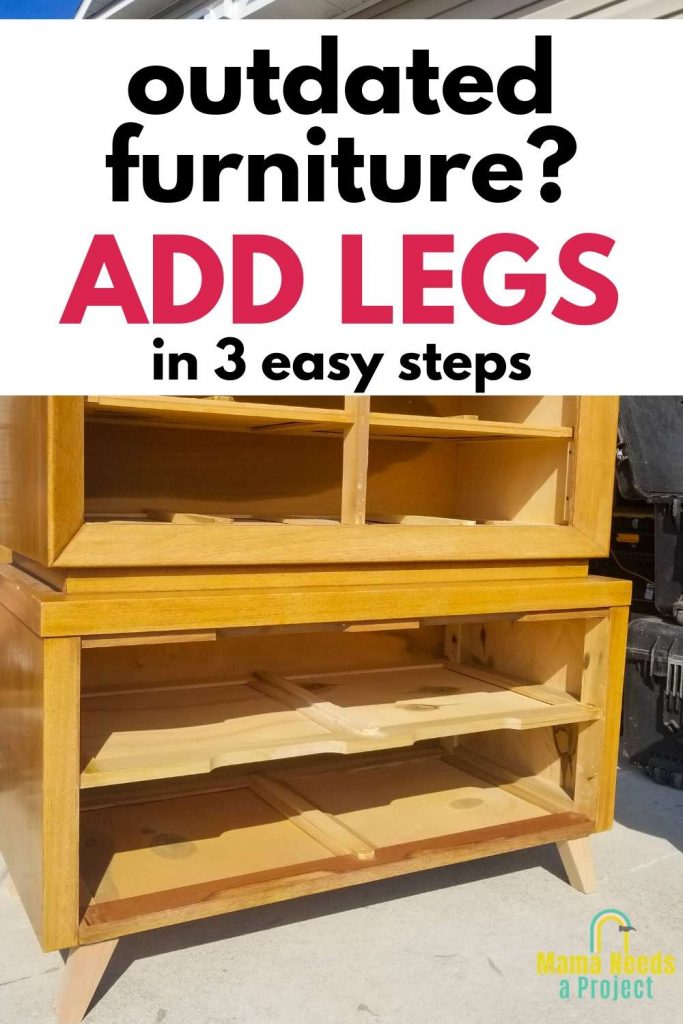
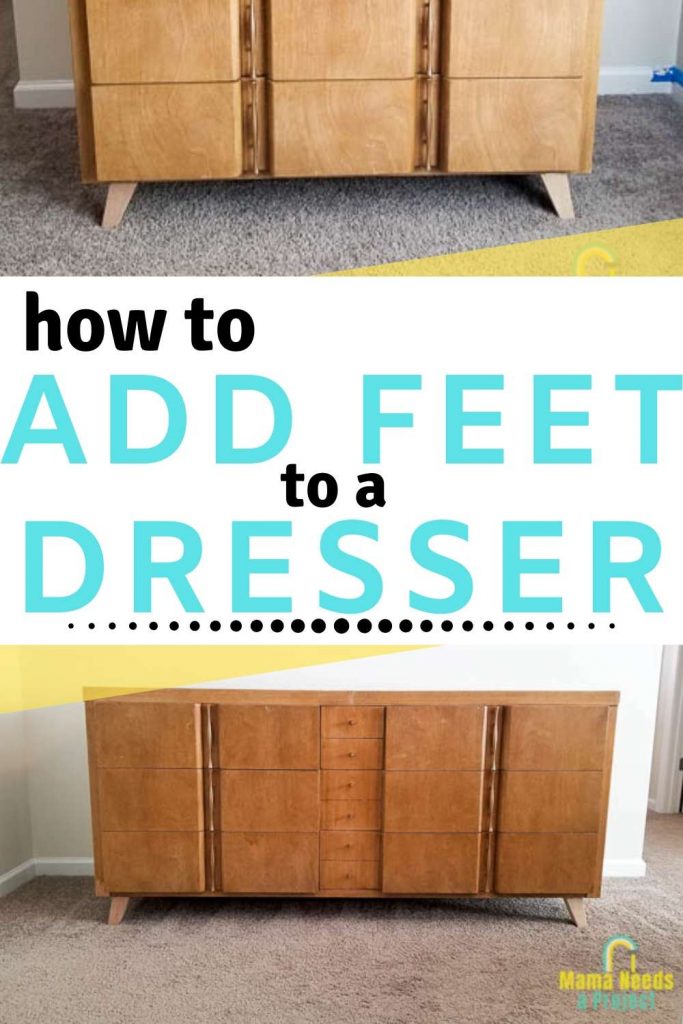
How to Add Legs to Furniture
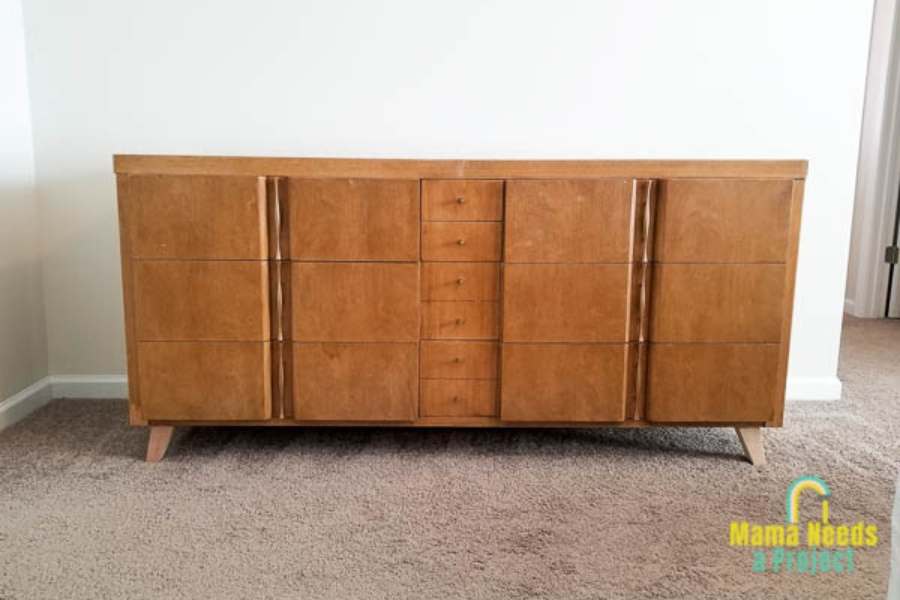
Today I’m showing you how I modernized an outdated dresser set by adding legs to the base. I love this easy furniture transformation! I’ll teach you how to add legs to any piece of furniture in 3 easy steps.
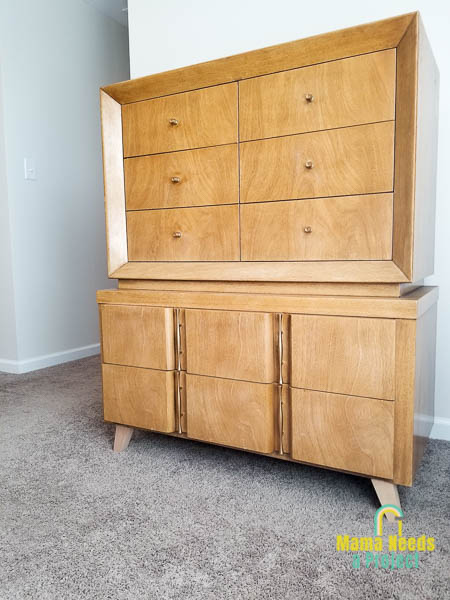
I recently purchased a dresser set on Facebook Marketplace for $125 from someone who had to sell them quickly for a move. Although they clearly need some work, all these pieces are heavy, solid wood and I just love the shape of the drawers and handles. The set includes 2 full size dressers and a bedside table – well worth my money!
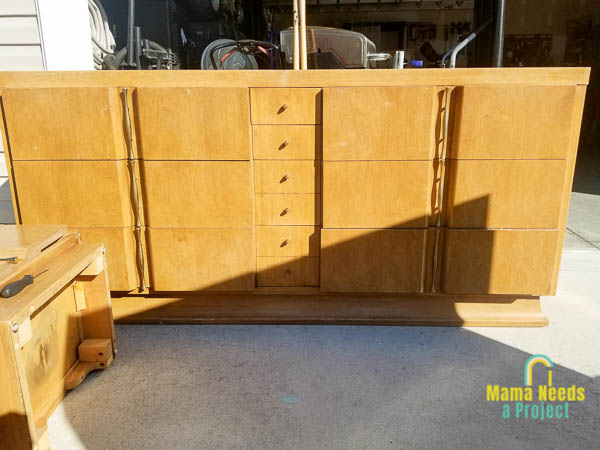
Eventually I plan to strip the finish and restain these pieces, but since we are planning our move soon I just don’t have time to do the whole furniture transformation right now. Instead, I settled on doing a quick update by adding legs to each piece of furniture.
Save to Pinterest!
*This post contains affiliate links.
How to Add Legs to Furniture
1. Remove the Skirting
The first thing I did was remove the skirting from the bottom of the dressers and bedside table so that I would have a flat surface to add the furniture legs. If your furniture doesn’t have skirting at the bottom you can skip this step.
I expected this to much more difficult than it actually was. Instead, it turned out to be pretty fun.
First, I removed all of the screws holding the skirting onto the bottom of the dresser. With the screws removed, the skirting was just secured to the bottom with glue.
Then, I used a crowbar to loosen and remove the skirting. This is the fun part. It had been a long time since I used a crowbar and it was weirdly satisfying to take those suckers apart!
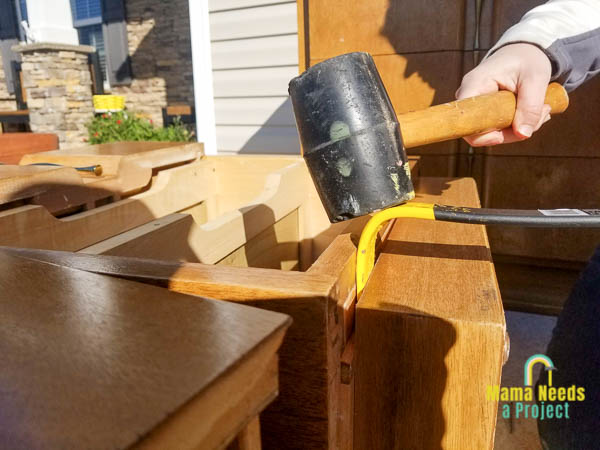
In case you need a little instruction (I did) here’s how to use the crowbar to remove the furniture skirting:
- Line up the curved edge of the crowbar with the seam where the skirting meets the bottom of the dresser.
- Then, hit the crowbar with a rubber mallet or hammer to wedge it in between the skirting and the base of the dresser.
- If the skirting doesn’t pop off, move the crowbar to another spot on the seam and repeat the process until the skirting falls off the base.
I don’t recommending twisting the crowbar to pry the skirting off. Doing so might damage the base of the dresser. Instead, just wedge the crowbar into several places along the seam until the skirting comes off on it’s own.
Another tip: If you come across a piece of skirting that it too tightly adhered to the base for the crowbar to fit into the seam, use a large flathead screwdriver in place of the crowbar. I had to do this in a few places where the skirting was glued really tightly.
2. Install Leg Mounting Plates
Once the skirting is removed from the base of the dresser you’re ready to install the leg mounting plates.
I purchased mine at a local home improvement store, but you can also get them on Amazon for a similar price. Here’s a set exactly like what I used.
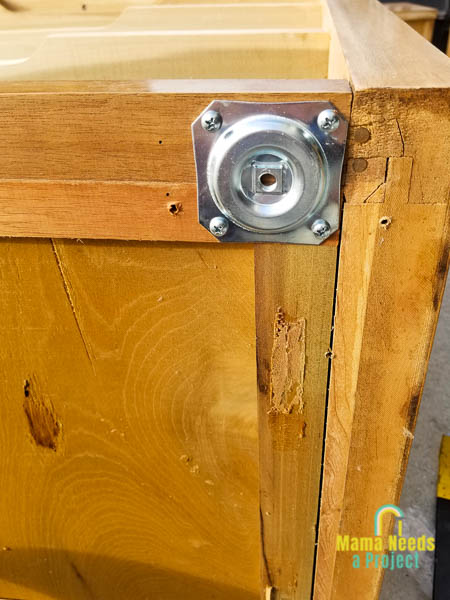
Attach the mounting plate the base of the dresser using the screws provided with the mounting plate. Mine were about 3/4″ long. I recommend pre-drilling your holes to prevent the wood on the dresser from splitting when you drill in the screw. I use this set of pilot hole drill bits.
After you attach the mounting plates to the bottom of the dresser, you will need to drill a pilot hole in the center where you will screw the furniture leg in. Be careful not to drill all the way through the base of the dresser.
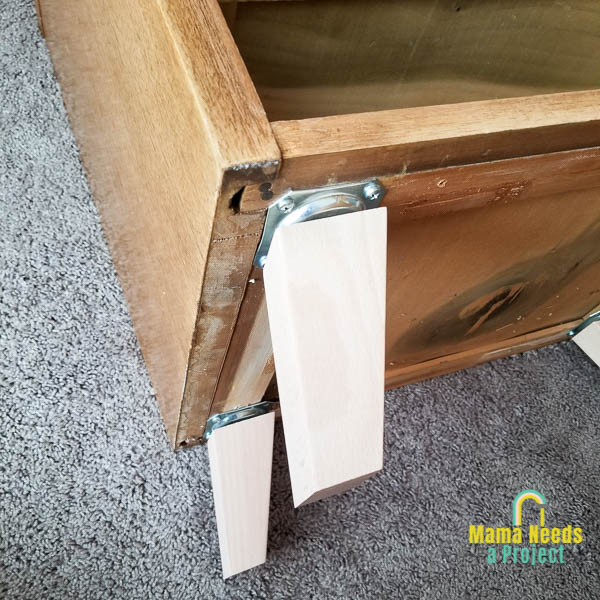
3. Attach Legs
The last step is to attach the legs. I purchased these legs from Amazon and I love them! They’re great quality and come as bare wood so once I refinish the dressers I can stain the legs to match.
All you need to do to attach the legs is screw them into the hole in the center of the mounting plate. It’s pretty easy to do this by hand. It just takes a little time and a little muscle.
Once the legs are attached the bottom of your furniture, you’re ready to flip that baby over. Take a few steps back, ooohh and ahhh for a few minutes and then call someone else over to admire it with you. At least that’s what I always do.
Check out these amazing painted china cabinet ideas to complete your furniture makeover!
Adding Legs to Furniture
It is super easy to update furniture by adding a new set of legs. The modern style legs I added to my thrifted dressers completely changed how they look! I can’t wait to eventually totally refinish these pieces, but until then I can definitely live with their new modern look.
I hope these 3 easy steps help you to add legs to whatever piece of furniture you’re looking to update. If you have any questions, please drop them in the comments below!