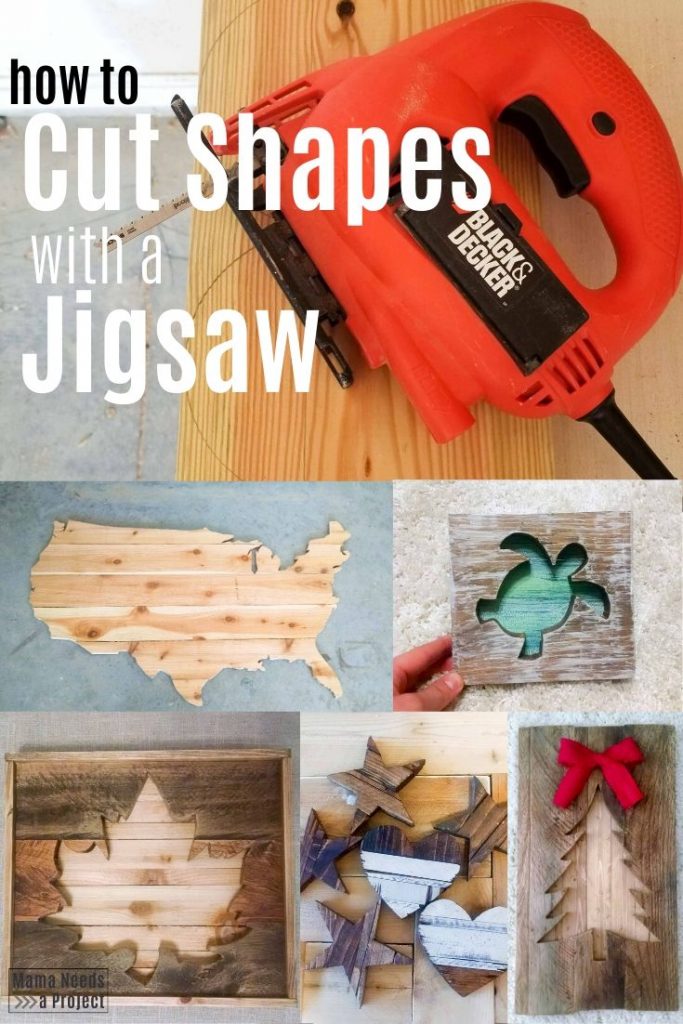
How to Cut Shapes with a Jigsaw
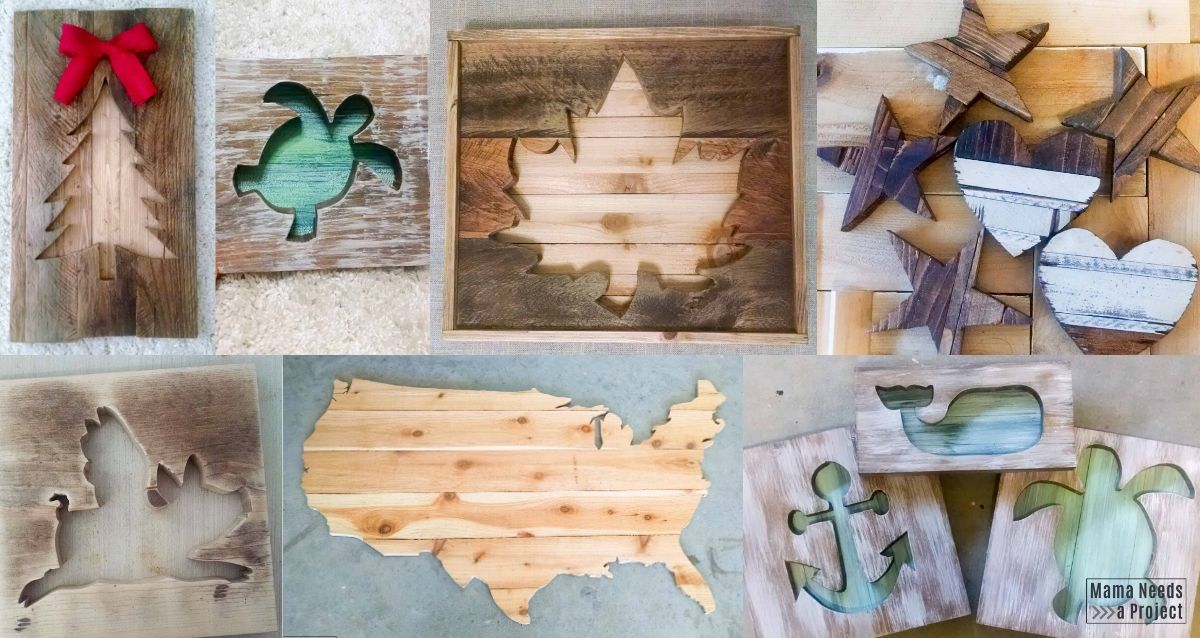
Back when I ran a small Etsy shop I spent a lot of time cutting shapes with my jigsaw. Many of the items I sold were decorative pieces with shapes cut out of the wood. I did animals, hearts, stars, a little bit of everything.
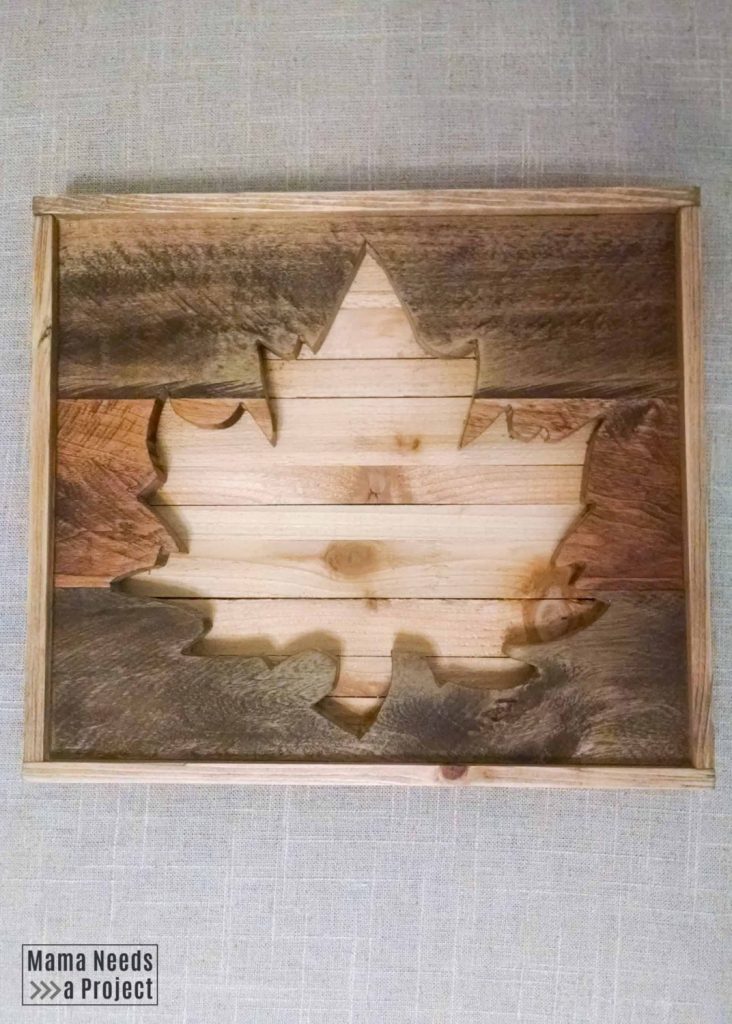
A jigsaw is not the best tool for cutting shapes out of wood, but it can totally be done! My dream tool for quite some time has been a scroll saw because it is the ideal tool for cutting intricate shapes – the possibilities are seriously endless with this thing! But, I’m a lady on a budget and I’m holding out for a second hand scroll saw to show up on Craigslist to make my DIY dreams come true.
Since I don’t have access to a scroll saw right now, I learned how to effectively use my jigsaw to create some of the scroll saw projects I’d been dreaming up. If you’re in the same boat as me, here are some things I have learned along the way to cut shapes with a jigsaw.
*this post contains affiliate links
The Perfect Beginner Power Tool
My jigsaw was the first saw I felt comfortable using by myself. It is the perfect beginner power tool if you are just starting your DIY journey and gaining confidence with saws and other power tools. Jigsaws are simple to use and the blade is much smaller than other saws that are typically used in woodworking. The blade is easy to control and you can quickly stop and start. You can check out my jigsaw vs bandsaw comparison for more help comparing these similar saws.
Pin for later!
All power tools come with some risk. Be sure you are using proper safety equipment like eye protection and hearing protection. Avoid wearing gloves when using saws as the material could get caught on the blade and cause serious injury. Read all about safety precautions here.
Types of Jigsaws
I started with the most basic budget jigsaw available – a $25 corded Black and Decker Jigsaw. It definitely gets the job done, but you’re in the market to spend a little more money I recommend buying a nicer version.
Here a few jigsaws that I recommend at a few different price points:
- BLACK+DECKER Smart Select Jig Saw, 5.0-Amp
- Makita Top Handle Jig Saw, with Tool Case
- DEWALT 20V MAX Jig Saw, Tool Only
Some features to consider when purchasing are:
Corded v. Cordless
There are pros and cons to both corded and cordless jigsaws. Cordless jigsaws cost quite a bit more than the corded versions. You will also have the cost of batteries and a battery charger in addition to the saw. They are convenient because they are more mobile than corded jigsaws and you don’t have to worry about cord placement when you’re sawing.
You can find some of my favorite cordless jigsaws for more info!
Corded jigsaws are less expensive than the battery-operated cordless versions. They also generally weigh less than cordless jigsaws because you don’t have the weight of the battery. This is important if you plan on using the jigsaw for a big project – your arm will definitely get tired. The downside is that they are less mobile – you always need to be near an outlet or extension cord. You also need to be aware of cord placement as your working to avoid cutting through the cord.
You can check out some of the best corded jigsaws for more help finding the best option for your needs!
Voltage/Amps
The higher voltage or amperage the most power your jigsaw will have. A more powerful saw will lead to easier cutting. I have used a small 4.5 amp jig saw for a long time, and I would recommend purchasing a higher amperage.
Speed Control
Some jigsaws come with speed control dials that allow you to adjust the speed of the blade based on the types of cuts you are making. You can select slower speeds for cutting around curves and higher speeds for straight cuts. Speed control is important when cutting shapes with a jigsaw.
A note about Jigsaw Blades
When purchasing blades for your jigsaw be sure to pay attention to the type of blade you are purchasing. Different blades are created for use on different types of material. Replace your blade often. Some signs that you need to replace your blade are: your material is splintering when you’re cutting (your blade might be dull) or your blade is bent. If you’re cutting plywood, I recommend these blades.
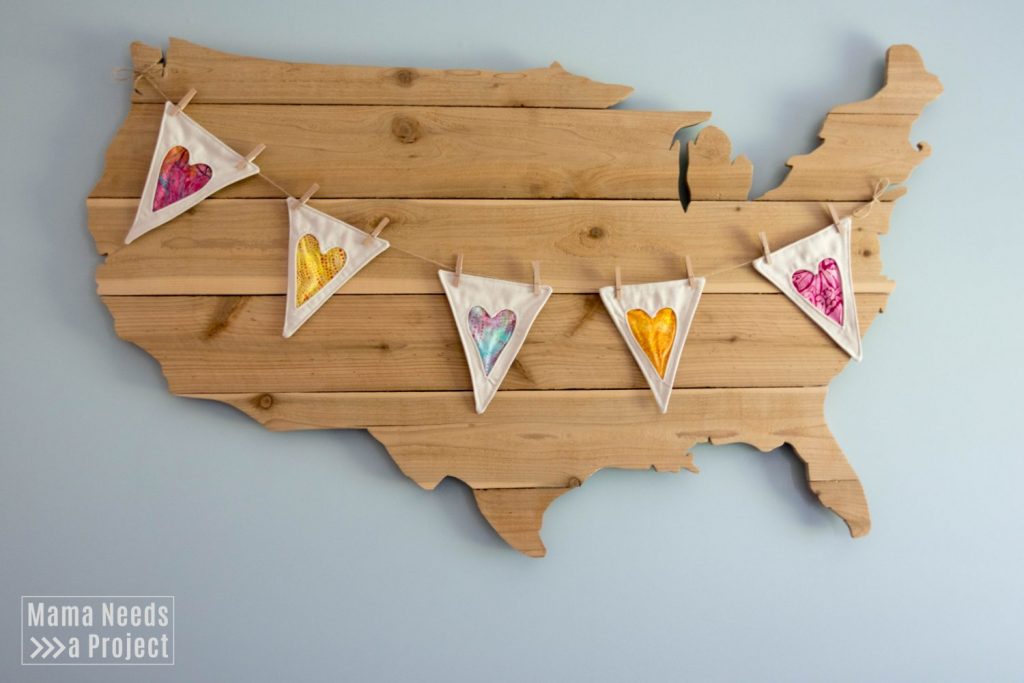
This DIY Wood USA Map is a great beginner jigsaw project!
How to Cut Shapes with a Jigsaw
Getting Started
Start your project by drawing the outline of the shape you want to onto your wood with a pencil.
Then, clamp the wood to a flat, stable surface using wood clamps. The area that you need to cut should be hanging over the edge of the surface. You may need to cut your shape out in sections, stopping to adjust the placement of the wood as you go. Make sure the area you will be cutting is far enough away from the surface you have clamped it to that you will not accidentally cut through the surface.
Hold your jigsaw at the edge of the piece of wood with the metal plate flat against the wood. The blade should not be touching the wood before you start the saw. Start your jigsaw and then move it forward to begin cutting into the wood.
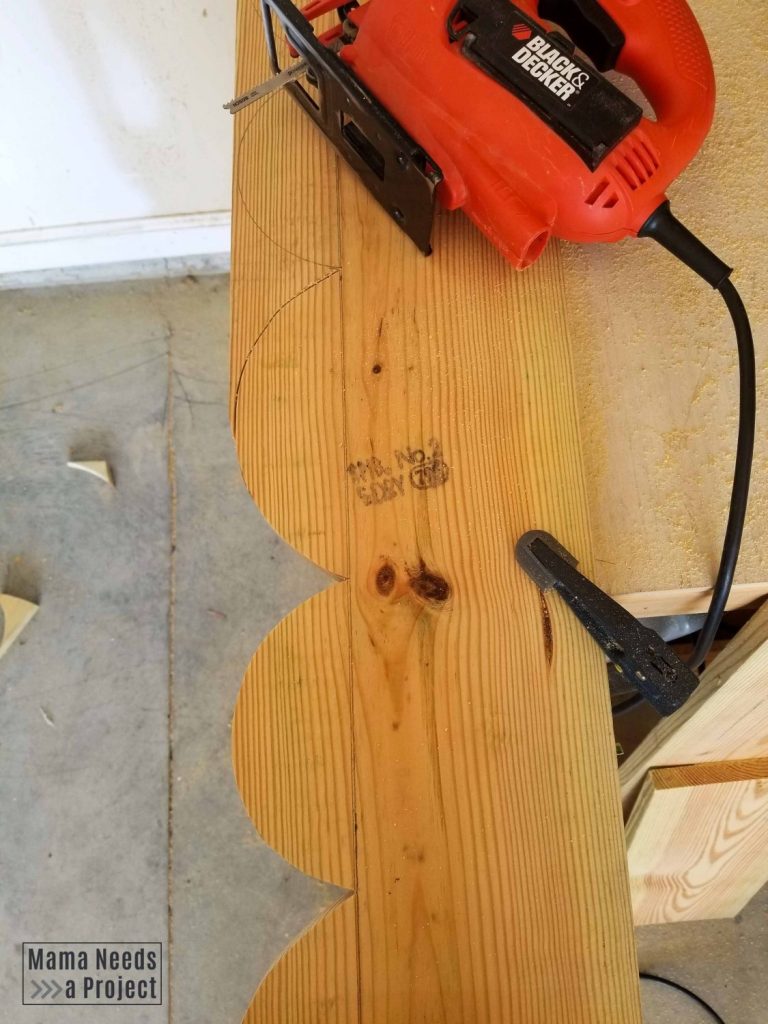
Follow your pre-drawn lines to cut your shape with the jigsaw. On most metal plates there will be a little notch that lines up with the placement of the saw blade. Use that little notch as a guide for your blade.
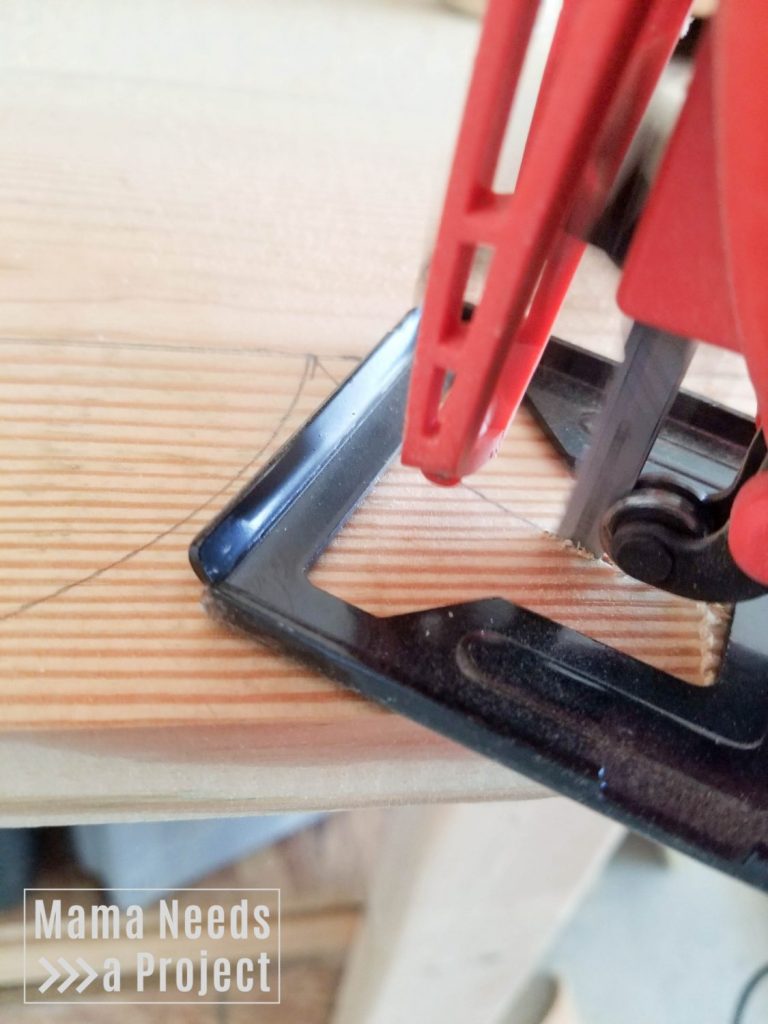
As you’re cutting your shape with the jigsaw, keep the metal plate flat against your wood. If the metal plate is not flat against the wood you will experience extra vibrations that could crack the wood. Additionally, keeping the metal plate flat against the wood will give you straight cuts.
Vibrations & Clamp Placement
One downside of using a jigsaw (especially a cheap one) is the vibrations that the saw puts off. Vibrations can lead to some pretty serious hand and arm cramping. Additionally, extreme vibrations can put extra stress on the wood you are cutting and lead to cracks in the wood.
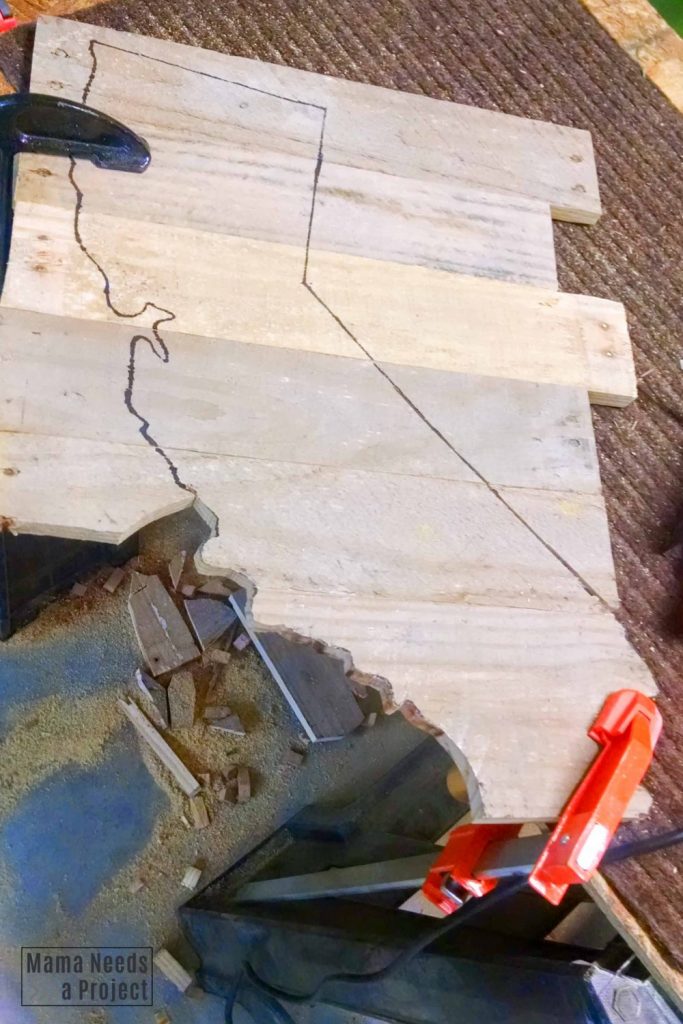
You can lessen the vibrations with smart clamp placement. I’ve found that placing my wood clamps as close as possible to where I will be cutting lessens the vibrations tremendously. Also, make sure the clamps are very tight.
(bonus tip: you can avoid indents in your wood from the wood clamps by placing a little piece of scrap wood between the clamp and the piece of wood you’re cutting. This spreads out the pressure of the clamp.)
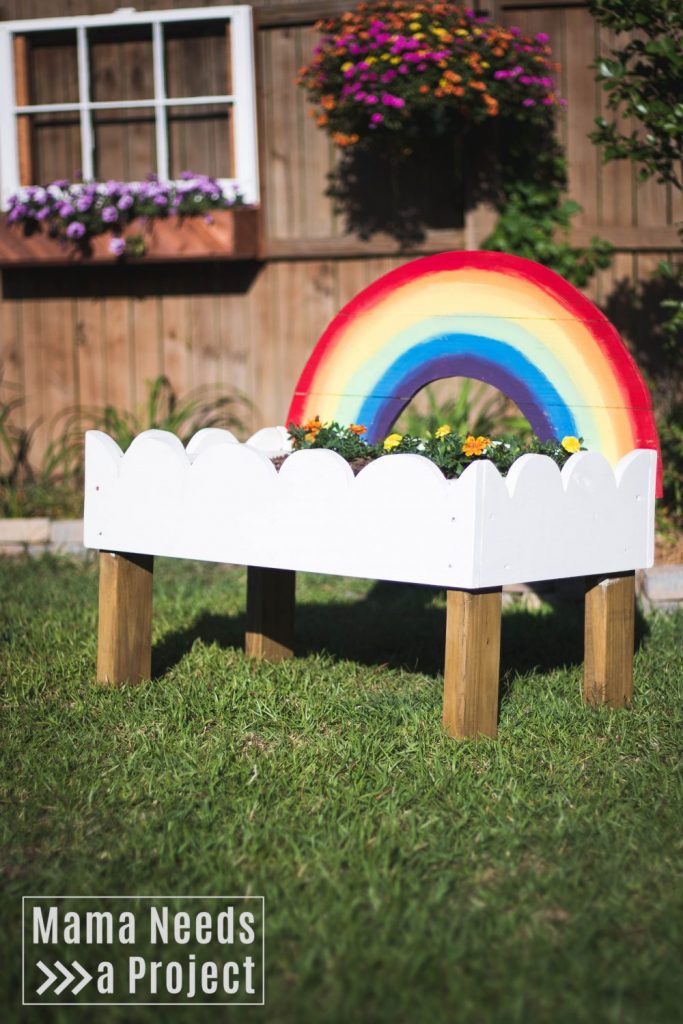
This Toddler Rainbow Garden uses a jigsaw to cut the curves of the cloud-inspired flower box and rainbow.
Speed
Speed is super important when using a jig saw. If you’re speed is too high you can actually burn the wood instead of cutting it. (Ask me how I know – hah!) You can use a higher blade speed when doing straight cuts. If you are cutting around a curve I recommend a slower blade speed.
Relief Cuts
The key to using a jigsaw to cut shapes with curves is to make several relief cuts. Relief cuts help to relieve pressure from the blade as you are cutting and can serve as exit points for your blade.
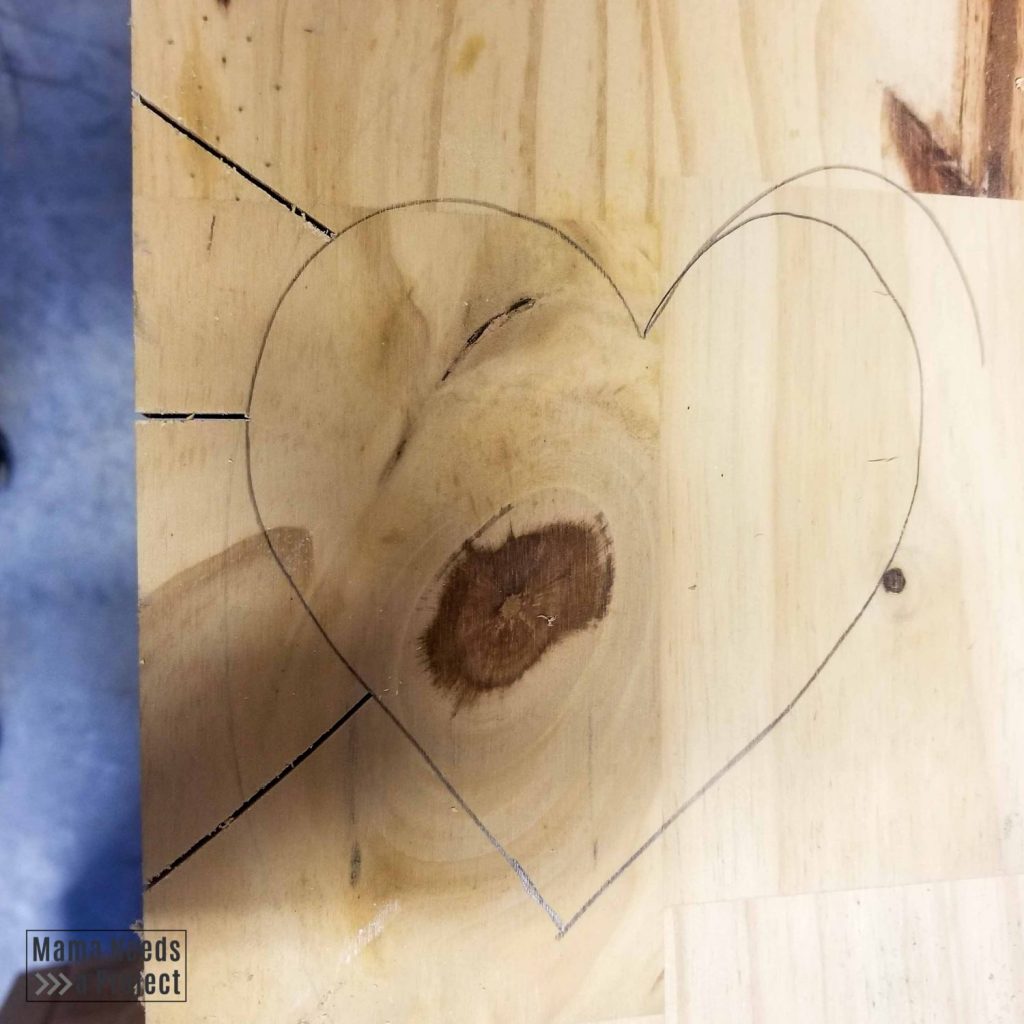
To create relief cuts, use your jigsaw make a few cuts within the discard area of your project that go from the outline of your project to the edge of your board. You can do this before or after you start cutting the outline of your shape. I prefer to make a few relief cuts before I begin cutting my shape with the jigsaw and then adding more as needed.
As you cut along the outline of your shape each time you reach a relief cut wood in your discard area will fall away. This will take pressure off of the jigsaw blade and allow for easier turning.
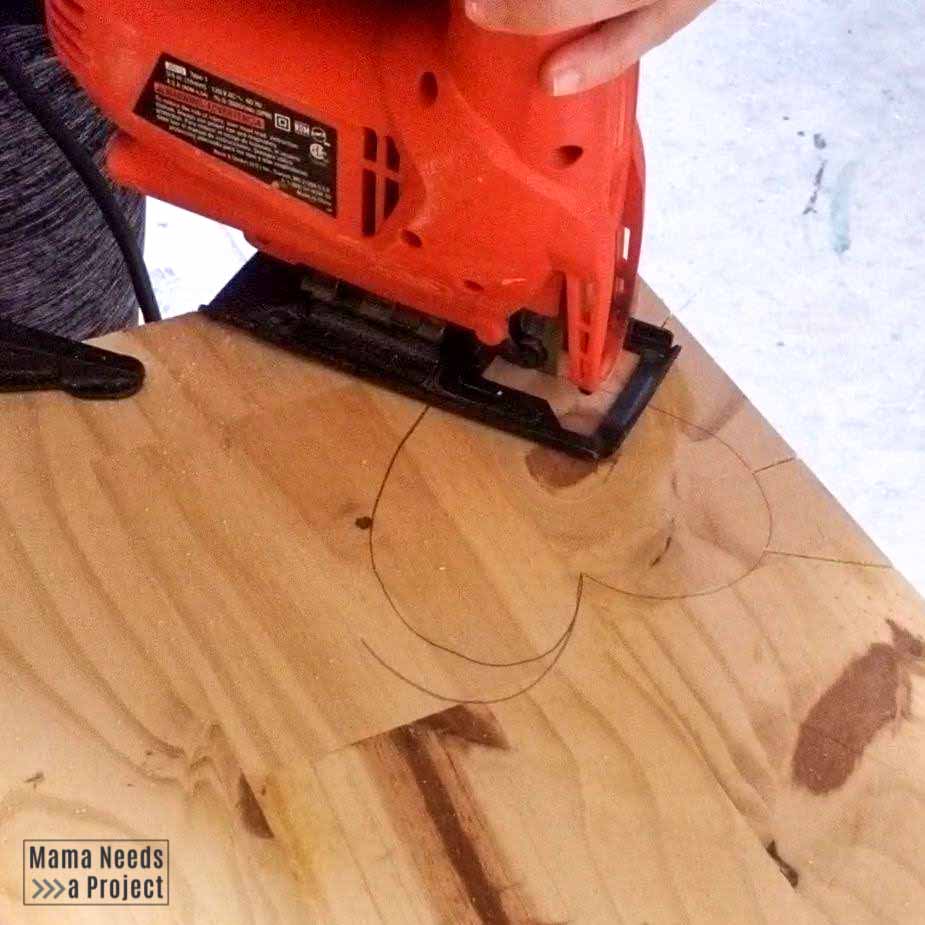
If you find your blade stuck or you are unable to make turns, stop cutting your shape outline and make a relief cut to get rid of some of the extra wood.
How to Cut Out the Shape Center
Most of the jigsaw projects I created for my Etsy shop were shapes cut out of the center of a piece of wood. Getting the blade into the center of a piece of wood is pretty simple. Use a large drill bit to drill a few holes into the area you want to cut. I use the largest drill bit in this set.
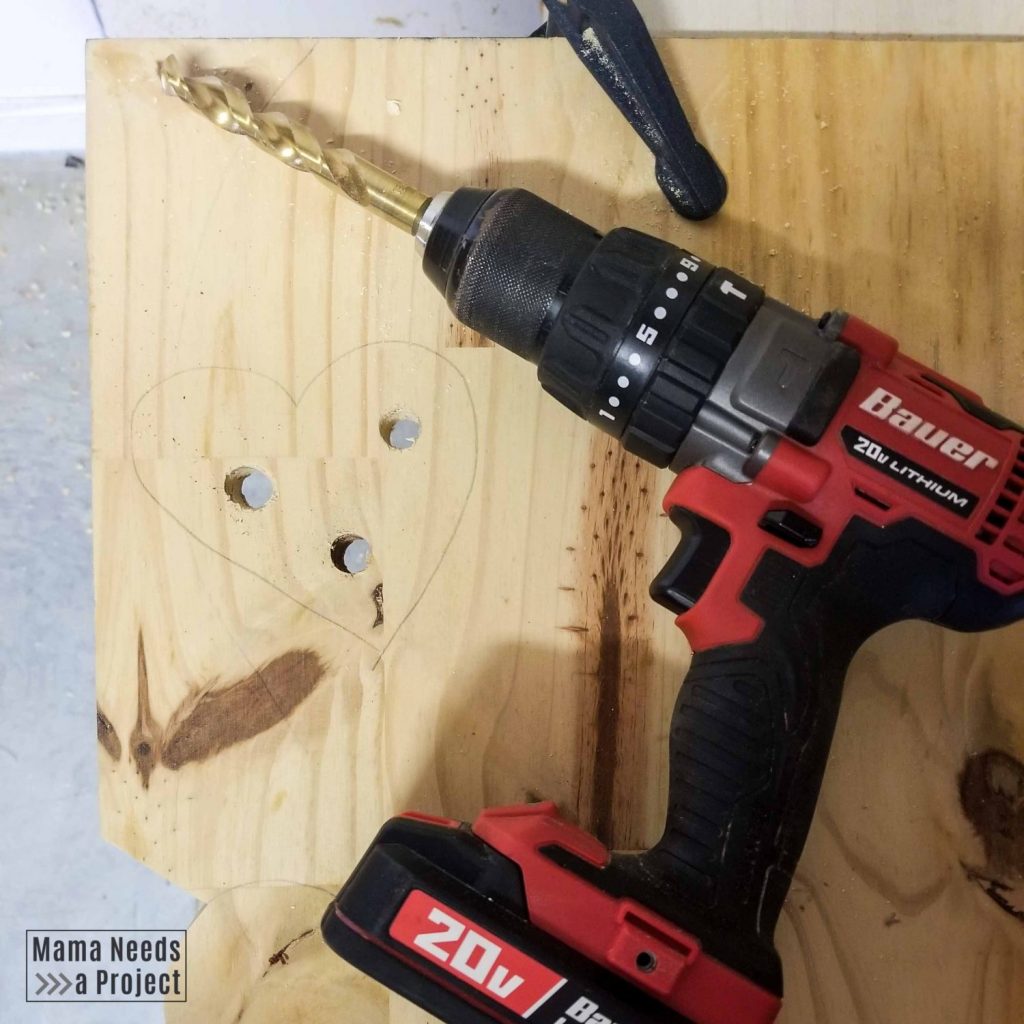
After drilling your hole, place the jigsaw blade into the hole and get to work. Be sure the blade isn’t touching the wood when you turn your jigsaw on to start cutting.
Related: How to Cut Straight Lines with a Circular Saw
Cut Shapes with a Jigsaw
After many, many projects with my jigsaw I learned a few tricks to getting the most of this handy little tools. I hope these tricks help you on your next project! If you’re looking for a project to tackle, be sure to check out all of my free tutorials and printable woodworking plans.

