6 Best Ways to Keep Wood from Splitting and Cracking (2024 Guide)
One of the most annoying things that occurs when woodworking is when your wood splits or cracks.
This can be extremely frustrating and a waste of time and money.
Luckily, there are a few solutions to stop wood from cracking and splitting.
In this post, I’ll explore how to keep wood from splitting, some tips to avoid it, and what to do if it does occur. Let’s get started!
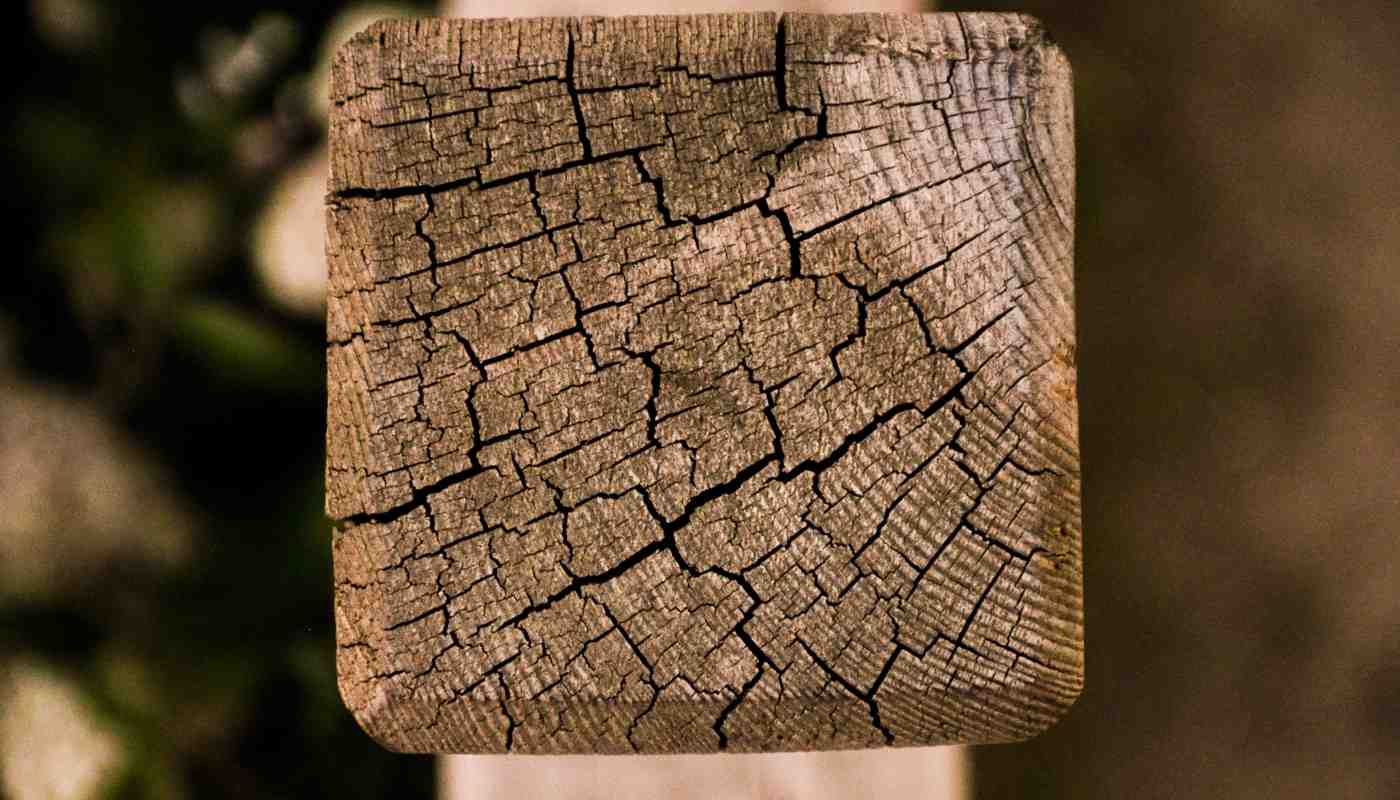
Why Does Wood Split?
Wood will mainly split for one reason – moisture.
Moisture can warp and expand any type of wood or wood product, and part of that expansion process may include splitting wood.
There is no way to predict exactly how a piece of wood will split when moisture is involved, so it’s best to take some precautions to avoid it altogether.
Best Ways to Prevent Wood Splitting and Cracked Wood
Below are some of the best ways you can stop wood splitting and cracking.
Use a Salt Paste
A salt paste is exactly what it sounds like – it is a thick, salt-based paste that you may choose to apply to a wooden surface to dry out your wood and prevent it from splitting.
The ingredients of a salt paste allow the salt to absorb moisture from the wood itself, lowering its moisture content and drying out the wood.
When wood dries, it becomes significantly less likely to warp and split.
If you do not have a long time to wait for your wood pieces to naturally dry, then salt paste is a great option for you!
Create A Salt Solution
A salt solution is simply a mixture of salt and water.
Fill a bucket with water and mix in table salt, varying in amount based on how much water you have put inside the bucket.
There is no single amount to put in your solution, as it may vary. However, you should aim to make sure plenty of salt is mixed into the solution without oversaturation.
Oversaturating your water will make additional salt difficult to mix into the water. You can often notice this if there is sitting salt at the bottom of your container.
Once all salt has been mixed it, you must allow the solution to sit for roughly four hours before moving on to the next step.
Add Cornstarch To Solution
Once your salt solution has been sitting for around four hours, you will add some cornstarch.
You will need to add enough cornstarch to thicken up the paste, but not enough that the mixture hardens or becomes difficult to stir.
This step will determine how thick your salt paste will be and how thick each layer will be on your pieces of wood.
Your optimal thickness will depend on your needs, so consider the following.
A thicker salt paste will take more time to dry, but may more thoroughly absorb any moisture inside of your wood. However, a thinner salt paste may dry much faster.
Add Egg
After cornstarch, you will want to add a few eggs into the solution and mix them well so they are fully incorporated.
Eggs will help your solution to harden in a more solid form, while also giving your solution a softer composition for easier application to a surface.
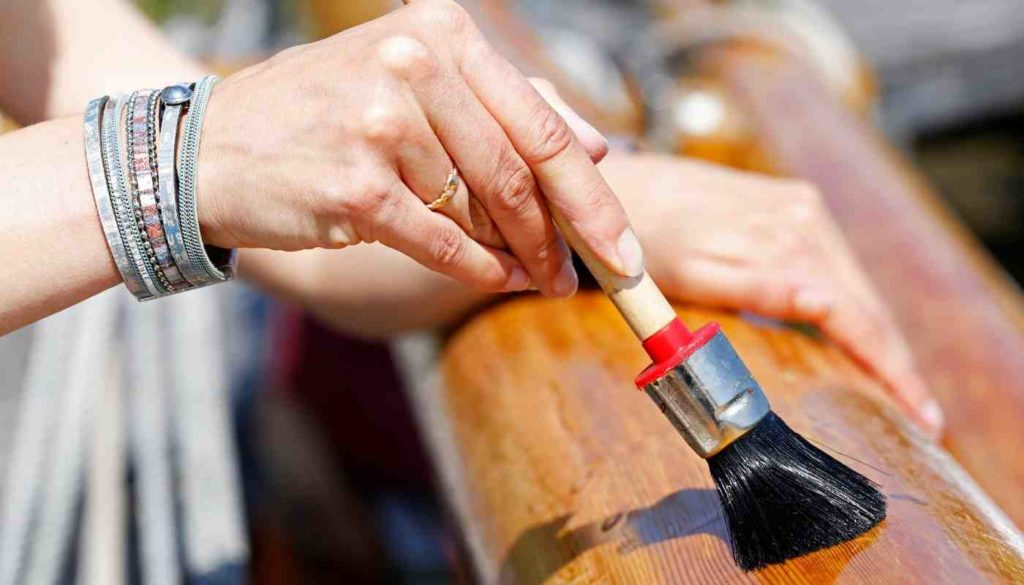
Apply Salt Paste To Wood And Let Dry
Finally, you can apply the paste to your wood with a paintbrush.
You should be thorough when applying the paste, as you must make a uniform layer without missing any spots.
Make sure to cover every inch of wood including the corners and edges.
Once the paste has been applied, you must allow it to dry for at least 24 hours.
Leave the wood in a warm room or shed to fully dry as the salt paste works its magic and absorbs any moisture inside the wood.
Remember that thicker layers of salt paste will dry slower than thinner coats, so you must be careful when applying your salt paste.
By applying a salt paste to your surface, you’ll remove any excess moisture content to keep your wood from splitting!
Use A Varnish
Varnishes are one of the best ways to keep your wood from splitting, and they also have the additional benefits of sealing your wood and making it look gorgeous!
Varnish is any type of hard, protective coating that can be applied onto wood, from lacquer and shellac to polyurethane.
Aside from protecting your wood from splitting, a varnish is also a durable finish. So much so that many sailors and shipwrights choose to apply varnish to the wooden decks of boats.
Varnish also gives your wood an attractive appearance, giving each piece of wood a rich color and bringing out its natural grain.
Sand With Fine Sandpaper
The first and most vital step in applying varnish is to sand down the surface of the wood, removing any imperfections and smoothing out the wood’s surface.
Remember, sanding wet wood will not give you as smooth as a surface, so be sure your wood is dry before sanding.
A smoother surface allows the varnish to better soak into the wood, providing a more secure and protective layer to both prevent your wood from splitting and protect it from outside forces.
When sanding down wood to apply varnish, you will want to use a finer grit of sandpaper, with 220 being a recommended grit.
This fine grain will open your wood’s grain, allowing more varnish to absorb into the wood.
Clean Your Wood’s Surface
Before applying your varnish, it is absolutely imperative that you take some time to clean your wood off before applying a varnish, especially after sanding.
You will want to remove dust and dirt that may have settled on your wood, as well as any sawdust that you have generated via sanding the surface of the wood.
While you need to be thorough when cleaning your wood, it does not need to take a long time – you can use an old, damp cloth or rag all along the wood to remove all the debris.
Prepare Varnish As Required
Different varnishes will have separate requirements and ratios for their preparation, so you must make sure that you thoroughly note your varnish’s instructions.
As with other chemical preparations, it is best to wear the proper protective equipment when preparing varnish, as it may involve mixing different varnishes and aluminum paints.
Wear gloves and protective goggles, and if you do not have enough air circulation, you should consider wearing a mask or respirator as well.
Preparing and applying varnish both require the same protective equipment you would use when painting your house – you don’t want all those fumes to get to your head or in your lungs!
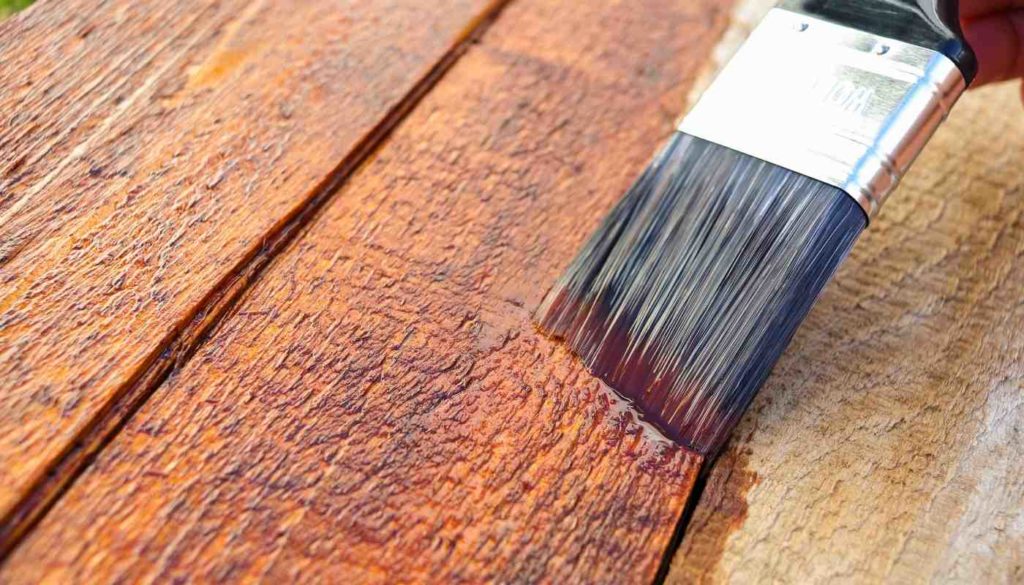
Apply Varnish And Let Dry
Now you may apply your varnish to the surface of the wood, once again using a paintbrush to make sure you apply your coat evenly across the entire area.
You must work quickly when applying your varnish in a thin layer because of how quickly it can dry.
If you choose to apply multiple layers, it’s important to allow the varnish to dry completely before adding another layer. If you’re using polyurethane, check out these polyurethane drying times.
Your wood also needs to be dry when applying. If the wood is not kept dry, your varnish may have a blotchy and uneven appearance!
Repeat
Varnish, much like paint, primer, or top coat, is something that often gets applied in multiple layers.
Once you have applied two or three layers of the varnish to your wood surface, you must let it dry completely before you can use the surface.
The number of layers you will need to apply depends on the wood you’re using, as well as how much protection you need.
However, as a general rule of thumb, it is recommended that you apply at least three layers of varnish to your wood.
This will provide a thick and protective layer that should keep your wood from splitting for a long time to come!
Use A Sealant Or Stabilizer
Much like a varnish, sealants and stabilizers have many more benefits than just preventing your wood from splitting.
A good wood sealer can prevent your wood from splitting, but it can also prevent outside and environmental conditions from causing your wood to warp or expand over time.
Sand Surface With Fine Sandpaper
Just like varnish, you will want to start the sealing process by sanding down your wood, once again creating a smooth surface for the sealant to attach to.
This sanding opens the wood grain, allowing your wood surface to best absorb as much sealant as possible.
220 grit will once again be your best bet for finer sandpaper. Using a finer grit may affect the grain of the wood, and using a rougher grain may give your wood an uneven appearance.
Clean Off The Wood Surface
Once you have sanded your wood, it is time to clean off the sanded surface.
You will want to use a damp rag or cloth to wipe down the wood, catching any dust, debris, or extra sawdust.
Much like with lacquer, leaving debris under your sealant can ruin the appearance of your wood and leave an uneven coating.
Once you have cleaned off any leftover sawdust and dirt, you should leave the wood out to dry for 24 hours.
You want to make sure that this wood dries completely so that sealant best takes to it!
Apply Sealant Or Stabilizer And Let Dry
Sealants and stabilizers are not created equal, and neither are their requirements.
Different brands and different forms, such as spray-on or liquid, and they may have different methods of application.
A simple spray-on sealant may require several layers and would be handled like any other painted item, but a thicker, liquid-based sealant would require fewer coats.
It is important to allow the wood to dry for about 48 hours, or two days, before applying the second coat.
Dry Out Your Wood Naturally
If you do not want to expose your wood to chemicals or complicated pastes, your best bet is to let your wood dry out naturally.
Air-drying wood may take time and may result in warping if certain precautions are not taken but air-drying wood is a great way to keep your wood from splitting.
First, you will need to find a dry, warm place where the weather cannot affect your wood.
Stack your wood between pieces of cinderblocks that will help to ensure your wood doesn’t warp and it also allows you to stack more wood in a smaller space.
Properly Store Your Wood
No matter where you store your wood, or what kind of sealants you plan to use in the future, the best way to keep your wood from splitting is to store it properly.
If you know how to properly store wood, you will not have to deal with any cracking or splitting issues in the future, except for in the most extreme circumstances.
The best tip is to store your newly-cut wood, or green wood, as wooden boards instead of long logs. The flat wood boards are easier to prevent warping in and less likely to crack.
Additionally, you should not allow any of these green wood boards to touch the ground.
Green wood boards are damp and provide a great environment for bugs and bacteria that could get into your wood if it touches the ground.
Use Boiled Linseed Oil
Boiled linseed oil is a favorite wood treatment of many woodworkers who appreciate the texture that it grants as well as the rich color and protective coating.
Linseed oil is a perfect sealant for beginner woodworkers, as you can easily apply the oil to any wooden project without a high risk of poisoning.
Additionally, linseed oil’s rich, light brown color makes it a great choice to add some color your next woodworking project.
Sand Your Wood
As always, the first and most vital step is to sand your wood down for the linseed oil to best bond with the wood.
If you do not sand the surface of your wood, the oil will not be able to properly soak in and may leave an uneven coat.
Clean Off The Wood Surface
After sanding, it’s always critical to wipe off and leftover debris.
In the case of linseed oil, dust and debris can prevent the oil from reaching your wood, in places, leading to an uneven drying or coating.
Apply Boiled Linseed Oil And Let Dry
Finally, apply linseed oil to the entire surface of your wood.
You must apply boiled linseed oil in thin layers so the oil dries quickly and you can apply your next layer. Because linseed oil takes longer to dry, it’s critical to apply it in thinner layers.
Roughly two to three layers will protect your wood, but you must let your wood dry completely so that the linseed oil finish does not appear splotchy.
Final Thoughts on How to Keep Wood from Splitting
There’s nothing worse than wood splitting or cracking right before you start your next project. It always seems to happen in the most inopportune times and it can be a costly problem.
With the price of lumber at historic highs, preventing wood splitting is your best bet to save money and time on your next project.
Remember, too much moisture content is the reason for wood cracking and splitting so the best way to keep wood from splitting is to keep it dry.
You can use a number of different products and solutions to prevent wood from splitting. Some of the best include, using boiled linseed oil, trying a salt paste, or coating your wood with a varnish.
It’s best to experiment with different products and find the one that works best for you and your woodworking needs!