How to Make a French Cleat to Hang a Wood Quilt
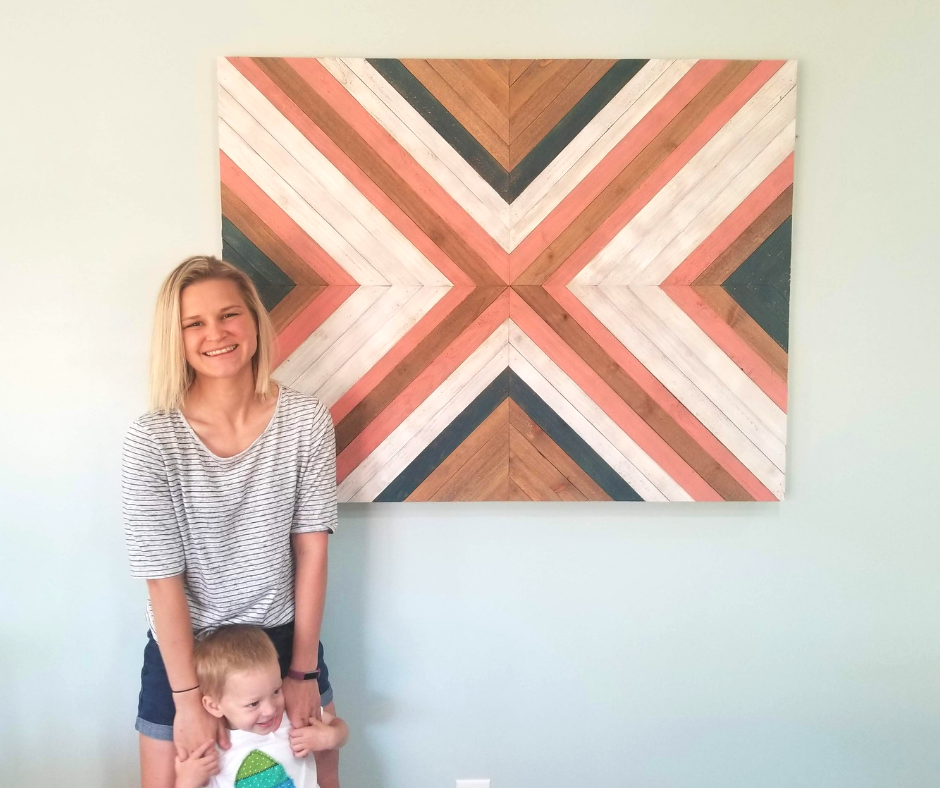
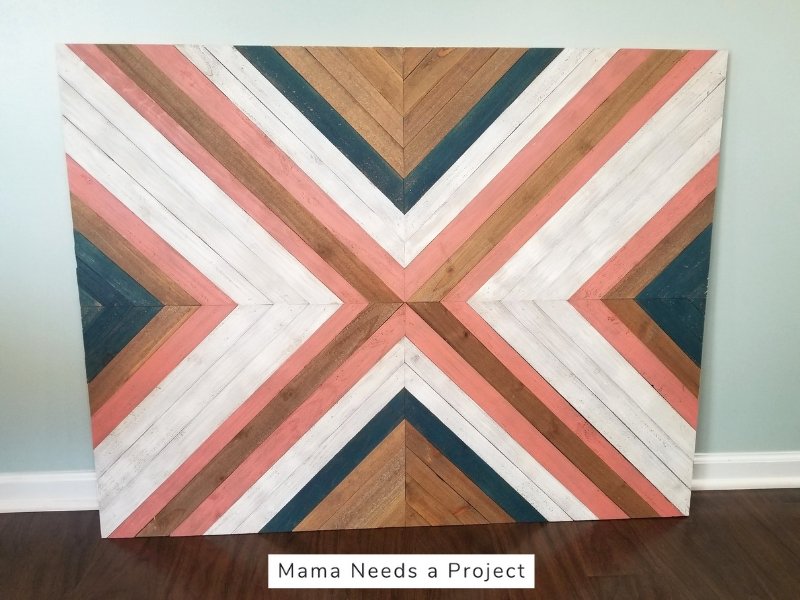
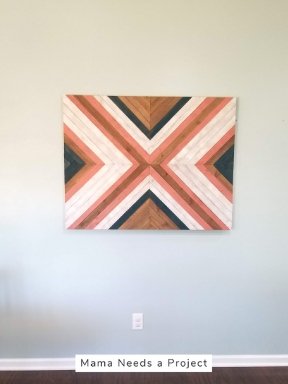
I made this Big X Wood Quilt a couple weeks ago and needed an easy way to hang it on the wall. I am notorious for hanging things crooked, so I wanted a way to make sure I got this sucker straight without ending up with a bunch of extra holes in the wall.
In comes the French cleat! This was my first time using a French cleat to hang a large piece of wall art and it made it SO easy! I would recommend this method to anyone looking to hang something large, especially wood wall art.
*this post contains affiliate links
What is a French cleat?
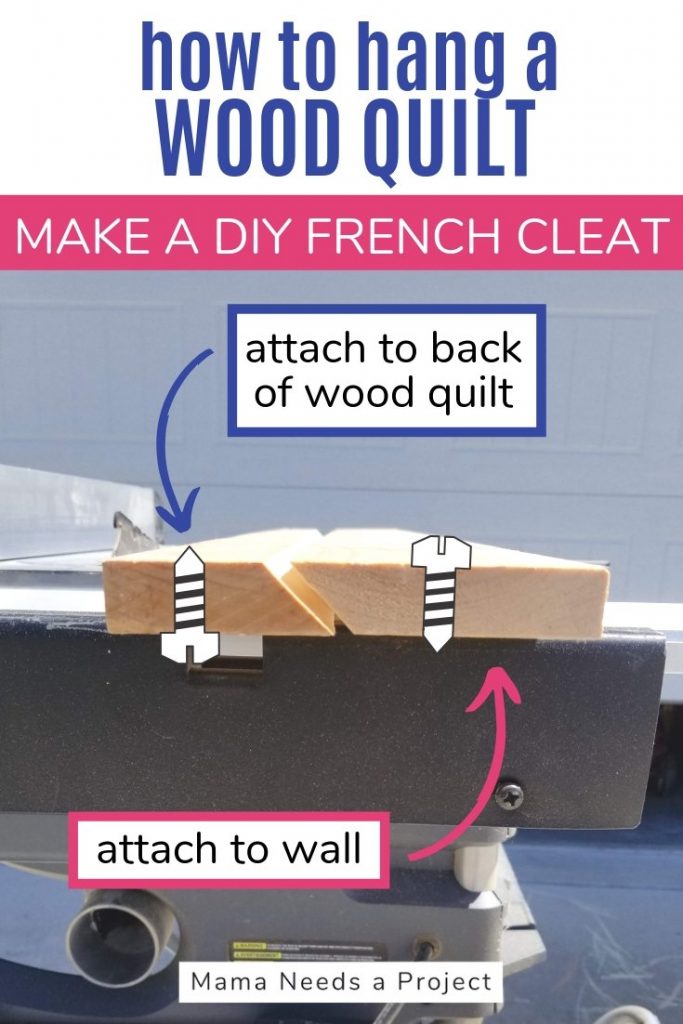
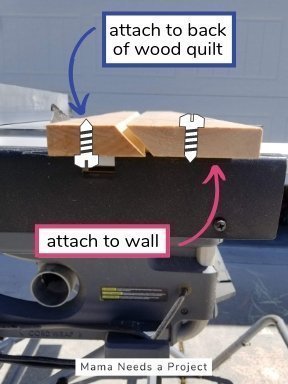
A French cleat is a mounting method used mostly in hanging cabinets and mirrors. A French cleat consists of 2 board each cut at a 45 degree angle. One board is attached to the wall and the other board is attached to the cabinet, mirror or artwork that needs to be hung. The wall cleat is attached first. Then, the second cleat is attached to the artwork. The artwork is hung by sliding it’s cleat onto the wall cleat.
Why use a French cleat?
French cleats are super handy for hanging large pieces, especially if you don’t have anyone to help you. They’re a great choice for several reasons:
- You don’t have to hold the whole weight of the artwork while drilling in screws to hang it
- It’s easier to hang things level than using d-ring hooks or sawtooth hangers
- It’s strong so you don’t have to worry about too much weight on the cleat
- You can make cleats quickly using scrap wood
- Wall pieces can easily be changed out using the same wall cleat
How to Hang a Wood Wall Quilt with a DIY French cleat
Supplies
- 1 – 1×4
- 1 – 1×3
- scrap 1×2 (optional)
- long level
- wood glue
- drill & screws
- table saw
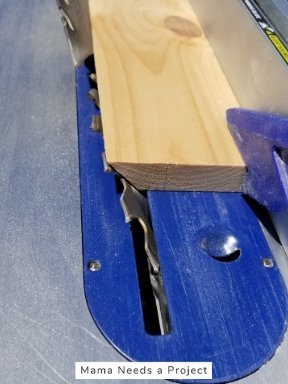
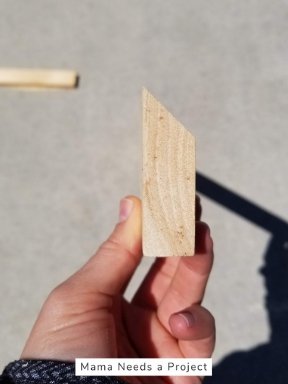
Cut your cleats
Cut both the 1×4 and 1×3 at a 45 degree angle lengthwise using a table saw.
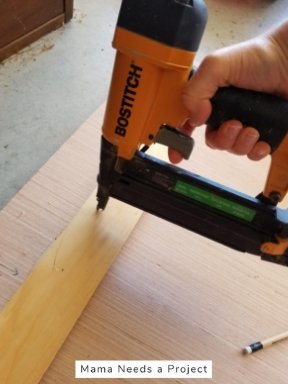
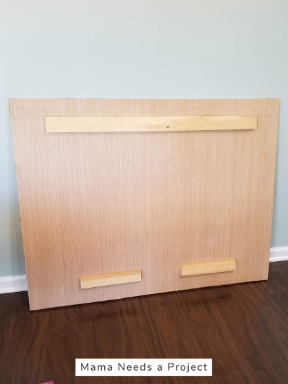
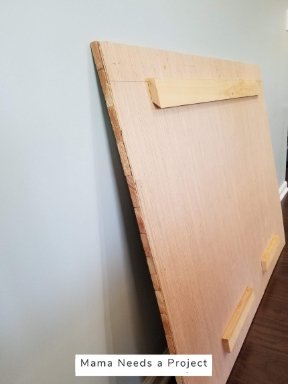
Attach French cleat to back of wood quilt
Attach the 1×3 to the back of your wood quilt with the angle facing inward toward the bottom of the wood quilt. I attached mine using wood glue and a nail gun. You could also use wood glue and screws to attach it.
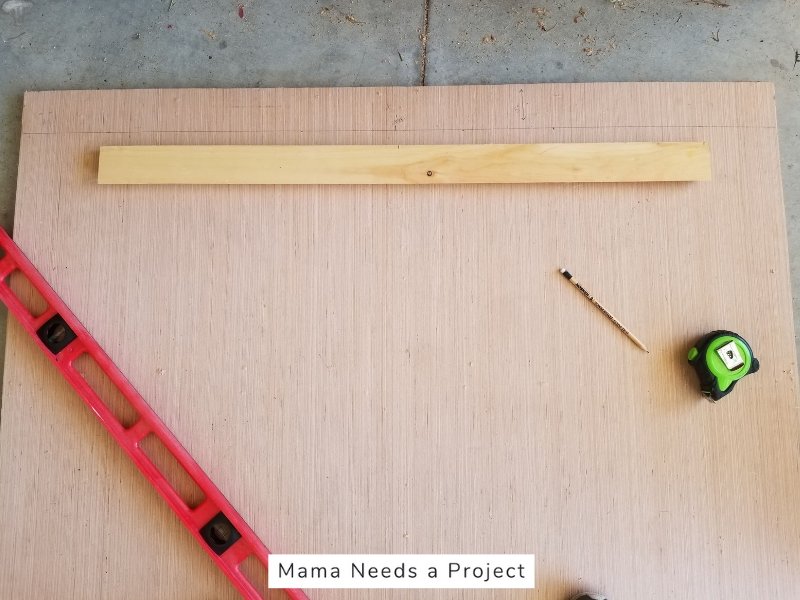
Make sure the cleat is attached straight. You can do this easily by measuring the same distance from the top (2-3″) at multiple points and marking each spot with a dot or dash. Then draw a line across with a straight edge to connect the dots. Line up your 1×3 with the horizontal line you drew and you have it straight.
You can also easily center your 1×3 by marking the center of the board and the center of the wood quilt. Just line up your two marks to center the 1×3.
Add support boards if needed
Because my wood quilt is fairly large, I added two scrap pieces of 1×2 near the bottom to keep the piece flat when it is hanging. These pieces will help the wood quilt to lay flat against the wall instead of the bottom just hanging away from the wall.
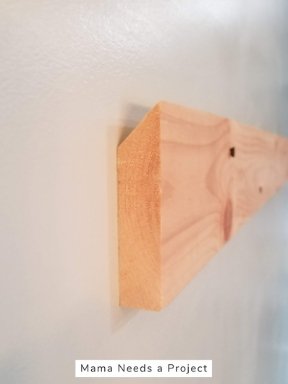
Hang your wall quilt
Once the glue has dried on your wood quilt, you’re ready to attach the 1×4 cleat to the wall. Attach the 1×4 with the 45 degree angle facing the wall and pointing up. Make sure to screw it into the studs. Use your long level frequently to check for level.
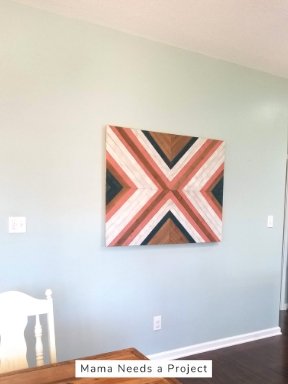
After your 1×4 is attached to the wall you can hang your wood quilt! Just place your wood quilt on the wall so that the 1×3 on the back of the quilt locks into the 1×4 on the wall. And you’re done!
I’m so glad to finally have this big piece hung on the wall so I can move on to my next project! Finding something to hang on this big wall in my kitchen was one of my 2019 Home Project Goals. Another thing checked off the list!
If you need some guidance on making your own wood quilt, check out this step-by-step tutorial to build a Big X Wood Quilt.