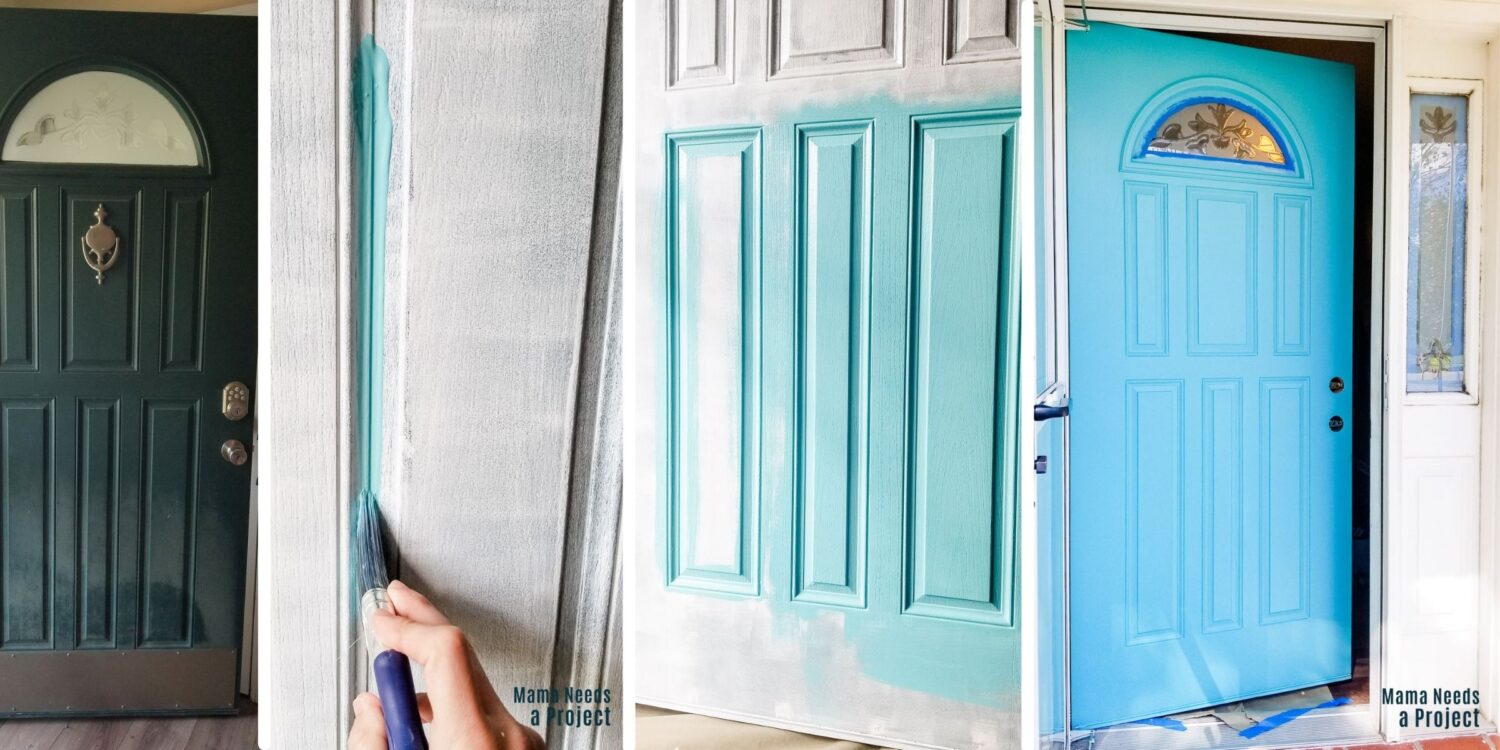
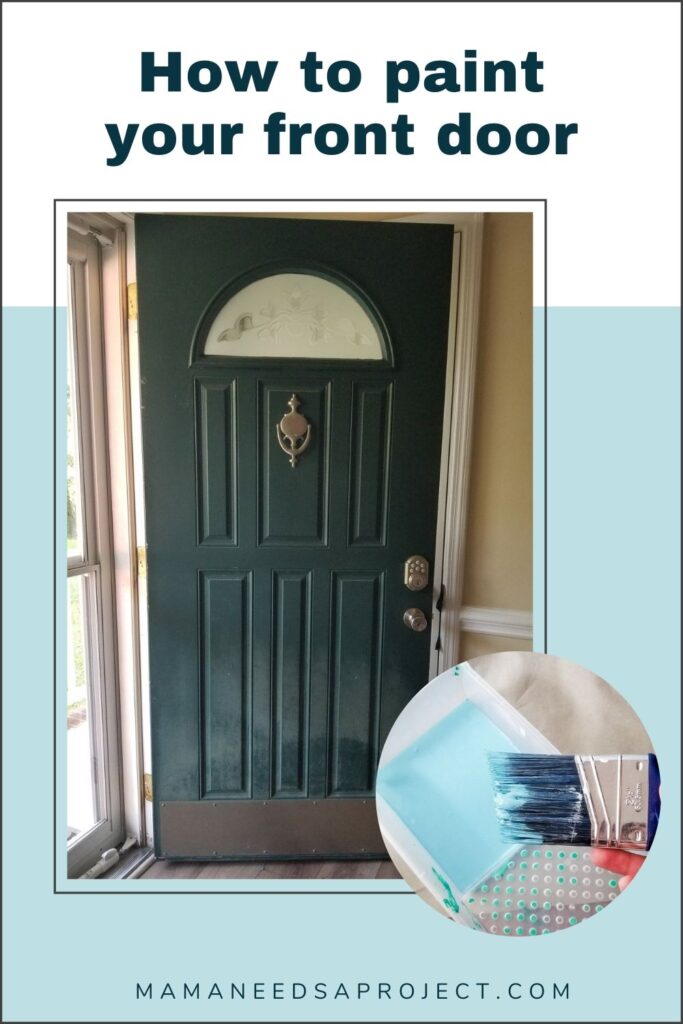
How to Paint a Front Door (without removing it!)
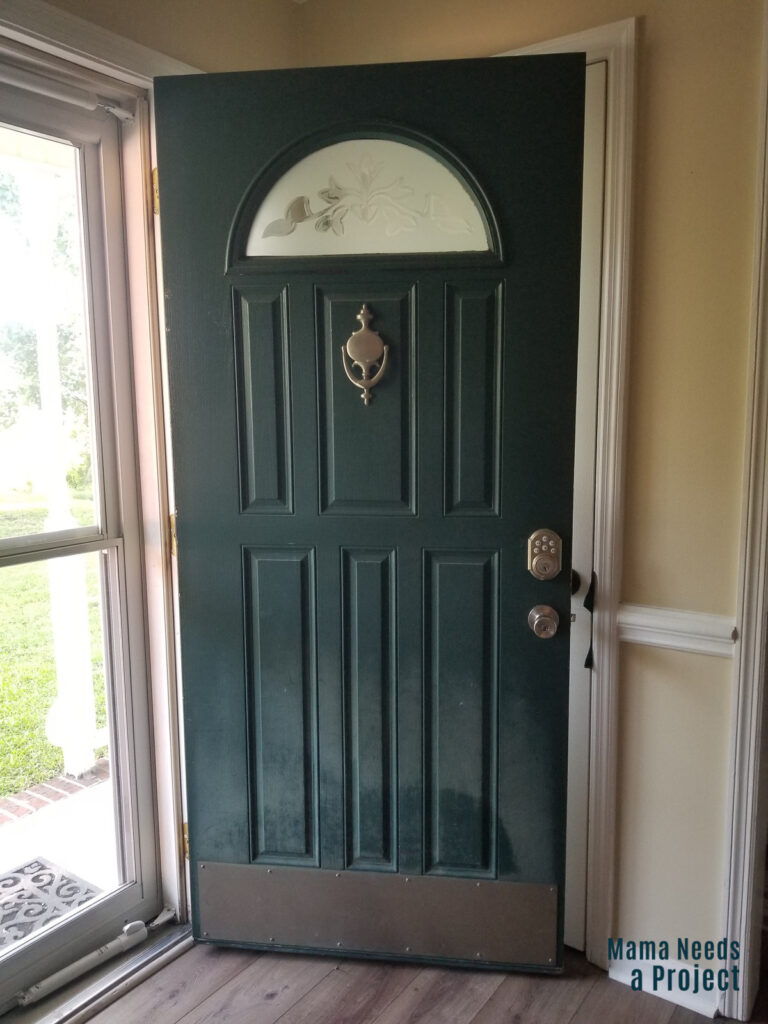
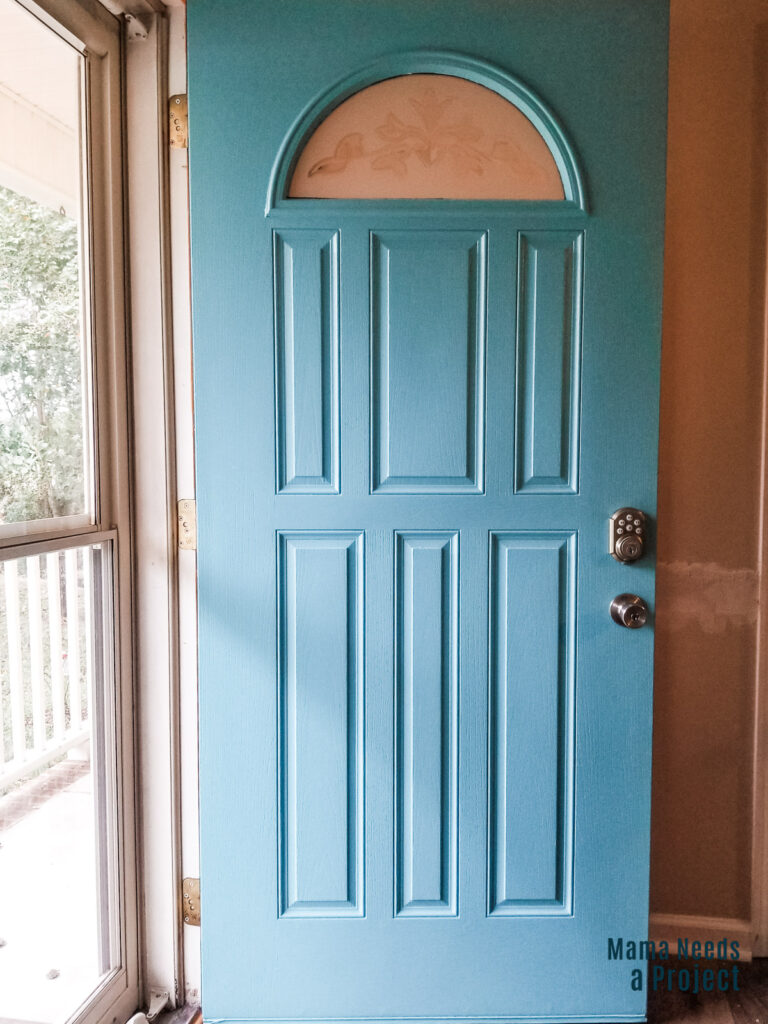
Our front door was a faded, ugly mess and I’m so happy that I finally (FINALLY!) buckled down and made time to repaint it. Painting the front door was so much easier than I expected! I was able to complete the whole project in just a couple naptimes and it makes a huge different in the curb appeal of our home.
In this post, I’ll show you exactly how you can paint an exterior door without removing it from its hinges!
Keep reading to learn my best tips, the advice I didn’t follow and the advice that made a HUGE difference!
How to paint a front door (without removing it!)
This project was actually so much easier than I imagined.
I’m not super knowledgeable when it comes to painting and I was so worried that my paint wouldn’t adhere to the door very well and I’d end up with a mess. But instead my paint stuck to the door perfectly and the finish is AMAZING.
The door has already been kicked and muddied up (sigh, kids) and the mess wiped off perfectly without any damage to the paint. This project was so easy with such great results – I can’t wait to start painting my interior doors too!
Supplies
- sanding block (I used one that was about 100 grit)
- exterior paint – I used Behr Utra Exterior from Home Depot
- exterior primer
- paint brush
- 4″ foam roller
- painters tape
- drop cloth
How to Paint a Front Door Without Removing It
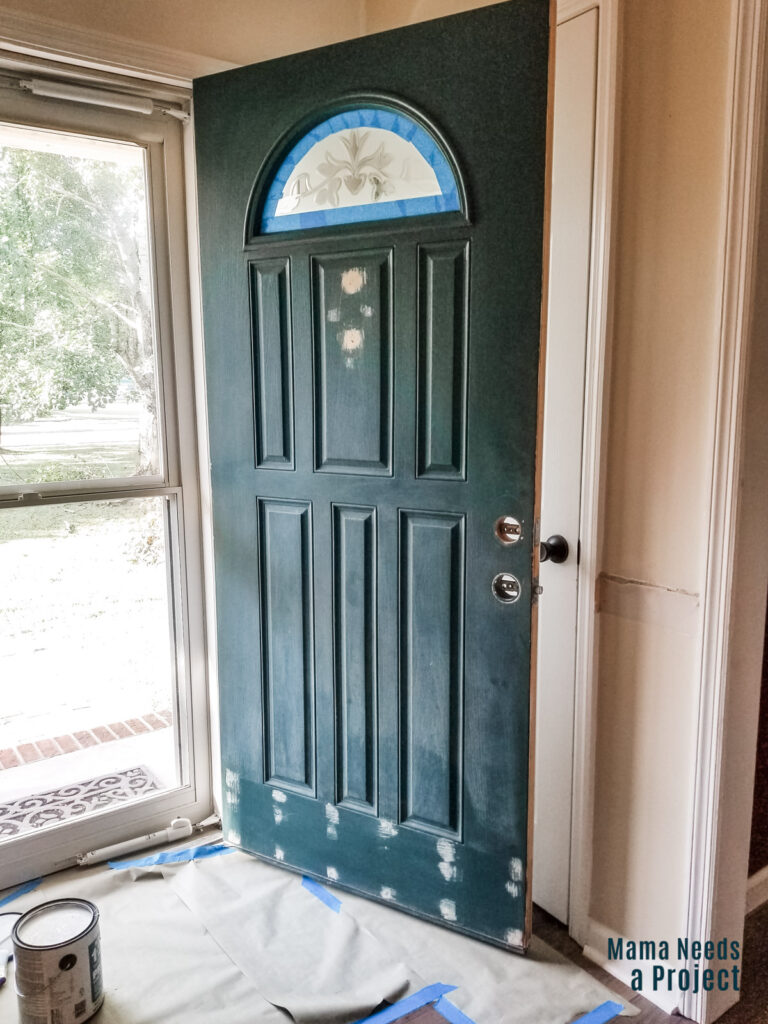
Step 1: Remove the door handle, locks and other hardware
The first thing you’ll need to do to prep your door is remove the handle and locks if it has additional locks. These come off easily with a screwdriver.
My front door also had a knocker on the front and kickplate that I removed. I didn’t like the style of either of these so I decided that I wouldn’t re-install them after the door was painted. I filled all the holes with plastic wood and sanded them smooth.
Step 2: Sand the Door
Next sand the door using a sanding block. I used a sanding block that was about 100 grit.
The purpose of sanding the door isn’t to remove all the existing paint, but to rough up the top shiny layer so that the new paint can adhere better. Try to sand in all of the grooves and detailed spaces.
Step 3 : Clean the Door
Before you can start painting you’ll want to clean off the door to remove any dirt and the sawdust you just created by sanding. Wipe the door down with a damp rag and follow that with a dry rag. This should remove the sawdust so you have a clean surface to paint.
Step 4: Tape off the hinges and windows
Since we’re not removing the door you’ll want to tape off the hinges and any other areas you don’t want to paint with painters tape. You might want to tape off the weather stripping at the bottom of the door if you don’t want to get paint on it. (I just painted the weather stripping, but I think the paint will eventually crack and peel off.)
If your door has a window don’t forget to tape that off using painters tape too.
The window on my door is curved so getting the tape around the edge was a little difficult. I ended up lining the inside of the window with a bunch of small pieces of tape around the edge. Then I took a box knife and ran it around the edge of the window, under the trim, to cut off any tape that was on the trim.
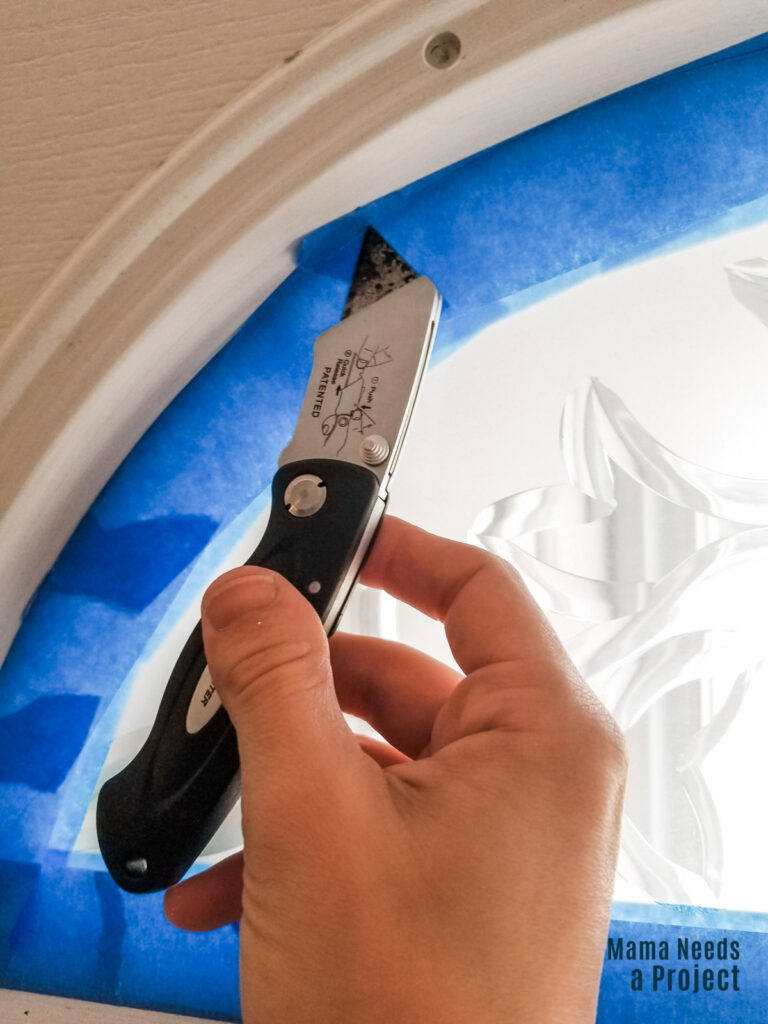
This worked great to protect the window, but was a pain to remove the tape. I really got it securely between the window and trim! I had to use the box knife again to remove the tape that was wedged under the trim after I was done painting.
Step 5: Paint one coat of primer
Now you’re finally ready to start painting!
Start with a coat of high quality, stain-blocking primer. I used Zinsser Bullseye 1-2-3 Primer. It worked really well and was super easy to clean out of my brush and roller when I was done.
Use a paint brush to paint in the grooves of the door and then go over those areas that you’ve painted with the brush with a 4-inch foam roller. You will want to do this while the paint is still very wet. Going over the brushed spots with the foam roller eliminates the brush strokes and gives you a smooth finish.
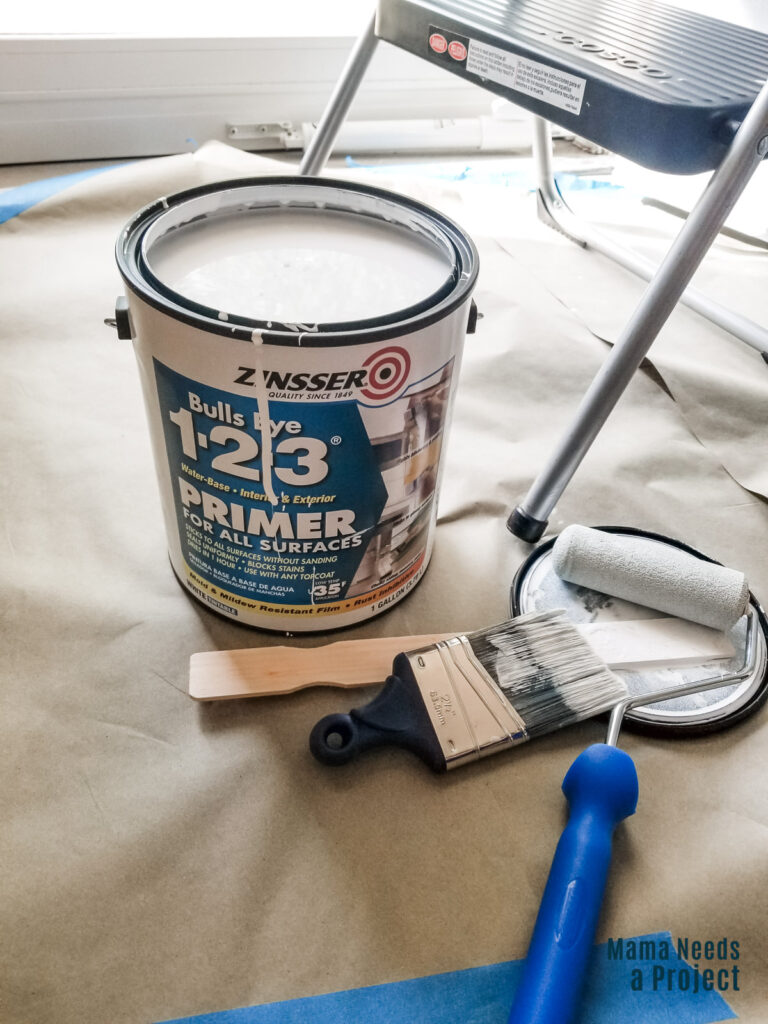
It’s important to use a foam roller and not a nap roller (the fluffy ones) to smooth out the brush strokes.
Use your foam roller to paint the flat areas of the door.
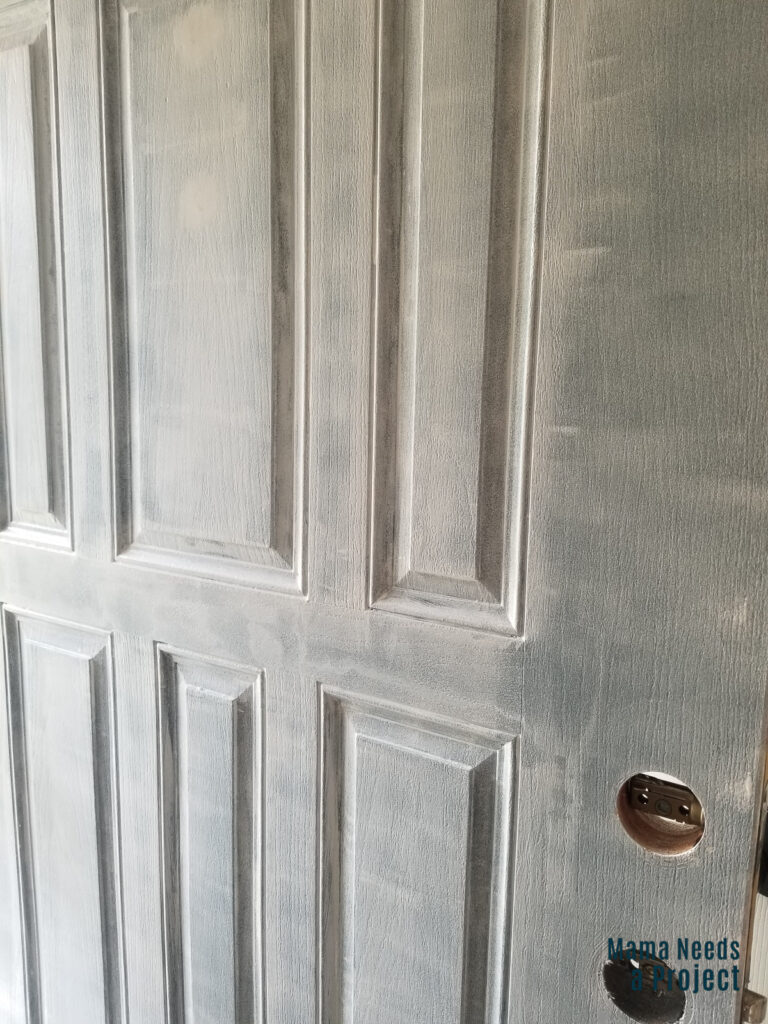
The primer will not completely cover up the previous door color so don’t panic if it looks awful with just one coat of primer. It’s okay! You’ll be adding your paint color on top of the primer once it’s dry.
Step 6: Paint 2 coats of exterior paint
Once your primer is dry, you can add your first layer of exterior paint.
Check your can of primer to see how long you should wait before adding a coat of paint on top. For the primer I used, Zinsser 1-2-3 Bullseye Primer, I only needed to wait an hour.
For your exterior paint you want to choose something that is fade-resistant and can stand up to the weather. I ended up using Behr Ultra Exterior Paint & Primer in One from Home Depot. This was my first time using it and I loved working with it! It went on easily with great coverage, was easy to clean up with water and dried super hard. I was really impressed!
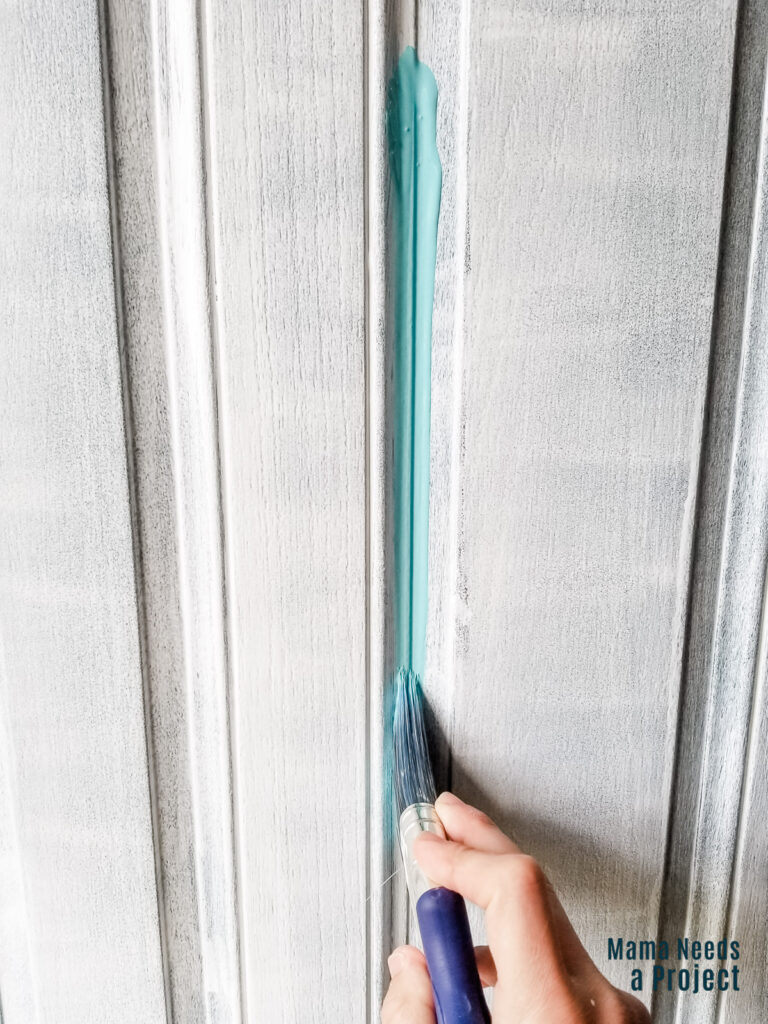
You want to paint your front door with the exterior paint in the same way you painted the primer. Use a brush for the detailed parts and go over your brush strokes with a foam roller to smooth them out. Then use the foam roller for the flat parts of the door.
I experimented painting different sections in different orders because I had read that it was important to paint the sections of your door in a specific order with brush strokes going in specific directions and I was absolutely no difference in the finish by doing that. So in my experience it really doesn’t matter what order you paint the door in.
Once the first coat of paint is dry, add another coat in the same way. For the type of paint I used I needed to wait 4 hours in between coats.
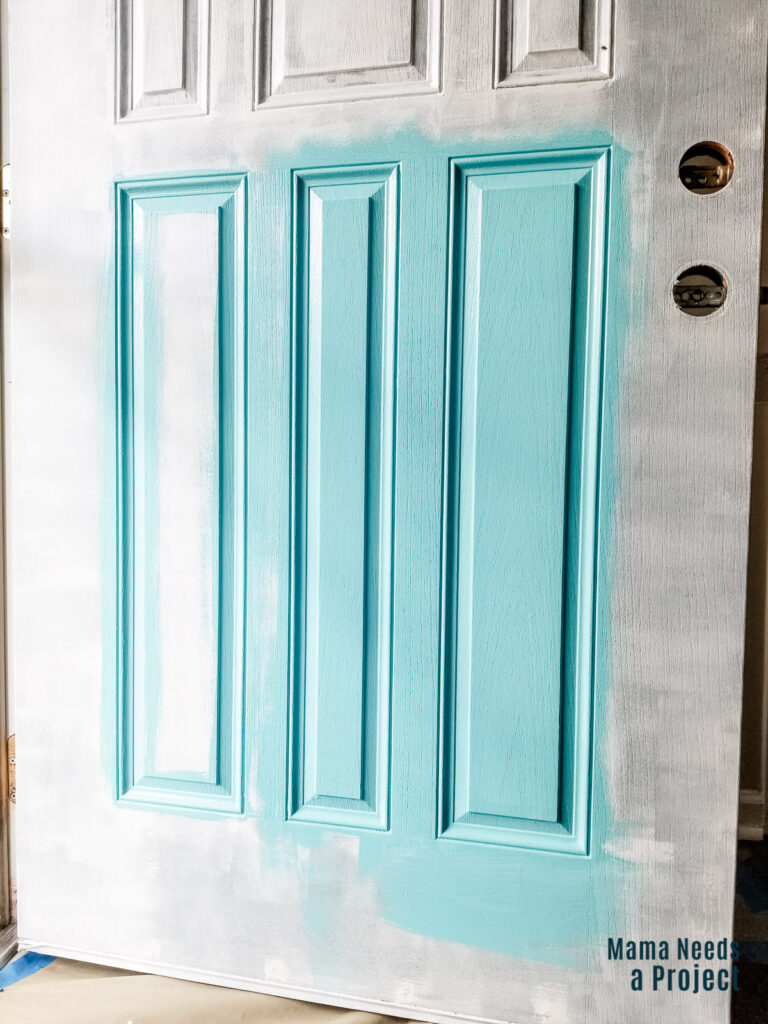
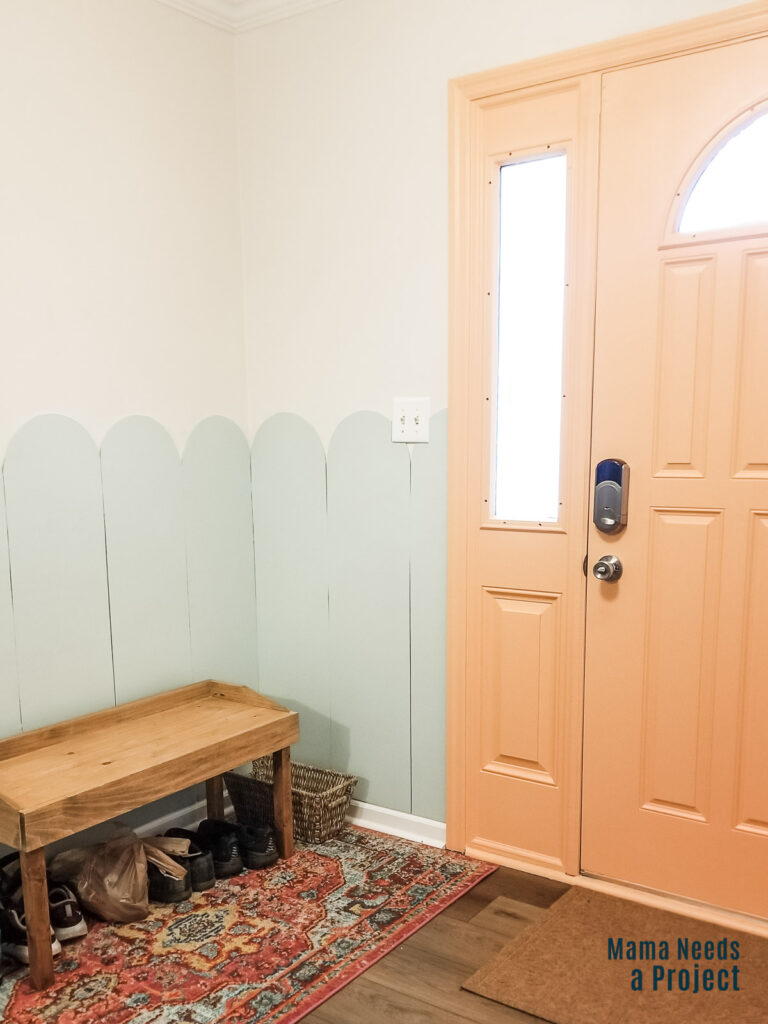
I used less than 1 quart of paint. The paint color I chose is called Adonis by Behr in exterior satin.
Related Reading: Tips To Paint High Walls
Step 7: Reinstall the door handle and locks
Once the paint is dry you can reinstall the door handle and locks and your new door is done!
I decided to leave the handle and locks off overnight to give the paint a little more time to cure before I re-installed them. We have a storm door so we were still able to shut the door for the night.
I don’t know if this was necessary or not, but I didn’t want to install the door handle and have it stick to the paint. I’ll hopefully be removing it soon to install a different style handle and I don’t the paint to peel or chip when I remove the current handle. Hopefully I let the paint cure long enough that this won’t be a problem.
The advice for painting a front door that I decided not to follow
I read on many tutorials that the door needed to be painted in a certain order with brush strokes going in specific directions for each section of the door. There were a bunch of complicated, 14-step charts about how to paint the door that really made me nervous I was going to mess up painting my front door and make it look awful.
All of that detailed instruction was too overwhelming for me – it’s just not how I work – so I completely ignored that advice and chose to just paint it without following a chart or graph.
And guess what?
It looks beautiful!
Sometimes simpler is so much better.
Related: How to Paint a Deck with Peeling Paint
The best tip for painting an exterior front door
The best advice I found for painting the front door was to use a foam roller to go over parts of the door that were painted with a brush. Using the foam roller in this way totally eliminated brush strokes and gave me a super smooth finish!
It also helped to soak up extra paint where I got too much on my brush and prevented drip marks where I applied too much paint. (I’m definitely not a perfectionist, okay?)
This was such a helpful, amazing tip and it made a huge difference in the end appearance of my painted front door. It looks like such a professional paint job!
Questions about painting your front door
What kind of paint should you use for a front door?
My biggest apprehension when it came to painting my door was choosing the right kind of paint. I haven’t had great luck in the past repainting furniture that had a glossy finish like my door and I really worried whatever paint I chose would just peel right off. If you want to dull the finish of glossy paint you can check out these methods.
But by properly preparing the door and choosing the right paint and primer combo – I didn’t have any issues at all! In fact this project went just about as smoothly as it could. My only regret is that I didn’t bite the bullet and do it sooner.
You should use a high quality, exterior paint for your front door. You want something that will dry hard and be fade-resistant.
I used Behr Ultra Paint & Primer in One from Home Depot and was so impressed with the coverage and quality of the paint. It’s an acrylic paint and dries super hard – perfect for an exterior door that gets lots of use. Plus it’s fade resistant and mildew resistant.
Most doors are painted in a semi-gloss finish for the durability of the finish. It’s easy to clean and doesn’t absorb stains as easily as other finishes. I used satin finish for my door, because my store was out of semi-gloss in the color I needed and think the durability is great.
Do you need “door paint”?
I looked for paint specifically made for doors, but couldn’t find any at my local home improvement stores so instead I went with a high quality exterior paint – Behr Ultra from Home Depot. My painted front door turned out SO GOOD! So I don’t think it’s necessary to use a paint specifically made for doors.
How to paint a front door without brush marks
I read all kinds of blog posts and tutorials that instructed sections of the door needed to be painted in a specific order using care to move your paint brush in specific directions in order to get a good finish.
I didn’t follow any of that advice!
Instead I made sure to go over all of my brush strokes lightly with a 4-inch foam roller. The roller completely eliminated the brush strokes!
In my experience using a high quality paint and going over brushed parts with the foam roller was a simple way to paint the door without brush marks. And it was much simpler than all of the charts I saw while researching my project.
Can you paint doors without taking them off?
Absolutely! While some people will recommend taking your door off its hinges before painting them, it’s possible to paint doors without taking them off.
Is it better to paint doors with a brush or roller?
You can use either a brush or roller to paint an exterior door, however if you want to avoid brush marks, using a roller is the way to go. In most cases you’ll also need to use a brush around windows or panels to get a closer finish.
Do you need to sand a door before painting?
Yes, you should lightly your door before painting it. Sanding will help to rough up the surface of the door so your paint can adhere better. You don’t need to completely sand off the old paint, but just sand off the top, shiny layer.
I used a sanding block that was about 100 grit for my door and lightly sanded the whole thing.
Should you use a primer before painting a door?
I chose to use a stain-blocking primer (Zinsser Bullseye 1-2-3 Primer) on the outside of my door before painting even though the paint I purchased was a paint and primer in one. On the inside of my door I skipped the primer and went straight to painting.
I found that the outside of the door (with the primer) took less paint and it was easier to get uniform coverage than the inside of the door (no primer).
The inside of the door where I didn’t use primer still looks great and feels very durable.
I chose to use primer for the outside of the front door because it will be subject to temperature changes, sunlight, rain, etc. and I just wanted to make sure it was as durable as possible so that I don’t even up having to repaint it again in a year. I think the primer helped to create a better finish and will hopefully help to make sure it lasts for a long time.
How to paint your front door the easy way – without removing it!
I hope this quick tutorial was helpful for you! Painting my front door was so much easier than I expected and now I can’t wait to paint the rest of my interior door with the same method!
If you liked this tutorial, let me know on Instagram! You can find me @MamaNeedsaProject