How to Paint Particle Board (Step by Step)
Particle board is a super convenient type of wood that can be used to create all sorts of projects, including furniture.
But can you paint particle board? And how can you make sure it’s done right?
In this post, I’ll show you exactly how to paint particle board step by step (and include some tips that I learned while painting) so you can get the job done right the first time. Let’s get started!
Here’s how to paint particle board:
- Repair any cracks, gaps, or holes with wood filler or wood putty
- Sand the surface for a smooth finish
- Prime the surface – here’s what I used
- Sand again
- Paint the surface – here’s the paint I used
Can You Paint Particle Board?
Yes! Particle board can be painted by sanding the surface, applying a primer, and painting it.
It’s easier than you might think, and I’ll show you exactly how below.
Why Make Particle Board Furniture?
Particle board doesn’t have as good a reputation as solid wood furniture (like live edge furniture). Why make pieces for your home out of particle board when there are better options on the market?
Several benefits come with utilizing particle board for new furniture:
- It’s cheap: Particle board is wood particles nobody wants, so it’s much more affordable than solid wood.
- It’s lightweight: Particle board isn’t as dense as solid wood. It’s easier to transfer and work with due to the weight.
- It has personality: Particle board has more personality than the average piece of wood. It tends to have rough edges that can give it some character.
If you bought a home or need new furniture and you don’t want to break the bank, particle board furniture is the answer.
How to Paint Particle Board Furniture (and Other Pieces!)
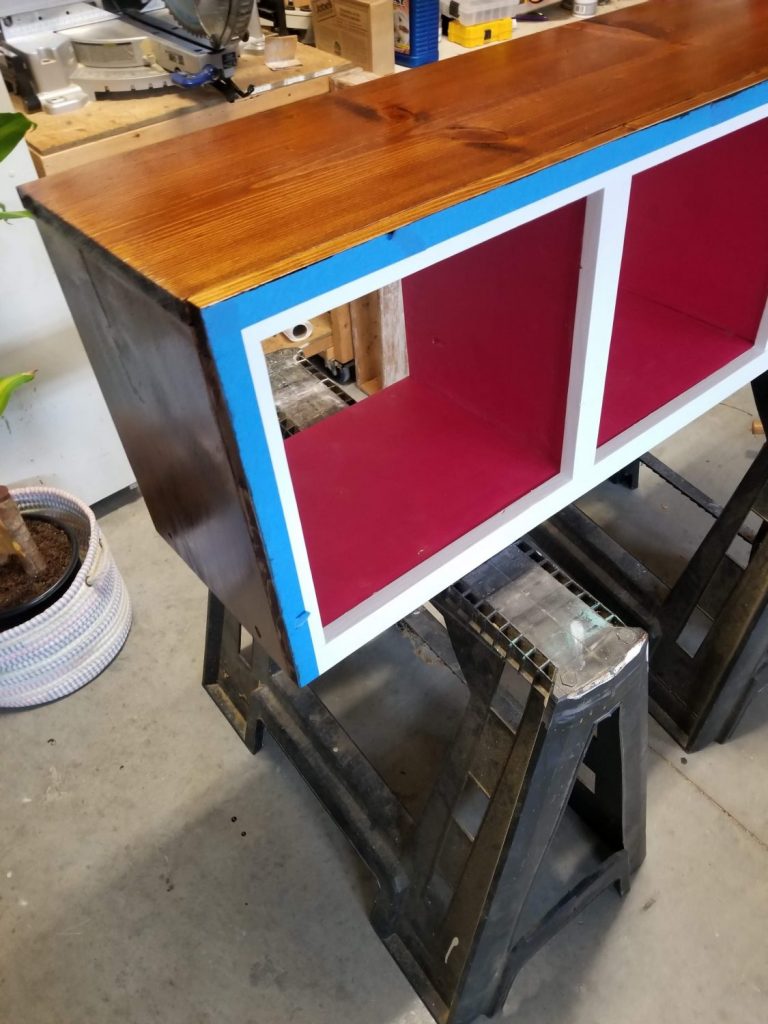
If you want to paint particle board (like furniture or other particle board projects), you can’t just slap a thin layer of paint on top and hope for the best. You’ll need to follow a few critical steps to get a paint job that lasts.
To paint particle board furniture, you will need to:
- Gather your tools
- Repair damage
- Sand surfaces smooth
- Select an ideal primer
- Prime the service
- Sand the primer
- Paint the surface
1. Gather Tools and Materials
First, you need to gather your tools. Most of these are sold at your local hardware store or online. It’s vital to have all of them, as you don’t know what problems you may run into when you begin the painting process.
Here are a few of the tools you need to paint a particle board veneer:
- Putty knife
- Sandpaper
- Veneer roller
- Paintbrush
- Paint roller
- Paint tray (this set works perfectly)
These will suffice for the painting process. You will also need materials to paint the product.
Here are the materials you need to paint:
- Wood filler or wood putty
- Primer
- Paint
- Roller cover
- Contact cement
- Lint-free cloth
These will provide full coverage when the painting process begins. I recommend these spray paints for wood furniture.
Once you have your materials and tools, you’re ready to go. Lay everything out where you can access it easily and move on to the next step.
2. Repair Damaged Area
A smooth surface is necessary if you want even coverage when painting.
If the furniture has any damaged areas, you should fix them before proceeding. There are several types of damage to be on the lookout for as you paint. You might need to remove staples from the wood before painting.
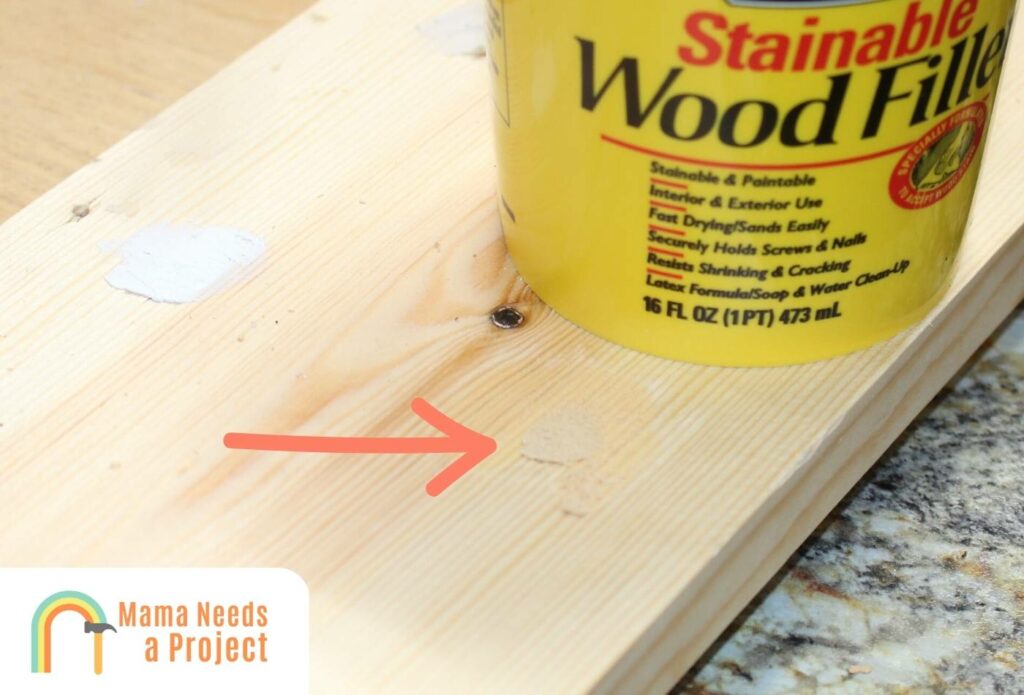
Keep your eyes peeled for these three damage forms:
- Water damage: To fix wood softened by water, fill it with wood filler.
- Veneer damage: If the veneer becomes loose, you can remix it to the particleboard by utilizing contact cement.
- Chips and scratches: Fill the chips and scratches with wood putty and smooth them down. Then, let it dry overnight for the best results.
Once you perform fixes, the surface might be a little lumpy. This texture leads us into the next painting step for particle board furniture.
In addition to repairing damaged areas, it’s also critical that you seal the edges of the wood before painting.
3. Sand Surfaces Smooth
Particle board furniture is often surfaced with a laminate to keep everything intact. Although the laminate looks nice, it prevents the paint from sticking to the surface.
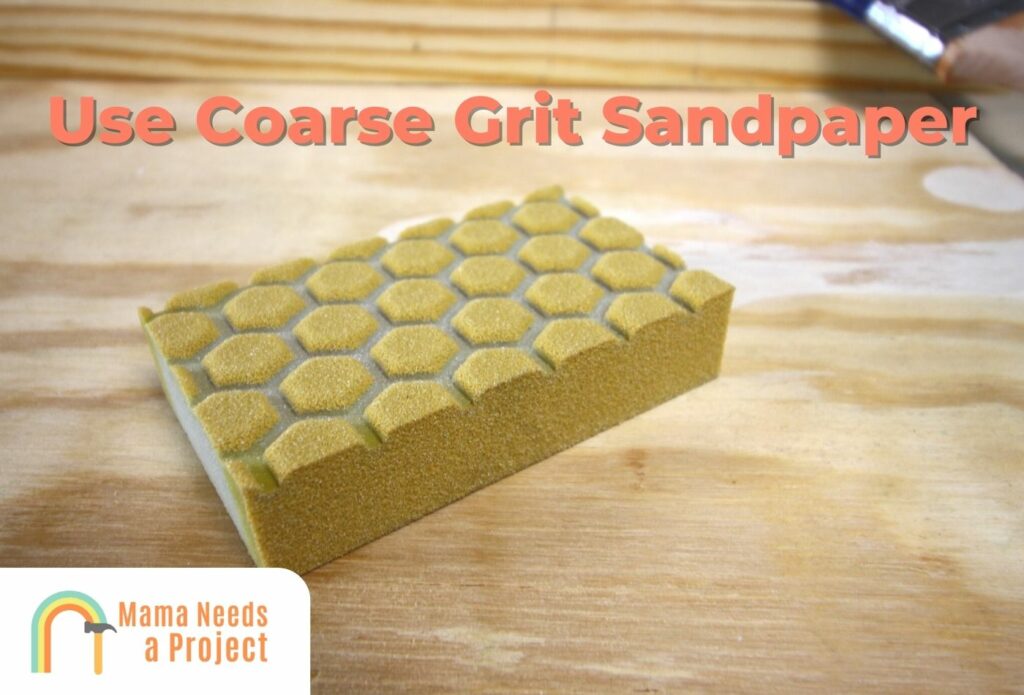
You will need to lightly sand the laminate and make an area for the material to stick to. Sanding will also flatten any areas where repairs happen.
Fine grit sandpaper (I like this one) or a sanding block will suffice for this process.
Ensure you don’t sand too hard, or you risk damage. You don’t want to sand the laminate off, but you want to shift the texture to something more jagged the coats of paint can latch onto when you brush them on.
You should also use the right grit sandpaper when sanding wood.
4. Select an Ideal Primer
Now, it’s time to select a primer.
Primer will help your paint stick to your project as well as cover up any imperfections.
When it comes to the type of primer, I spoke with professional painter Bart Caldwell of Caldwell Painting who noted, “It’s important not to use a latex (water base) primer, because the glue holding the wood together is typically a water based glue. If a water based primer can reach the insides of the wood it will begin to break down the glue and cause the veneer to separate.”
Here are the two best options for primer if you have a:
- Dark-colored particle board: Take advantage of grey primer for this tone.
- Light-colored particle board: Utilize white primer for this shade.
The ideal primer will allow for fewer coats of paint, as it will better hide the surface of the particle board.
If you don’t have the optimal color primer, you can always use a touch of paint to tint the primer. A little black can turn any white primer grey in no time. Be careful, as it’s easy to change the color too much. A small amount will go a long way with tinting, especially if you utilize black.
5. Prime the Surface
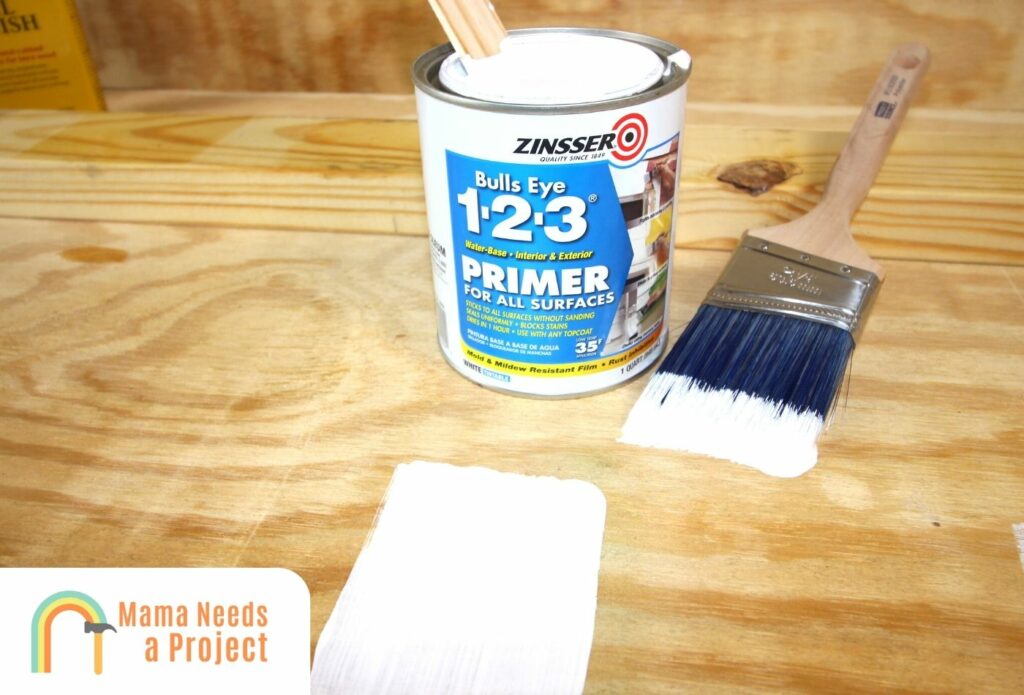
Once you have the ideal color primer, it’s time to apply primer to the surfaces.
It might seem exciting to dive straight in with the paint, but primer will help the paint stick longer. A good coat of primer will prevent paint from peeling off the particle board furniture.
If you have a lot of area to cover, a roller can work to put primer on the wood. Once you have the general area covered, take advantage of a paintbrush to hit the spots the roller may have missed.
It’s crucial to let the primer dry before proceeding with the first coat of paint. Try to wait at least twenty-four hours before you touch it again. The wait will be worth it for the strength of the painting at the end.
6. Sand the Primer
Now that you have dried primer, it’s time to sand the surface again. Sand smooth the dried primer layer to, again, give the paint something to stick to on the surface. This process should be gentle. You don’t want to scrape the primer off or you will have to put it back on and wait another twenty-four hours again.
Once there is a texture for the paint to hold on to, you’re ready to move on to the final step.
7. Paint the Surface
Now, it’s time to add the paint.
Your best course of application is to use a roller brush to cover as much surface as possible on the particle board. This brush will also produce a smooth finish while painting. Ensure you keep an eye out for any paint that drips so you can wipe it smooth before the color dries.
If you’re utilizing thicker paint, one layer may be enough to cover the entire surface. However thinner paints may require a second layer and, in some cases, a third. Two layers can make the color bolder and more vibrant.
Let the paint dry in between coats and enjoy your new particle board furniture!
Best Primer for Particle Board
Priming is essential to get even coverage when you paint particle board.
The best primer for particle board is the KILZ Adhesion Primer. I’ve used this primer for so many different projects and it works great. I highly recommend it for just about every project.
Best Paint for Particle Board
The best kind of paint for particle board is one with a glossy finish.
Not only does it look good, but this type of paint is easier to clean once it dries. It’s also more resistant to scratches and other damage the existing piece might be exposed to when it’s done.
Ultimately, the best paint for particle board is this Rustoleum Latex Paint. You can get it in many different color options and I found it works great on particle board.
Water-based paint can come off with water, so it’s best not to put these pieces outside. Oil-based paint will take much longer to dry. Chalk paint provides a bold color but, again, should not be left outside if you want it to last for a long time. If you do use chalk paint, be sure to use a chalk paint brush for the best results.
Spray painting particle board should also be avoided – it’s nearly impossible to get an even coat.
Check out the video below for help picking out what type of paint or stain you should use!
Can You Paint Directly on Particle Board?
You can paint directly on particle board, but the bold paint color won’t last for very long. It’s best to sand down the surface and add a primer if you want the color to stick for more than a few months.
Every extra step works to ensure the paint job will stay on for the long term, rather than flaking immediately.
If you’re in a pinch and can’t afford the extra products, you can always try to paint directly on particle board. Still, it’s critical to note that it might be cheaper, in the long run, to invest in the extra products for the painting process.
Do You Have to Prime Particle Board Before Painting?
Particle board requires a little more attention than the average piece of wood. Thus, a primer is necessary when attempting to put a paint color on the surface. Whether a solvent-based primer, water-based primer, or oil-based primer, there is a preparatory liquid out there that will work well for the paint you want.
Without primer, the paint will sink deep into particle board thanks to its porous nature.
A little sanding and primer together will get rid of these holes and make it simpler for the paint to stick. It will save you money, as less paint is necessary once the porous nature of the wood disappears.
Can You Paint Particle Board without Sanding?
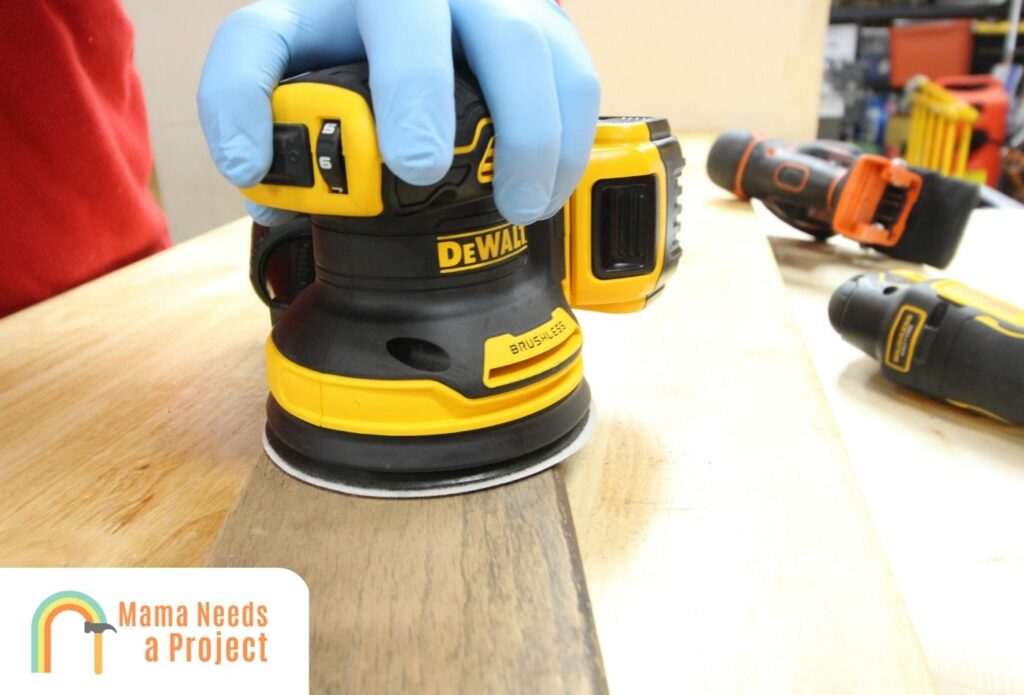
Sanding is a necessary part of the painting process.
It might seem like a weird thing to do – if you want a smooth finish, why sand the wood at all? However, it is a necessary one that changes the painting process completely. You’ll note a big difference if you paint without sanding versus painting with sanding.
With light sanding, the wood will produce tiny ‘teeth’ that the paint can grab onto when applied. It will also reduce the porous nature of the particle board, along with the primer we talked about earlier.
It’s critical to be gentle when you sand the wood. All it needs is gentle pressure. You don’t want to destroy the integrity of the wood, you just want to make it more accessible for painting. If you see the board chipping, it means you’re putting down too much pressure on the surface. Ease up.
How to Cover Particle Board
The best way to cover particle board is by painting it.
To do this, you’ll first want to patch any cracks or holes with a wood putty. Next, you should sand the surface down with a 180 grit sandpaper. Then you can apply a primer to get better coverage when you paint. After priming, lightly sand again. Finally, you can paint the surface with the color you want. If needed, apply a second coat.
It’s that easy!
Another option is to seal particle board. This gives it more protection, water resistance, and durability for your project.
Tips for Painting Particle Board Furniture
If you want to paint particle board furniture, it’s critical to know what you’re doing. We have some tips that might help you as you begin to add color to your unique furniture pieces.
Here are a few of the best tips to keep in mind when painting particle board furniture:
- Plan for time: Plan for at least four days when painting particle board. This period will give everything enough time to dry.
- Buy used: When you can, invest in used tools for the process. This might mean used paintbrushes or a used paint dish.
- Pick closed-cell rollers: They make special closed-cell rollers for a glossy paint. More paint goes on the wood than sticks to the brush.
- Get glossy: If you have a choice, always pick glossy paint. It will work the best again scratches and it’s easiest to clean.
Now that you know what the process consists of and you have your tips, it’s time to try painting particle board yourself. Gather your tools, set up your area, and get started. It’s time to give your furniture new life!
FAQS
Can you sand particle board?
Yes, particle board can be sanded. You’ll want to use a course grit sandpaper to help roughen the surface to prep it for painting.
Can you spray paint particle board?
While you can spray paint particle board, I don’t recommend it. It won’t last nearly as long and it’s difficult to get good coverage by spray painting it.
Final Thoughts
So, can you paint particle board? Absolutely!
Painting particle board can give your furniture, cabinets, or other surface a new look that fits your style – and it’s easier than you might think.
Just patch any cracks, sand, prime, sand again, and paint – that’s it!
Happy painting!

