How to Round Edges of Wood (7+ Methods With & Without a Router!)
Rounding wood edges can be an essential task for any woodworker and luckily there are several different ways to get the job done.
If you want to achieve a professional finish on your projects, rounding wooden edges is key.
Using a wood router is the obvious answer to round sharp edges, but what if you don’t have a router handy?
In this post, I’ll detail exactly how to round wood edges with and without a router, some reasons to round wooden edges, and much more. Let’s dig in!
The best way to round wood edges is with a router. However, if you don’t have a router, you can use a hand plane, chisel, file, sandpaper, or a jigsaw to achieve a similar result.
Round Wood Edges with a Router
When the edges of wood need to be rounded, most experienced woodworkers will reach for their handy router to get the job done.
This is the fastest and easiest way for rounding wood edges if you have this tool in your toolset.
How to Round Edge of Wood with a Router
You don’t need to exert a lot of energy to round wooden edges with a router but before you use a router, keep in mind that care and patience will both be needed to get the job done properly. If you rush and go faster than the machine, you won’t get round edges but marred edges instead.
1. Fitting the Router Bit
The first thing you’ll need to do is mount the router bit to the collet.
Remember, the bit’s shank size needs to be the size that the router’s collet can accommodate. Slide the bit into the collet until it can’t go any further, and then pull it back 1/16” so there’s a little clearance between the end of the shank and the end of the collet.
2. Fastening the Router Bit
Now that the bit is in the router, it’s time to fasten it.
You’ll need an open-ended or adjustable wrench to do this. If your model has a spindle stop, and only one wrench is required to fasten the bit, press on the stop so the blades don’t move while you’re fastening the bit with your wrench.
3. Adjusting Cut Depth
Once the bit is secured, the cut depth must be set.
To do this, slide the loader. The part of the bit that’s above the base will cut the wood. And depending on how the bit is constructed, there may be a flat edge below the blades, which is used to flatten the area around the rounded edge.
Note: If you don’t want to use the flat edge, just make sure it doesn’t meet the material when you’re using the router.
4. Begin Rounding the Edges
Once the cut depth has been set, lock the bit in place. Once it’s secure, begin to run the bit along the edge of the material. You should move the tool slowly so no section is uneven afterward. You can push the router with or against wood grain, but pushing with the grain tends to be easier.
Check out the video below for more help!
Plunge Router vs Fixed-Base Router

Plunge Router:
A plunge router utilizes spring-loaded rods, allowing the device to move up and down smoothly to round edges.
One of the nice things about this tool is you can adjust cut depth without turning the machine off. Plus, there are a range of cut depths to choose from, and switching from one cut depth to another isn’t hard at all.
Plus, with a plunge router you can start cutting in the middle of a board, which is something a fixed-base router can’t do. Just put the router over the spot you want cut, turn it on, and gently press the spinning bit into the wood.
The plunge router’s controlled vertical movement ensures a precise cut, which is a main reason why woodworkers rely on it to make deep cuts, grooves, mortises, and other alterations.
Fixed-Base Router:
A fixed-base router doesn’t have spring-loaded rods; instead it slides up and down on a track that’s inside its base. To adjust this tool’s cut depth, you need to loosen its lock knob and then move the base accordingly.
By using this router it’s easy to make fine changes, but adjusting cut depth once you’ve started cutting can be burdensome. Many woodworkers use this kind of router for edge shaping, as it’s easy to maneuver.
It’s usability, price, and lifespan are just some of the qualities that make this an all-purpose router.
How to Round Wood Edges Without a Router
If you want an easy way to round wood edges, using a router is the easiest method.
But what if you don’t own a router?
Good news! There are other options to round edges that don’t require this machine.
If you have to smooth some wood edges but you lack a router—or the job is too small for a router—you can use a planer, a chisel, a file, a sander, or a jig saw to smooth the wood’s edges.
For example, smoothing the edges of a very small surface will be tricky if not impossible with a cumbersome router, so in this case it’s better to use a file or chisel.
1. Use a Hand Plane
One option to round wood edges is using a hand plane instead of a router to smooth sharp edges.
This age-old tool can achieve similar, sometimes even better, results if you use it correctly.
Planes are mainly used to level wood, but they can achieve smooth edges as well. However, using a hand plane will take longer than using a router, and you’ll need to exert more energy when using this tool.
It’s best to use a block plane for edge smoothing, as this plane fits in the palm of your hand and it’s easy to use. Here’s how you should use a hand plane to smooth wooden edges:
- Hold the plane so it creates a 45° angle with the edge of the wood.
- Now move the plane from side to side across the entire length of the edge.
- When you arrive at a corner, use the plane at different angles until a rounded edge is created. It will look rough at first, but you can smooth it out with the sandpaper to get a well-rounded corner.
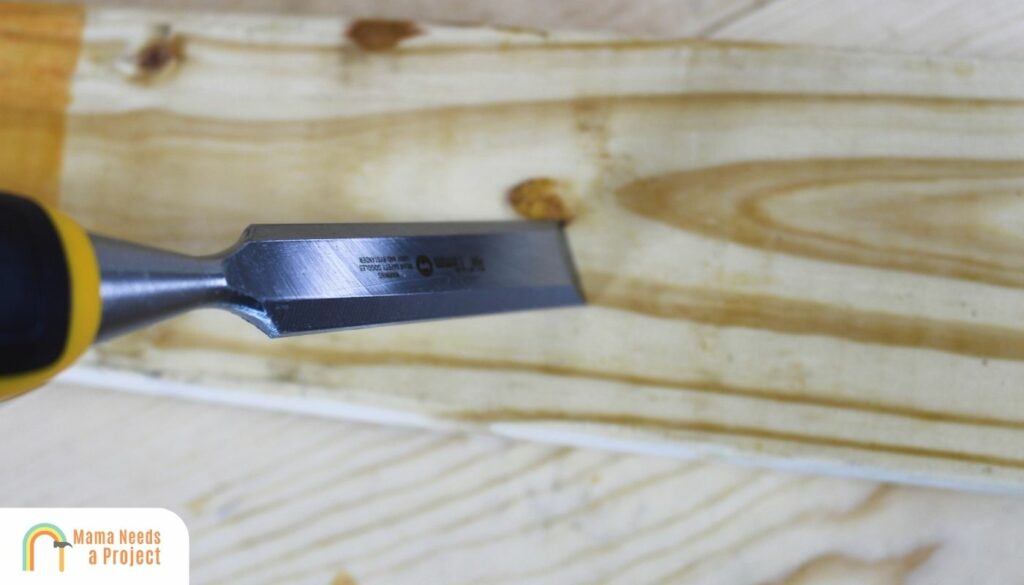
2. Use a Chisel to Round Wood Edges without a Router
If you’re wondering how to round wood edges by hand. using a chisel is probably your best bet, but you’ll have to have some patience to achieve the results you could achieve using a router.
One thing to keep in mind when you’re using a chisel is that mistakes are often hard to correct and sometimes irrevocable.
That said, you shouldn’t use a chisel on any edges until you know how it’s going to affect them. This is why you should have a similar board that you can practice on.
With a chisel, you run the risk of removing too much wood, especially since a hammer will be needed to chip away the wood. Plus, if you hit the edge at the wrong angle, it could mar the wood significantly.
In short, if you’re using a chisel to smooth wood edges, you need to work slowly and only remove wood in small amounts. Also, periodically make sure that the chisel is still sharp, as if it’s dull smoothing the edges will be harder and you’ll be more prone to making mistakes. Here’s how to round wood edges with a chisel:
- Hold the chisel so it forms a 45° angle with the edge.
- When it’s in position, tap it gently with a hammer.
- Once the long sections of edge have been addressed, you’ll need to do the corners. Your goal should be to get a semi-flat edge at each corner.
- After the entire edge has been chiseled, you can go over it with sandpaper to ensure it’s totally smooth.
3. Use Sandpaper
If you need to round wood edges without a router it’s likely one of the first tools you’ll reach for is sandpaper.
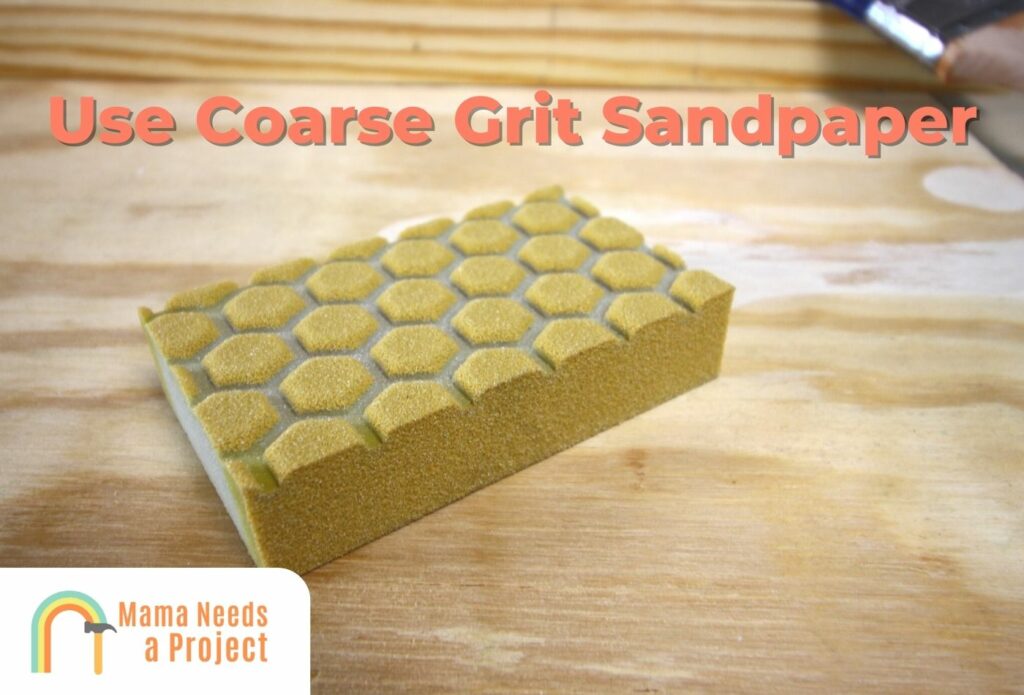
Make no mistake—sanding edges takes a long time, but if you know what you’re doing and you’re patient, eventually you can achieve fantastic results.
The trick is to use a low-grade sandpaper first before you finish things off with a fine-grit sandpaper. And if you want better control of the sandpaper, you should use a sanding block; this will not only help you sand but protect your knuckles from splinters as well.
There are a few notable downsides associated with using sandpaper in this way. For one, you won’t be able to remove wood as quickly as some of the tools we’ve discussed already. Also, you run the risk of making the surface multi-leveled if you sand too much in one spot and not enough in another.
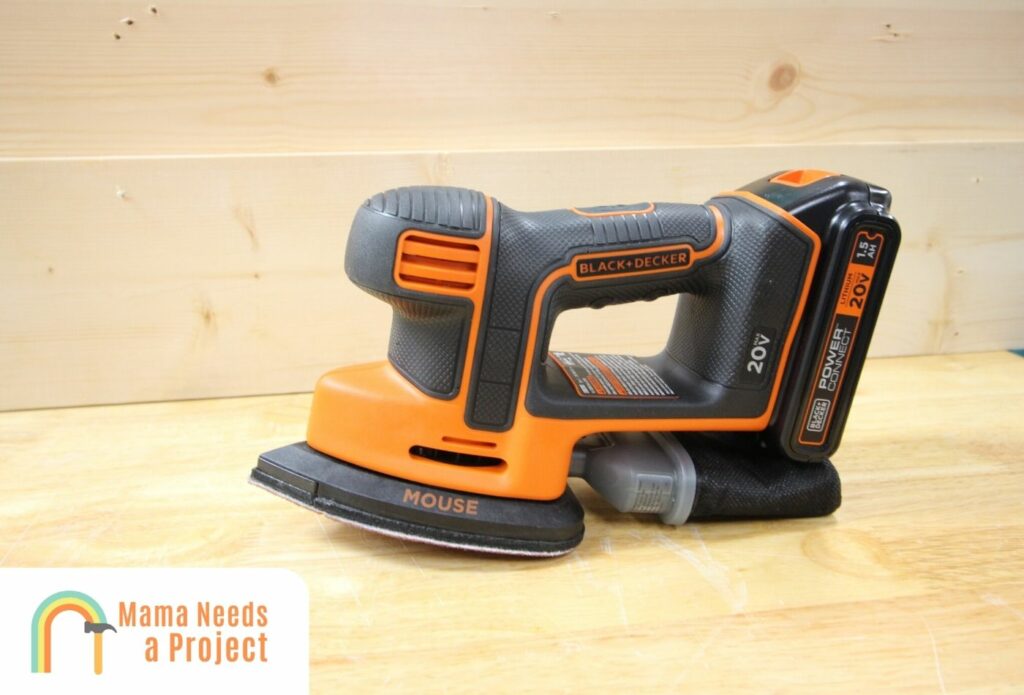
You can also use a belt sander or orbital sander in some cases, but these are better for removing a lot of wood quickly and won’t give you as much control as you need to round wood edges without a router.
4. Use a Wood File to Round Edges
A wood file will achieve results similar to what sandpaper will achieve, but what makes a wood file better than sandpaper is that it’s easy to control.
The only downside—as is the case with pretty much all the non-router methods—is that it’s going to take you a long time to get a smooth edge. So if speed is a concern of yours, use a rasp instead of a file, as this tool will remove wood quicker than the file.
Smoothing the long edges with a file is pretty straightforward, but when you get to the corners, you’ll have to:
- Hold the wood file by the handle with one hand and with your other hand hold the top part of the blade.
- To make corners blend with the sections you’ve already made smooth, you’ll need to make sure they’re mostly flat and somewhat curved.
- Once the corners look round enough, you can smooth them out with sandpaper.
Note: Even though a file is a precise tool, it won’t be gritty enough to deliver that smooth final finish that sandpaper can achieve.
5. Use a Saw to Round Wooden Edges without a Router
This may come as a surprise, but it’s true that a jigsaw can be used to round wood edges.
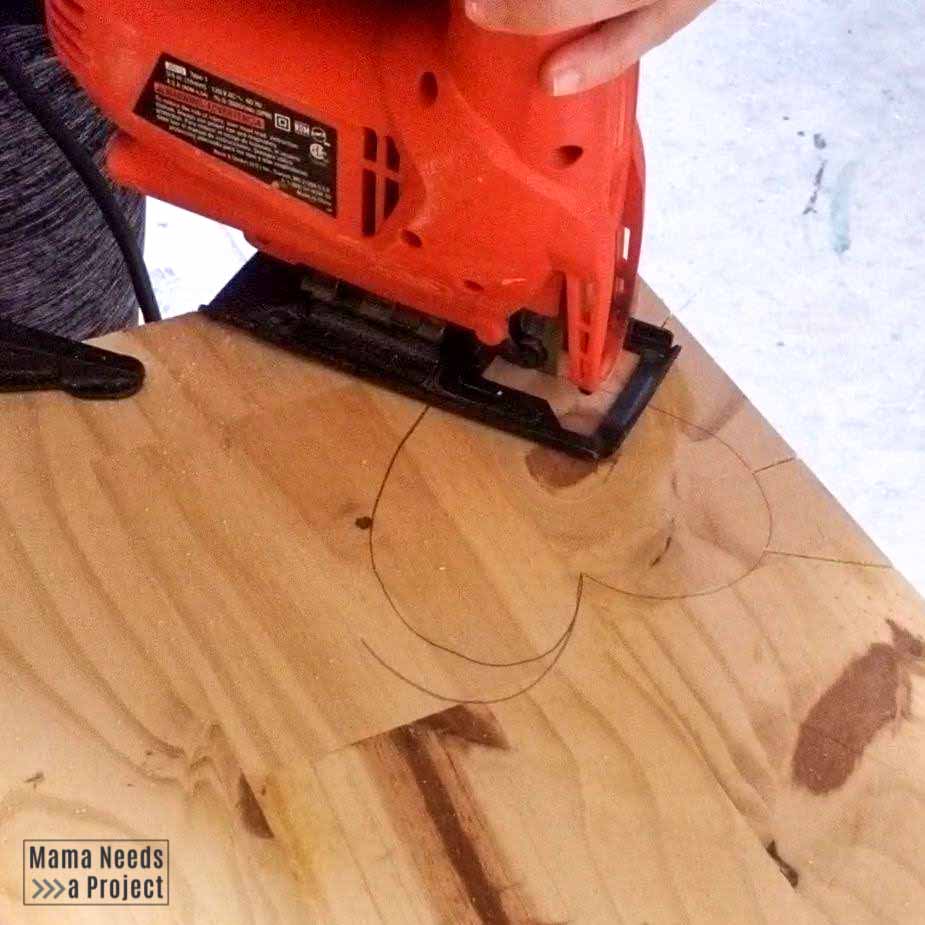
That said, the edges won’t be as smooth as they’d be if you used one of the tools discussed already (or a router).
It’s at the corners where the jigsaw will have the hardest time. Therefore, this tool should only be used at a corner if a lot of wood needs to be taken off. Don’t try to achieve a precise cut at a corner with a jigsaw, as you’ll probably cause irreparable damage in that spot. As it is, you should only smooth wood edges with a jigsaw if you’ve used this tool numerous times before and you know how to handle it properly.
Once you’ve used the saw to remove large chunks, you can use sandpaper or wood files to achieve a smooth surface.
6. Use a Dremel to Round Wood Edges
Another power tool you can use to round wood edges is a dremel.
While this can be somewhat difficult and similar to using a jigsaw, it can be an effective method to round edges of wood.
Why You Should Round Wood Edges
Rounded wood edges are preferred over sharp edges for a variety of reasons.
For one, rounded edges are more visually appealing and easier on the eyes. They’re also less dangerous, considering you can’t get poked by a rounded edge and these don’t splinter as much as sharp edges do.
Moreover, it’s harder to dent a rounded edge, in large part because the force of an impact gets distributed throughout the wood. A sharp edge, on the other hand, is more prone to denting, splitting, and scratching when it makes forceful contact with another object, specifically because the force of an impact may not be absorbed completely.
Final Thoughts
Achieving rounded edges is something many woodworkers and carpenters struggle with, but it doesn’t have to be that way.
The easiest way is to use a router – a tool specifically designed for this job.
However, you can also round wood edges without a router by using a hand plane, chisel, wood file, sandpaper, or even a jig saw.
Ultimately, the method you should use will depend on the type and size of the job and the tools you have available.