How to Stop a Crack in Wood from Spreading (3 Proven Ways!)
Woodworkers spend a lot of time on their joints, mortises, and bevels so their finished projects are dialed to perfection. All of that work can be for nothing, however, if an unsightly crack develops in the wood, especially if it threatens to spread.
While some projects might call for the worn and weathered look, most DIY masterpieces do not. Luckily, there are several ways woodworkers and DIYers can learn how to stop a crack in wood from spreading.
To stop a crack in wood from spreading, you can try one of these methods:
- Apply wood filler to the cracked area
- Apply epoxy to the cracked wood
- Fill the crack with wood glue and saw dust
Best Ways to Stop Cracks from Spreading
There are a few different ways to stop a crack from spreading, and most require filling the crack itself to relieve the tension in the wood. Which method to use might come down to the width and depth of the crack, the appearance of the repair, or the materials that are on hand at the time.
Apply Wood Filler
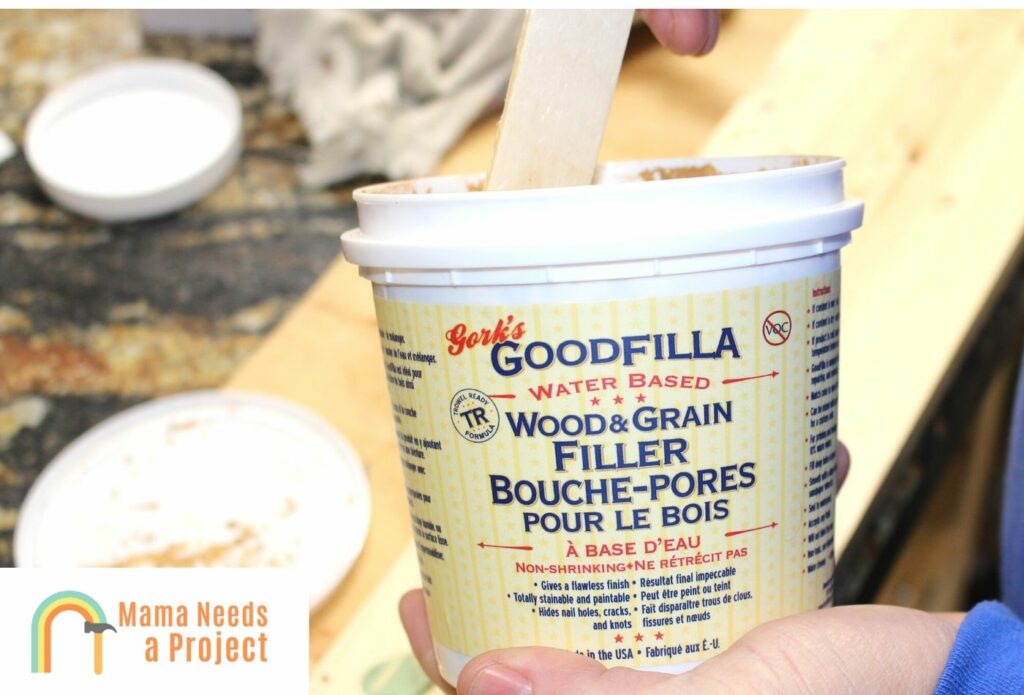
Wood filler can be a great choice for filling cracks and stopping them from spreading. It can be particularly helpful when working with shallow, wide cracks, as this thick material can be packed into the repair area tightly. It can shrink a bit while drying, which may require an additional application, but there are no-shrink wood filler formulas available as well—indoor/outdoor wood fillers can be particularly resistant to shrinking.
Wood fillers are also relatively easy to work with. They don’t emit VOCs (volatile organic compounds) so they don’t require a respirator or much ventilation. They are also easy to clean since most are water-based (though they can dry your hands out a bit).
Requires:
- Sandpaper
- Tack cloth
- Putty knife
- Wood filler
- Start by sanding the wood surface with a piece of semi-coarse sandpaper (80- to 120-grit) to ensure the edges of the cracks are smooth. Brush, vacuum, or blow any sanding dust out of the crack. The crack should be as clean from debris as possible. Wipe the surface down with the tack cloth for best results.
- Use the putty knife to pack wood filler into the crack. Put a bit on the tip of the knife, push it into the crack, and drag the knife across the crack to push it in. Repeat this process several times until no more wood filler can pack into the crack. I like these wood fillers for large gaps and cracks.
- Allow the filler to dry according to the manufacturer’s instructions. In most cases, it takes 30 minutes to an hour for wood filler to dry. However, for very deep cracks, it may take two hours or more.
- Sand the filler smooth with a piece of 220-grit sandpaper. Be sure to sand with the grain rather than across it. Wipe the surface down with the tack cloth again to remove any sanding dust and inspect the repair.
- Wood filler can shrink, so give the filler a day or two to finish curing before finishing for a perfect repair. It may require a second application if it shrinks too much.
Fill Cracks with an Epoxy Resin
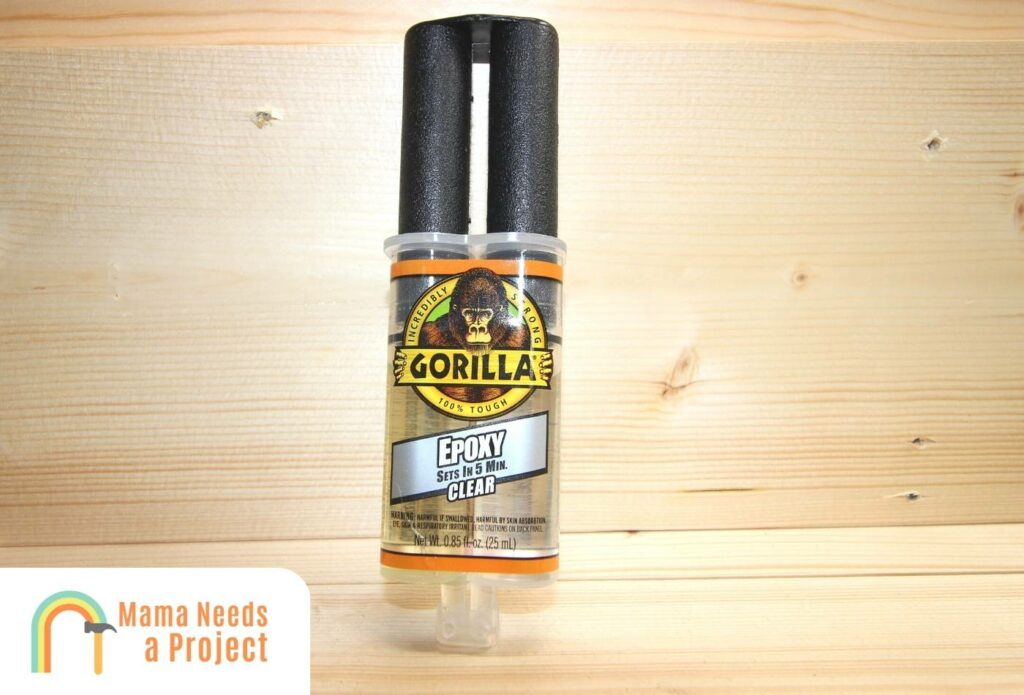
Epoxy resin is a liquid compound that forms an excellent bond with wood, stopping cracks in the wood’s surface from spreading. It’s made from resin and a hardener mixed together and then poured into the crack. It’s an excellent choice for deep, thin cracks as it can flow further into the crack than filler. It can also have a color added to it to give a stylistic touch to the finished product.
It’s important to note that epoxies contain VOCs and they can be harmful to breathe in, so a respirator mask is advisable. Also, epoxies can be very messy and they’re very difficult to clean up, so take care not to spill or get any on yourself—gloves are recommended.
Requires:
- Sandpaper
- Tack cloth
- Painter’s tape
- Epoxy
- Epoxy color additive
- Stirring stick
- Mixing cup
- Sand the crack to ensure that all of its edges are flat and smooth. Brush, vacuum, or blow any sanding dust out of the crack and ensure that it’s free of debris. Wipe the surface down with the tack cloth to remove any sanding dust.
- Apply painter’s tape around the edge of the crack. Epoxy will inevitably flow over the crack and onto the wood, and applying painter’s tape will protect the rest of the wood and minimize sanding cleanup.
- If the crack continues all the way through the wood, use a piece of painter’s tape to temporarily seal the crack from underneath. This will create a barrier that the epoxy cannot flow through.
- Pour the resin and the hardener into the mixing cup according to the manufacturer’s instructions. Use the wooden stirring stick to mix the epoxy well. If there is a color additive to be used, mix it into the epoxy now. Stir slowly to prevent air from getting caught in the epoxy and creating bubbles.
- Working quickly (epoxy has a very short working time before it hardens), carefully pour the epoxy into the crack. Allow it to flow all the way through the crack and puddle slightly above the surface of the wood.
- Allow the epoxy to cure. There are many variables regarding how long it needs to dry, but in most cases, 48 to 72 hours. For wider or deeper fills, it may take up to one week.
- Epoxy can be very hard and difficult to sand. Start with 80-grit sandpaper and knock down the high edges, always sanding with the grain. Next, sand with 120-grit paper to smooth the surface. Finally, move to 220-grit sandpaper to blend the repair. If the repair is a wide crack, it may be worth moving to even finer grits to get the epoxy to shine.
- Clean the sanding dust with the tack cloth and apply the finish.
Apply Sawdust with Wood Glue
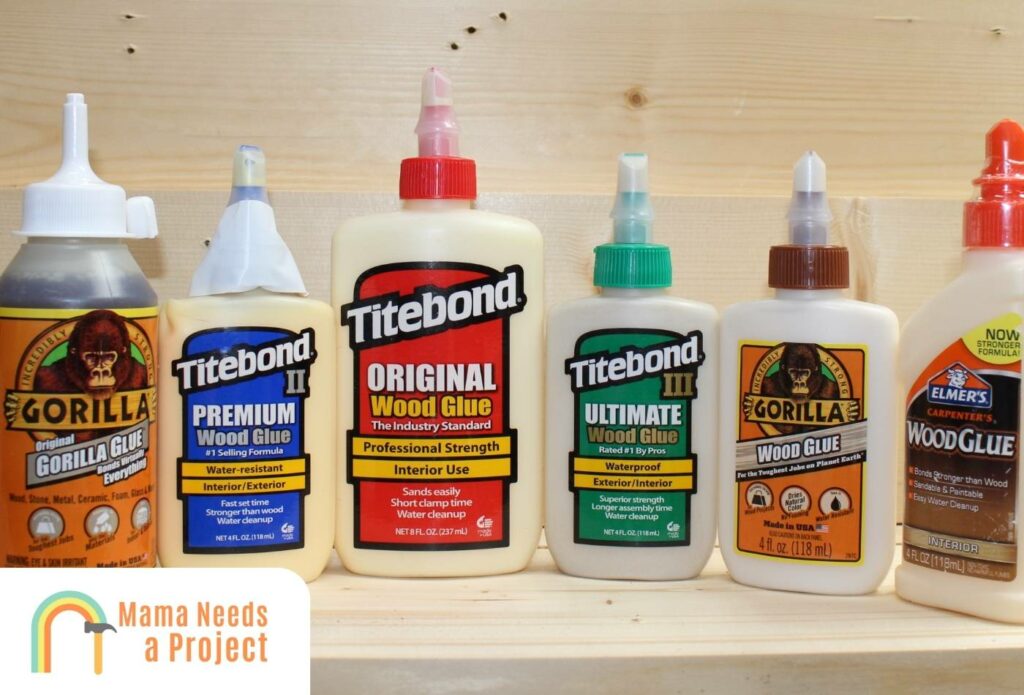
Sawdust and wood glue can make a viable wood putty in a pinch, which can take up the space in a crack and help relieve the tension causing it to spread. It’s very easy to make and most folks have the material on hand at all times. While achieving a perfect consistency can be tricky, this is a perfectly viable option to stop wood cracks from spreading—after all, a lot of wood filler is essentially just water-based glue and sawdust.
Requires:
- Elmer white “school glue”
- Sawdust (from the same species for the best result)
- Mixing cup
- Stirring stick
- Putty knife
- Sandpaper
- Sand the crack so that the edges are smooth and flat. Brush, vacuum, or blow any dust from sanding out of the crack. The crack must be smooth and clean.
- Pour some Elmer’s glue into the bottom of the cup. Slowly add a small amount of sawdust to the Elmer’s glue and mix it with the stirring stick. The idea is to create a thick, grainy substance that’s still wet and easily pliable.
- Scoop a bit of this DIY wood putty onto the edge of a putty knife. Press it into the crack, pushing down and dragging the edge of the knife across the crack. Continue packing this putty into the hole until it’s completely packed.
- Allow the putty to dry. How long this takes will depend on how thick the putty was, how large the crack is, and the humidity. It’s best to plan for at least 24 hours to ensure that the glue and wood fibers have a chance to bond and completely seal the crack.
- Once dry, sand the crack with 80-grit sandpaper to knock down any high spots (be sure to sand with the grain).
- This formula will often shrink due to the amount of water in the glue, so give the repair another day or two to fully cure and repeat the process. Once the final coat is dry, sand with 80 grit, then 120 grit, and finally 220 grit until the repair is smooth and then apply the finish.
Prevent Cracks in the First Place
Rather than filling a crack in wood, it might be better to avoid one altogether. The following are a few ways and products that woodworkers can use to keep the wood they use in their projects from splitting:
- Applying boiled linseed oil to a piece of wood can prevent it from splitting. The oil will trap the moisture inside the wood as well as penetrate the wood’s pores and fill them, keeping them from shrinking.
- Applying a product over the wood to seal in moisture, such as a polyurethane or similar product. While the polyurethane won’t penetrate the wood, it will create a protective outer coating that will prevent the wood from drying.
- Apply a salt paste consisting of salt, cornstarch, and eggs to the surface of the wood. This salt paste will pull the moisture out of the wood quickly, potentially preventing cracking from occurring. Coat the entire surface including the ends of the boards.
These methods can help prevent cracks in wood. Another way to prevent wood from cracking is to choose the dryest wood possible from the local wood supplier. Most suppliers will have moisture meters on hand and will check the moisture content of their hardwoods before you buy them. While even this approach isn’t foolproof, it can help reduce the need for filling or treating wood for cracking.
What Causes Cracks in Wood?
Cracking in wood is a result of moisture.
Wood is full of pores (used to wick moisture up throughout the entire tree), and even when cut and milled, the pores in a board will retain moisture for quite a while. It’s as these pores begin to dry out that cracking occurs.
Wood is hygroscopic, which means it shrinks and swells according to its moisture content. Untreated wood left in damp conditions will take on water and swell, while wood left in very dry, arid conditions will shrink as the air pulls the moisture from the wood. Unfortunately, all the shrinking doesn’t occur across the wood uniformly, causing tension to form between wood fibers. Areas like knots and dense growth rings may hold moisture longer than other parts of the wood.
Since wood dries faster along the growth rings than it does across them, it creates intense tension. This tension can eventually tear wood fibers and create cracks. Cracks can continue to spread until the wood dries completely, which can occur long after a woodworking project has been completed, especially when a sealing finish hasn’t been applied.
If your cracks are being caused by wood rot, you could use bleach to get rid of the rot – but you’ll still need to fill the gaps and cracks with a wood filler of some sort.
Final Thoughts on How to Stop a Crack in Wood from Spreading
Cracks in wood are rarely welcome. But, with a little bit of knowledge on what causes them and how to fill them, woodworkers can learn how to handle them correctly.
Filling wood can relieve some of the tension formed by the drying process, preventing the crack from spreading while also giving the wood a finishable surface.

Tom Scalisi is a freelance writer, blogger, published author, and website owner with over 20 years of experience in the trades, DIY, and construction. Today, he’s mostly hung up his professional tool belt (though he’ll still tackle a DIY job every now and then) for writing, as he loves teaching DIYers how to accomplish their goals and get the job done.
Tom has written for some of the industry’s most popular websites, including Bob Vila, This Old House, The Family Handyman, and Forbes.
Outside of work and the internet, Tom is a husband and father of four. He loves baseball, whether it’s catching a game live or on TV, or coaching one of the many recreational or travel teams he’s with which he’s involved. He also serves as the Director of Baseball for his local baseball and softball league.