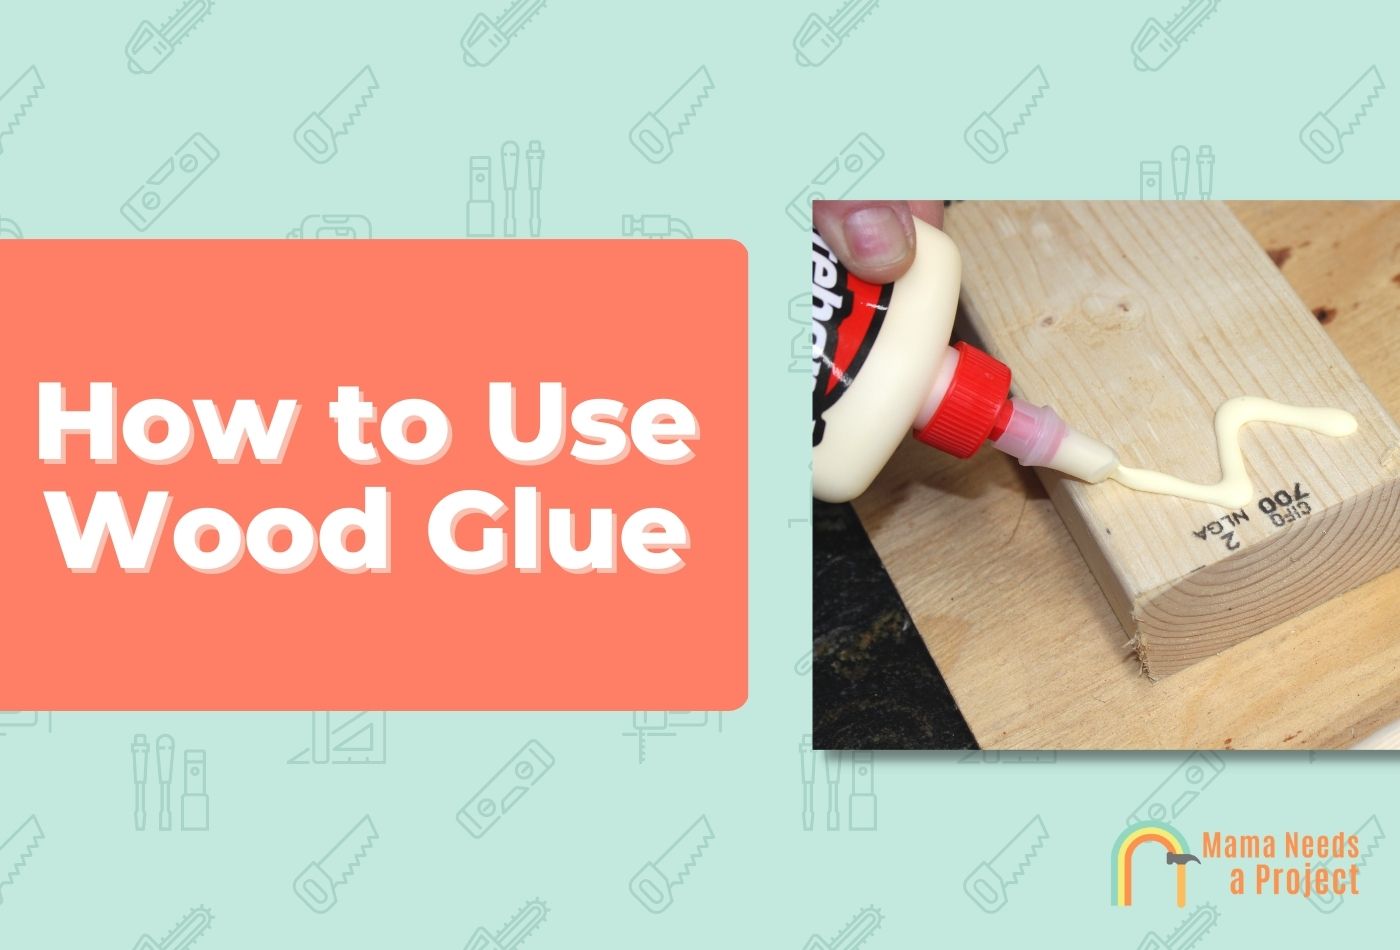
How to Use Wood Glue: Step by Step Guide
New woodworkers are often confused about how to use wood glue. After all, there are multiple types of wood glue available, each with different applications, so choosing one can feel intimidating. These woodworkers are also worried they’ll make a mess and ruin their projects. However, wood glue is actually quite easy to use, and clean-up isn’t nearly as bad as you might think.
In this guide, I’ll go over how to choose a wood glue as well as how to use it for your project.
Find the Right Wood Glue for Your Project
As mentioned, there are quite a few different types of wood glue on the market. The following are the most common, along with their applications.
PVA Glue
PVA glue, or polyvinyl acetate glue, is the most common type of wood glue. It’s a general-purpose glue and creates strong bonds but it’s easy to clean up. It can come in both indoor and outdoor versions, with the outdoor version being more resistant to water.
Hide Glue
This might come as a shock to some folks, but hide glue is actually made from animal parts. It’s the most traditional type of wood glue on the market today, and it’s still widely used in woodworking and furniture making. It can be very forgiving in terms of drying time, giving users more time to make adjustments.
You can check out all the differences between hide glue and wood glue for more info.
Polyurethane Glue
Polyurethane glue is a strong, general-purpose, waterproof wood glue that also works on materials like metal and chemically-resistant plastics. This glue can be very challenging to clean up and doesn’t always sand particularly well. One of the most common brands to market PU glue is Gorilla.
Epoxy
Epoxies are always made from two parts; the filler and the hardener. Once they mix the two, the user will have a limited time to apply and clamp the joint before it cures. These glues often cause high levels of VOCs and are very difficult to clean during application, but their bonds are extremely strong and waterproof. They’re also great for filling large gaps and holes.
How to Use Wood Glue
Don’t let your anxiety about mistakes and messes stop you from trying wood glue. If you’re truly intimidated, here’s a fun fact: PVA wood glue, which is the most common type, is nothing more than the Elmer’s Glue you used in grade school with a little bit of sawdust mixed in.
Not so bad now, is it?
The following steps will explain how to use wood glue for your projects.
1. Clean the Surface of Your Wood
The first step in using wood is cleaning the surface of the wood.
Any contaminants on the surface of the wood can prevent wood glue from soaking into the pores and creating the optimal bond.
A bit of soapy water (Dawn is great) and a rag are all it takes. There’s no need to soak the wood in the solution. Simply dip the rag, ring it out, wash the board, and then “rinse” it off with a clean rag. This should remove any oils or contaminants that could get in the way.
2. Sand the Surface
Perfectly smooth surfaces aren’t always ideal for gluing. This is particularly true for tight-grained hardwoods. Scuffing them up a bit with a rough sandpaper (60- to 100-grit) will usually do the trick. Simply scuff the area that will be glued with the sandpaper to roughen the surface, raise some wood fibers, and get the wood glue more nooks and crannies to flow into.
3. Test the Glue on the Surface
If you’re worried about using the glue, test it on a scrap piece of wood first. This will identify how long the glue takes to cure as well as how easy it will be to clean up. Just be sure that the scrap is the same species as different types of wood can react differently to wood glue.
Also, consider sanding the cured glue away to see how difficult it is to remove any excess. If the glue penetrates deeply and is difficult to remove, consider using painter’s tape to keep excess glue away from the finished surface.
If you’re using an older glue that’s settled, you might want to thin your wood glue first to make it easier to apply.
4. Apply Wood Glue
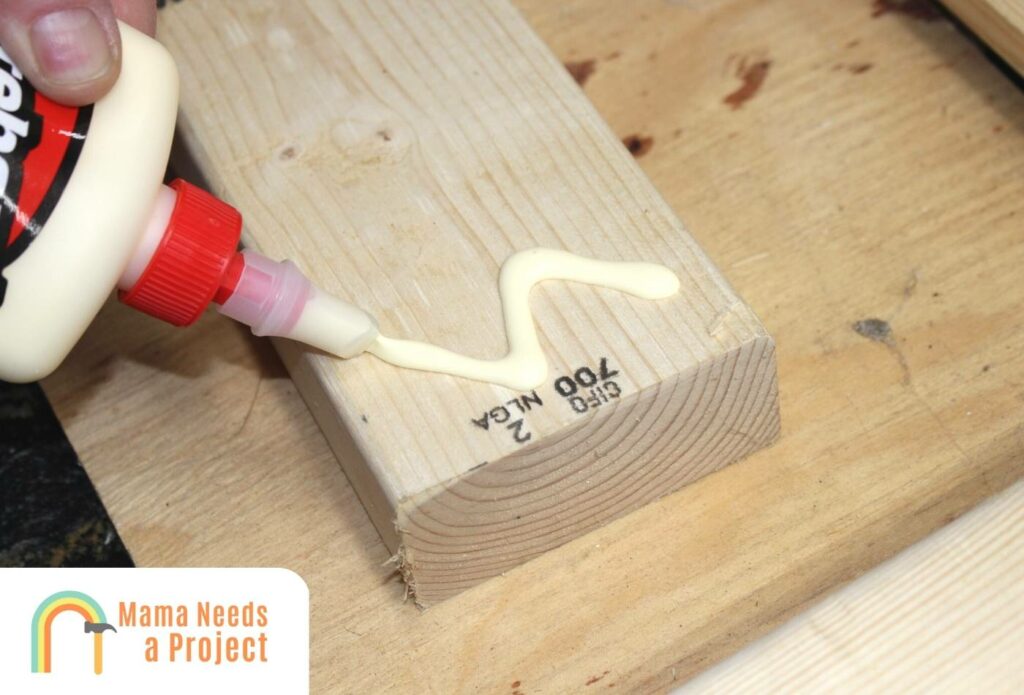
Apply the wood glue to the joint or mating surfaces. Make sure to apply the glue to both surfaces for the best results. There are many ways to do this, but here are some of the most efficient:
- Squeeze the glue directly onto the joint or mating surfaces and spread the glue evenly with a finger (this is typically fine for PVA glue but not advised for any other type of glue).
- Use a flux brush to apply glue across the joint or mating surfaces. It’s best to squeeze the glue onto the surface first and then spread it with the brush for the sake of working time.
- Use a wood glue roller dispenser that rolls along the edge or face of the surface to apply glue quickly or evenly
- Use a plastic V-notch trowel to quickly spread the wood glue across a wide surface.
Whatever the chosen method may be, be sure to apply the glue to both surfaces. If there is a chance of drips or messes, place painter’s tape on the surfaces that need protecting. And, once the glue is applied, press the two pieces of wood together and wiggle them back and forth slightly to distribute the glue evenly.
5. Clamp Wood Glue

Place the joint or boards in a clamp and apply pressure evenly across the joint (this often means multiple clamps). If the workpiece will sit directly on a bar clamp, be sure to put a piece of wax paper across the bar to prevent sticking.
The clamp time for wood glue is usually under and hour, but it will depend on the type of glue used.
6. Remove Excess Glue
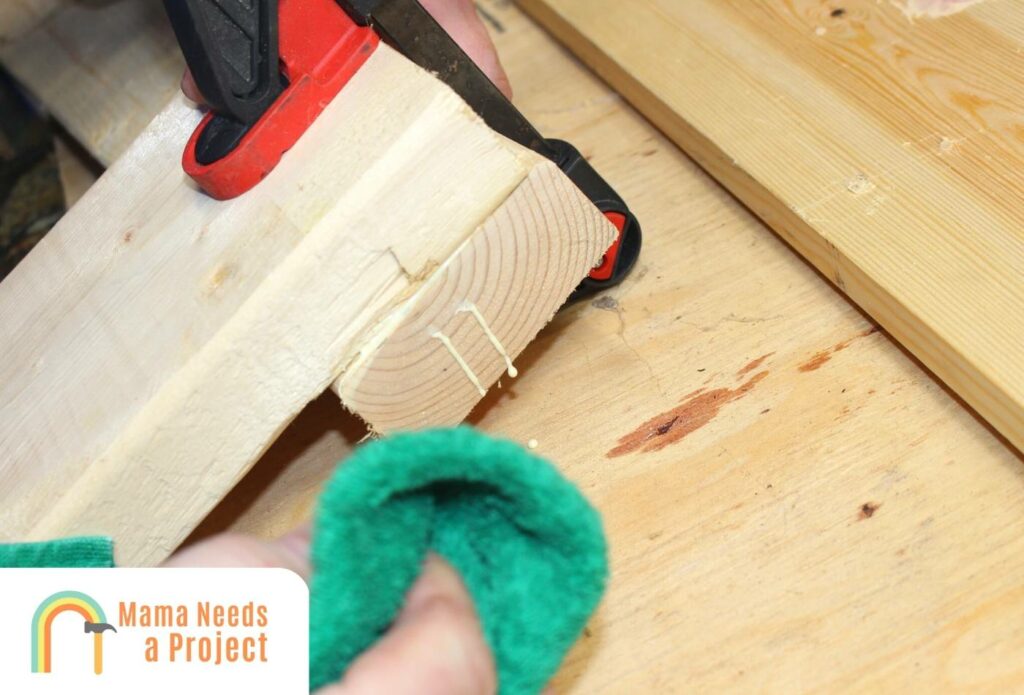
Glue squeeze-out is a good thing. Let the glue harden just slightly (usually just 3 to 5 minutes) and then remove it from the surface with a sharp chisel. Wipe the surface down with a wet rag to remove the rest.
7. Let Wood Glue Dry
Let the wood glue dry according to the manufacturer’s instructions. This can be as little as 15 minutes or as long as several hours.
Once dry, carefully remove the clamps and sand the joint.
How Much Wood Glue Should You Use?
It’s important to cover the mating surfaces with glue, but it should be a thin layer on both pieces. A thick layer will squeeze out far too much, make a mess, and waste glue. A thin layer of glue on both surfaces is all it takes for a strong joint. For mortises, biscuit holes, and other recesses, a few drops in the hole and a thin layer on the tenon or biscuit will usually do.
If you need a temporary bond, consider using one of these double sided woodworking tapes!
Final Thoughts
Learning how to use wood glue isn’t hard, and the results are certainly worth it. The joint itself can actually become stronger than the wood fibers, and the pride in a project well done can keep new woodworkers coming back for more. Just remember to clean and sand the glue first, and don’t overdo the amount of glue. With these tips, you’ll be able to keep messes to a minimum while also creating top-notch projects.
For more information on woodworking joints and their different applications, be sure to check out our gallery full of awesome beginner woodworking projects for indoors and out.

Tom Scalisi is a freelance writer, blogger, published author, and website owner with over 20 years of experience in the trades, DIY, and construction. Today, he’s mostly hung up his professional tool belt (though he’ll still tackle a DIY job every now and then) for writing, as he loves teaching DIYers how to accomplish their goals and get the job done.
Tom has written for some of the industry’s most popular websites, including Bob Vila, This Old House, The Family Handyman, and Forbes.
Outside of work and the internet, Tom is a husband and father of four. He loves baseball, whether it’s catching a game live or on TV, or coaching one of the many recreational or travel teams he’s with which he’s involved. He also serves as the Director of Baseball for his local baseball and softball league.