
How to Make Plywood Look Good (10+ EASY Ways in 2024)
Plywood is a handy material that’s used to build all kinds of structures ranging from DIY projects, to your floors, and more.
However, on its own, it doesn’t always look the best.
Here’s how to make plywood look good!
Some ways to improve the appearance of your plywood include:
- Priming it and painting it
- Sanding it down to create a smoother surface
- Finishing the wood with polyurethane or another finish
Tips for Making Plywood Look Good
1. Choose a High-Quality Plywood
The first step in making plywood look good is finding high-quality plywood.
A lot of plywood is rife with blemishes, and while it’s possible to make low-grade plywood look fantastic, to do so you’ll need time, money, know-how, and plenty of patience.
If you want a challenge, sure. But if your goal is to make plywood look attractive without spending a ton of time and money, starting with high-quality plywood is the way to go.
Grade-A interior plywood, for example, is easier to make look good than exterior Grade-C plywood. When you’re shopping for high-quality plywood, there are a few grades and ratings to keep in mind, including:
- Letter Grade. Grade-A denotes the highest quality. Grade-A plywood is free of blemishes, smooth, even, symmetrical, and visually appealing overall.
- Exposure Rating (1-2). Plywood either has an Exposure 1 or Exposure 2 rating. Plywood that carries the Exposure 1 rating has been treated to be moisture-resistant, so it can withstand short-duration moisture exposure quite well.
- Structural Rating. Plywood that has a Structural 1 rating is often used in the construction of large buildings, especially in areas where earthquakes happen frequently.
2. Smooth the Surface by Sanding
One of the easiest ways to make plywood look good is by sanding down the entire surface.
First, use the rougher, courser sandpaper to lightly sand the surface and make the plywood smooth, and then use the finer sandpaper to achieve a detailed finish.
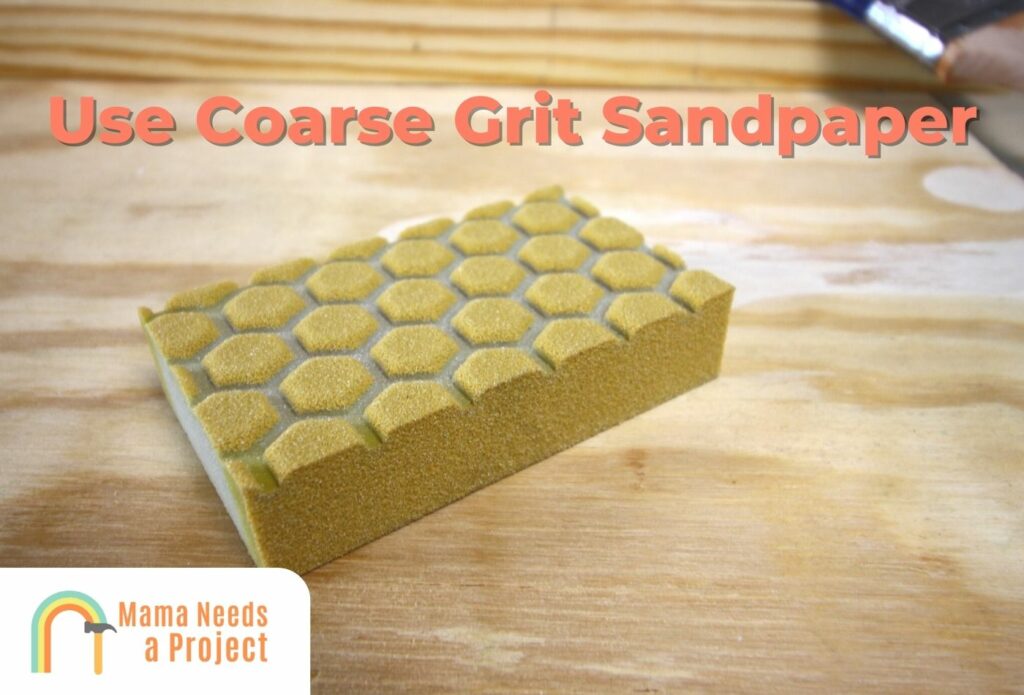
Make sure you don’t sand too much, as doing so can make the plywood uneven.
You can sand by hand or with a power sander, but I prefer using a electric sander because of how much faster it is.
Sanded plywood is essential if you’re going to paint, stain, or apply polyurethane to the plywood because it makes the wood more receptacle to these products.
Even if you’re keeping the plywood’s natural finish, you should sand it at least once to ensure it’s visually appealing with a smooth surface, easier to clean, and safe.
Ready to buy some plywood? Check out this guide to understand how much plywood weighs!
3. Fill Cracks With Wood Filler
Using a wood filler with sandpaper can also make your plywood visually appealing.
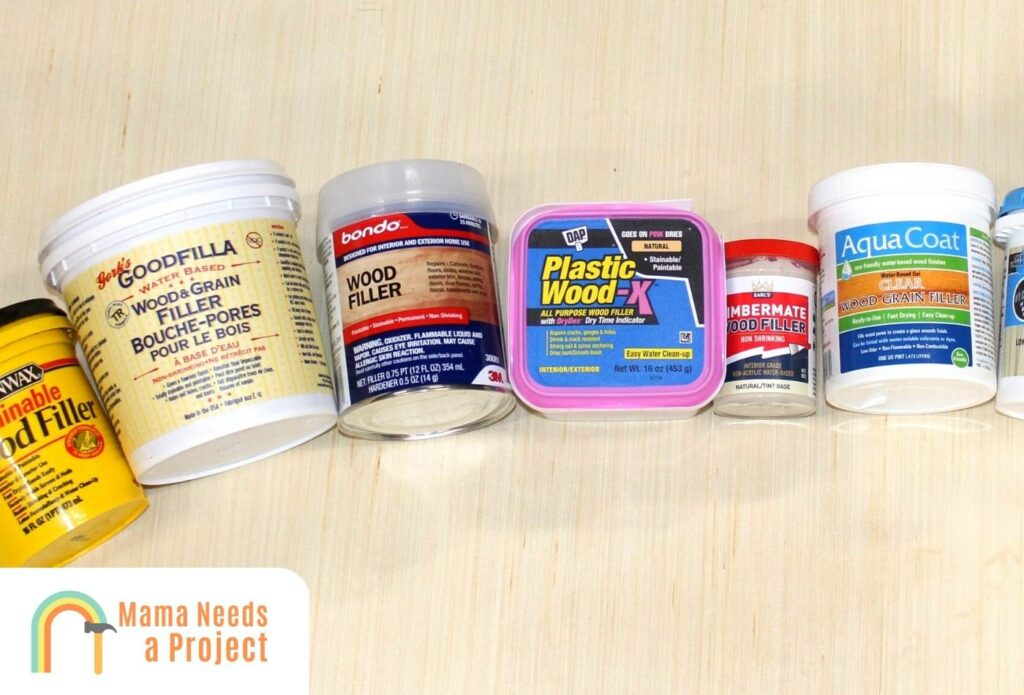
In this case, you’d be using the wood grain filler to plug any gaps, cracks, and holes and make the plywood smooth overall.
Especially if you’re working with Grade-B or Grade-C plywood, it’s essential to use wood filler because these are often rife with the defects. Just make sure the wood grain filler is the same color as the plywood so it doesn’t look discolored. You can also check out these tips to make wood filler look like wood!
Once you apply wood filler, you’ll need to sand the plywood. Then let the wood filler dry. Once it’s dry, give the plywood a final all-over sand and it should be good to go. Just be sure to wipe any sanding dust with a damp cloth before painting or staining.
4. Stain the Surface
Staining plywood can do wonders to its appearance.
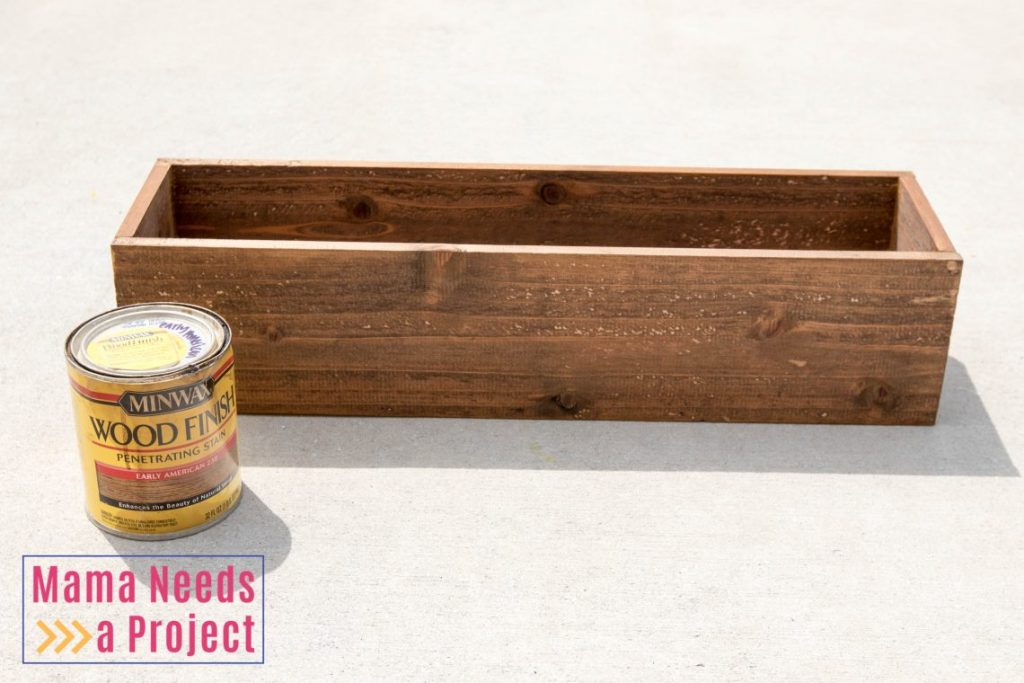
Stain is often applied to exterior plywood – the wood that’s used to create decks, sheds, and other outdoor structures – because it’s both visually appealing and adds another layer of protection to your project.
Wood stain is a protective substance that wood absorbs to add protection to the wood. It comes in a variety of colors depending on the look that you’re going for.
For example, you can get “natural” stain to accentuate the plywood’s natural color, but keep in mind that all natural stain makes plywood look darker—even “light” natural stain. For example, check out the color of this natural color sealer below.
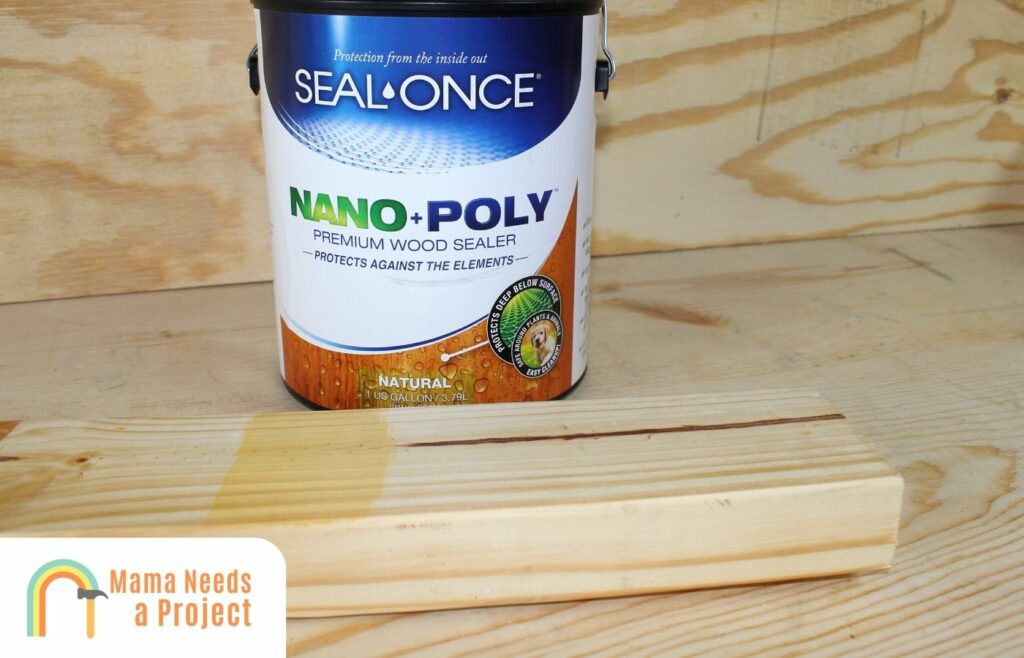
You’ll also need sandpaper to apply wood stain properly.
If you stain when imperfections are still present, the stain could accentuate these, which is why it’s best to stain only after present blemishes (cracks, holes, gaps, etc.) have been addressed.
Overall, I’m a hug fan of staining plywood to make it look better. I’ve done this on countless projects and it’s pretty simple.
5. Paint the Surface
If staining isn’t your cup of tea, you may prefer painted plywood. There’s a slight difference between paint and stain.
Painting will eliminate most of the wood’s natural look, but some features may remain, like knots and the grain.
Unlike stain, paint dries on the outermost layer of plywood; it does not get absorbed into the wood.
When you’re applying paint to plywood, sanding is even more important, as if you don’t sand before applying paint it may not adhere properly. Adding a coat of primer before the first coat of paint will also help with adhesion. You can check out some of the best primers for plywood to get the best results.
You may need to apply multiple layers of paint to achieve the finish you want, in which case you’d need to sand the plywood lightly multiple times. Just don’t sand too much after paint has been applied, as if you over-sand you can take off the whole layer of paint you just put on.
There are many different painting options including whitewashing plywood that can create a cool finish. You can even spray paint wood for a quicker job!
6. Add Polyurethane
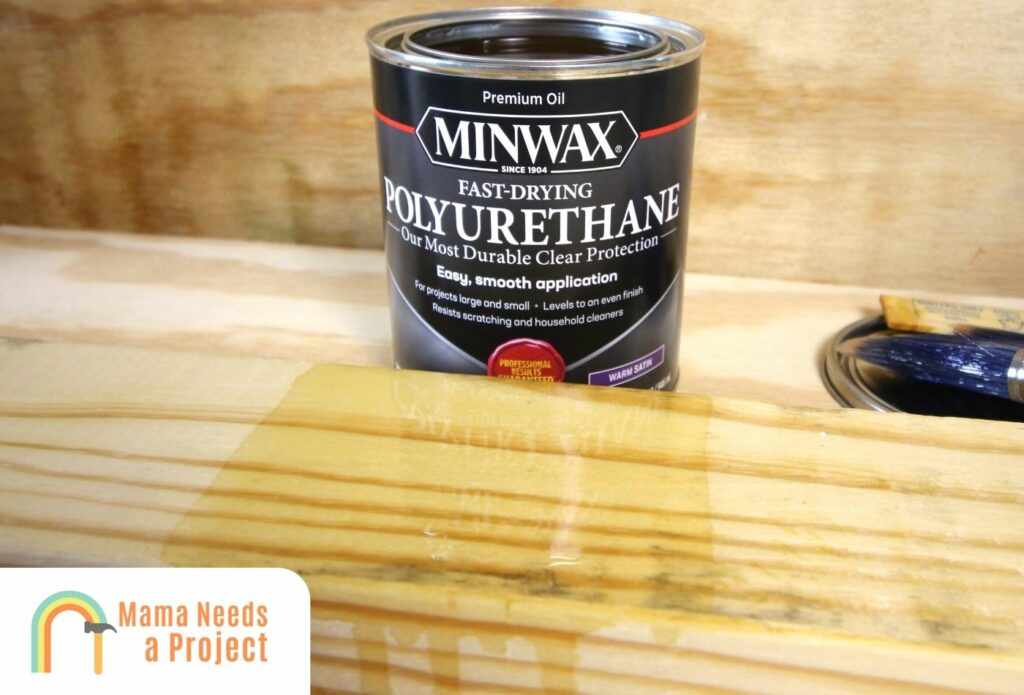
Adding a coat of polyurethane can also improve plywood’s appearance and give it an amazing shiny finish.
If you want the plywood to have a high gloss finish on top of being smooth, applying polyurethane is the way to go. And when applied properly, it also acts as a long-lasting barrier that’ll make the plywood more dent-, scratch-, crack-, and moisture-resistant.
But applying polyurethane alone will not make the plywood smooth.
Again, you’ll need to sand before applying polyurethane so it adheres well. And just like with paint, you may need to apply multiple polyurethane coats to get a first-rate finish. Just be sure to let the polyurethane sealer dry between coats to ensure a quality finish.
Once you’ve applied a coat of polyurethane, be careful not to bear down too heavily when sanding later, as you may take off too much of the polyurethane and elongate the process.
And remember that polyurethane will not affect the wood’s natural look, so you should remedy all gaps, holes, and cracks before applying it, as these will be accentuated if you don’t.
7. Texture the Surface
Texturing plywood is another way to boost its appearance.
However, transforming plywood in this way can be both time-consuming and expensive.
You’ll need a wire brush attachment, a power drill, fine grit sandpaper, and stain to make this happen.
Start by lightly going over the wood with the wire brush attachment, and follow the wood grain so you don’t damage the wood. Next, sand it down and then apply the stain. Once enough stain has been applied, you should add a layer of polyurethane or epoxy resin to seal and strengthen the wood.
This barnyard look has become popular in recent years, especially amongst homeowners who like to combine modern decor with traditional elements. Turning plywood into barn wood is one way to make plywood stand out, whether it’s indoors or outdoors.
For example, you could have barn wood partitions in your walk-in closet to make it more rustic. Or you could construct a tool shed out of barn wood so it fits in better with surrounding greenery.
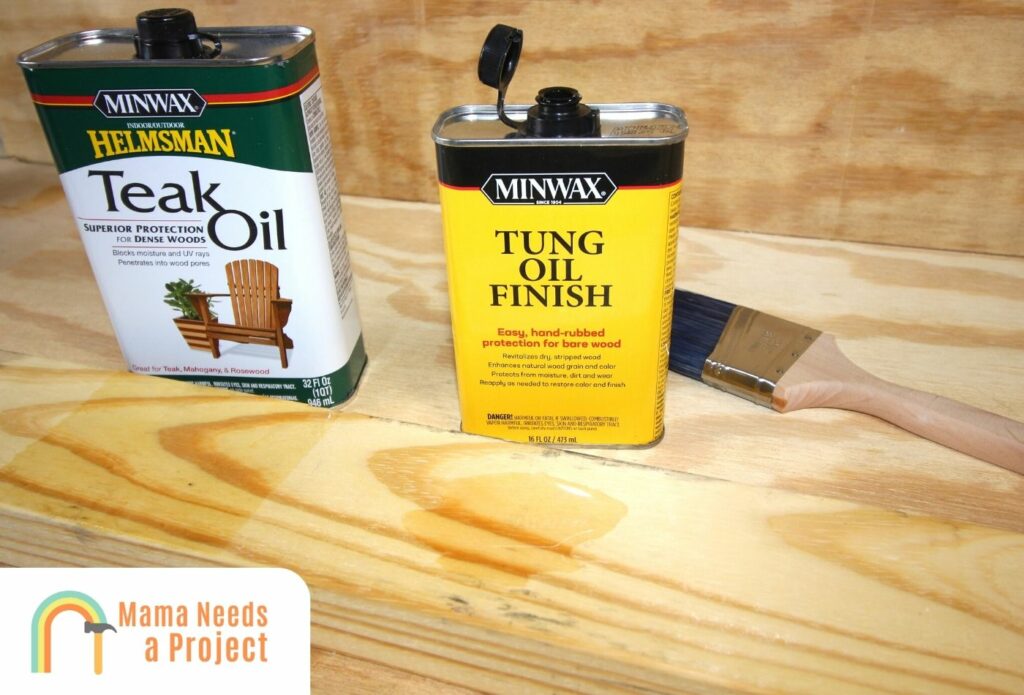
8. Use a Drying Oil
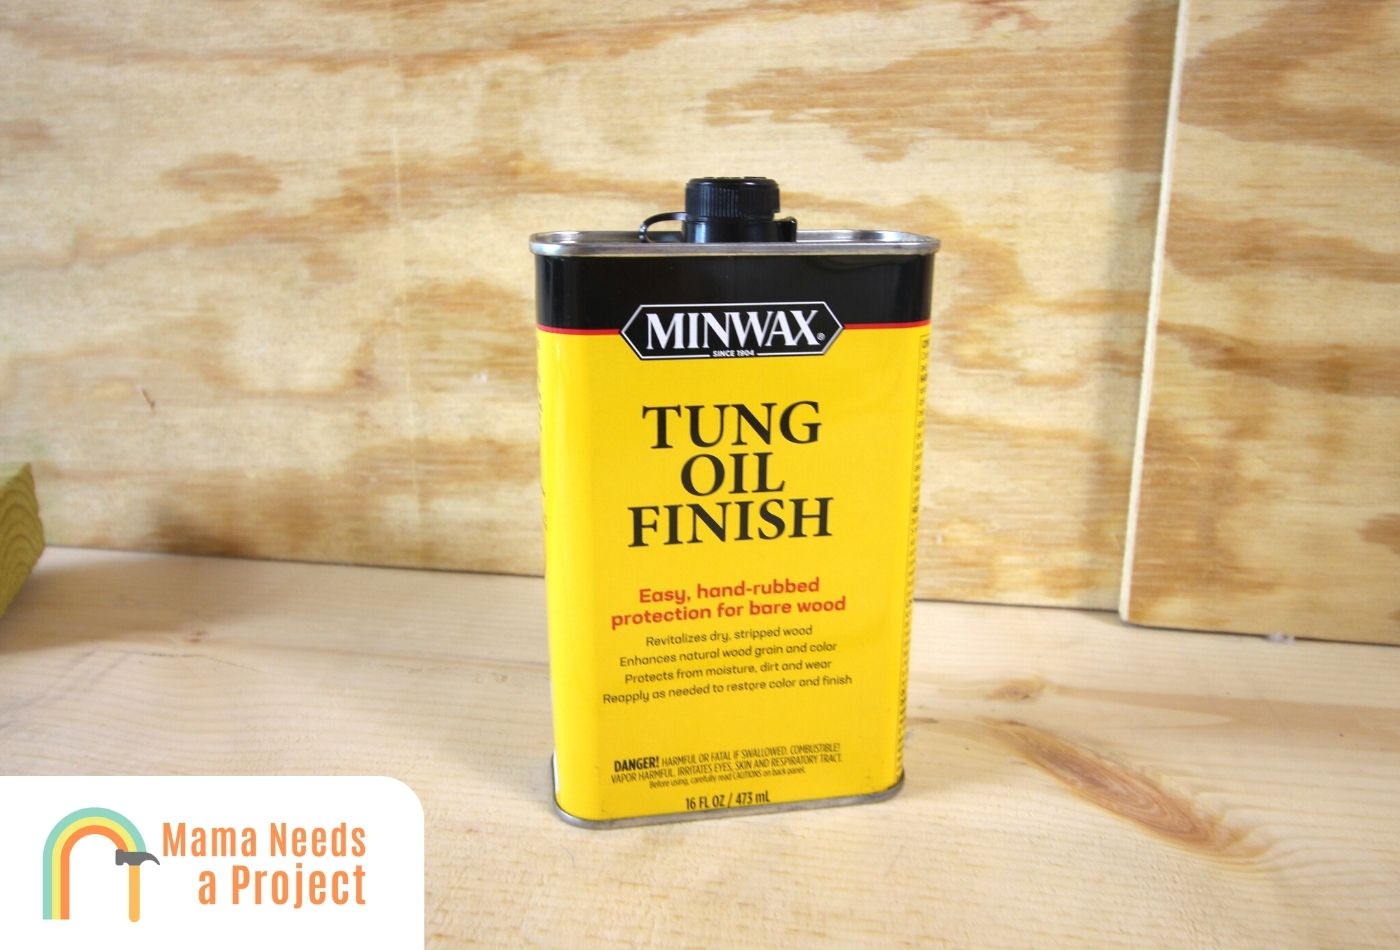
- Easy to maintain, it is the ideal protective finish for woods that have been refinished because it penetrates…
- Wood finished with minwax tung oil can be periodically refreshed by simply applying another coat
- Recommended uses: furniture, antiques, woodwork, cabinets, doors, paneling, accessories
You can use drying oil to make plywood more visually appealing, but be aware that this is an unconventional method that may not yield the results you desire.
Drying oil is mainly used to waterproof plywood, and when it’s applied, it slightly darkens the wood and gives it a bit of a shine (depending on how much is used).
Since exterior plywood is waterproofed during the manufacturing process, using drying oil on this is essentially pointless, so it’s best to only use drying oil on interior plywood.
9. Iron-On Edge Banding
I’ve already discussed how plywood comes in a variety of grades. However, Grade-A and Grade-B plywoods can be rough too, but the roughness is confined to the edges. So what can you do if you have rough plywood edges?
One thing you can use to improve the edges is iron-on edge banding.
As far as colors go, this banding comes in natural wood and white, and all you have to do is cover the edges with it and iron it on. Once it’s been ironed on, roll over it with a mini roller so it sticks to the surface.
Now you have plywood edges that are easy to paint. And if you’re using the natural wood finish, you can just keep it as it is. How long the banding stays on is determined by the strength of the adhesive used as well as the way in which it was applied.
Here’s a great video explaining how to get started.
10. Cover the Plywood Surface
If all the methods above aren’t cutting it, you could cover the plywood with drywall instead.
Of course, this is only possible on the inside of a building such as interior walls. After all, if drywall is overly exposed to moisture—as it would be outside—it will break down rather quickly.
Installing drywall, especially if you’re doing things DIY, is not all that expensive. And if you’re only putting up a small section, this won’t take long at all. Plus, painting drywall is much easier than painting plywood.
Perhaps you’ve just finished your basement and some plywood partitions are still visible. These can be covered with drywall to make the space more cozy and refined.
Final Thoughts
If you want to improve the appearance of your plywood surface – you have plenty of options.
The sandpaper-grain filler method is arguably the most effective, but you can still use paint, stain, texturing, polyurethane, drying oil, or sandpaper alone if you don’t have access to wood grain filler.
Any of these methods will give your plywood a new look that you desire!