Preparing the Garden for Spring
Here are the steps I took to prepare my small flower garden for spring.
The weather here in Coastal North Carolina has been pretty erratic for the last few weeks. Some days we get beautiful, sunny 70 degrees and others we get windy, rainy 30 degrees.
Save to Pinterest!
But last week we had a few days of consistently beautiful weather and I took that opportunity to do some work on the small flower bed in my backyard. I created this flower bed last year and I love seeing it out the window every day.
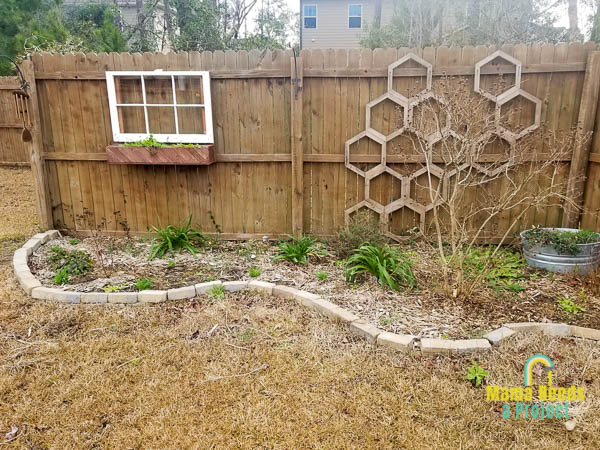
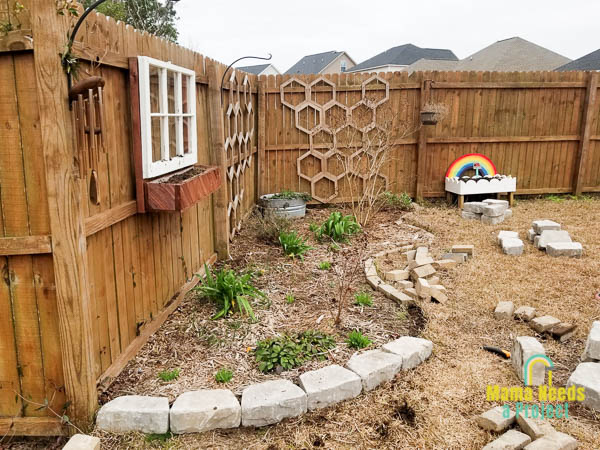
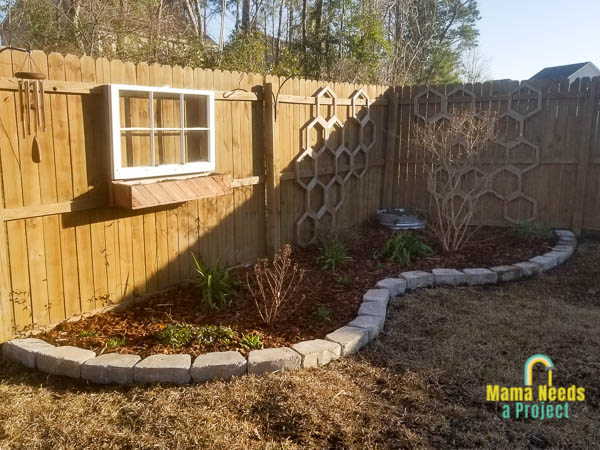
Here’s a picture of the flower bed last spring.

(If you’re looking for more garden projects, check out my Fence Mounted Flower Box, Toddler Rainbow Garden and Honeycomb Garden Trellis all featured in this photo!)
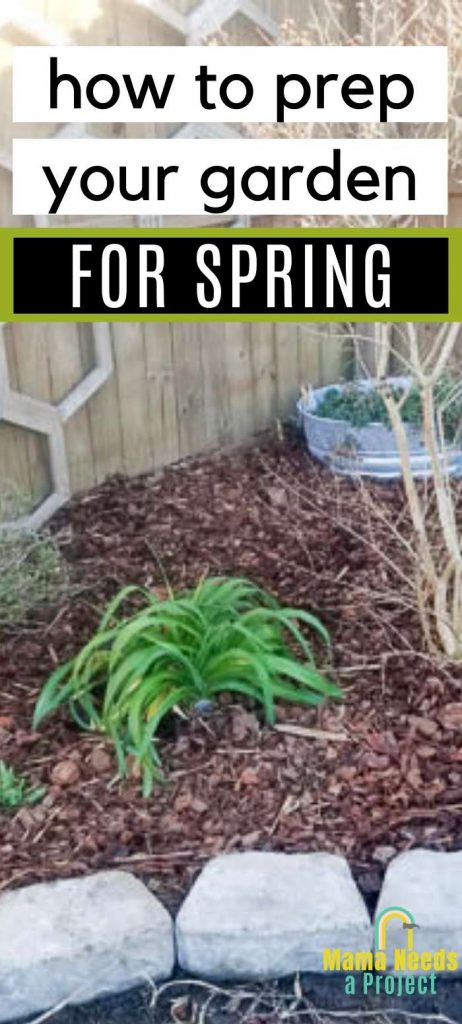
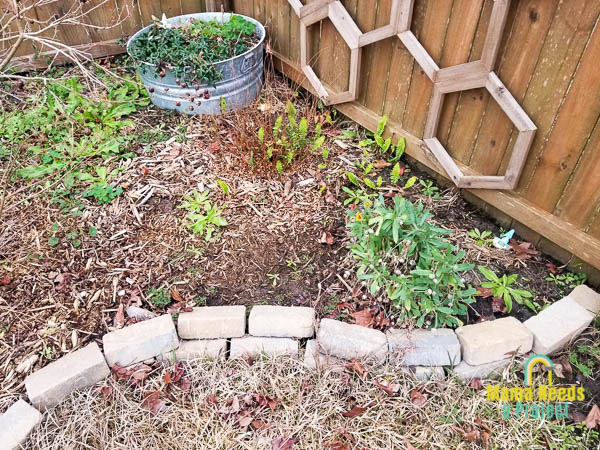
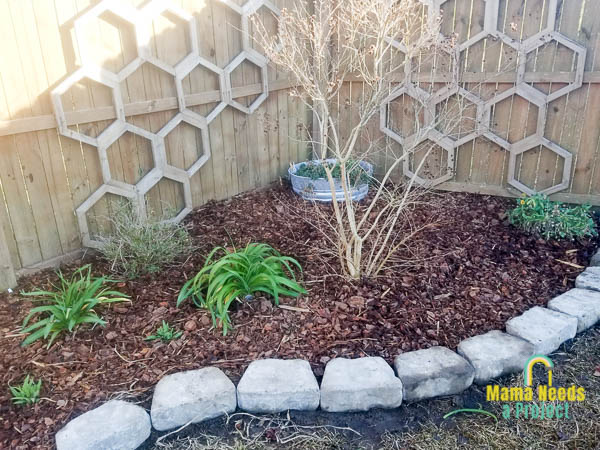
And here is how it looked last week before I got to work.
With a bit of work, this flower bed is now ready to shine this spring! And maybe even ready for a few new flowers once planting season arrives.
Prepping the Flower Bed for Spring
There were 3 main things I needed to do to spruce up this flower bed:
- Remove the MANY weeds
- Replace the stone border
- Add new mulch
I had a little helper for this process – my 3 year old son. While he was much more helpful than I expected, his “help” did add quite a bit of time to this project. But I wasn’t in a hurry and I loved getting to spend time outside working with him.
With all the snack breaks, potty breaks, bug inspections, extra dirt digging and constant chatting, we were able to finish up our garden prep in 2 afternoons. Pretty good for a curious kiddo and slow moving mom!
Remove the Weeds
Ahh, I just love about pulling weeds. Anyone else?
Since it has been warming up the weeds have been popping up pretty quickly. They covered much of the garden and had even filled in the flower box I had mounted on the fence.
It has rained quite a bit here lately (as it usually does in the winter months) so pulling the weeds went pretty quickly. The ground was wet and the weeds came right out.
Dig Up Fern
I also removed a fern that I planted last year. I purchased this fern as a houseplant and it was so unhappy in my house that I decided to put it in the garden to see if would do better there. BAD IDEA!
The fern did so good in the garden! Too good in fact. At first I was so happy to see if growing. But then it kept spreading. And spreading. And spreading.
I had no idea that it would be so invasive! Oops! So I dug the happy sucker out and put it in a flower pot for the front porch. Hopefully I got it all, but I have a feeling that I will be digging up ferns all spring.
Replace Stone Border
Once the weeds were under control and the fern was removed, I was ready to tackle the stone border.
The original stone border was made with small border stones that I had leftover from redoing the flower bed in the front of our house. I love using what I have on hand – free projects are the best!
But, because of the way rainwater flows through our yard, these smaller stones were constantly shifting and being knocked over by the heavy flow of water. Did mention it rains a lot here?
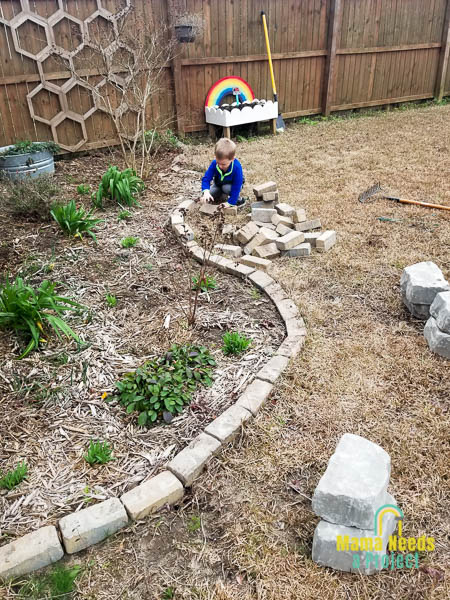
So with my handy helper we removed all of the old stones and replaced them with larger, much heavier stones that should provide a stronger border. These are actually the same stones we used for our DIY Fire Pit and I love how having them in the garden really brings the whole backyard together.
Replacing the border was quite a bit of work because I had to dig out grass around the edges of the garden to create a level surface for the new stones.
I also made the garden a little bit bigger, which was also more work, but I think it looks much better. The original garden shape was pretty curvy and it was a challenge to mow the grass around the border. With the new garden shape mowing should be much easier. And how I have a little more room to squeeze in a new plant (or a few).
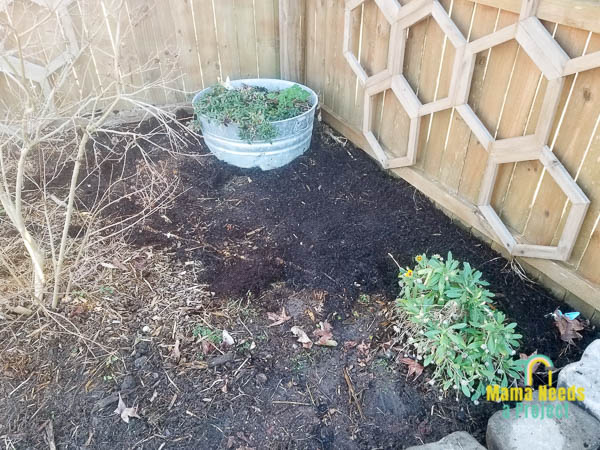
Add New Mulch
When the border was finally complete, I was ready to finish up inside the garden bed.
I started by adding more soil to a few low spots. The lowest spots were the areas that I had removed the fern and pulled some pretty big weeds.
I love finding ways to save money so instead of purchasing garden soil I used soil from some planters that I’ve had sitting empty since the fall. I purposefully kept the soil in these planters after the growing season had ended so that it could be reused this year. I plan to have far less plants in pots this year so emptying them into the garden was a perfect money-saving step.
Once I had filled in the low spots and leveled out the ground, I added some mulch. I used 4 1/2 bags of pine nugget mulch to fill the garden.
In the past I’ve been stingy with mulch and spread it very thinly to save money. This has always resulted in the mulch floating around when it rains, leaving parts of the garden empty. So, this time I decided to properly mulch and put down a layer about 3-4″ thick.
You can also check out these winter landscaping tips!
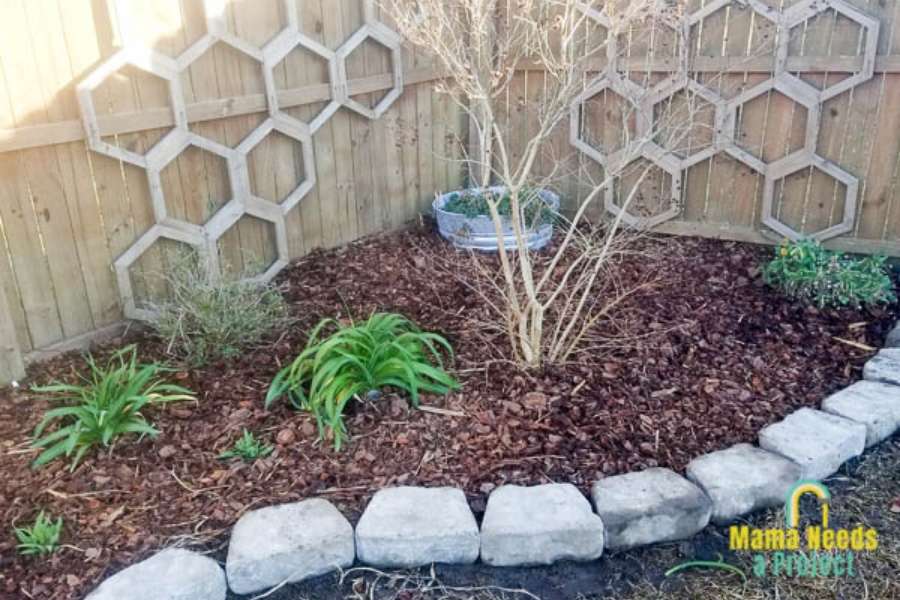
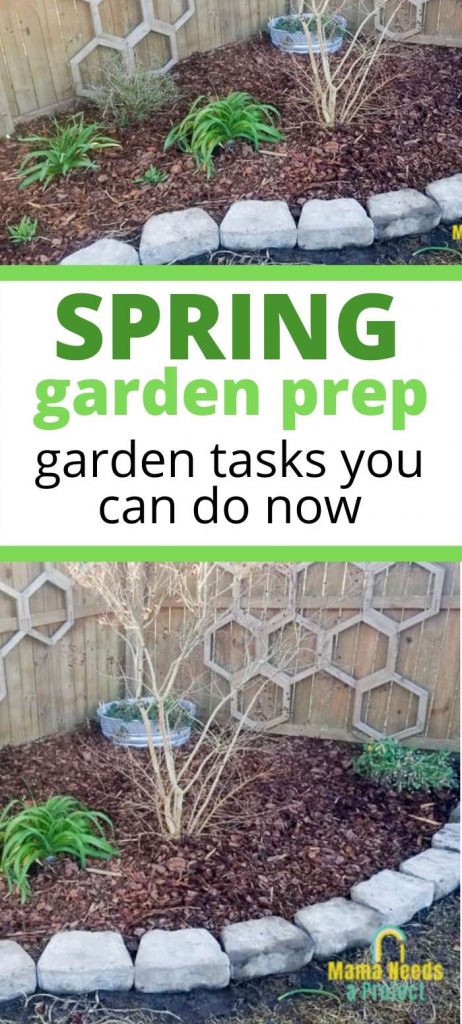
Preparing the Garden for Spring
Doesn’t the garden look so much better?!
With the warm weather, I couldn’t wait to get outside and get my hands dirty in the garden. While it’s still a bit too early to start planting, I was able to take some steps to spruce up my flower garden before spring. Now, once spring rolls around I’ll get to jump right into planting.
PS It’s a good thing I put all that mulch down because just a few days later the temperatures dropped and we had dusting of snow! Snow is fairly rare here in Coastal NC so it was a fun surprise. My growing flowers were kept nice and warm with that thick layer of mulch.
Save to Pinterest!