
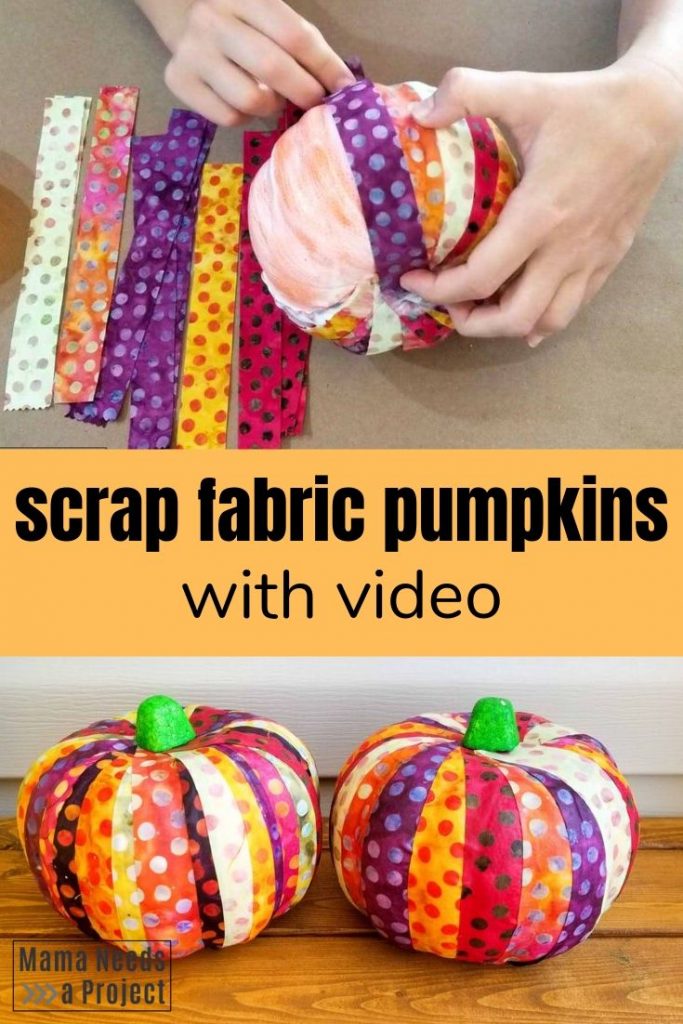
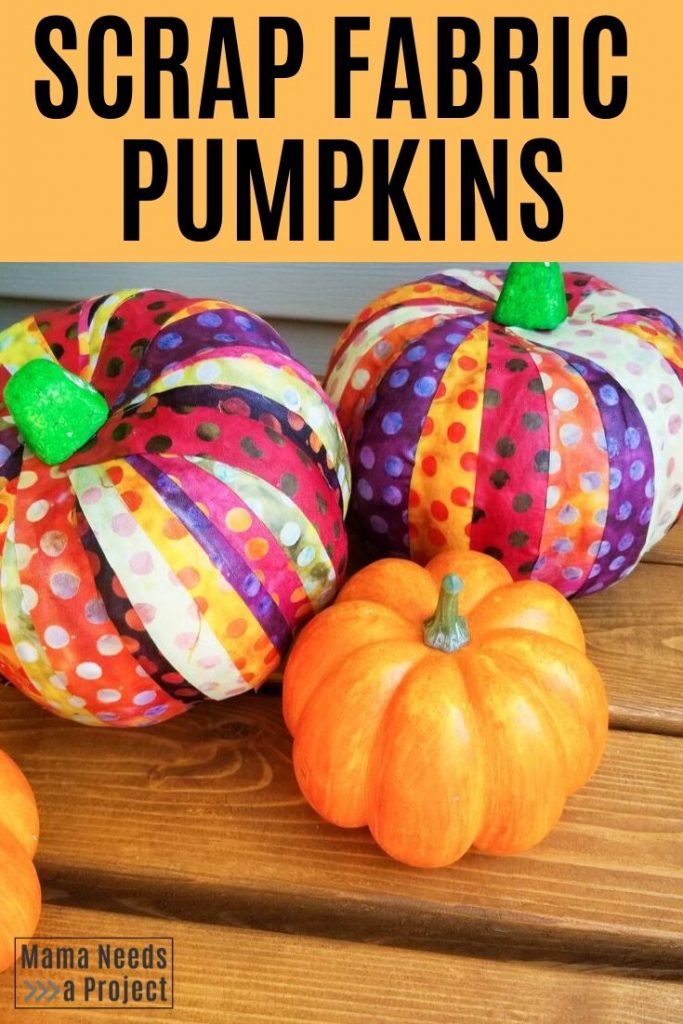
Quick Scrap Fabric Pumpkins (with video)
Add some color to your fall decor with Scrap Fabric Pumpkins! Perfect for indoor or outdoor decor.
Pin for later!
I just wrapped up all the big projects in my Budget Front Porch Makeover, but I’ve been looking for some more colorful fall decor to add in. I had a little ‘aha’ moment at the Dollar Store when I saw some little foam pumpkins – I could totally work with these! So I scooped some up, grabbed some Mod Podge and foam brushes and headed on my way.
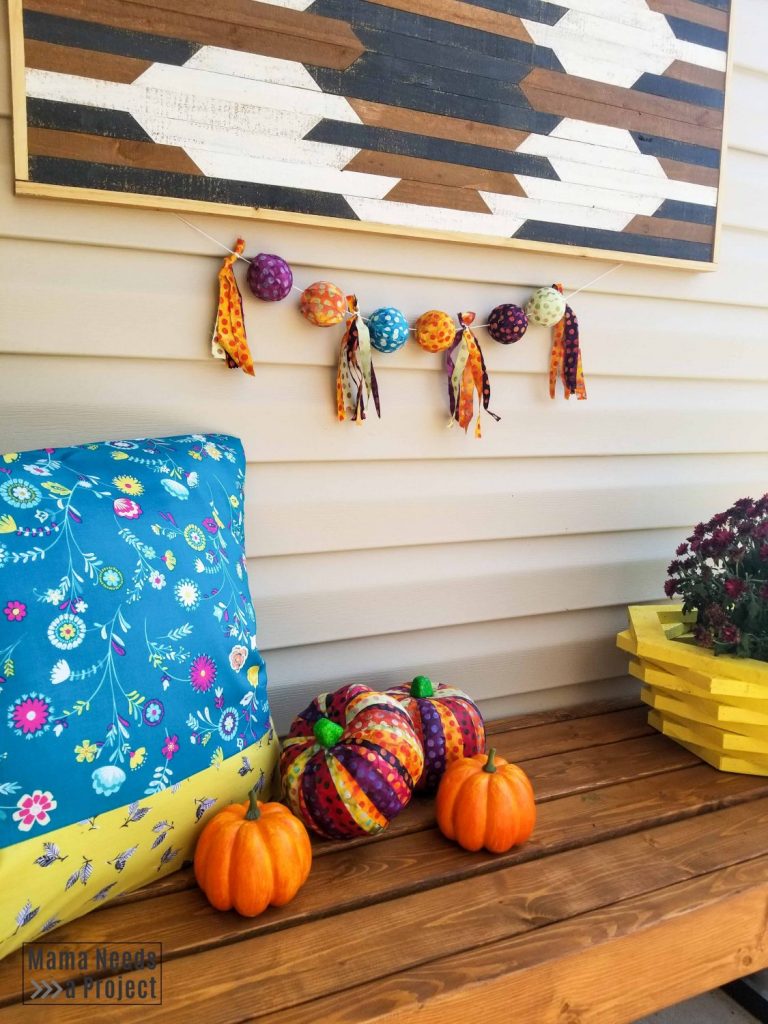
This no-sew fabric project is super simple and a great way to use up some scrap fabric. I chose to use some bright polka dot fabric to match the bright fabric on the rag wreath on my front door and the scrap fabric garland I have hanging on my front porch. These scrap fabric pumpkins fit right in!
I have included my VERY FIRST YouTube video in this tutorial! I think it makes this project even easier! Be sure to subscribe to my channel to get updated about new craft and DIY videos when I post them.
*This post contains affiliate links.
Supplies
- Scrap fabric
- Foam pumpkins
- Mod Podge
- Foam brush
- Hot glue gun
Make Your Scrap Fabric Pumpkins
First, cut your scrap fabric into strips 1/2 inch – 1 inch thick and 8 inches long. This was the perfect length for wrapping my foam pumpkin, but if yours is a bit larger or smaller than mine you will need to adjust the length.
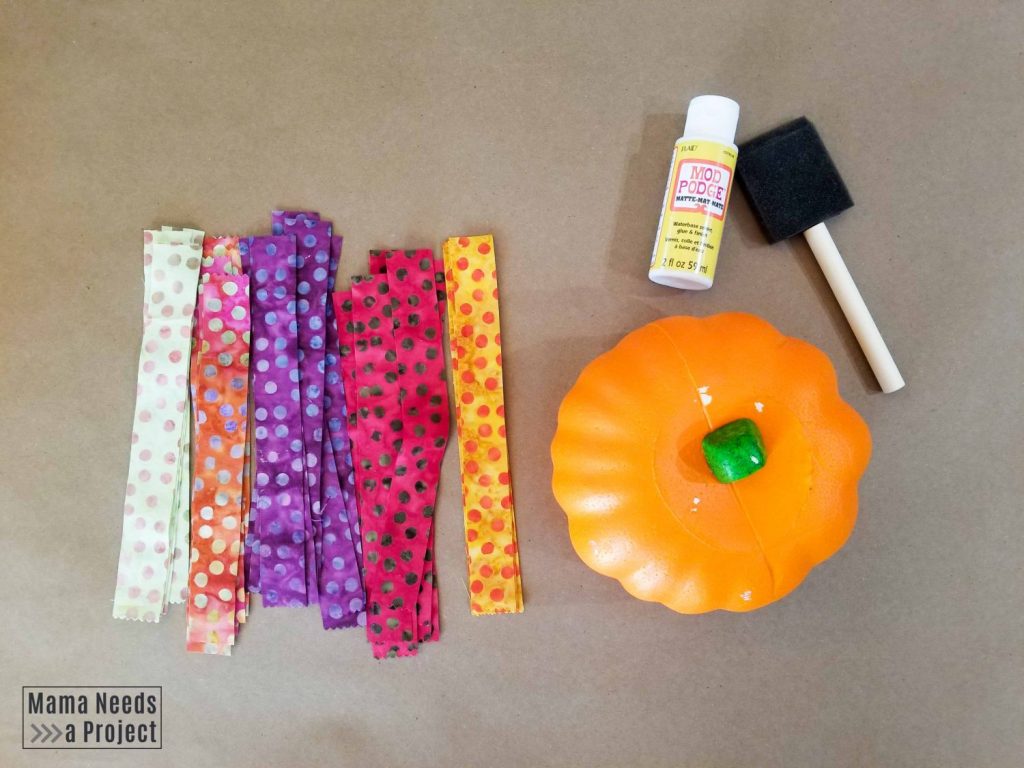
Remove the stem from your foam pumpkin. The stem of my pumpkin was attached with a toothpick and very easy to remove. Don’t worry if when you remove the stem, some of the foam from the pumpkin comes off. This will all be covered up. If your stem has a toothpick be sure to remove that too.
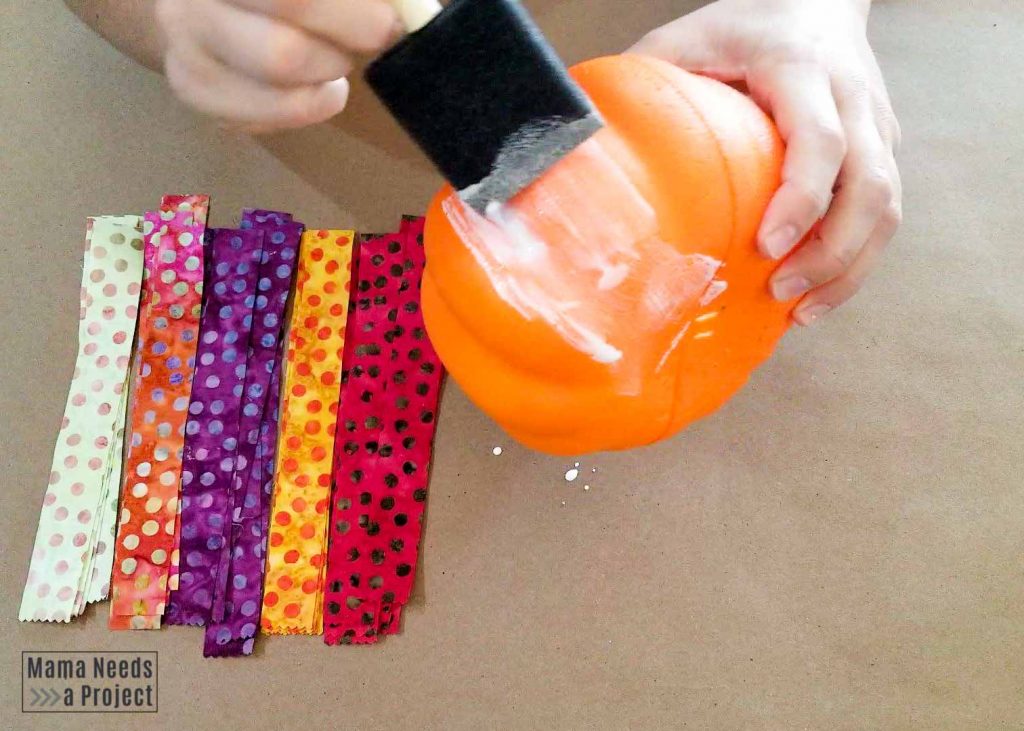
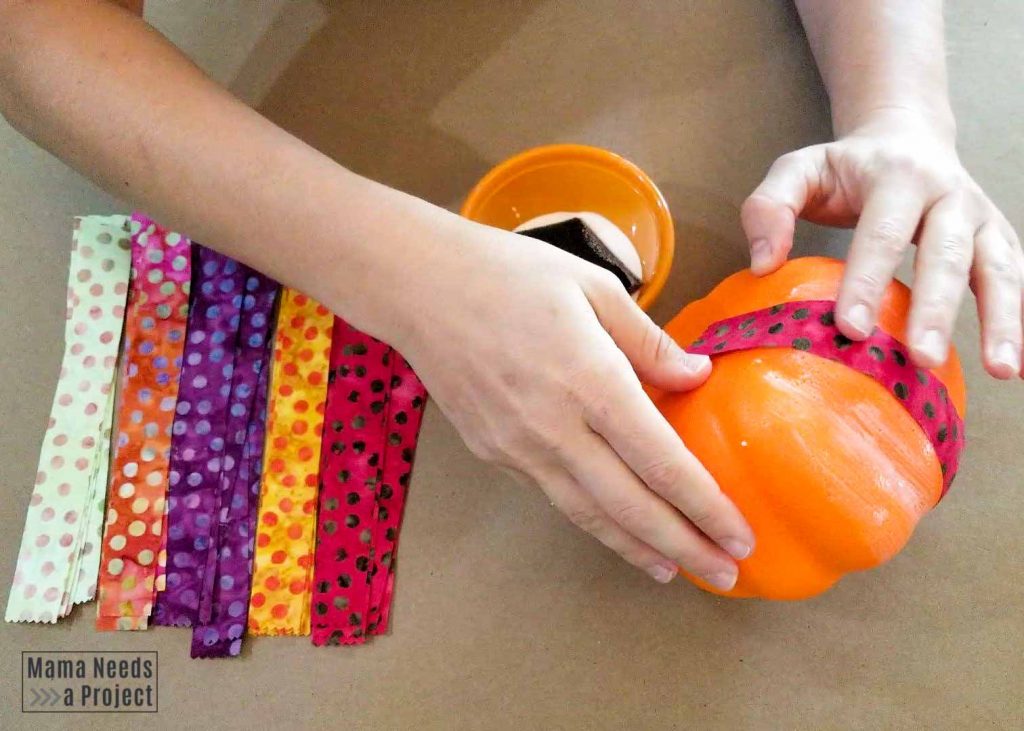
Apply Mod Podge to a small section of the pumpkin using a foam brush. I found it easiest to put some Mod Podge into a small bowl, rather than trying to use it directly from the container. Place a strip of fabric on the Mod Podge so that it the ends of the fabric are at the top and bottom of the pumpkin. Smooth the fabric down.
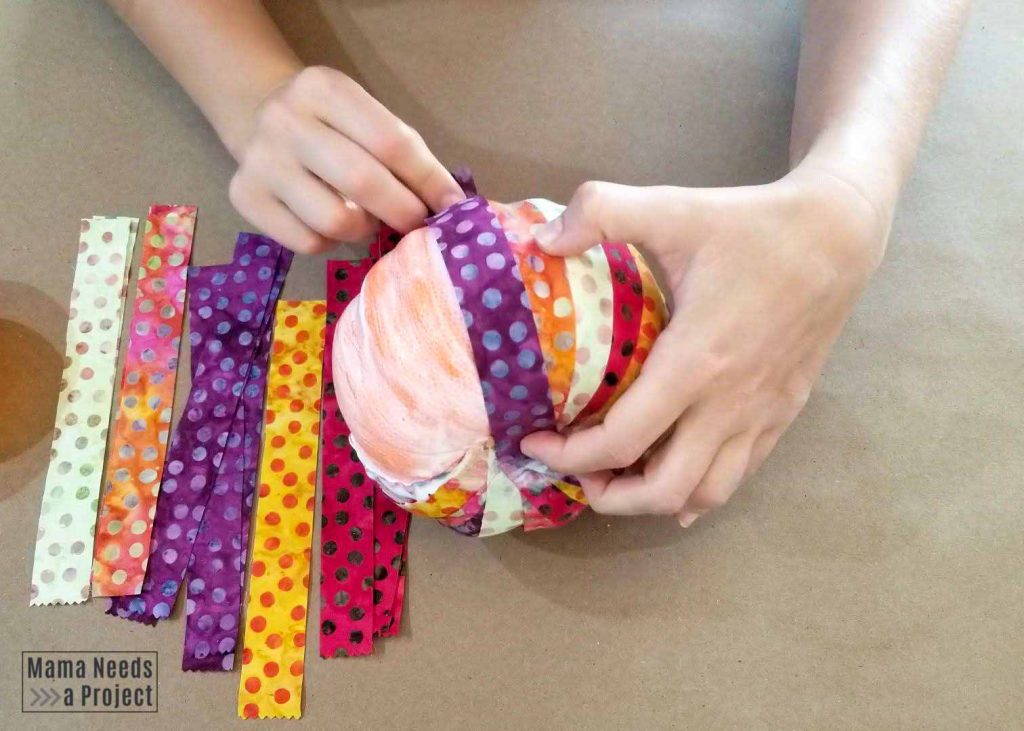
Continue to add Mod Podge and fabric to your pumpkin until it is completely covered. Once the pumpkin is completely covered in fabric, apply a top layer of Mod Podge.
Let your scrap fabric pumpkins dry for 1-2 hours.
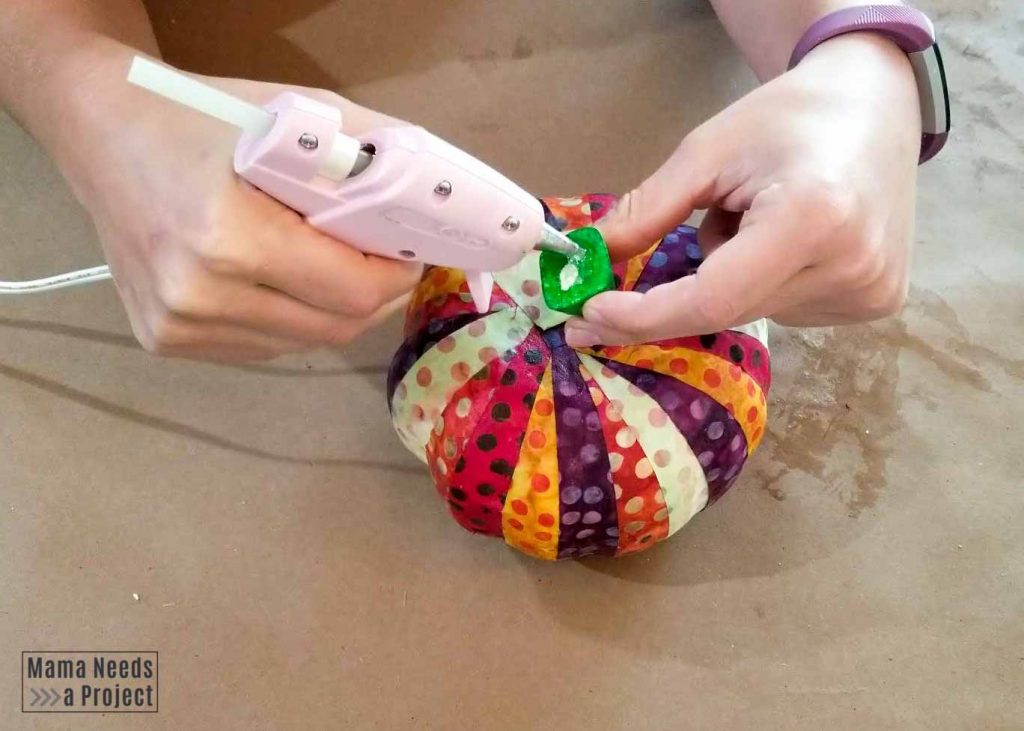
After the Mod Podge has dried on your scrap fabric pumpkins, you can reattach the stem. Use a couple dots of hot glue and put the stem on the center of the pumpkin. Apply some pressure while the glue dries.
Scrap Fabric Pumpkins Variations
Gold Stem
My original plan for these colorful pumpkins was to spray paint the stems a shiny gold while the Mod Podge dried on the pumpkins. But, once I got into my garage I realized that I was fresh out of gold spray paint. I think these would look really cute with a gold (or other color) stem!
Glitter Top Coat
On the first fabric pumpkin I made I used Mod Podge Extreme Glitter as the topcoat. The glitter with the colorful, polka dot fabric was a little too much for me, but I think it would look great on a solid color scrap fabric pumpkin. It would especially pop on a black one.

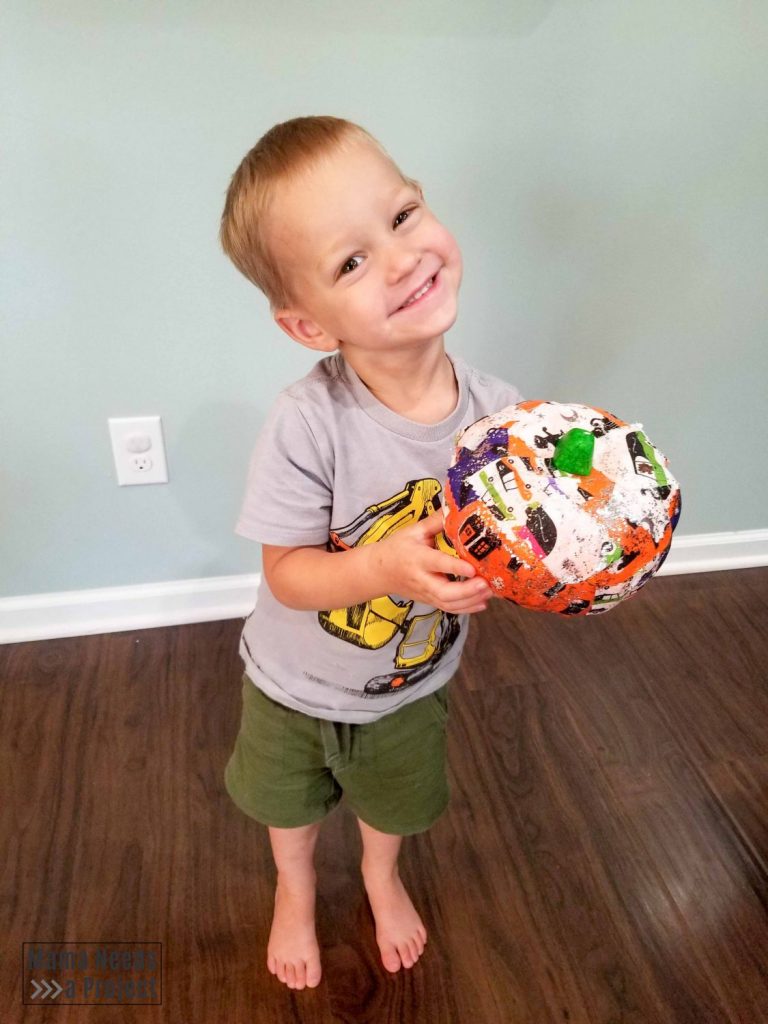
Toddler Version
My kiddo also made a scrap fabric pumpkin and he is so proud of it! He picked out some Halloween fabric from my fabric stash to use. I cut it into big squares and he decorated his pumpkin with very little help from me. He chose the glitter topcoat once he was finished decorating. This would be a great craft for a kid’s party! My son is 2.5 years old and loved it.
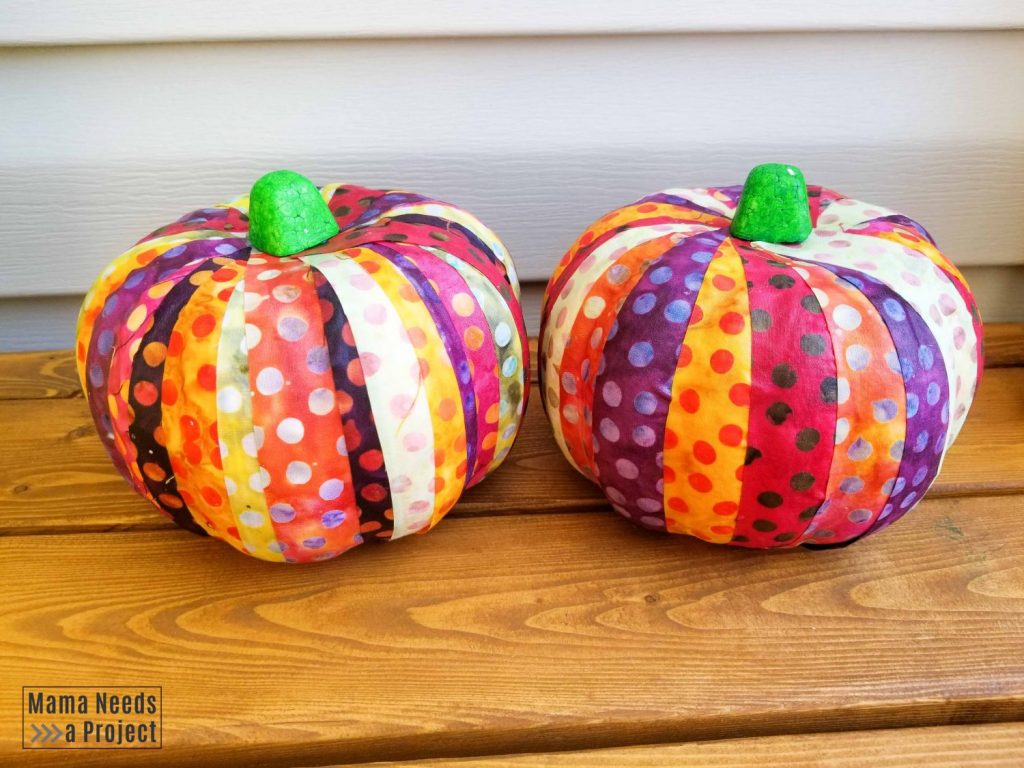
Quick Scrap Fabric Pumpkins
This quick fall craft is easy and cheap to make and I love the additional color it adds to my front porch! It’s the perfect way to use up some scrap fabric and add to your fall decor.
You can also try these pumpkin carving cutouts to make carving your pumpkin a breeze!
I want to hear from you!
Let me know what you think about this project in the comments below or reach out to me on social by following @MamaNeedsaProject on Instagram and Facebook.