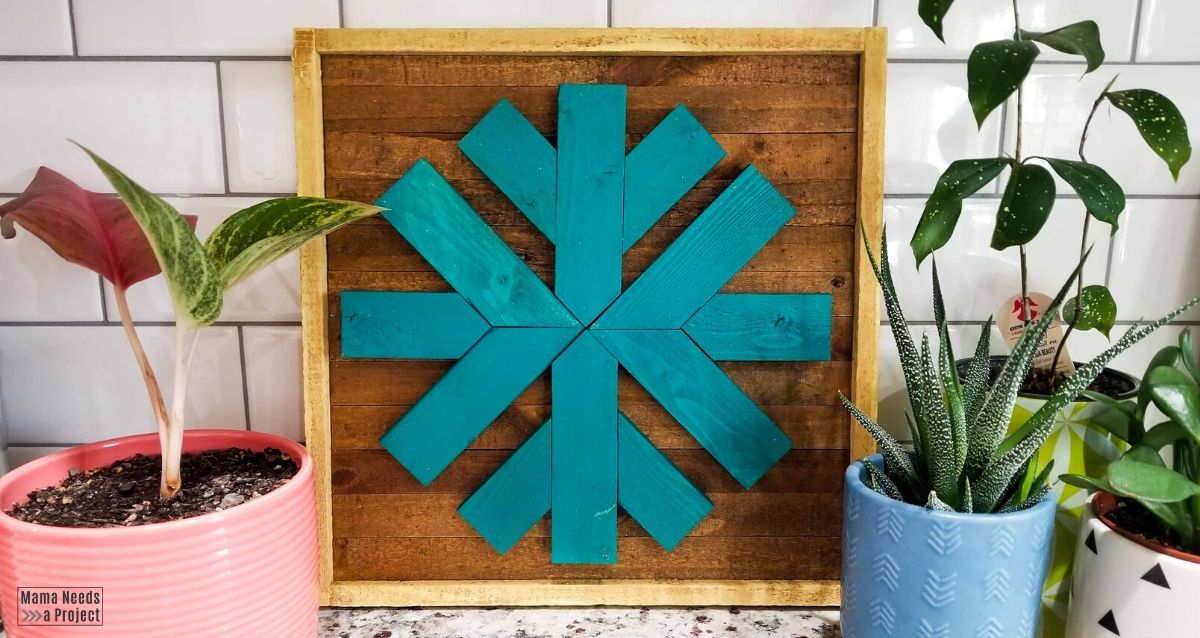
Scrap Wood Framed Snowflake
Start digging through your scrap wood pile and put this Scrap Wood Framed Snowflake on your builder to do list! It’s a quick project that makes a seriously adorable piece of DIY winter decor.
Are you a color-loving DIY-er? Then you just might love my other DIY Colorful Christmas projects!
I grew up in Iowa where snow abounds in winter most years. I remember snow days, sledding down giant hills, snowsuits and a million layers of clothing that seem like a really good idea until you have to take a bathroom break…
I’ve spent that last 8 or 9 years living in warm weather states and sometimes I really do miss that cold, fluffy stuff!
Now that I live in warm Coastal North Carolina this Scrap Wood Framed Snowflake seems a little silly, but it’s giving me all those cozy winter vibes and I’m running with it.
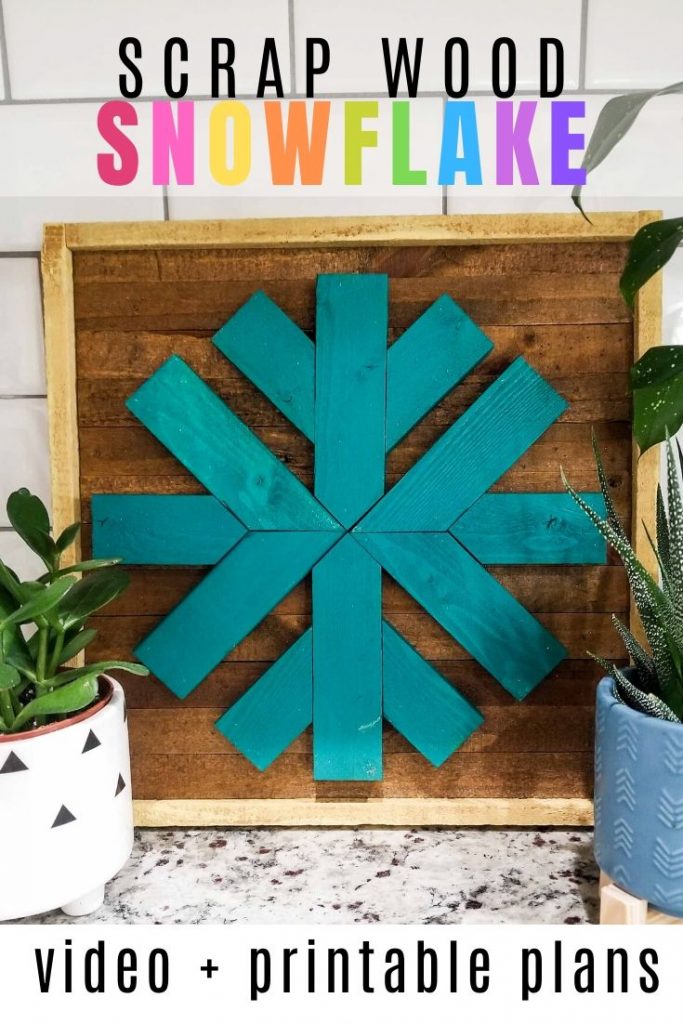
Pin for later!
If you’ve been around Mama Needs a Project for a while you probably know that I have an affinity for building with fence pickets. I just love those cheap little things! You saw it in my DIY Geometric Wall Art, Big X Wood Quilt and $6 Wedding Centerpiece Boxes. And, this little piece of winter wall art is no exception!
For this scrap wood project all you will need is a small piece of 1/4″ plywood, some scrap 1x2s and 2 pine fence pickets. So, my friends, start digging through your scrap pile and let’s get to work!
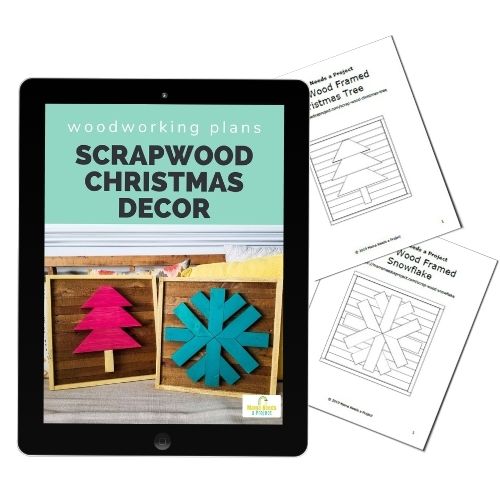
Scrap Wood Snowflake Woodworking Plans
You can grab printable woodworking plans for this project in my woodworking plan shop.
All of the woodworking plans in my shop include a lumber list, cut list and supply list. They also feature digitally rendered images and detailed instructions that walk you through each step of the build. I use easy-to-understand language that’s perfect for beginners.
What do you need to build a Scrap Wood Snowflake?
Supplies
- Scrap Wood Framed Snowflake Woodworking Plans
- (2) fence pickets
- scrap 1×2
- scrap 1/4″ plywood
- table saw
- miter saw
- pin nailer (This is what I use.)
- wood glue
- paint & wood stain
How to build a scrap wood snowflake frame
1. Rip Fence Pickets
The first step for this project is to rip the fence pickets to 1″ width. Use your table saw to do this. I used strips that I had leftover from making my DIY Geometric Wall Art a few months ago.
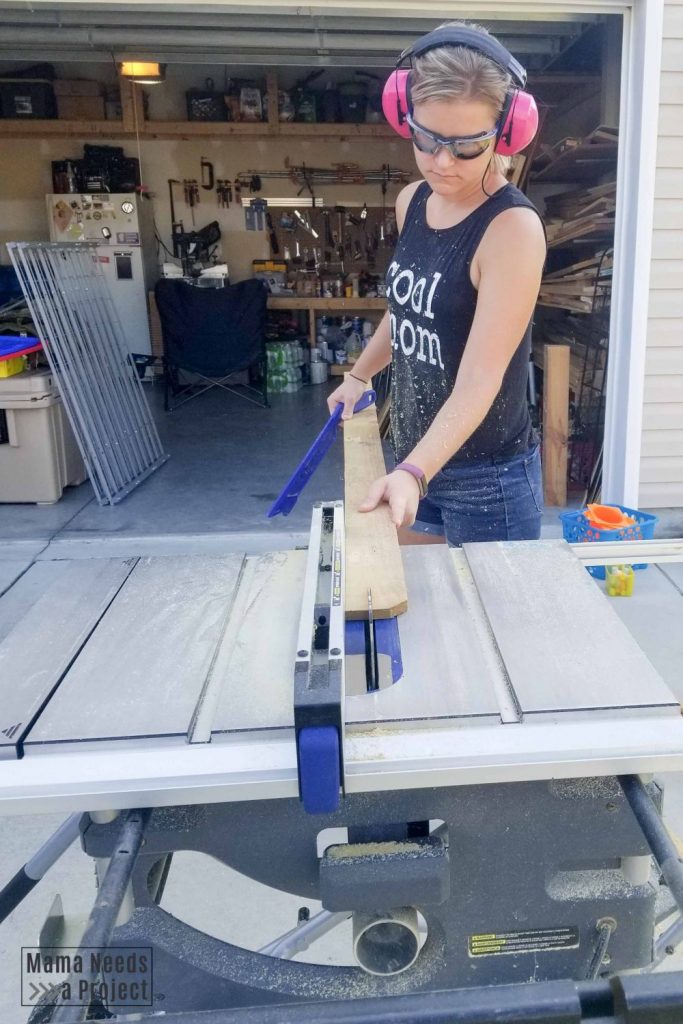
I used 5.5″ wide pine fence pickets and was able to get (4) 1″ strips out of each board with a strip left over that is about 1/2″ wide.
Before you toss that skinny leftover strip, cut it into 6-12″ lengths and you have some stir sticks for your paint and wood stain.
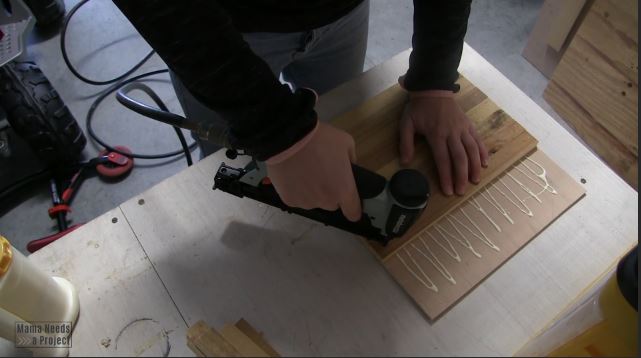
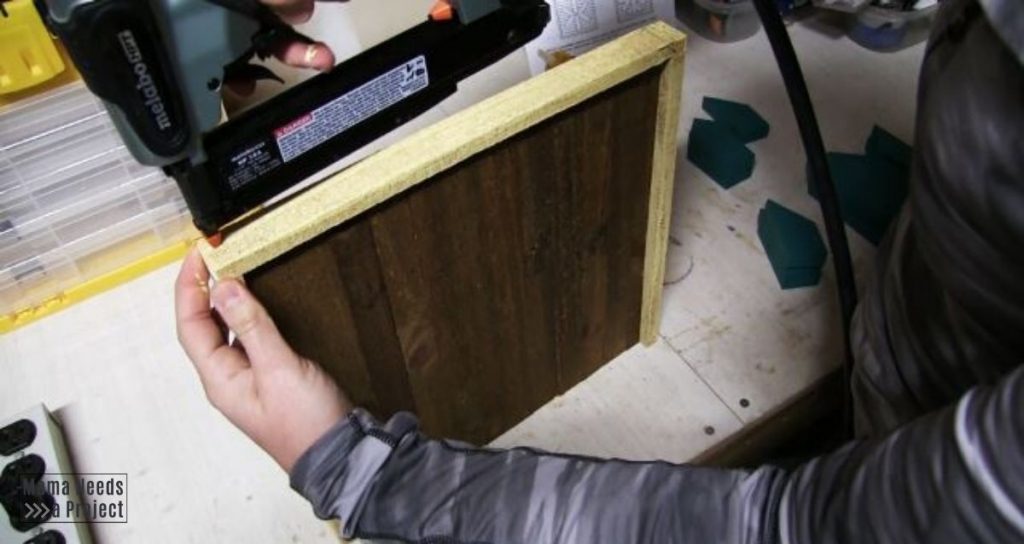
2. Make the back
Cut your fence picket strips and 1/4″ plywood backing based on the measurements in the printable woodworking plans. Then, you can start building the back of the frame.
Use wood glue and a brad nailer or pin nailer to attach the fence picket strips to the 1/4″ plywood backing. Start attaching your strips at the bottom and work your way up, using one edge of the plywood as your guide to keep them straight.
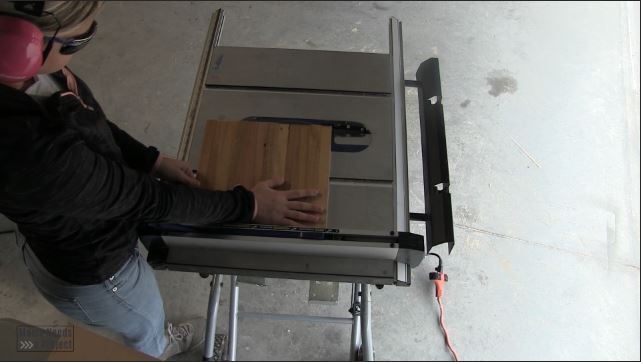
After you have attached all of the strips, you might find that the edges of your piece aren’t completely straight – that’s no problem! Head back over to your table saw and square it up.
3. Measure and Cut the Frame
After creating the back, you can cut the pieces for the frame. I used the same 1″ fence pickets strips as I did for the backing to make the frame.
I recommend measuring the backing and then cutting your frame pieces based on the exact measurements of your piece. I included measurements in the printable woodworking plans, but to get a perfect fit you will want to use the measurements of your actual piece.
How to build the scrap wood snowflake
1. Cut Snowflake Pieces
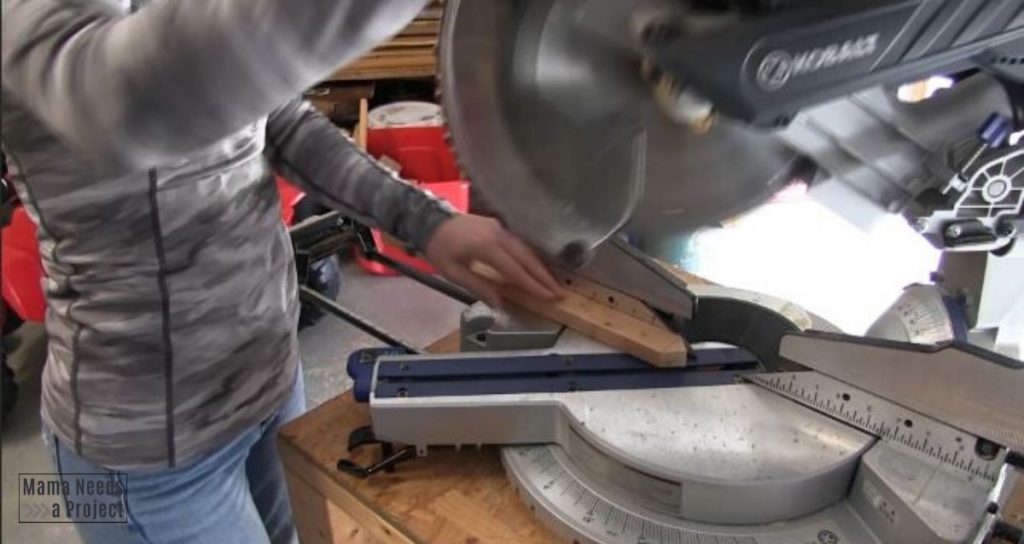
The pieces for the snowflake are made from scrap 1×2 boards. Most of the pieces are cut at a 45 degree angle. This is very easy to do on a miter saw.
Making the arrow shaped pieces
A few of the pieces are cut into an arrow shape on the end. I’ll explain here how I do this, but I think it’s a little easier to understand in the video. Scroll up to the top of the post to see the video tutorial. About 3 and a half minutes in I talk about cutting the arrow pieces.
For the arrow shaped pieces, start by cutting the end of your 1×2 at a 45 degree angle.

Then, flip the 1×2 over and use a straight edge to draw a line across the board where the angle starts.
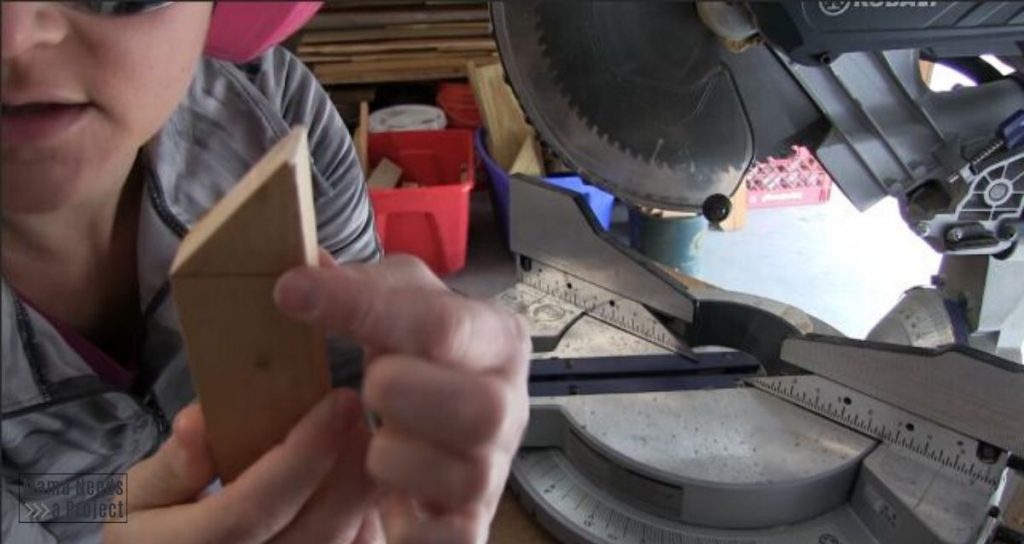
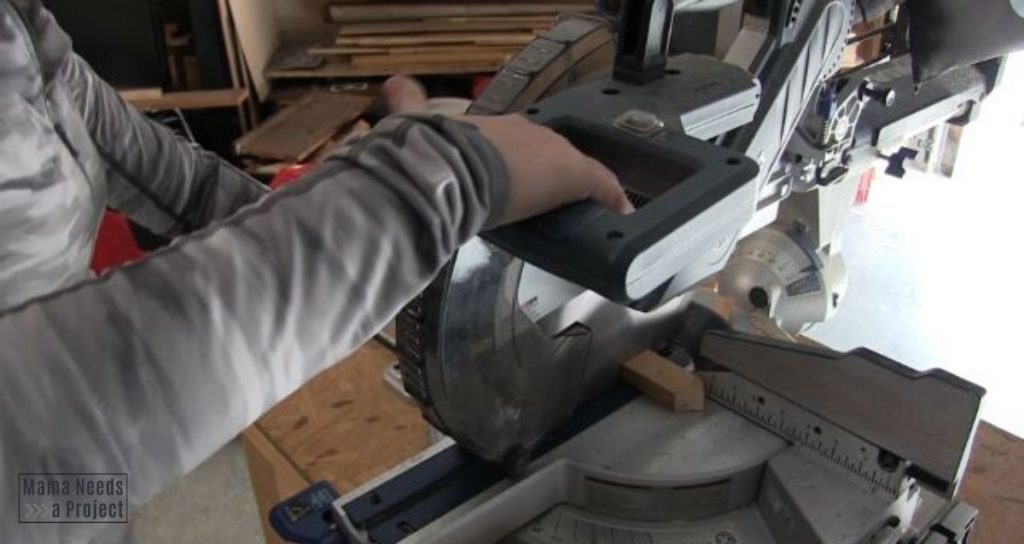
Keep your miter saw set to 45 degrees and line up your the blade of your miter saw so that it intersects the line you just drew. Then, go ahead and cut the board.
After you have cut the arrow shape on the end, you can trim the board down to size. I measured these pieces from the tip of the arrow and marked the lengths in the woodworking plans.
Tip for cutting the smaller pieces safely
Some of the pieces for the scrap wood snowflake are pretty small. To cut these smaller pieces I recommend arranging the wood on your miter saw so that the final piece is on the right side of the blade. This will allow you to hold on to the 1×2 to make your cuts without having to put your hands too close to the blade.
2. Paint and stain scrap wood snowflake pieces and frame
After you have cut all of your pieces, it’s time to paint and stain everything. I usually like to do all my painting and staining before assembling my final project. I think it’s much easier, especially when I’m finishing a piece in multiple colors like this one.
3. Put the snowflake together on the frame
You’ve cut, painted and stained – now it’s time to assemble!
Start with the frame. Use wood glue and a pin nailer to attach the frame to the outside of the backing.
Next, arrange the snowflake pieces on the backing, using the template in the woodworking plans. Then, use wood glue and a pin nailer to secure the pieces to the backing.
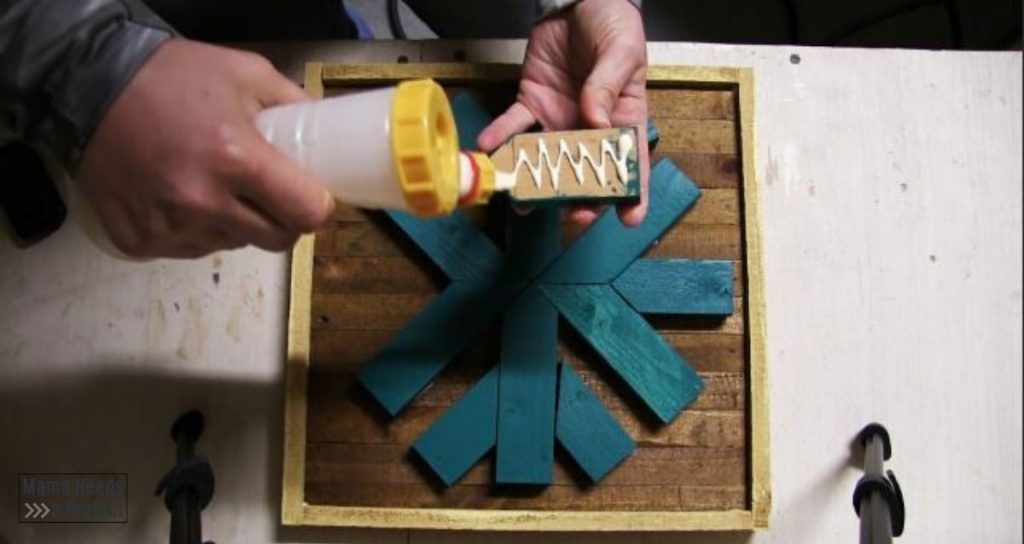
(By the way, this is the glue bottle I use and it’s awesome! I’ve had it nearly a year and it never clogs. It’s totally worth it!)
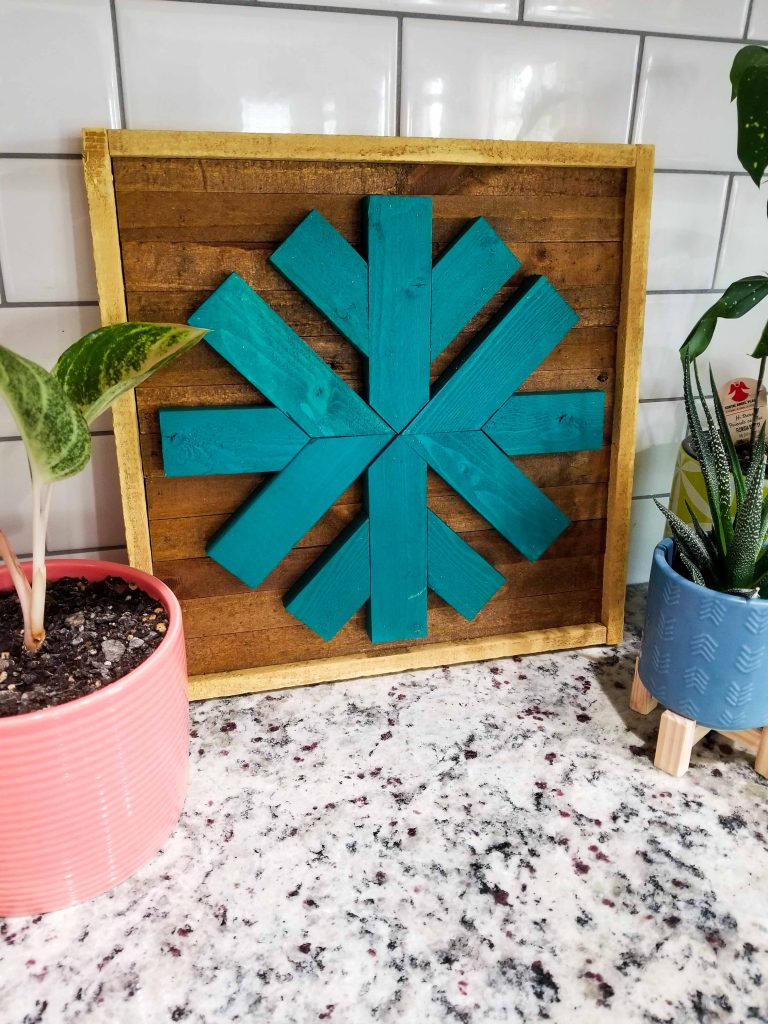
Scrap Wood Framed Snowflake
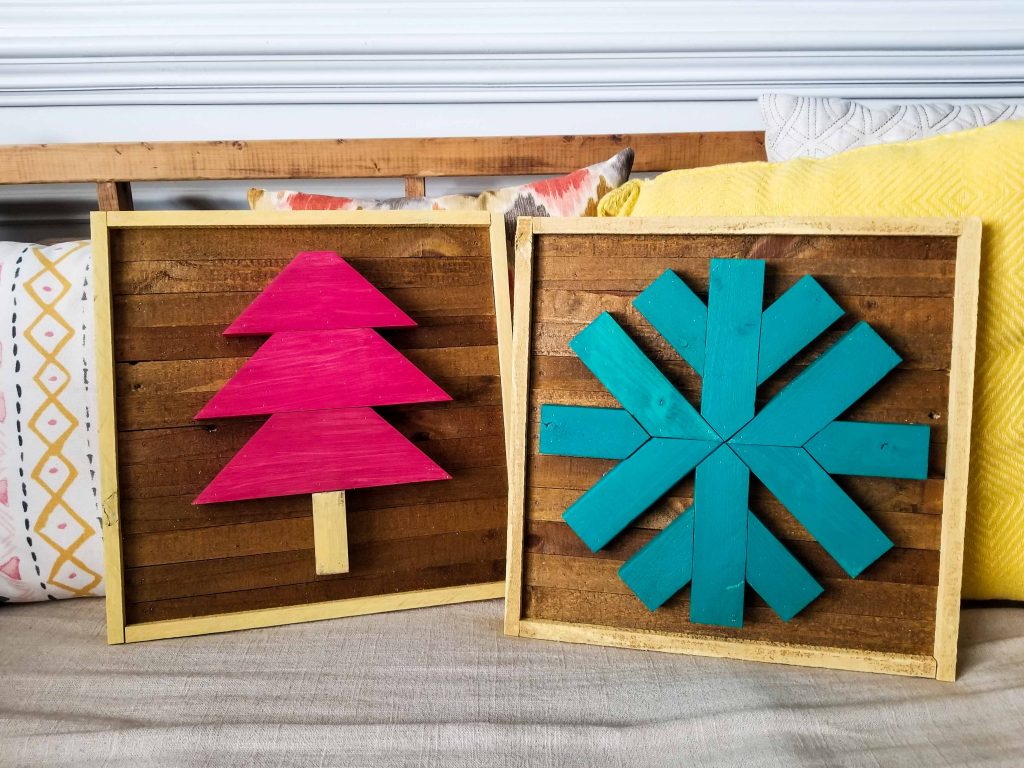
And that’s it! Once the glue has dried you’re ready to display your scrap wood framed snowflake on a shelf or add a sawtooth hanger and hang it right on the wall! This cheery little project is sure to add a colorful punch to your winter decor.
My bright scrap wood snowflake is my little piece of winter on the coast and I just love how it turned out! Especially next to my bright pink Scrap Wood Christmas Tree. I haven’t decided on a spot for this colorful pair yet, but where ever they end up they’ll be the stars of the show.
I want to hear from you!
If you make this project, please share it with me! I absolutely love seeing your creations. You can find me on Instagram and Facebook as @MamaNeedsaProject. Tag me in your projects!