DIY Small Modern Bench Woodworking Plans
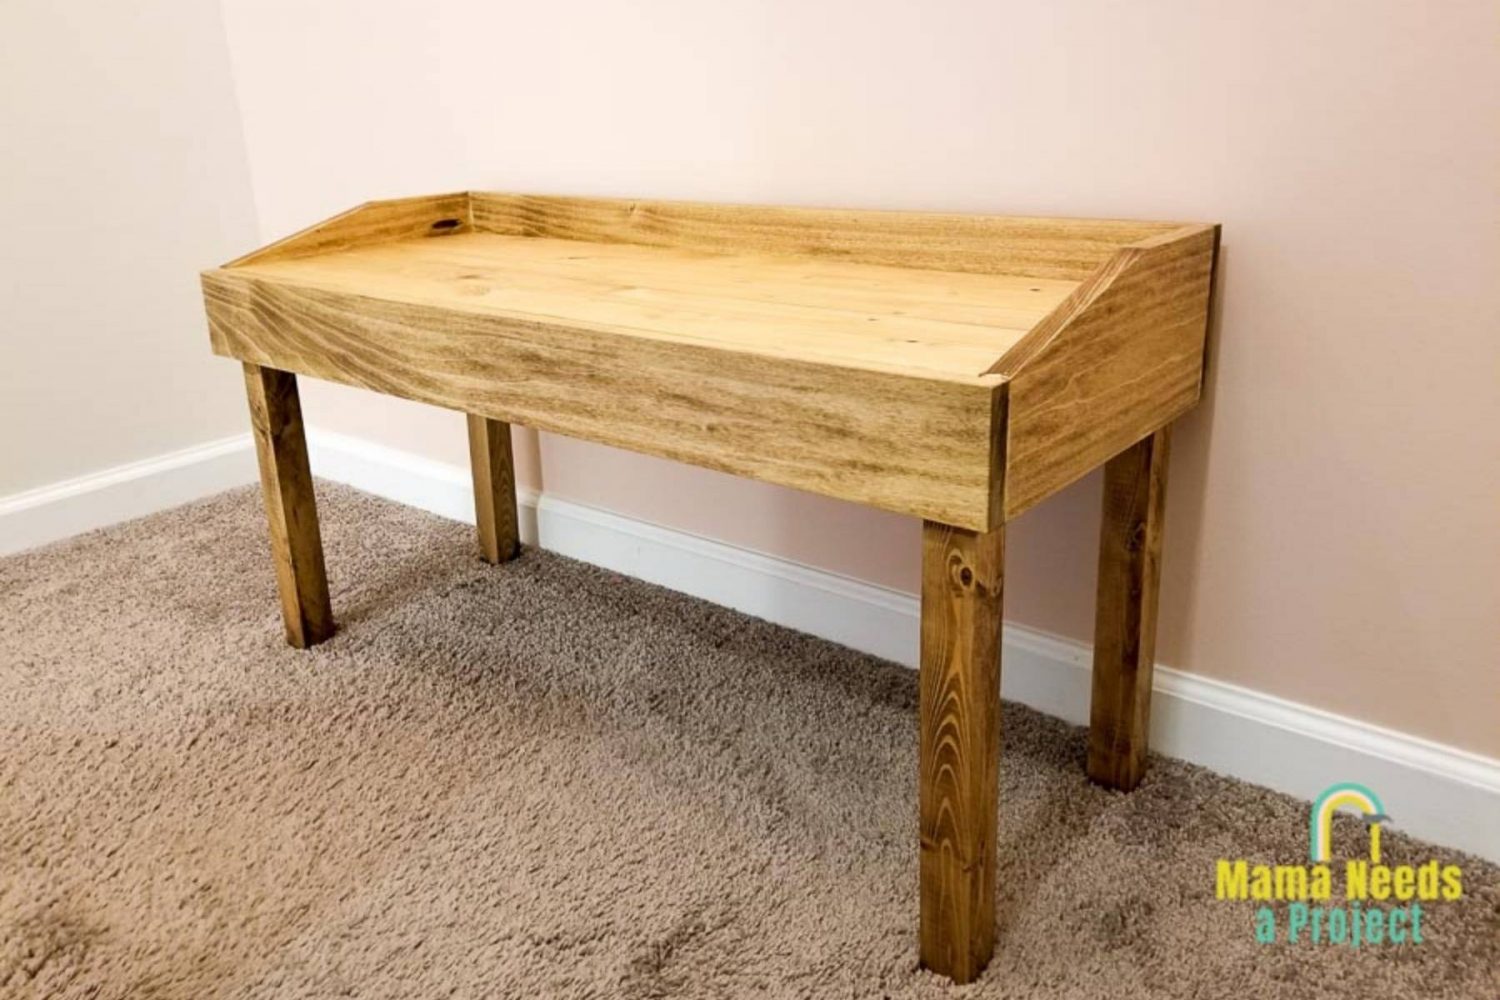
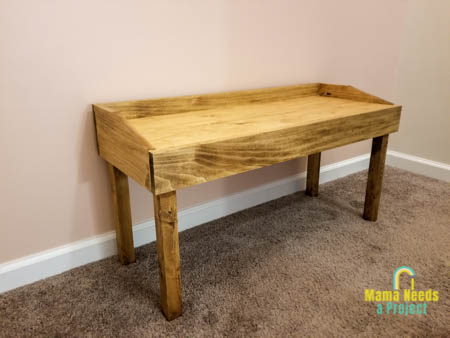
Today I’m sharing my Small Modern Bench Woodworking Plans with you! This little bench is a quick build with great lines. I love the simple modern, style and I hope you do, too!
Save to Pinterest!
About a week ago I decided to finally hang a big mirror that I thrifted in my stairway. Well, it just didn’t look quite right. So hanging the mirror turned into painting the two-story stairway, which turned into painting a scalloped wall, which turned into building this sweet small modern bench to fill out the space. Don’t you love when one simple task turns into a week-long project?
My idea for this bench was something small and narrow that wouldn’t interfere with walking up and down the stairs. I also wanted something really clean and simple that would compliment the feminine scalloped wall. This little bench totally fits the bill!
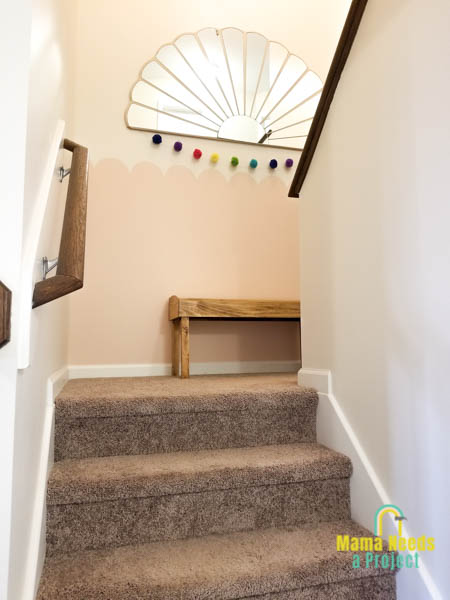
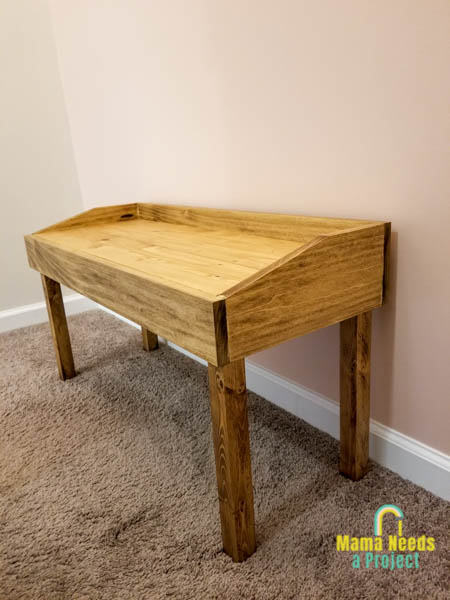
My favorite part is the angled sides – they look so good! I had originally planned to sew a cushion for the seat, but for now I’m really enjoying the simplicity of the wood grain against the pink wall.
Small Modern Bench Woodworking Plans
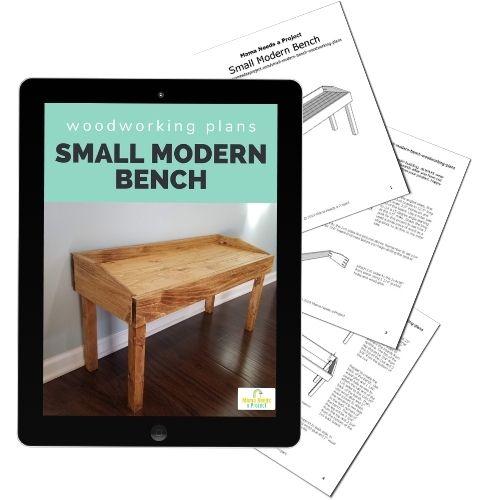
Before starting this build, I planned it out by creating printable woodworking plans that you can grab in my woodworking plan shop. All of the woodworking plans in my shop include a lumber list, cut list and supply list. They also feature digitally rendered images and detailed instructions that walk you through each step of the build with easy-to-understand language that’s perfect for beginners.
I’ll go over some of the details of this project here. You can grab the full instructions in the printable woodworking plans in my woodworking plans shop.
Build a Small Modern Bench
Project Time & Skill Level
I built this bench over about 3 days, working in short bursts of time. It could definitely be completed in 2 afternoons. The most time will be spent sanding and waiting for the finish to dry.
This bench is a pretty quick build, but I would not recommend it as your very first woodworking project. It is a little more difficult to complete than my popular 2×4 Modern Bench. I recommend having a few projects under belt before tackling this one.
Estimated Cost
The lumber cost will vary depending on where you live and lumber prices in your area. I decided to use a combination of poplar and pine for my bench and spent about $45 on lumber. If built completely from pine the lumber for this bench would cost about $30 in my area (Eastern North Carolina).
Materials Needed
- Printable Small Modern Bench Woodworking Plans
- (1) 1×4 @ 8′
- (1) 2×2 @ 8′
- (1) 1×6 @ 8′
- (3) 1×3 @ 8′
- miter saw
- pocket hole jig
- right angle drill
- sander
- brad nailer
- 1 1/4″ pocket hole screws
- 2″ wood screws
- wood glue
Small Modern Bench Tips
You can find the step-by-step instructions for this build, along with the complete material list and cut list in the printable woodworking plans.
Cutting the Angled Sides
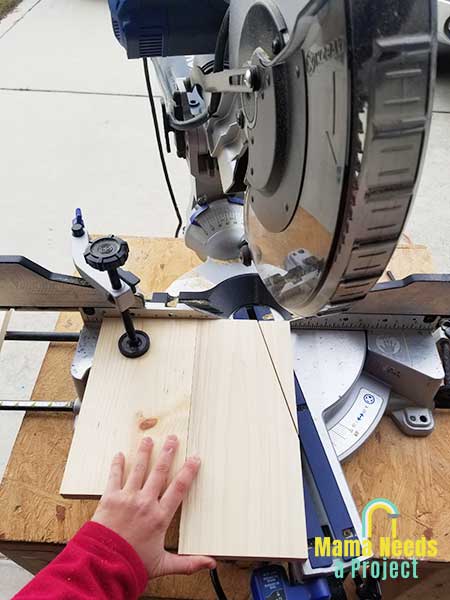
The most difficult part about this build was figuring out how to cut the angled sides with my miter saw. I spent quite a while brainstorming how I could hold the board steady while cutting the angle without getting my hands too close to the blade.
After thinking on this for a while here’s the solution I came up with. I clamped a piece of scrap wood to the base of my miter saw. I then held the board that I needed to cut firmly against the scrap wood and miter saw fence. I this allowed me to keep my hand farther away from the blade while cutting the angle, which made me feel much safer.
Fitting the Seat Slats
The 1×3 seat slats are a TIGHT fit for these small modern bench woodworking plans! To get mine to fit perfectly I had to rip about 1/8″ off the width of one of the seat slats using my table saw.
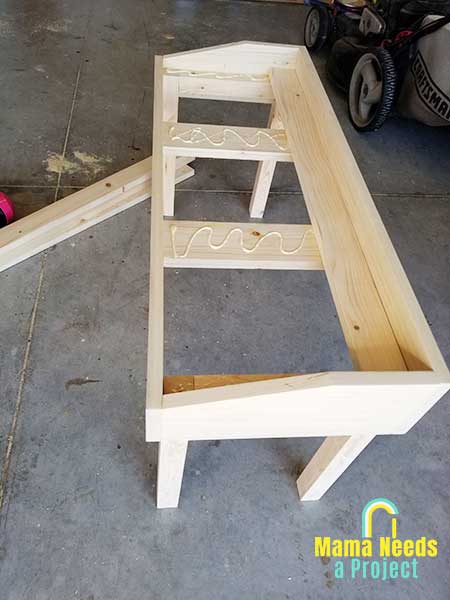
If you don’t have a table saw and are worried about getting the fit just right, you can also create the seat using a combination of 1x3s and 1x2s. Using this method will leave you with a small gap between each slat. (I give more details about this option in the printable small modern bench woodworking plans.)
Drilling in Small Spaces
You will definitely need a right angle drill for this project. The space to drill in the pocket hole screws is not large enough for most regular sized drills.
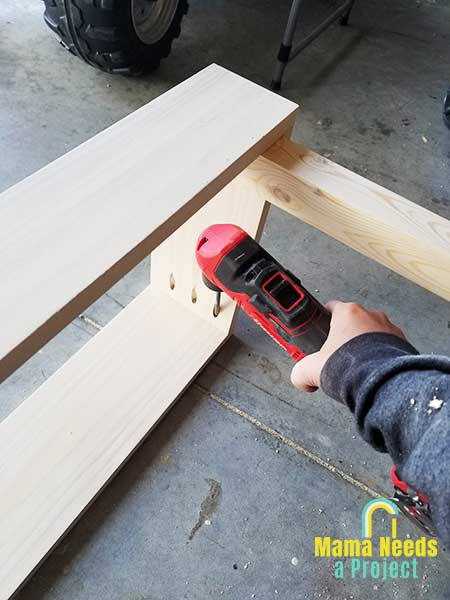
When my husband first purchased a right angle drill, I thought it was silly and totally unnecessary. Uh, I was wrong. I use it all the time! It has come in handy on so many of my projects.
If you’re not ready to purchase a right angle drill, there are drill attachments like this one that may work as an alternative. I have never used one of these attachments so I can’t personally recommend them, but the one linked has great reviews and it’s much cheaper than purchasing a new drill.
Sanding & Stain
- I always recommend sanding your boards before you start building your bench. It is so much easier and quicker to sand them first so that you don’t have to try to maneuver your sander into tight corners on a completed build.
- I also recommend staining your boards before assembly. I waited until my bench was complete to stain it this time, but I usually prefer to stain first and then build my project. The reason for this is that I’m a sloppy gluer so I usually end up with splotches of wood glue on the exterior of my woodworking projects. Wood glue does not stain, and these splotches look pretty awful on a completed project. Save yourself some trouble and stain first.
- For this project it was my first time using pre-stain wood conditioner and I really think it made a difference! The purpose of the conditioner is to prep the wood to take stain more evenly. Pine can be very splotchy and uneven when stained, but for this project the color turned out really even. I recommend using a wood conditioner if you’re using pine to get a more even finish.
Kreg Jig
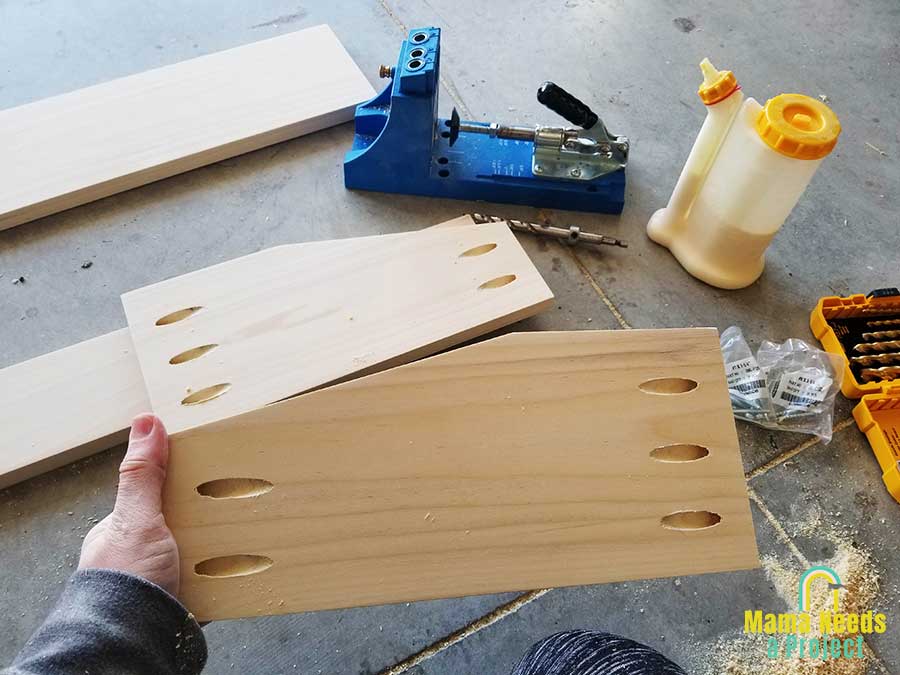
- When setting up your Kreg Jig to drill the pocket holes for this project, don’t forget to adjust the jig for 3/4” board thickness. You will need to adjust both the jig and the drill bit. (I only mention this, because I have forgotten many times.)
- Use pocket hole screws! It really does make a difference in the stability of the joint. For years I used regular wood screws in my pocket holes and only recently have I started buying and using pocket hole screws. It has made a huge difference in the quality of my projects! With the pocket hole screws the joints are much tighter and there’s no wiggle. I won’t ever go back to using regular screws for pocket hole joints.
General Building Tips
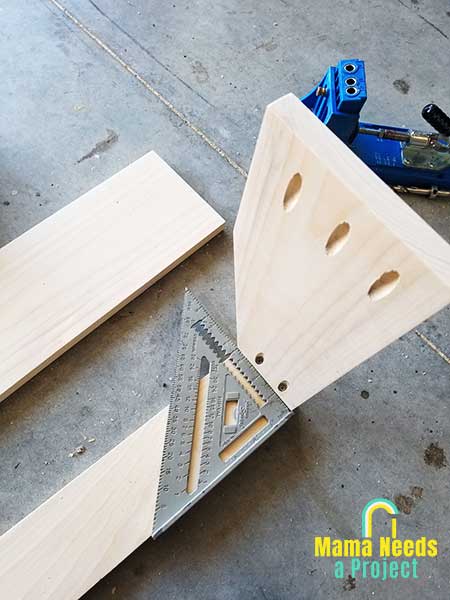
- Use a speed square to check for square throughout your build. You will especially want to make sure the bench frame is square. If it isn’t you’ll end up with a wobbly bench.
- Use wood glue in all of your joints. Wood glue creates a stronger hold than the screws will and is essential to creating a sturdy bench.
- When you attach the legs to bench, be sure to pre-drill your holes. Pre-drilling helps to ensure that the boards don’t split when you drill in the screw.
- Wear all of your safety gear and know how to use your tools properly!
- Make sure you are using good quality boards. If you need some guidance for buying lumber I have a whole post about how to shop for lumber for woodworking projects.
I want to hear from you!
I absolutely love seeing your projects! If you decided to build this bench, pretty please share it with me. You can find me on Instagram and Facebook as @MamaNeedsaProject.

