Wet Sanding vs Dry Sanding: When to Do Each? (Ultimate Guide)
When most people think of sanding, they think of using a piece of sandpaper to make a surface smoother. This is known as dry sanding, and although it’s the kind of sanding most people know, it’s not the only kind!
In this post, I’m going to compare wet sanding vs dry sanding, how you can do both, and when you should do each. Let’s dig in!
Dry sanding is best for shaping and leveling, whereas wet sanding is better for achieving a 100% smooth finish. Wet sanding will take a little longer, but it’s not as messy.
What is Wet Sanding?
Wet sanding is a distinct kind of sanding that involves special, fine sandpaper and a lubricating liquid.
This kind of sanding is mainly done to achieve a smooth, mirror-like surface, though wet sanding can also strengthen and seal wood.
If you’re still having a hard time wrapping your head around what exactly wet sanding is, think about what it ISN’T instead; in other words, think of how it’s unlike dry sanding.
Wet sanding is commonly done on woodworking projects, drywall, and even vehicles.
What is Dry Sanding?

Dry sanding, on the other hand, is when coarse sandpaper is used to shape rough, usually unfinished wood. This is the kind of sanding that most people are familiar with. You can use regular sandpaper or a power sander to dry sand, depending on the job at hand.
Differences Between Wet and Dry Sanding
A lot of woodworking projects require both wet sanding and dry sanding.
Dry sanding is done before wet sanding, since dry sanding can shape and smooth wood quickly. After the wood is shaped and generally smooth, wet sanding can be done to achieve an even smoother surface, one that’s mirror-like and free of scratches.
But these sanding styles are more different than they are similar. Here’s how.
Application
The most obvious difference between wet sanding and dry sanding is one involves a lubricant while the other doesn’t.
Specifically, you can use an engineered lubricant that’s designed for wet sanding, or you can use water with a mild detergent; the latter is the lubricating mix many woodworkers choose.
How the sanding is completed is also different. To dry sand, you need coarse sandpaper, and you have to sand in small circles.
Wet sanding, on the other hand, requires very fine sandpaper that’s designed exclusively for wet sanding, and you need to sand in straight lines, alternating directions with each pass.
And whereas dry sanding requires much more pressure, barely any pressure should be applied when wet sanding.
Plus, dry sanding can be done by hand or with an electric sander, while wet sanding can only be executed by hand.
Lastly, dry sanding is done early on in the shaping and smoothing process since it can get wood in a more workable condition, quickly.
If you skipped the dry sanding step and went straight to wet sanding, it would take much longer to shape and smooth unfinished wood.
Therefore, it’s best to use both sanding styles if your ultimate goal is a totally smooth and visually appealing finish.
Results
These two sanding styles also differ in the results they achieve.
You will achieve a smoother surface from dry sanding, but it’s not going to be the kind of smooth you’d expect from a finish; that kind of smoothness can only be achieved by wet sanding.
The reason why wet sanding can achieve a smooth finish is because it’s not as abrasive and it actually strengthens and seals the wood.
What happens is during the wet sanding process, the wood’s pores are filled with lubricated wood dust, and when this dust dries the wood is strengthened and its seal is improved.
After wet sanding, the surface will be ready for stain, paint, or varnish. The same can technically be said for dry sanding, but in that case the surface wouldn’t be nearly as smooth.
Note: Whether a surface has been dry stained or wet stained, if varnish is applied afterward, the result is going to be a smooth finish.
Speed
These sanding styles also differ in terms of speed. Specifically, wet sanding takes longer than dry sanding.
If wet sanding was quicker, you could argue that dry sanding would be unnecessary. But since it’s not, it’s best to use both styles of sanding for your projects.
The reason why wet sanding takes longer is because not as much material is removed with each pass of the sandpaper.
It would be possible to achieve a totally smooth finish just by dry sanding, but you’d have to use several sandpapers with different grit counts, and therefore the process would take a lot longer than if you just used dry sanding in conjunction with wet sanding.
Mess
Another factor that distinguishes these two sanding styles is how messy your sanding method is.
Dry sanding creates a ton of sanding dust, and therefore a lot more mess, whereas wet sanding creates minimal mess, since the dust gets locked down by the lubricant.
And if you’re dry sanding wood that’s oily or moist, your sandpaper could get clogged quickly, especially if it’s a lower grit sandpaper. You won’t run into this problem while wet sanding, since the lubricant used would prevent your sandpaper from being clogged with dust.
If anything, the dust-lubricant mix would clog the wood’s pores, which would actually be beneficial.
Have you ever tried liquid sandpaper? Check out my guide on how to use liquid sandpaper!
Safety
As far as safety is concerned, using wet sandpaper is a lot safer than using dry sandpaper, since wet sandpaper doesn’t send thousands of fine particles into the air.
Of course, if you’re wearing the proper safety gear, i.e. goggles, a respirator, and gloves, when you’re sanding, you really don’t have to worry all that much about sawdust being detrimental to your health.
Regardless, you should know that sandpaper with an abrasive grit, especially if it’s attached to one of your electric sanders, can generate a ton of sawdust quickly. And even if you don’t have to worry about the sawdust harming you, it’s likely you don’t want to be dealing with a big mess after sanding.
Also, since power tools aren’t involved in wet sanding, you won’t run the risk of being seriously injured from mishandling one of these.
When Should You Wet Sand?
Finishing Furniture
Furniture and other wooden projects are often wet sanded before stain, paint, or varnish are applied. Some furnishings, however, are deliberately left rough, and can usually be found in rustic decors.
When Should You Dry Sand?
Smoothing Bare Wood
Dry sanding is best for shaping and getting bare wood generally smooth.
The dry sanding process allows you to take off a considerable amount of material in a short amount of time, meaning you can get to the wet sanding (or finishing process) a lot quicker if you dry sand first.
How to Wet Sand
1. Select Your Sandpaper
Selecting the right sandpaper is an important part of the process. If you’re not going to be doing a lot of wet sanding, I recommend using wet-dry sandpaper, i.e. sandpaper you can use for both kinds of sanding.
Also, the first sandpaper you use should have hundreds of grits. In my opinion, anything less than 400 grits isn’t good sandpaper for wet sanding.
2. Select Your Lubricant
Now it’s time to select your lubricant. If you’re going with an engineered lubricant, all you have to do is apply a few drops to your sandpaper.
You could also use warm water and mild detergent as your lubricant. If you go this route, mix these two liquids in a small container before dipping your sandpaper in the solution.
3. Sand
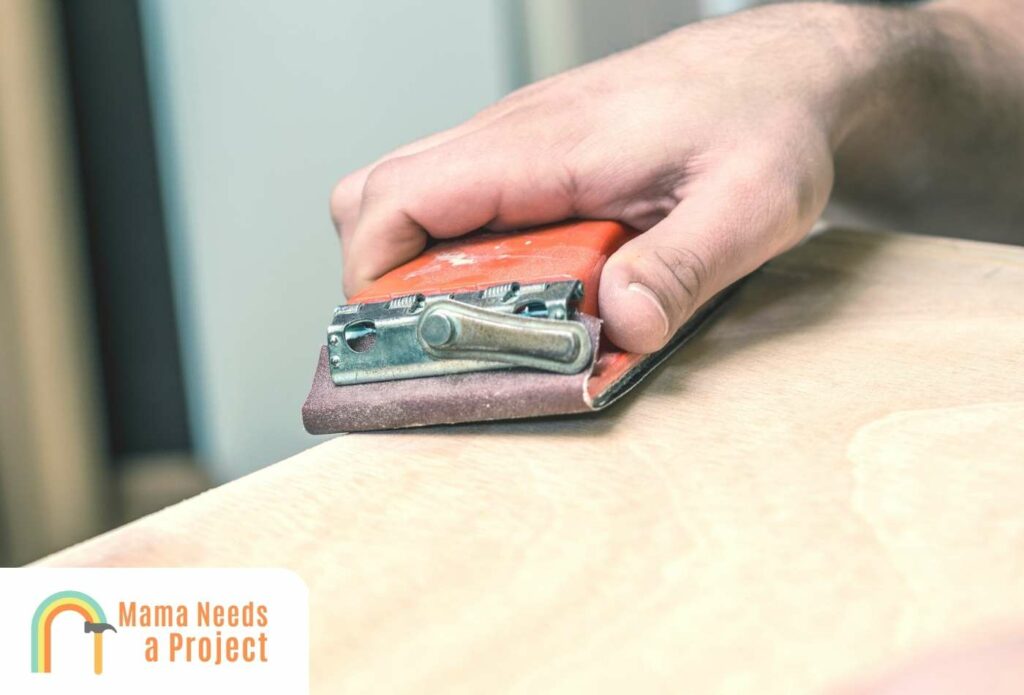
Once your sandpaper is damp enough, grab a sanding block and begin sanding.
Remember to sand in an up-down motion. Once you’ve covered the whole surface sanding this way from one side, rotate to the next side and repeat; do this until you’ve sanded in an up-down motion from all sides of the surface.
Repeat this process with 800-, 1500-, and 2000-grit sandpaper.
4. Buff
When you’re through with wet sanding, apply wax with a soft rag and let it sit for 24 to 48 hours. Afterward, you’ll have a dazzlingly smooth finish.
Here’s a video that can help you when wet sanding!
How to Dry Sand
1. Use a Low-Grit Sandpaper
To dry sand effectively, you should start with a low-grit sandpaper. Anything below 80 is good, but keep in mind that the lower the grit count, the more material will be taken off from sanding.
And if you don’t want to sand by hand with a sanding block, you can use an orbital sander. This will make sanding easier and faster overall, but an electric sander will kick up a lot of dust, which can be hazardous and messy.
Sand with the low-grit paper until a generally smooth surface is achieved. The surface doesn’t have to be completely flawless, but it should have minimal flaws.
Looking for a power sander to make your job easier? Check out the best sanders for furniture or these amazing cordless sanders that are worth your money!
2. Remove the Sawdust
After you’ve done enough sanding, get rid of all the sawdust you’ve created. Use a shop vac first to suck leftover sawdust out of the wood pores, and then wipe down the surface with a damp rag so it’s 100% sawdust free.
3. Repeat
Repeat steps one and two with grittier sandpaper. I usually don’t go past 180-grit sandpaper, because at this point a smooth enough surface has been achieved, and anything beyond this may inhibit the wood from taking stain or varnish.
Here’s how to correctly dry sand!
Final Thoughts
Although dry sanding and wet sanding are different in numerous respects, there’s rarely an instance where you have to choose one over the other.
In truth, most woodworking projects can benefit from both kinds of sanding.
Overall, dry sanding is easier and much faster than wet sanding. But if you get the hang of wet sanding, you can achieve finishes that aren’t just spectacularly smooth but visually stunning too.

