Wood Stain 101
Today I’m going to go over the basics of finishing with an oil-based wood stain. I’ll cover what stain is best used for, how to apply it and how to clean up.
Wood stain is my go to finish when I complete a project. I love the warm look of wood grain, but also it’s just so easy. Applying wood stain is a quick and super simple way to finish a piece in a professional way. When time is limited (and it usually is) stain is the way to go.
This post contains affiliate links.
Wood Stain
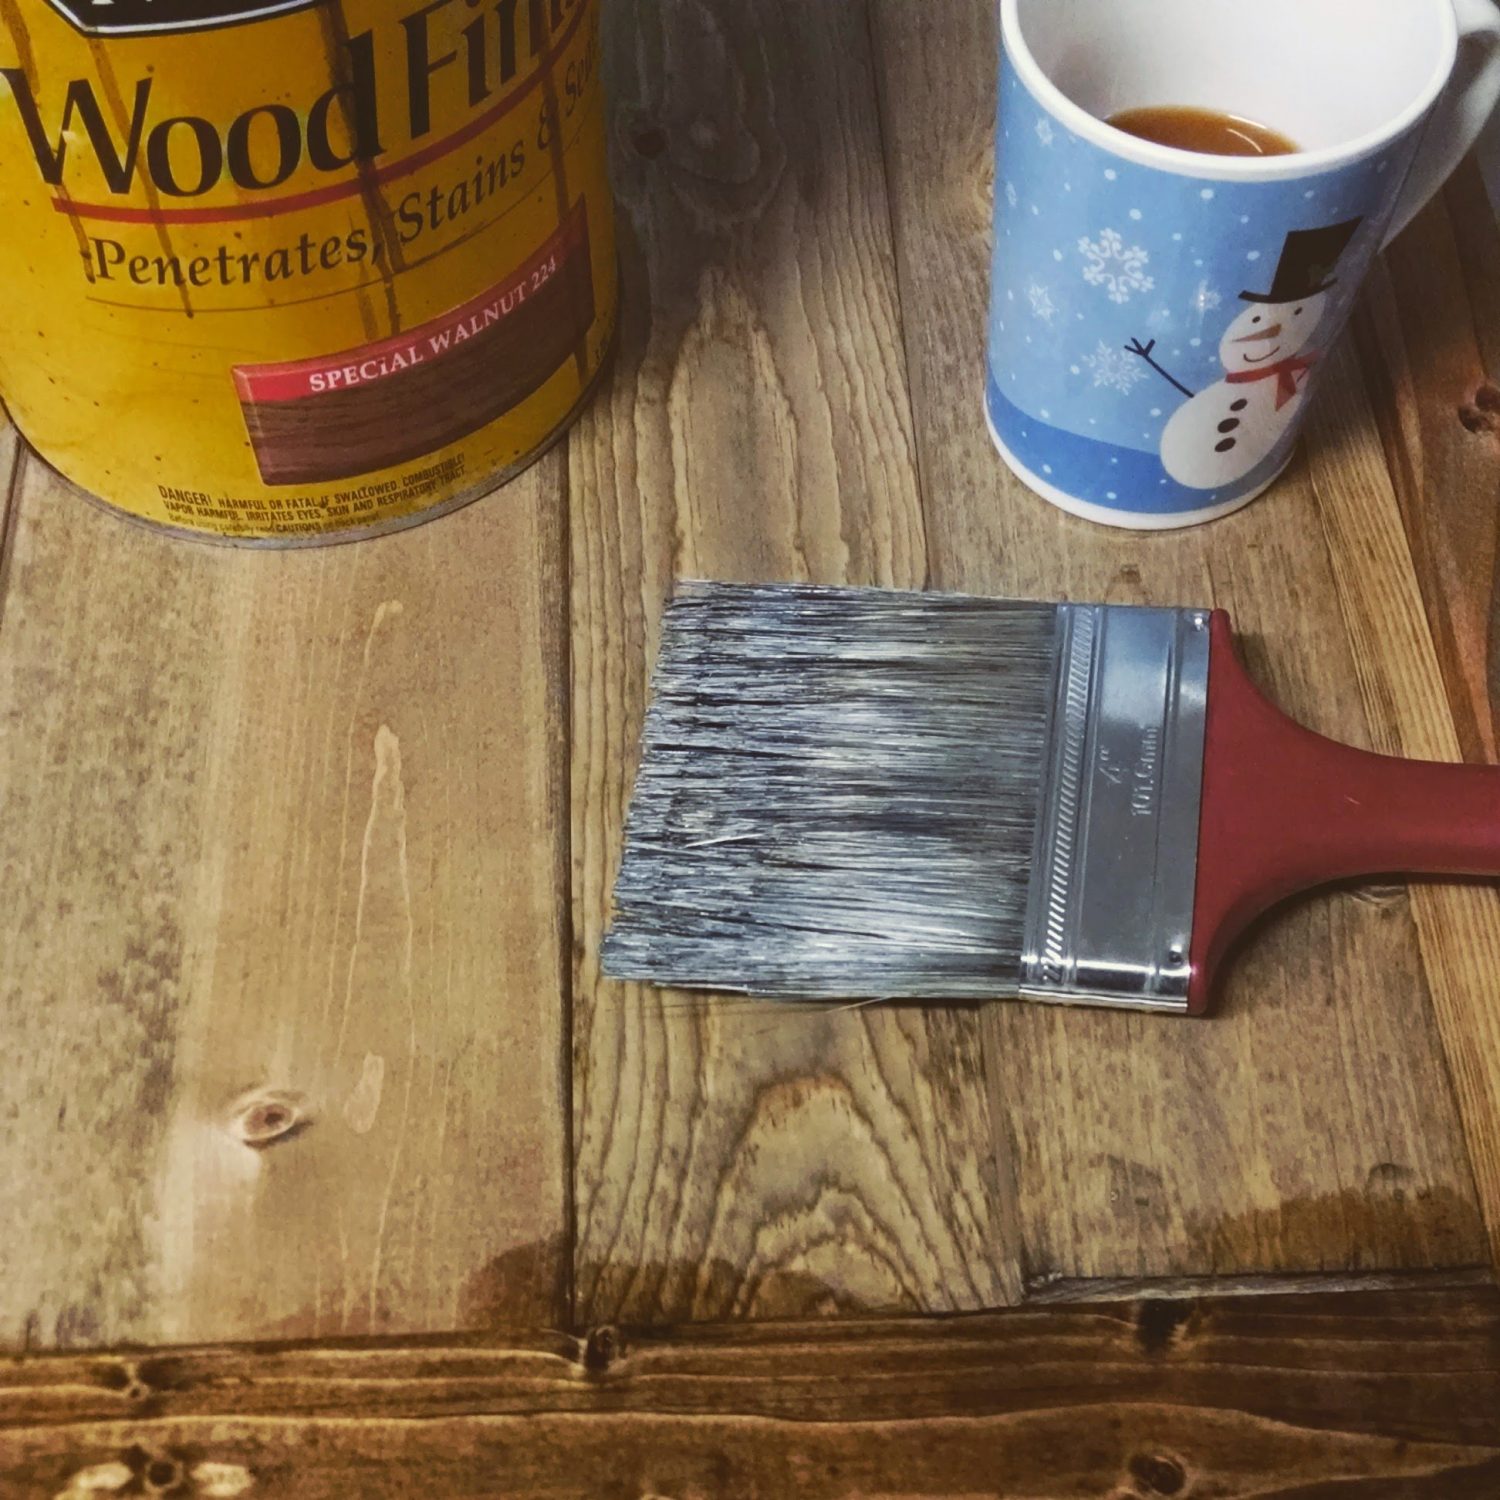
I finish the majority of my woodworking projects with an oil-based stain.
My favorite brand is Minwax, but I have also used Rusteolum stains. I prefer Minwax because their stains showcase the wood grain more in my opinion. Minwax stains are a thin liquid that soaks into the wood to bring out the natural wood grain. The Rusteolum stains I’ve used are a bit thicker and don’t seem to penetrate the wood as well. They sit on top of the wood more instead of soaking in.
That being said, I use and recommend both brands. The stains come in a variety of unique colors and I have color preferences in each brand. Minwax is sold at Lowe’s Home Improvement and Rustoleum is available at Home Depot.
Regardless of brand, here are some things to consider when using an oil-based stain:
Prep
Before you start:
- Wear clothes you don’t care much about or an apron. It can get messy.
- Protect the ground under the piece your staining. A piece of cardboard or a plastic works just fine.
- Make sure you are in an area with good ventilation. If there’s no air flow consider running a fan in the room and wearing a breathing mask.
- Stir your stain before you start. Use a stir stick or piece of scrap wood that reaches to the bottom of the can of stain. Sometimes the pigment settles at the bottom of the can. To get an even color be sure to stir it thoroughly before you start and maybe a couple times while you’re staining if it’s taking a while. Don’t shake the can to mix it up – you’ll end up with lots of bubbles.
Type of Wood
An oil-based stain is best for unfinished wood. It is made to soak into the wood, so the surface needs to be clean and free from other finishes that would block the stain from penetrating the wood. This includes protective finishes like polyurethane and wood glue.
The stain will soak into the wood to enhance the natural wood grain. Wood grain can be unpredictable (especially pine) and have a lot of variants, so if you’re looking for an even, perfect finish this probably isn’t it.
Application
I always apply stain with a rag. It’s quick and easy and I don’t have to try to clean a brush afterwards. I keep a container full of old shirts and towels in the garage just for this.
You’ll want to wear gloves when applying stain with a rag to avoid getting stain on your hands and under your nails. I recommend these disposable gloves – they hold up great against the stain.
To apply stain with a rag you literally just dip the rag into the can of wood stain and rub it onto the wood. Easy peasy.
Always apply the stain in the direction of the wood grain. Depending on the temperature, wood stain may dry quickly. If you’re wiping it on in multiple directions it will show those crazy lines when it’s dry. Try to cover the whole surface before the stain dries and then wipe away any excess stain sitting on top of the wood. Stain left sitting on top of the wood will become sticky when it dries.
Depending on what color I am going for, I usually apply 1-3 coats of stain.
Clean Up
When you’re finished it’s important to properly clean up. Wood stain is highly flammable and used stain rags can spontaneously combust if they don’t dry properly. (Yes, seriously.) To safely dispose of your rags, follow these steps:
- Don’t bunch wet rags up or store them tightly while they are wet.
- Lay rags out to dry in an area away from your home either on the ground or over a metal rack or trash bin.
- Once rags are stiff and dry, they should be safe to throw in your trash bin.
Read more about safe stain rag disposal here.
One Last Tip
Always test your stain in a small area on the back of your project or on a scrap piece of wood before applying to to your whole project. I also recommend testing it in the lighting of the room the piece will be in. Read about how I learned this the hard way.