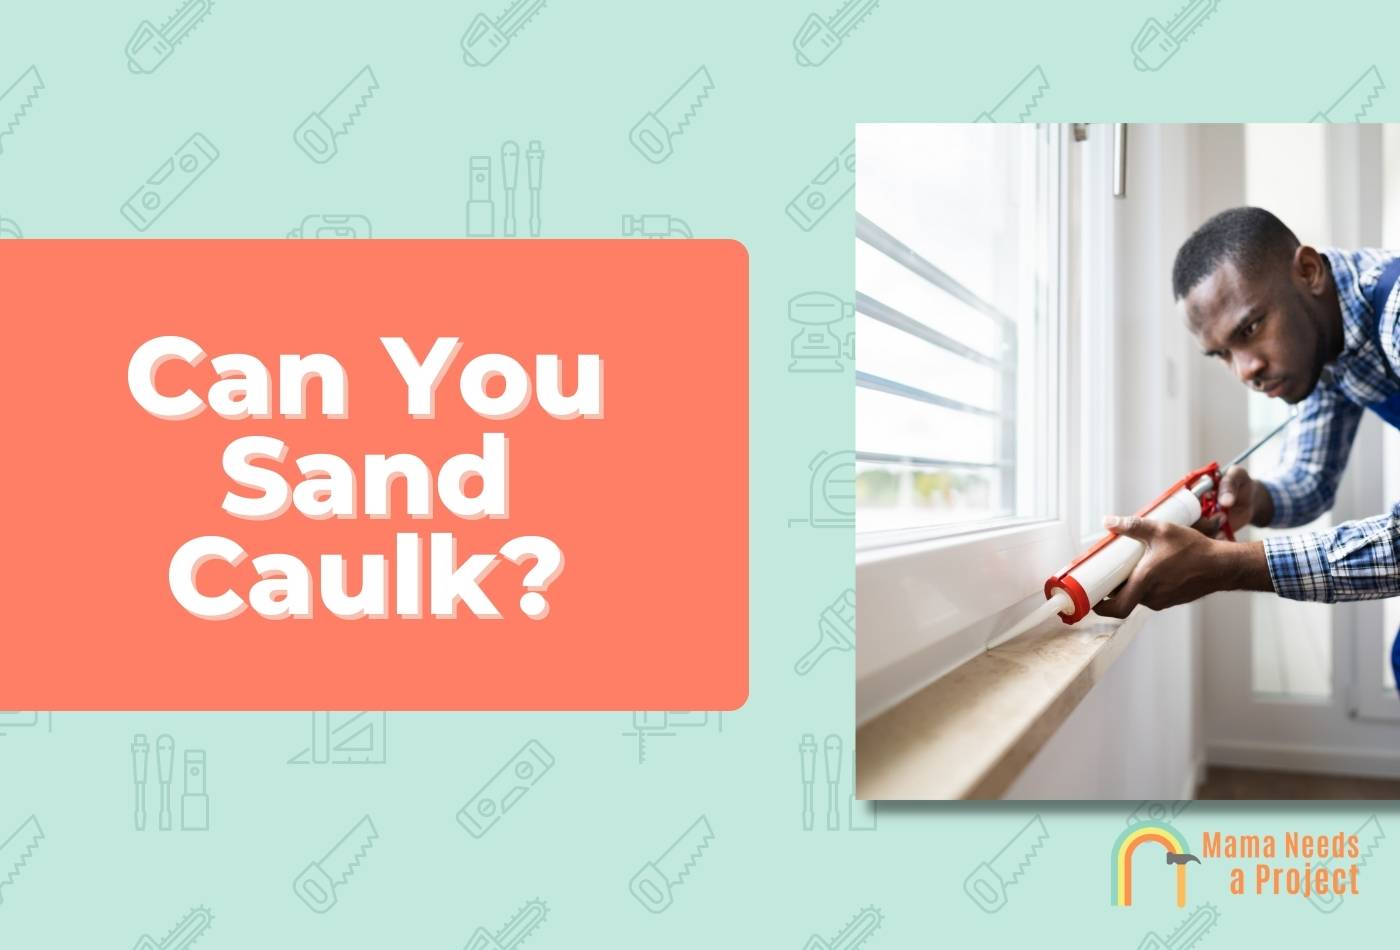
Can You Sand Caulk? (Plus 5 Tips!)
Caulk is a fantastic product that can help you achieve a clean finish, but if it’s not smooth it can look and feel unappealing and unprofessional.
If you’re wondering “can you sand caulk?” – I’ve explored everything you should know including how to sand dried caulk, when to use sanded caulk, and much more!
Can You Sand Dried Caulk?
Yes! You can sand dried caulk by using sandpaper and taking certain precautions to get the desired result.
If you’re going this route, you should always sand by hand (as opposed to using a power sander). Because caulk is used in such small areas, use your fingers to guide the sandpaper and give more control.
You’ll also want to be sure the caulk has fully dried, as sanding wet caulk won’t get you the look you’re looking for.
It usually takes around 1 to 12 hours for it to dry depending on the type of caulk used.
How to Sand Caulk
1. Removing Excess Caulk
First, grab a utility knife and use it to remove any excess caulk.
When using the utility knife, work slowly so you don’t cut yourself or damage the surface the caulk was applied to. The knife you use should be clean and sharp, so you can easily cut through the dried caulk.
2. Start Sanding
Now grab a piece of coarse sandpaper and smooth the areas that you just removed excess caulk from. The sandpaper will also remove any bumpy spots that you couldn’t remove with the knife.
It’s best to use coarse sandpaper first and then finish with a fine sandpaper. Try to fold the sandpaper so it’s easier to grip, and refrain from using a sanding block or power sander.
Tip: Use a Small Piece of Sandpaper
The size of the sandpaper you’re using is can make a difference!
Specifically, if you use a piece of sandpaper that’s too big, you run the risk of scratching the surfaces the caulk abuts.
This is why it’s best to use a smaller piece of sandpaper, even if it means that sanding is going to take a little bit longer.
3. Finish With Fine Sandpaper
Once you’ve sanded down the caulk with a corse grit sandpaper, you can go over it again with a finer grit option in an up and down motion.
By doing this, you’ll ensure the caulk is uniform from beginning to end.
Additionally, divide the total surface into subsections before sanding. After a subsection has been sanded, run your fingers over it to ensure it’s smooth and level with the subsections before and after it. This might sound tedious, but it’s necessary if you want to ensure a totally smooth surface on the first go.
Need more help? Check out the video below!
Can You Sand Silicone Caulk?
No, you can’t sand silicone caulk.
If you try to do this, the caulk will start disintegrating once you begin sanding. But just because sandpaper can’t smooth silicone caulk doesn’t mean nothing can.
How to Smooth Silicone Caulk
1. Remove Old Caulk & Clean the Area
Silicone caulk must be applied to a clean, smooth surface.
If you’re replacing old caulk, make sure it’s completely removed before you apply the silicone caulk. If you don’t have a caulk-remover, which is ideal for removing caulk from joints and corners, you can use a retractable razor. Once you’ve removed the bulk of the caulk, use a vacuum to remove any hard-to-see remnants.
2. Mark Boundaries
Before you apply any silicone caulk, mark off your starting and end points.
To ensure no caulk goes beyond these boundaries, use craft sticks or popsicle sticks as barriers. You can also use your fingernail to make sure the caulk doesn’t go beyond the boundary, but this is messy and may cause the finished product to look rushed.
3. Apply the Caulk
Now it’s time to apply the caulk.
Hold the caulking gun so it creates a 45 degree angle with the surface you’re applying the caulk to and pull the trigger. Make sure you spread out the caulk evenly so the finished product looks uniform. If the caulk is generally smooth after it’s been applied, it’ll be easier to finish (smooth) it after it dries completely.
4. Smooth the Caulk With Denatured Alcohol
Next, use denatured alcohol to smooth the pure silicone caulk with a damp cloth pr rag that has been dipped in the alcohol. The alcohol will act as a thinning agent once it’s applied to the caulk. Again, make sure you don’t oversaturate spots with alcohol, as doing so will cause the finished product to look uneven and sloppy.
5. Remove Excess Caulk
At this point, use your finger to wipe away excess caulk.
After a spot has been evened out, wipe off your finger with a clean rag so you won’t add caulk to the next spot you’re evening out. Don’t apply a lot of pressure when you’re removing caulk as you may cause the surface to be uneven.
Another tip I found is to not start removing excess caulk until the alcohol applied earlier has had a chance to thin the caulk out.
6. Allow the Caulk Time to Cure
Now that the applied caulk has been evened out, it’s time to let it cure.
If you’re going to be painting the caulk, you should play it safe and let it cure for at least 12 hours. This way, you won’t have to worry about the paint getting discolored after you apply it.
How long it takes the caulk to dry depends on several factors. For example, if you’re running fans and the temperature is neither too hot nor too cold, it could only take 6-8 hours for the caulk to cure completely.
Can You Sand Wet Caulk?
No, wet caulk cannot be sanded.
If you have wet caulk that needs to be smoothed, you’ll need to wait for it to dry before beginning the sanding process.
Can You Sand Decorator’s Caulk?
Decorators caulk is a popular choice among homeowners and DIYers and many people will use it as a sealant.
Decorator’s caulk cannot be sanded, and it’s less moisture resistant than an actual sealant so be sure to use it wisely.
Check out this guide to learn how to paint over silicone caulk!
What Grit Sandpaper for Caulk?
To ensure the caulk looks and feels smooth after sanding, you should start with a coarse, 80-grit sandpaper and then move to a 100- or 120-grit sandpaper.
Using finer sandpaper after coarse sandpaper will not only make the surface smoother but also ensure small particles don’t accumulate in nearby crevices.
When you’re sanding caulk, it’s wise to have a fan running, and if possible, open nearby doors and windows so there’s adequate air circulation. You should also wear a mask and other safety gear so you don’t breathe in debris while sanding the caulk.
After sanding the caulk, make sure to vacuum up any debris and wipe down the surface with a damp cloth.
How to Smooth Dried Caulk
Most caulks can be sanded, but for those that can’t withstand sanding, either mineral spirits or denatured alcohol can be used to smooth bumpy dried caulk.
You’ll need a tool to apply either liquid. Especially if you’re using mineral spirits, you should avoid touching it as it may cause skin irritation. Smoothing with a foam paintbrush is a safe and easy way to get the result you’re looking for.
One downside associated with non-sandpaper smoothing methods is you may unintentionally take off too much caulk or weaken it to the point where it deteriorates later on. For this reason, if you’re using either mineral spirits or denatured alcohol to smooth caulk, it’s best to apply as little as possible to get the job done.
How to Prevent Caulk From Drying Unevenly
To prevent caulk from drying unevenly, remove excess caulk with a wet finger immediately after the entire joint has been filled with caulk.
If you don’t want to use your finger to remove excess caulk, you can use a popsicle stick or a craft stick. There are also some special caulking tools that can be extremely handy to get a smooth, even finish.
To avoid spending a long time smoothing the caulk after it’s been applied, you need to apply the caulk slowly yet smoothly.
One tip to doing so is by caulking with long strokes instead of stopping every couple of inches. Once you reach the end of the joint, pull away quickly to avoid a large amount of caulk coming out; after all, it’s harder to remove excess caulk from corners.
Caulk-Smoothing Tips
Caulking a joint isn’t all that difficult. But achieving a smooth finish, on the other hand, may require a bit of time and patience. That said, you can reach fantastic results if you keep the tips below in mind when applying caulk to a joint.
Caulk Should Be Room Temperature When It’s Applied
Applying caulk is easiest when it’s at room temperature.
If the caulk is too cold or too hot when it’s applied, applying it will be tough and it won’t dry properly—and it’s almost certain it won’t come out smooth. So if you’re applying caulk in the middle of winter or on a hot summer’s day, consider the caulk’s temperature before you use it.
Cut the Nozzle’s Tip at an Angle to Make the Hole Smaller
Before you apply caulk, you should cut the nozzle near its tip, and make sure you cut it at an angle. Doing this will ensure less caulk comes out of the tube as you apply it.
Remember: Filling in spots that are lacking caulk is simpler than removing excess caulk. Therefore, modifying your tube so it doesn’t release a ton of caulk will make applying the caulk easier and reduce how long it takes to fill the joint.
Use a Test Piece
Using a test piece before you apply caulk to the joint is also a good move. To create a “test piece”, all you have to do is nail a couple pieces of wood together. Use the test piece to get a feel for the gun. Specifically, focus on how much caulk comes out as you move along the joint. You can also practice removing excess caulk with the test piece.
Use Caulk-EZ When Tooling
If you apply caulk and there’s too much in certain spots, you can use “Caulk-EZ” on these spots to make removal of excess caulk easier. Caulk-EZ is a lubricant, one that’ll ensure your finger slides smoothly along the joint as it removes caulk.
But the real benefit of using Caulk-EZ is that it’ll prevent the caulk from going everywhere as it’s removed. Without Caulk-EZ, the excess caulk may get on nearby surfaces when you remove it with your finger, and removing caulk from these surfaces will be a pain.
Use Sanded Caulk
If you need additional strength to seal and fill gaps, using sanded caulk might be the right choice.
This type of caulk is somewhat similar to a wood filler, except it is more flexible and pliable. It has added strength due to the addition of sand that is mixed in and it’s a tremendous option for large cracks and gaps.
Final Thoughts on Can You Sand Caulk
Whether you’re painting a wall, a piece of trim, or working on other home improvement projects, caulk is commonly used to seal joints and give your job a proper finish.
When it comes to sanding caulk, there are a few things to consider.
Sanding caulk should only be done after it has had sufficient time to dry.
You can also use denatured alcohol or mineral spirits to achieve a smooth finish if you don’t want to deal with sanding.
Ultimately, ensuring a smooth finish when caulking is your best bet so you don’t have to deal with additional work.
Take your time and use the right tools to make your caulking job as effortless and stress-free as possible.