How to Paint a Deck with Peeling Paint (EASY Guide)
We’ve all seen it and been there. An old deck with peeling paint that screams for a fresh coat of paint or stain.
Painting a deck can be a daunting task, especially if it’s already peeling. Unfortunately, it’s not quite as simple as just applying a fresh coat to fix the problem.
In this post, I’ll explore how to paint a deck with peeling paint, what causes peeling paint, and much more. Let’s get started!
What Causes Peeling Paint?
You spent time and money painting your deck, and now the existing paint is peeling off the wood. What causes peeling deck paint? Is it your fault, or is there a natural explanation for this unfortunate action? There are plenty of reasons for peeling paint that are far out of your control. Let’s talk about them.
Here are a few of the most common reasons why paint peels on a deck:
- Expired paint: Expired paint, or one that is poor-quality, might not bond as well with the surface of your deck. Ensure you put paint on your deck that has not expired and that is meant for the outdoors.
- Paint Quality: Not all paints and stains are created equal. Some paints are made to last longer and withstand harsher conditions than others. It’s important to research what type of paint is best for your deck and climate before starting a project.
- Dirt: A dirty surface can prevent the paint from sticking. Next comes a deck paint peel. Ensure you clean off all the grit and grime before you apply any paint to the deck.
- Moisture: Moisture can make a wooden deck expand and push the original paint from the surface. This fact is especially true if it’s not weather-proofed. Let the deck dry before adding paint and ensure you turn sprinklers away from the surface.
- Application: If you don’t utilize the right tools for the paint job, the entire surface could flake off without the chance to adhere. Take advantage of proper tools for the best application process.
- Traffic. High traffic areas, like many decks can lead to peeling paint over time.
If you know it’s time to paint a deck, there’s no need to fear. It’s more than possible to give your lounging area a fresh coat in no time. Avoid the mistakes listed above to ensure this repair has a better shot at sticking to the surface of the deck.
When Should You Repaint a Deck?
If it comes time to get rid of old deck paint, you want to repaint during a time of year that won’t slow down the application process.
Avoid painting in the winter or the early spring. These seasons are full of humidity and bad weather. This duo will prevent paint from sticking to outdoor surfaces. The fall is similar in the weather conditions it brings to the table.
The best time of year to paint is during the summer. You need to ensure that it’s not too hot outside before you paint a deck. Too hot, and the chemical makeup of the paint coat might shift. If this happens, the paint quality will diminish and it might not properly adhere to your deck.
Paint your deck surface during the cooler summer days. Check the weather forecast ahead of time to ensure you have a couple of days of bliss during the process. Late spring, into the transition of summer, is also the ideal time to paint. It needs to be warm, but not too hot.
You can also check out how we restained our deck!
What Type of Deck Paint is Best?
Before you can paint, you need to find a paint or stain that will work well on your deck. If you purchase the wrong type, you will end up with low-quality paint that won’t be able to withstand the strain a deck goes through on a daily basis.
The best type of paint is deck paint or stain. Behr makes excellent options that work well with a peeling deck, going over the old paint like magic. If you want to cover your entire deck with a lasting product, paint a deck with a deck stain for pressure treated wood.
Wood paint is also another excellent choice for going over a deck. The paint works on bare wood and will give the area a fresh image. Ensure you don’t invest in paint that is meant for the indoors.
Steps to Paint Over Peeling Deck Paint
Now, it’s time to dive into the peeling paint repainting process. If your deck shows signs of peeling color, it’s time for a new paint job. You need to get rid of the old paint and give your outdoor area new life.
If you follow these steps, you will have a new color on your deck in no time at all.
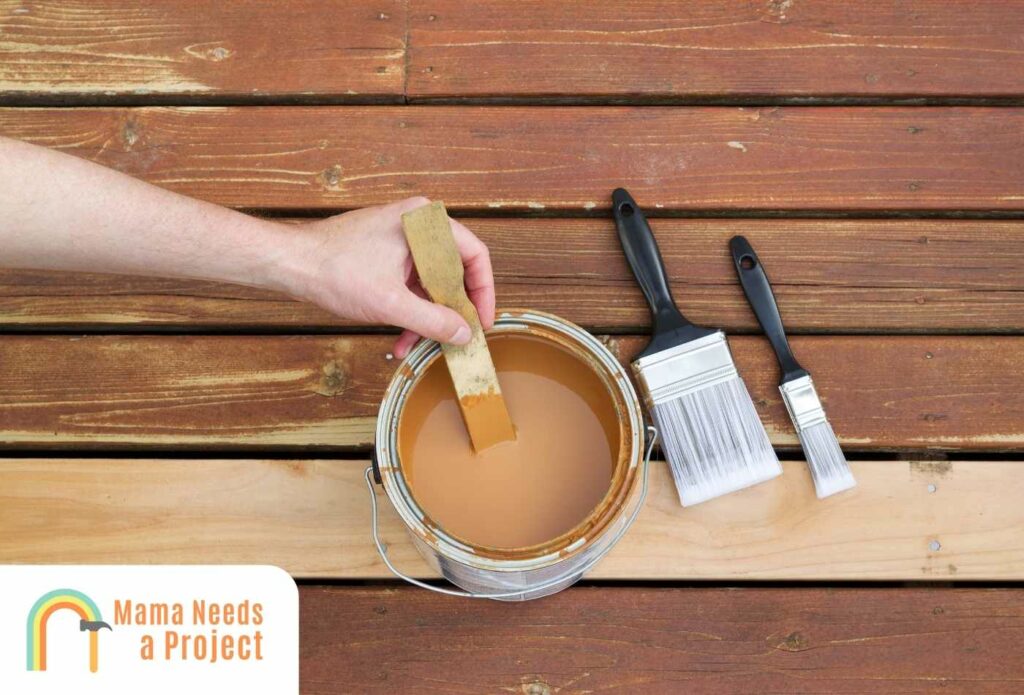
1. Gather Your Tools
First, you need to gather tools to repaint your old deck. You can find new versions at a local hardware store and used products on places like eBay and Craig’s List. Let’s discuss the most common tools people utilize to give new life to their deck.
The tools you will need include the following:
- Paint scraper/putty knife: These will be handy for scraping peeling paint off of the surface of the deck. Any scraping tool you have will work fine to paint a deck. Ensure you know how to control it and that it can scrape paint off of wood without issue. I recommend this one.
- Electric tools: If you want to save time, you can cautiously utilize an electric tool to get the deck paint off.
- Sandpaper/sander: Sandpaper or a sander is necessary to make sure the surface is flat enough to work with and paint over. You might benefit from sandpaper sheets or a sanding tool like this one.
- Paint brushes: Invest in solid paint brushes capable of applying two coats. Don’t get thin brushes, as these can lead to inadequate coverage. Steer clear of bare wood spots with stiff brushes. Paint rollers or deck brushes are the best when it comes to covering large surfaces.
- Deck paint sprayer: While this tool isn’t necessary, it can make your job much easier. Instead of having to roll or brush your deck, you can easily spray the deck surface for a much quicker application.
- Hose: A hose will clean off the deck and prepare it for work. You need a garden hose capable of a power wash. If you don’t have one, you will need something that can rinse debris off your deck.
- Pressure washer: to get rid of peeling paint on your deck, using a pressure washer can be an easy way to clean deck surfaces.
These will help you get the job done quickly and efficiently.
Once you have all your tools, you will also need paint. Pick a color and a brand you like. Lay everything out within reach in the shade on the day you decide to get to work. When everything is in line, you are ready to go.
2. Take Off Loose Paint
Next, it’s time to take off the loose peeling paint with the paint scraper or putty knife.
You need to take off any paint on the wood grain that sticks up and gets in the way. Removing paint makes room for a new, fresh coat to go right on top.
If you want to move a little faster, consider power tools like a pressure washer to get rid of the existing paint.
Ensure you don’t get rid of flaking paint with power tools as you let a new coat dry. Flaking pieces could rest in the new coat, leading to a chalky texture in the first paint coat. One thing at a time is ideal for the best-looking outcome when the paint dries.
When performing this process, be aware that flaking paint will be everywhere. It’s best to where a professional-grade mask to keep the toxic paint particles out of your nose, eyes, and mouth. If you do ingest any, ensure you contact a doctor right away. Always use safety gear when working!
Check out this guide to understand how often to stain your deck!
3. Sand the Area
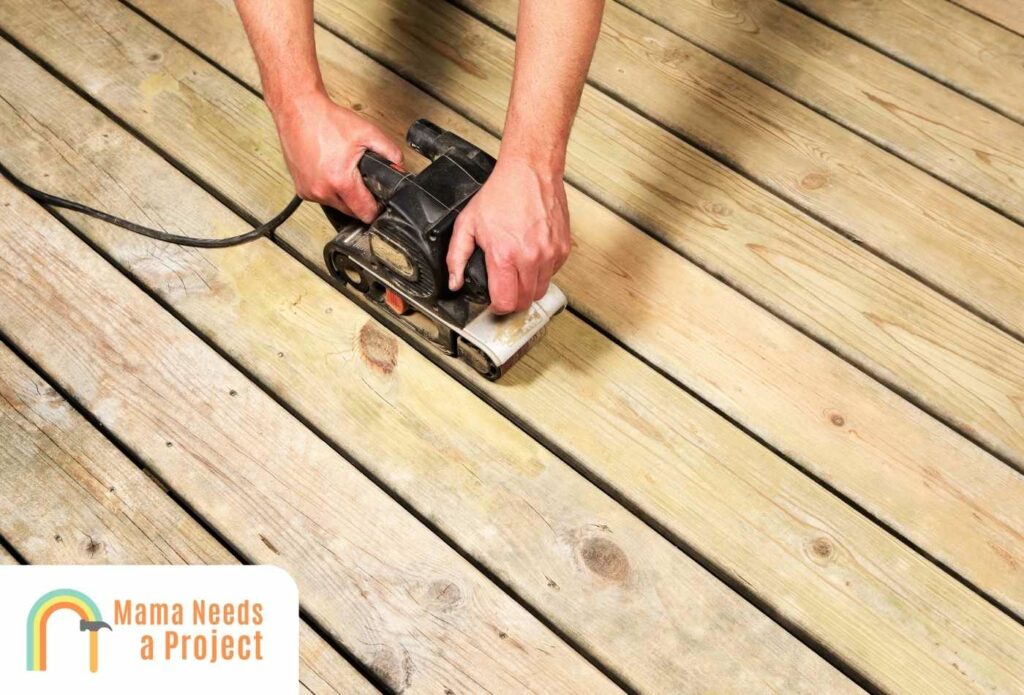
Once you have all the paint gone, you will need to sand down the surface.
This action will ensure everything is smooth, which will help the new paint stick to the surface. To ensure it is painted properly, a consistent texture is necessary. A sanded surface will also make everything look more finished once you let the deck dry.
Before you choose your sanding method:
- How big is the area you’re painting?
- How many people do you have working with you?
Both are critical to how you will complete the sanding process.
If you’re repainting your entire deck, it makes more sense to sand down the wood with a power sander like this one of these. This tool will speed up the process and allow you to get more done in that day. If you only have a small area to cover and a few helpers by your side, you can sand with traditional sheets of sandpaper.
Both a belt sander or an orbital sander will get the job done so it’s up to you to decide which is right!
4. Clean the Surface
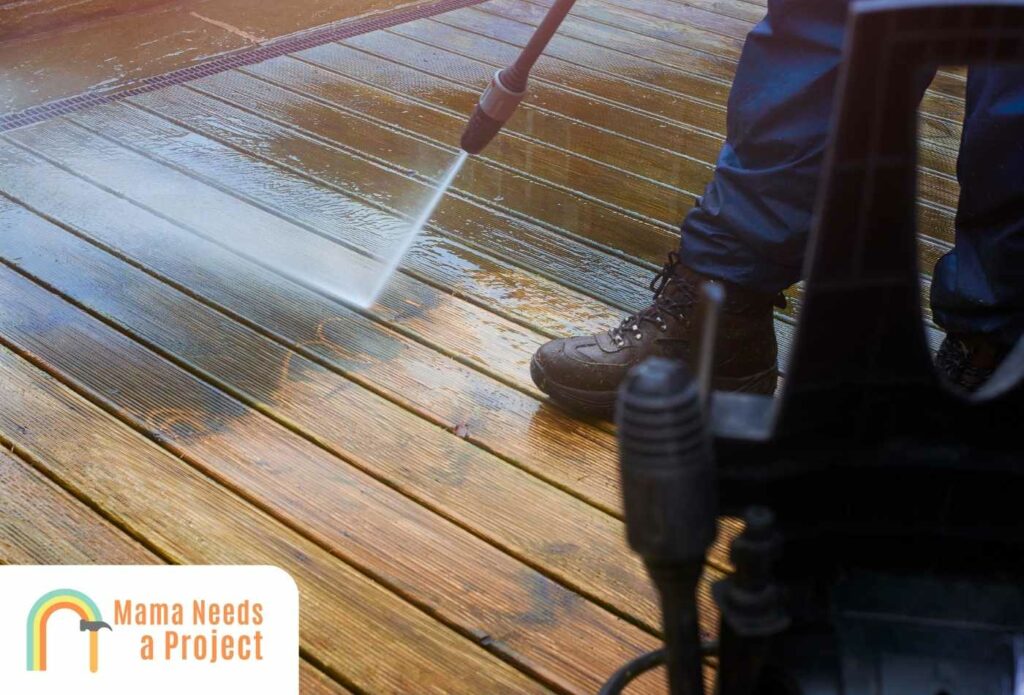
As mentioned earlier, grit and grime can prevent paint from properly bonding to the surface of the wood. If the paint isn’t bonded, anything from a leaking gutter to a hot summer day can lift the color from the surface in no time at all. Before you can add paint, it’s vital to clean off the surface.
A few items that might crowd the surface of your deck include:
- Dirt
- Feces – check out this guide to cleaning bird poop off a deck
- Mud
- Sand
These can impact the paint job and lead to peeling paint in the future if you do not remove them.
Once you’ve washed the deck, check to ensure it’s free of debris.
If not, give it another rinse. Although it might seem like a pain, this step will save you time in the end. Make the effort to ensure the paint sticks now to avoid repainting later. A good pressure wash will do the trick to help eliminate dirt and old paint.
5. Let It Dry
Now that everything is clean, you need to let the deck dry.
Paint cannot stick to a wet surface. There also shouldn’t be water inside the wood, as it will expand when wet. Let the sun completely dry it out before you begin the painting process.
If you live in an area with a dry climate, the deck should be ready in a matter of hours. However, if you live in an area where moisture hangs in the air, you might need to let the deck dry overnight.
There are many factors that affect how long it takes deck paint or stain to dry. To make things easy, check the manufacturer’s instructions on the label of the paint or stain you use.
6. Add New Deck Paint
Once the deck is dry, it’s time to add paint or stain.
Remember to always stain or paint your deck during moderate temperatures and avoid the rain. Here are the best times to stain a deck.
You can start with the first layer right away, or put down a primer to help it stick better. Water or oil-based primer should go on top of any bare decking boards, as there are no primers left underneath for the new paint to sit on top of once you brush it on. Prevent paint failures by prepping every empty surface.
If you’re painting Trex or composite decking, be sure to get the end caps as well.
The best way to paint is with a roller or stiff brush. Not only does this tool cover a large area, but it also ensures a smooth paint job goes right on top of the old work. It will prevent thick areas and thin areas from developing as you work.
Painting a deck properly can take some time, so don’t rush it as it can lead to peeling paint in the future. There are also a few techniques and tools so you can paint in between deck boards you should consider whether you’re waterproofing plywood or another surface.
Not sure how much deck stain you need? Check out this deck stain calculator to determine how much stain you’ll need to paint your deck!
7. Allow the Paint to Dry
Now that the paint is on top, it’s time to let it dry.
This process won’t happen fast. If you live in a dry area, it could take a few hours for the paint to dry. If your home is humid it will take even longer.
It’s critical to ensure the paint is dry before you add another layer. It might be tempting to put more paint on when it’s almost dry, but this will weaken the paint. Your best bet is to paint a deck with patience. Let it dry.
8. Layer a Second Coat
Once the paint is dry, you can add a second coat on top.
This step isn’t necessary, but it will ensure there is a consistent layer of color over the top. It will also improve the durability of your deck paint against the conditions it will face outside. It might be easier to do the second coat of paint another day since it can take up to five hours for one coat to dry.
Once you have the second coat on, let the paint coat dry. After this step – you’re all done! Let the paint sit for at least two days to fully settle. Then, feel free to replace any furniture and decor moved off the deck for painting purposes. The finished product should be much prettier and ready to withstand the harsh elements that come from Mother Nature. The more paint, the better! Now, your whole deck is like new.

How to Repaint a Deck without Stripping
We’re always looking for the easy way out, and painting a deck with peeling paint without having to strip it of old paint can certainly make your life easier.
But is it possible?
While it is possible to paint over peeling paint, it’s not recommended. This can leave your deck vulnerable to more peeling paint in the future. The old paint will also prevent the new paint from properly adhering to the surface, which can also lead to more peeling.
However, if you do want to paint without stripping your deck, just skip that step and be sure to use a high quality paint.
Check out this guide to understand how often to stain a deck!
Deck Painting Tips to Consider
If you’re about two embark on the journey of painting your deck, there are a few tips you should keep in mind. These will make the process easier and make the paint job last longer than the last.
When you paint a deck, remember to:
- Remove any loose paint before putting down any paint
- Paint with a roller or a thick brush for the best surface coverage
- Let every surface dry before moving on with the next application
- Add a second and third coat if needed
- Apply primer to bare spots
- Lightly sand to avoid damage to the wood
- Utilize power tools when necessary
- Invest in a garden hose for a power wash
- Purchase deck paint or wood paint
Soon, you’ll be a painting pro.
It’s not easy to paint a deck. This process means long hours in the sun and money spent on supplies to make the surface beautiful again. Still, if you want a deck that everyone will adore, it’s well worth the extra effort.
Check out this video for more tips!
Can You Stop Paint From Peeling?
Now that you have a new coat on, you likely want to keep it on your deck for as long as possible. Are there any ways to stop paint from peeling, or do you need to let nature take its course?
The best way to keep paint from peeling is by preparing the surface when you paint for the first time. Prepare, wash, and apply multiple layers. Pick the right paint and application brush to provide an even layer. Give the paint enough time to dry between each step so it can adhere to the surface.
You can also push moisture away from the deck by changing the direction of sprinklers and moving hoses that might leak. Protect it in the rain with a little coverage and consider an awning that could provide some defense in poor weather.
Plants can also bring excess damage to the paint on a deck. If you have bushes or trees that gather water hanging over the deck, trim them back to prevent excessive exposure to liquid. If possible, cut down anything that might cause damage.
Many manufacturers make paint that is meant to stand against water and other damage. If you’re paranoid about paint peeling again, look into the material.
FAQs
Can you paint over peeling paint on deck?
While you technically can paint over peeling paint on a deck, I strongly advise against it. The results will be less than desirable and it will not last very long. It’s best to remove existing paint before adding a new coat by sanding or pressure washing the surface.
Is it better to brush or roll paint on deck?
It’s best to use a combination of rolling and brushing deck paint on the surface. Rolling is much faster, but you won’t be able to get into the crevices and between deck boards. By using a brush you can get these hard to reach areas and a proper finish.
Do you have to pressure wash a deck before painting it?
Final Thoughts on How to Paint a Deck with Peeling Paint
It can be frustrating to look outside your window and see paint peeling off your wooden deck.
Learning how to paint a deck with peeling paint is easier than you might think.
By removing old flaking paint and debris, letting your deck dry, and painting your deck with a new coat of deck paint, your deck will sparkle in no time.