How to Restain a Deck the Right Way (Prepping & Staining Tips)
We just finished restaining our wood deck and wow it was a lot of work!! But the end result is so worth it.
Restaining a wood deck will totally transform your outdoor space – it has definitely improved ours!
This is your chance to learn from my mistakes when I first tried to stain my deck, so there’s tons of good nuggets you’ll find I wish I knew when I started.
In this post, I’ll show exactly how to restain a deck, some tips to prepare your deck for restaining, and much more. Let’s get started!
Our First Attempt at Deck Staining
We added a ground level deck onto the back of our home about 3 years ago. We had a newborn at the time and my husband did the bulk of the work to get this big deck built. (Oh, how I love him!)
After the deck was built we waited about 6 months before staining it. This is what had been recommended to us and so that’s the advice we followed without hesitation.
As it turns out, we should have done some more research. From the beginning it seemed like the stain wasn’t soaking into the deck properly, but we kept going anyways.
Three years later – look at this thing!
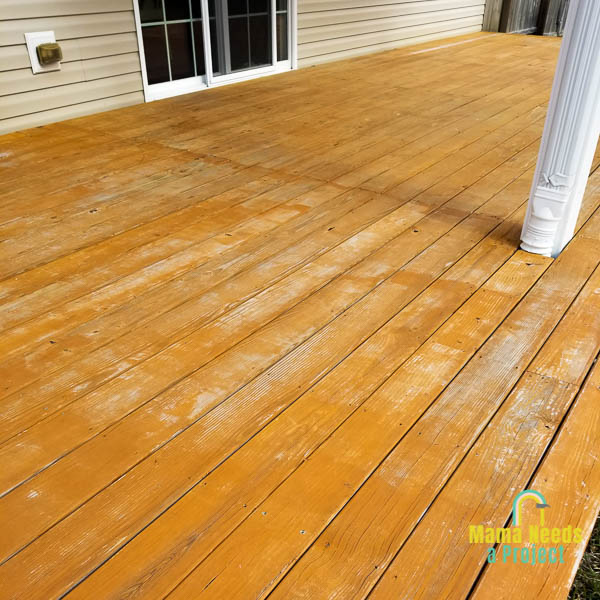
The stain we used had a 5 year expected lifespan and should not have looked like this after 3 years. It was coming off so badly that it would rub off onto our feet when we were just walking across the deck!
What went wrong
While we’re not sure on the exact reason our first attempt at the staining the deck was a flop, we’ve got some guesses.
- Moisture: I think the main reason our stain didn’t adhere properly was that the boards just weren’t dry enough. We used pressure treated pine which should have been fine to stain after sitting for 6 months. However, our deck boards clearly weren’t. We should have noticed that the stain wasn’t soaking into the wood when we started and stopped to wait another few months. Instead, we powered through it.
- Humidity: A factor in our boards retaining moisture for so long is most likely the extreme humidity in Coastal North Carolina where we live. We installed the deck in the spring and stained it in the early fall, at the peak of heat and humidity. In addition to affecting the moisture within the boards, the humidity also affected the dry time of the stain, making it hard to tell if it was soaking into the wood properly.
If you’re planning to stain a new deck, I recommend paying close attention to how the wood is taking the stain. Is the stain soaking into the wood or sitting on top? If it’s sitting on top of the wood, that means there’s probably too much moisture in the wood to accept the stain right now. Put away the stain and try again in a few months. And save yourself all the work I’m about to describe below.
Remember to always stain or paint your deck during moderate temperatures and avoid the rain. You can check out my post on the best time to stain your deck for more info.
Before You Start Restaining Your Deck!
This time around, after lots of research and preparation we were able to successfully stain our deck. We learned a lot from our mistakes with the first time we stained the deck!
Restaining Deck Timeline
This project took quite a bit longer than we expected. We thought we’d be able to do it all in a couple days, but it actually took a little over a week to complete.
When you’re planning to restain your deck, you’ll want to look for several days in the weather forecast without any projected rain. You’ll especially want to make sure there’s no rain projected for when you start applying stain and a few days after to give the stain enough time to fully dry.
Here’s how our timeline worked out for this project:
- Day 1: Clearing all furniture off deck, pressure washing
- Day 2: No work, let deck continue to dry from pressure washing
- Day 3-4: Sanding
- Day 5-6: Rain, letting deck boards dry
- Day 7-8: Staining
- Day 9: Move furniture back onto deck
Supplies
- pressure washer
- deck cleaner
- belt sander (or a small orbital sander if you’re nuts like my husband)
- painter’s tape
- deck stain
- 4 inch rollers
- paint tray
- foam paint brushes
- bristle paint brushes
- patience (can’t help ya there)
How to Prepare a Deck for Restaining
Prepping a deck for staining is essential. I cannot stress this enough.
Deck staining is such a grueling process, there’s no sense in rushing it only to have to redo it in a couple of years. Not to mention you’ll end up with a better finish.
Take the time to properly prep your deck for staining so you can get the job done right.
Pressure Wash
The first thing we did to prep for restaining our deck was pressure washing. This is a great way to remove bird poop from your deck and also get rid of mildew. We borrowed a pressure washer from our neighbor and used it alongside a deck cleaner.
We started by spraying the deck cleaner onto a few boards. Then we let the cleaner sit for about 10 minutes. After it had sat for a few minutes, we rinsed it off with the pressure washer.
We got a bit overzealous with the pressure washer and ended up using way too much water pressure on the boards. It’s pretty satisfying to watch the mildew and old stain wash away, but let me suggest you try to reign it in. Trust me!
By using too much pressure on the boards, we caused the wood grain to become raised on the entire deck. After letting the deck dry for a couple days the grain was still severely raised. It was uncomfortable to walk on and did not look good.
So all that fun with pressure washer turned into 2 full days of sanding the deck. Oops!
If you trying to repaint a deck with peeling paint, there are a few extra steps involved.
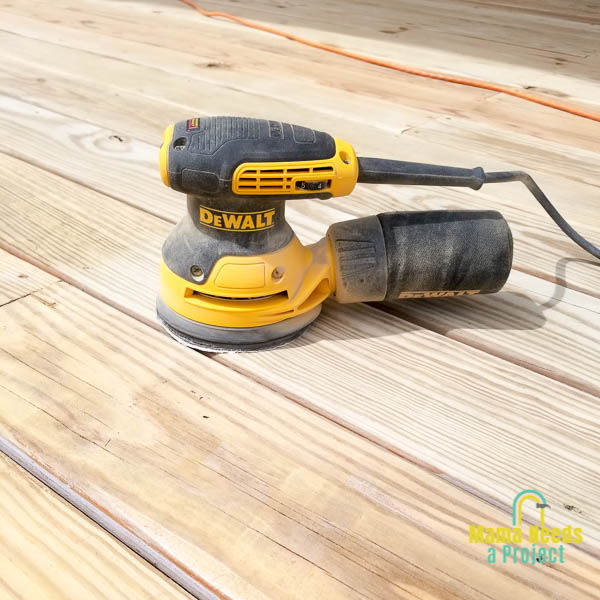
Sand
After the pressure washing incident my husband spent 2 days sanding the deck with a small orbital sander. After our first orbital sander pooped out, he ran to the store to buy a new one. I promise you that I told him to buy two sanders and I would help him. Or at least a bigger sander to save his back.
But he’s stubborn and only bought one small handheld orbital sander.
If you have a giant deck like us and it needs sanding, be smart a buy a bigger sander! I put together a list of the best sanders for deck refinishing if you need some help. Or, be even smarter and pay attention to the boards while you’re pressure washing. Be mindful of the amount of pressure you’re using and you won’t have to worry about our sanding setback.
I can’t say that I’m sad I missed out on this part of the project!
Tape off Surrounding Area
The last thing we did to prepare for restaining our deck was to tape off all the areas we wanted to protect from the stain. We just used painter’s tape for this.
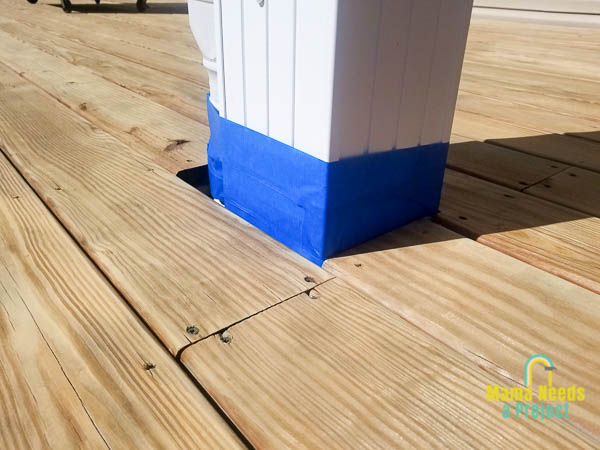
Since we have such a long area of the deck against our house we decided not to tape that spot. Instead, we held a piece of cardboard between the deck boards and the siding while staining to protect the siding.
Check out these differences between a porch vs deck and which is best for your home!
How to Restain a Deck
After all of that prep we were finally ready to start restaining our wood deck! We spent two afternoons staining the deck, but it could easily have been completed in a day if we had decided to power through.
Choosing a Stain Type
This time around we chose a high quality solid stain in a medium brown color with a 10 year projected lifespan. This stain was much thicker than other stains I’ve worked with and acts more like paint than a traditional stain.
It was really easy to work with and provided great, consistent coverage. We didn’t have to worry about the stain looking streaky or darker in some places because of our application. It dried perfectly smooth and with a perfectly consistent color.
I didn’t think I would like using a solid stain, but I loved it! It was so easy.
Additionally, of all the stain types we looked at, the solid stains had the longest projected lifespan. This was extra important to us because this whole restaining process was a pain! So it was a no brainer for us to choose the type with the longest lifespan. It’s important to use a deck stain made for pressure treated wood to ensure a proper finish.
Not sure how much deck stain you need? Check out this free deck stain calculator to determine how much stain you’ll need!
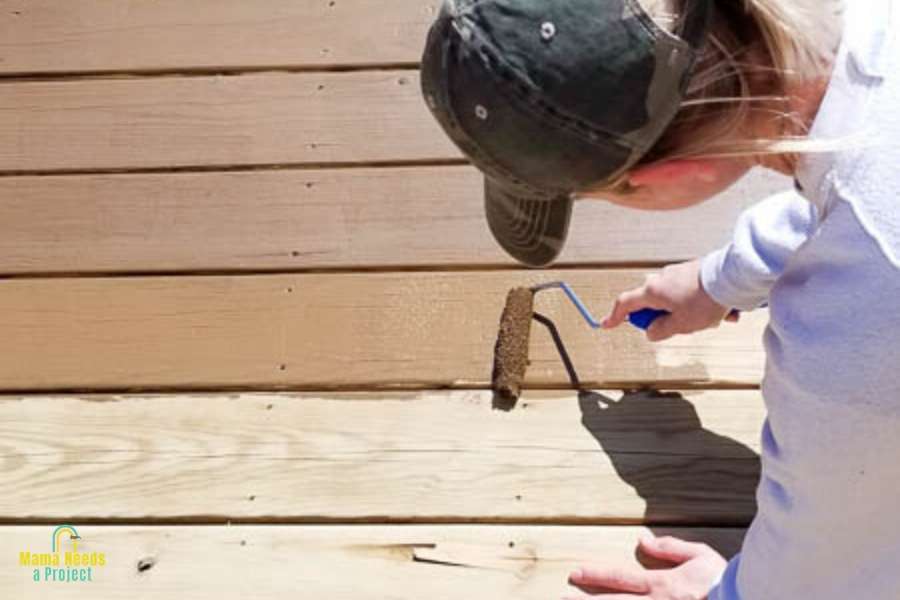
Apply Stain to Deck Boards
We applied the stain using 4 inch roller brushes. We stained each board individually with the roller brush and got great coverage with just one coat of stain.
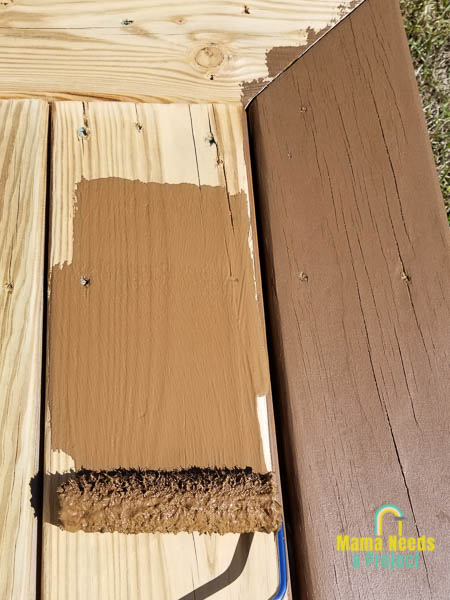
The brushes we used stated they were specifically made for using on decks and they worked pretty well. We did have a couple brushes from the pack that left behind a lot of fuzz on the deck boards. This was not ideal because we then had to go back and try to pick all of the fuzz out of the stain before it dried.
It’s also important to paint in between deck boards – which can be challenging without the right technique and tools.
Check out this guide to understand how often to stain your deck!
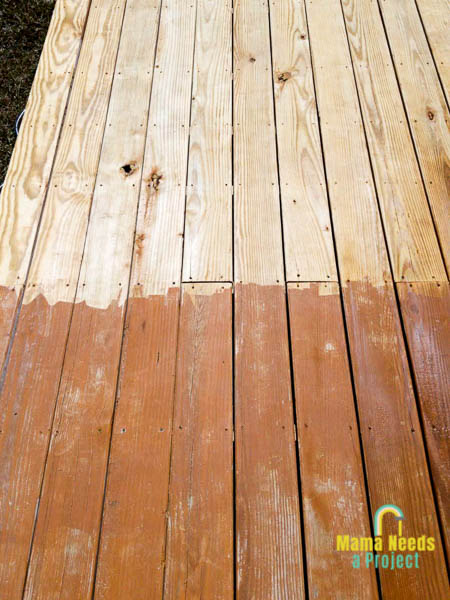
Stain Between the Boards
Once all of the deck boards were stained, we went back and stained in between the boards. This is something we had to do because the difference in color was so obvious between the dark stain on top of the deck boards and the natural wood color between the boards.
Staining between the deck boards took a bit of trial and error. The spaces are so tight that it was hard to find a way to evenly apply the stain. Eventually we decided on using foam brushes. This was definitely not a perfect method, but it worked.
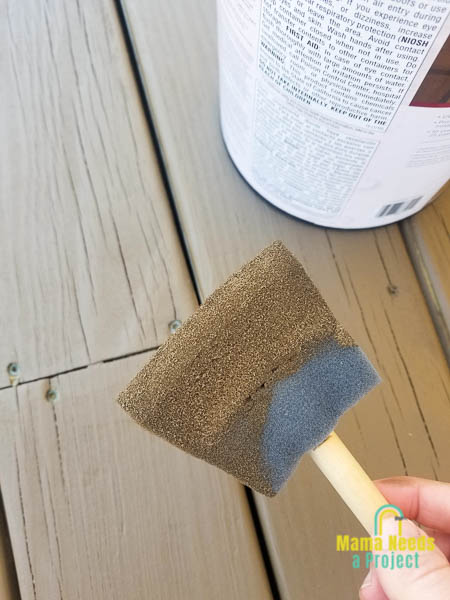
To get the stain between the boards we would first dip our foam brush into the stain. Then we wedged the brush in between the boards and wiggled it as far as we could to spread the stain in between the boards.
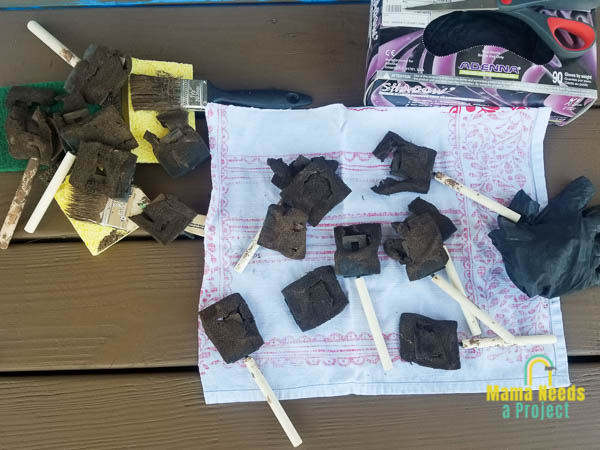
We went through A LOT of brushes. We were lucky to get one whole pass across the deck with the same brush.
Luckily these foam brushes are pretty cheap so I didn’t feel too guilty about ruining so many of them. Plus, getting between those boards was totally necessary to finish restaining our wood deck.
After we finished all of the in betweens, we went back with some bristle brushes to touch up any areas that still needed a bit of stain.
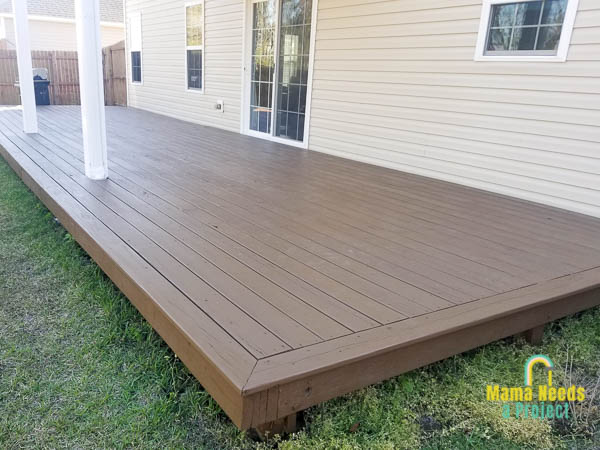
Final Thoughts on Restaining a Wood Deck
If I’m being totally honest, this project was a pain! But, look at that end result! It is such a huge improvement from the spotty deck we started with a week before. And this newly stained deck is going to last us for several years of outdoor memories.
I want to hear your thoughts!
I tried to be as detailed as possible when writing out our deck restaining process, but I’m sure there are things I’ve missed. If you have a question that I didn’t cover, please leave it in the comments below and I’ll do my best to answer it!
Good luck with your project!