How to Fill a Hole in Wood (Quick & Easy Methods!)
Wondering how to fill a hole in wood? I can’t tell you how many times I’ve found tiny insect holes or dents in my wood furniture, doorways, walls – the list goes on and on.
But luckily, with just a little time and a few affordable materials, this is a DIY project almost anyone can accomplish.
In this post, I’m going to share with you a few easy solutions for filling a hole in wood. I’ll offer tips on which method works for your type of hole, and the step-by-step process for each technique. Sounds good? Let’s get into it!
- Small holes that are usually caused by insects can be filled in with wood wood.
- Bigger holes can be filled in using a wood filler (store-bought or homemade), epoxy resin, or wood dowels.
- Damaged wood screw holes can be filled in with wood glue and toothpicks carved flush against the surface, or wood dowels.
Common Causes of Holes in Wood
Before you get started with the wood filling process, it’s a good idea to understand a little bit about the hole itself, and how it might’ve gotten there.
Not every hole filling technique is going to work equally for your unique situation at hand.
Here are just a few common causes of holes in wood:
- Decayed wood knots
- Old rotting wood
- Old stripped screw holes
- Nail holes
- Insect infestation (woodworm, termites, etc)
- Mechanical damage
- An unexpected accident
Big Holes vs Small Holes in Wood
Do you have a big hole in your furniture, wall, or wood structure? It’s probably due to rotting, mechanical damage, or an unforeseen accident (angry adolescent with a fist, perhaps?).
Big holes are best filled with some type of wood filler or epoxy resin. You want the most strong, thorough coverage that will hold and easily blend in with the surrounding wood. You can check out the best wood filler for large holes to find which is best for your project!
If you’re dealing with one small hole or multiple super-tiny ones, this is probably due to burrowing beetles and larvae leaving the holes behind.
Unlike big holes, these nearly-pinhead holes are much harder to fill with wood filler or putty.
That’s why I’d definitely recommend using a wood glue or superglue and a fine-tip applicator to fill small holes in.
Now that you know which methods will work best for your situation, let’s dive into what materials you’ll need and how to do it step-by-step.
How to Fill a Hole in Wood: 6 Easy Methods
1. Use Wood Filler
The first method for filling a hole in wood is with wood filler. Sounds almost too obvious, doesn’t it?
Wood filler is perhaps the best overall option for filling a wood hole. It’s especially useful for slightly bigger holes, or even holes you need to screw into.
A wood filler is a type of paste that’s made to fill in gaps or holes in wood surfaces. Once applied to the hole, the wood filler dries into a fixed hardened material.
It usually requires sanding down so it’s flush with the wood, and staining or painting so it blends in with the wood around it.
Here are the materials you’ll need for this project:
- Wood filler
- Putty knife
- Sandpaper (variety of grits)
- Craft stick
- Rags
Wood fillers can come as latex (water-based), epoxy, or solvent-based. Choose latex for interior projects, epoxy for rotten wood or big holes, and solvent-based for exterior projects that offer more water resistance.
If you’re working on an exterior project, these are the best exterior wood fillers. If you’re working indoors, try one of these wood fillers for screw and nail holes.
Once you select the type of wood filler that’s most appropriate for your project, grab your tools and materials.
How to Use Wood Filler
- Clean the wood surface. The wood surface should be clean of saw dust, debris, and fraying wood. Sand off any fraying wood and smooth out the surface as needed.
- Cover the back of the hole. If the hole goes straight through a piece of wood, take a piece of cardboard or three craft sticks glued into a flat surface. Attach it with wood glue to the back of the hole so it’s covering up one side of it to prevent leaks.
- Stir and apply the wood filler. Stir the wood filler up with a putty knife until it has a peanut butter-like consistency. Then scoop a dollop of filler and spread the material deep into the holes. Make sure it’s thoroughly applied and there are no air bubbles.
- Smooth and pack down the wood filler surface. Now that the wood filler is in, take either your fingers or the putty knife and pack down the surface of the filler as much as possible before it hardens.Leave the filler smooth and slightly raised above the surface. You’ll sand off the excess filler later once it’s dry.
- Sand the wood filler smooth and flush.If your hole is shallow, the wood filler should be fully dried in 3-6 hours. If the hole it deeper or larger, it may take 30-40 hours to fully dry. Once it’s fully dried, take your 150 grit sandpaper and sand the filler into a smooth, flat surface.
- Restain or paint the wood piece.Now that the wood filler is dried and sanded, it’s time for staining or painting over it to give it a nicer finish. This is the beauty of wood filler – it takes stain and paint like a champ!
Need more help? The video below offers some great advice when you fill holes in wood!
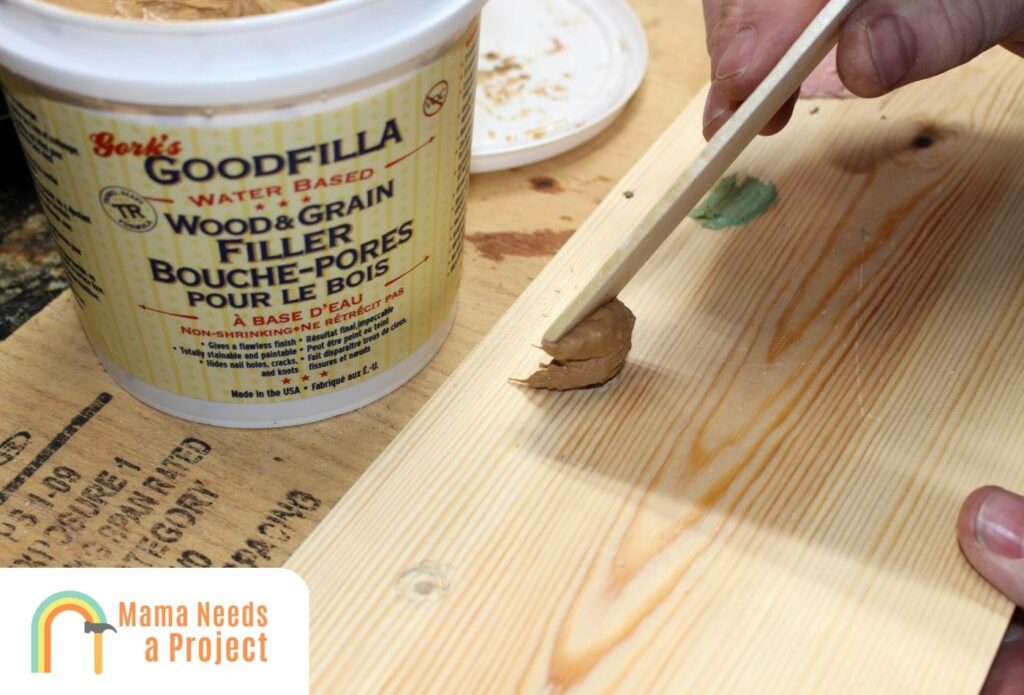
2. DIY Sawdust and Wood Glue
Don’t have a commercial wood filler on hand? You can make your own! Many professional woodworkers like to concoct their own wood filler using supplies they already have lying around.
Here’s how to do it:
- Make some sawdust using an electric sander and scrap wood.
- Mix a cup of your homemade sawdust with wood glue using a wooden stirrer. Keep adding glue as you stir, until it has the consistency of cookie dough.
- Apply the DIY wood filler to the hole, then follow all the steps listed above. Sand down when dried.
Note, you should complete this entire mixing and applying process in less than 10 minutes. It dries fast!
3. Wood Putty
The next method of filling a hole in wood is using wood putty. It’s somewhat similar to wood filler, with a few key differences.
Wood filler can work for both interior and exterior projects, whereas wood putty is best for interior projects. Wood putty is good for smaller, quicker hole repairs, and it sets quicker than wood filler.
It also comes in a wide variety of wood colors, so you can try to match it to the wood as closely as possible.
Plus, unlike wood filler which expands as it dries and could potentially crack wood, putty is far more moldable and will flex with the wood if it changes.
The downside? Wood putty doesn’t stain or paint very well. So if you want to perfectly match it to your wood finish, it might not be the best choice.
How to Use Wood Putty
- Clean the wood. Take a wet cloth and clean up the surface of the wood around the hole. Just like with wood filler, make sure there’s no sawdust or debris in the way. Putty is especially prone to collecting debris while it’s drying.
- Mix the putty with water. Slowly start adding water to the putty while stirring with a wood stirrer. It’s ready once it reaches the consistency of mashed potatoes.
- Apply the putty to hole. Take a small amount of putty and apply it into the hole. If the hole is deep, you may need to apply one layer at a time, letting each dry.
- Smooth and let dry. Take your putty knife and smooth over the surface of the putty. Remove any excess putty. Then let it dry completely (which can take anywhere 2-8 hours).
4. Wood Glue
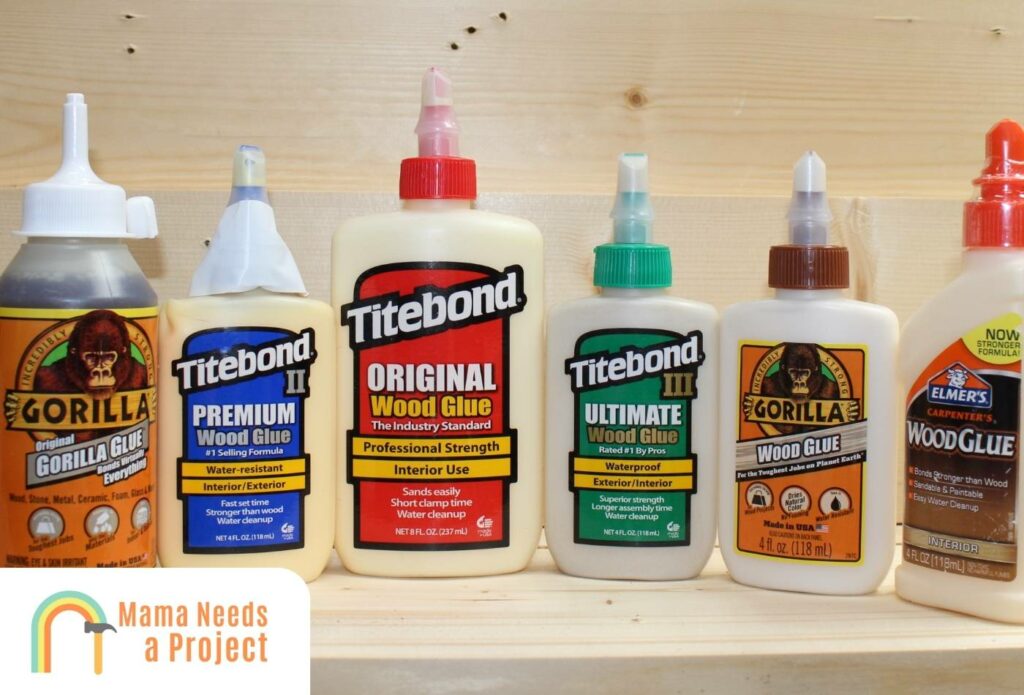
Wood glue is an excellent option (probably your best) for tiny little insect-made holes in wood.
These can be really challenging to completely fill up with thicker substances like putty or wood filler. But with a liquid wood superglue and a fine-tip applicator, it’s a cinch!
Here’s what you’ll need:
- Superglue or wood glue (this is the strongest wood glue)
- Fine-tip glue nozzle (comes with some brands, like Starbond)
- 150 grit sandpaper
Now, let’s get started filling in these tiny pinholes.
How to Use Wood Superglue
- Clean the wood. Just like the previous methods, you’ll want to make sure the surface of the wood around the holes is free of debris and wood dust. Blow into the holes to push out any gunk hiding in there.
- Attach the fine tip nozzle to the superglue bottle. This is what will allow you to get the glue deep into the hole.
- Squeeze glue deep into the hole. Insert the nozzle as far down into the hole as you can, and fill it up until the glue beads at the top. It’s okay if there’s a little excess glue, we’ll simply be sanding this off later.
- Let it dry and sand it smooth. After the holes are all filled with glue and dried, take your sandpaper and begin sanding down the glue until it’s smooth. Just like new!
5. Epoxy Resin
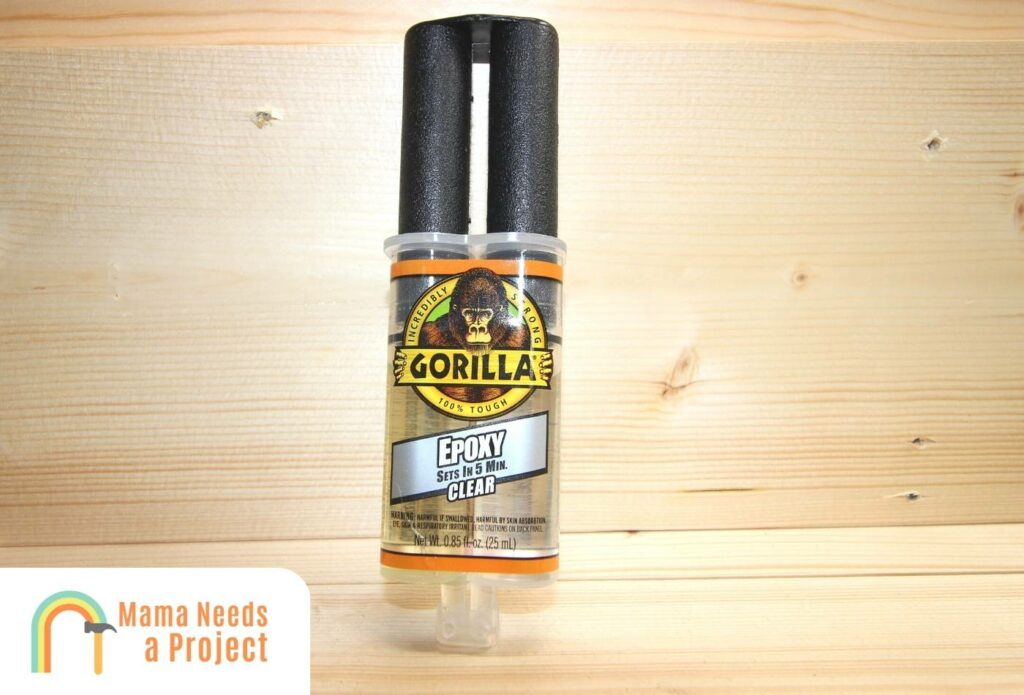
Two part epoxy resin is a great material for filling large holes, or exterior holes that need to stay strong against weather and the natural elements.
This is a highly effective method, but also requires a few more materials and preparation than the previously mentioned options.
Here’s what you’ll need:
- Painters tape
- Epoxy wood filler (two part epoxy)
- Plastic measuring cup and stir stick
- A dropper or small cup for pouring resin
- An electric sander (or sandpaper, if you don’t have one)
- A respirator mask
- Eye protection
- Nitrile gloves
Now that you’ve collected all your materials and supplies, let’s get started.
How to Use Epoxy Resin Wood Filler
- Put on protective gear and prep the wood. Epoxy resin can be toxic. To protect your skin and respiratory health, wear nitrile gloves, eye protection, and a mask for this project. When you’re geared up, it’s time to seal the wood by masking off the bottom side of the wood hole with painter’s tape. Make sure the seal is strong and tight, so the epoxy doesn’t leak through.
- Prepare the two part epoxy, and pour into the hole. In your plastic measuring cup, prepare the epoxy resin filler by carefully following the box instructions. Then, depending on how small or big the hole is, pour the epoxy into the hole using the small cup or dropper. Let it settle into the crevices for a few minutes. It’s good if it overflows slightly.
- Let it cure, then sand it smooth. Allow the epoxy to settle and cure for 24 hours. Once it’s thoroughly dried, you can remove the painter’s tape mask from the back. Then put your mask on for the sanding process. Take the electric sander and run it over the epoxy resin so that it’s smooth and flush against the surface. It should look polished and beautiful!
6. Wood Dowel Plug
A wood dowel or wood plug is a great option for filling in a stripped screw hole. Wood dowels can be purchased at any home improvement store.
If you want to fill a door frame screw hole in, purchase wood dowels that will fit snuggly with your drill bit size of choice.
First, you’ll drill out dowel holes where the stripped screw hole was. Next, take the dowel and fit it in snuggly. You can tap it in further with a hammer for assistance.
The dowel should stick out a little from the surface. Now, chisel or cut the dowel flush against the frame.
It doesn’t need to look perfect, as you’re going to be covering it back up with the door hinge hardware and screwing into it anyways. Congrats, you’re done!
FAQs
What is the best filler for small holes in wood?
Water based wood filler is the best filler for small holes in wood. You can also pack in a little bit of wood putty if you have that on hand, but it’s slightly harder to fully push down into a deeper hole.
How do you fill big holes in wood?
You can fill big holes with wood filler, epoxy resin wood filler, or wood glue and wooden toothpicks.
Does wood filler stick to wood?
Yes, wood filler is designed to stick to wood, and harden solid once it fully dries.
Final Thoughts
Filling holes in wood is easier than you think!
Hopefully one of these ways to fill holes stood out as being perfect for your unique project. From wood filler and putty, to wood superglue and epoxy resin, there are multiple ways to fix that hole or gouge.
Your wood furniture, flooring, or wall will be looking good as new in no time!

Jessica Vaillancourt is a freelance writer and blogger obsessed with the Travel, Wellness, and Personal Development industries.
She has 5+ years of experience helping human-first agencies, global companies, and entrepreneurs crush their content marketing goals, and serve more people. Jessica’s work has appeared on leading websites like UpgradedHome.com, BetterHelp.com, and TheDiaryofaNomad.com.
Today, her sole focus (besides finding the world’s best coffee shop) is writing to serve humans, and slow traveling abroad to expand her mind. You can get to know her work at JessAnneWriting.com.