Can You Paint Cedar? What You Need to Know (2024)
Cedar is an extremely popular wood for a handful of reasons. Whether you’re using it for a fence, DIY project, or furniture – you might be wondering if you can paint it. Here’s what you should know.
- Yes, cedar wood can be painted as long as you follow the right procedure.
- You should always prime cedar wood before painting and ensure that the wood is dry.
Can You Paint Cedar Wood?
Whether you have cedar siding or a piece of cedar furniture, you might be wondering if it’s possible to give it a fresh coat of paint.
The good news is that you can paint cedar wood and siding if you follow the right steps!
How to Paint Cedar Wood
1. Inspect Your Wood
Before you begin, you need to check for serious damage – the kind that you can’t fix with paint.
If you’re painting cedar siding, large holes should be obvious, but get up on a ladder and look for smaller signs of damage. If you find holes, be sure to plug them before painting. If a shingle is badly damaged enough, you’ll need to replace it altogether.
The other thing you need to look for is mold.
Mold will prevent your paint from adhering properly and cause bubbling that will cause problems later. Besides this, it can cause long-term health damage if you don’t take care of it. Use a mold killer spray or a stiff-bristled plastic brush with soap and water to scrub the mold off.
2. Remove the Old Paint
Some people will tell you it’s okay to paint over your old paint. Don’t listen to them!
It’s always better to remove the old or peeling paint before adding a new layer.
You can use a pressure washer or scraper tool and sandpaper to remove paint that’s already peeling and bubbling. If necessary, you can also add a siding cleaner to your pressure washer if you have excessive mold.
Use the scraper first, and sand the most stubborn areas. A power sander for removing paint will make the job much easier, but I’m not going to sugar-coat it. Paint removal can be tough, sweaty work, and it will probably take you all weekend.
3. Prime Your Cedar
The reason cedar is so water-resistant is that it’s rich in tannins. These oily substances make it difficult for water to penetrate the wood. Unfortunately, they seep out over time, and they’ll eventually leech through your paint. After a couple of years, you’ll have ugly, blotchy stains all over your house.
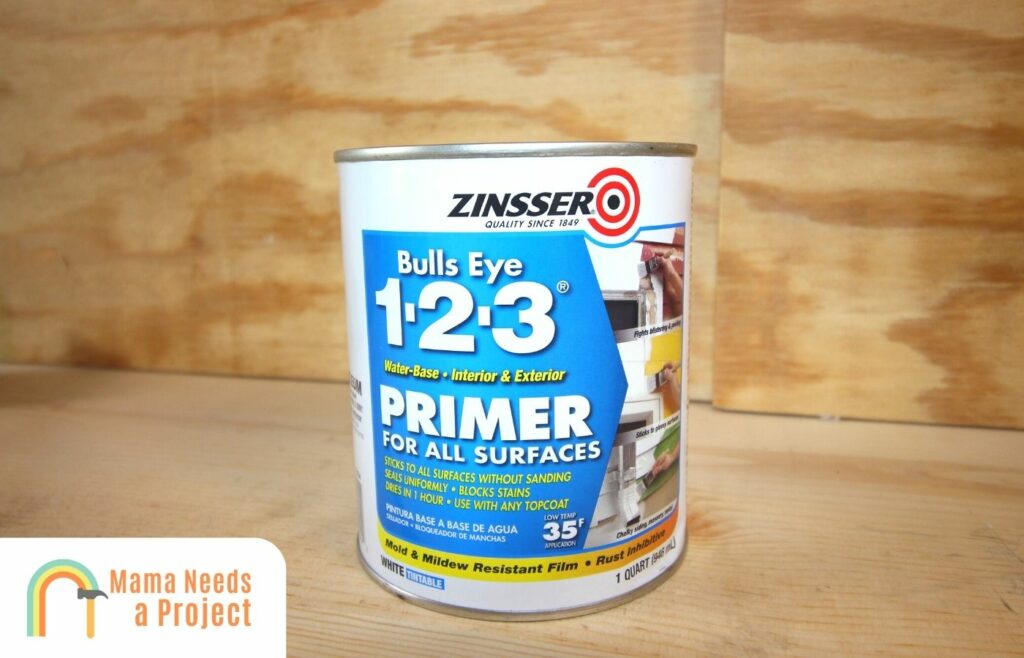
Choosing an oil-based primer will seal the wood and keep the tannins from leaching. If you don’t want to deal with oil-based products, you can use stain-blocking latex-based exterior paint like Zinsser Bulls Eye.
4. Use a Good Quality Paint
When you buy your paint, there’s a massive difference between good paint and a bargain basement brand!
One of the most important features to look for is mold resistance, especially if you’re painting a fence or siding.
I recommend you choose an eggshell finish if at all feasible. It costs a few dollars more than a matte, but it has a tougher finish that’s easier to hose down. It’s also more durable, so you’ll get a year or two more worth of use.
5. Use a Natural Bristle Brush
Cedar is a porous wood and typically has a textured surface making it extremely difficult to reach all of the little nooks in the wood.
A roller or a sprayer often won’t provide full coverage, and you can easily miss a bunch of spots. Instead, use a brush, and work with short, deliberate strokes. It’s not fun, but it ensures even coverage from your paint stain.
If you must use a roller, use one with a heavy nap that holds a lot of paint.
6. Cover All Six Sides of Your Boards
For fences, furniture, and other applications, you should paint the entire piece of cedar. If you leave the ends of the board bare, there’s a gap in the coverage and water can get in beneath the paint and cause it to break loose.
How Long Does Paint Last on Cedar?
Ultimately, it depends.
Most paints will last from five to seven years when properly applied. Higher quality paints can last as long as ten years before requiring a re-coat.
Besides the quality of the paint, two other factors impact its longevity:
- Preparation – Professional painters don’t have any magical equipment. They use the same paint and tools you can buy at Lowe’s or Home Depot. What sets them apart is their preparation. If you want the best coat of paint, take the time to do everything I outlined above.
- The weather – While cedar is strong against water, it’s vulnerable to sunlight. If your original paint had peeled, some of your wood has been exposed to the sun. This can cause greying and cracking, and makes your wood more brittle. When you repaint badly-weathered cedar, the new coat won’t hold as well and will fail sooner. You might also consider a UV-resistant paint to keep your cedar in pristine condition.
Painting a cedar fence? Read to learn how long a cedar fence will last!
How to Prep Cedar for Painting
When you buy cedar wood from a lumber yard, it’s often dirty and not ready to be painted quite yet. That old cedar chest from your grandma’s attic is covered with dust and mouse droppings. A quick dusting isn’t going to be sufficient. You need to scrub that wood clean before you paint it. Otherwise, dust and grease on the surface will stop your paint from adhering. Water is usually sufficient, but you can use a mild detergent for grease or grime.
Removing mold or mildew can be a bit tricky. Different solutions and bleaches will have different effects on your wood. If you’re using an unfamiliar cleaner, test it on a concealed part of the wood and make sure it doesn’t cause discoloration.
For scrubbing cedar wood, use a stiff plastic brush or fine steel wool. Coarse steel wool or a metal brush can scratch the wood, permanently spoiling its finish.
When pressure washing, use only the green or yellow tips. The red tip will damage your wood because of how powerful it is. Even the yellow tip can cause damage if you work too close to the surface. Stay a few feet back, and be patient when using a pressure washer on cedar wood.
No matter what cleaning method you use, give the wood time to dry. The same goes if you’re painting your house after a hard rain. Paint over wet cedar, and the moisture will keep the paint from sticking.
If you’re restoring old wood, look for any gaps or cracks.
Fill these with a wood filler, let the filler dry, and sand it smooth before painting.
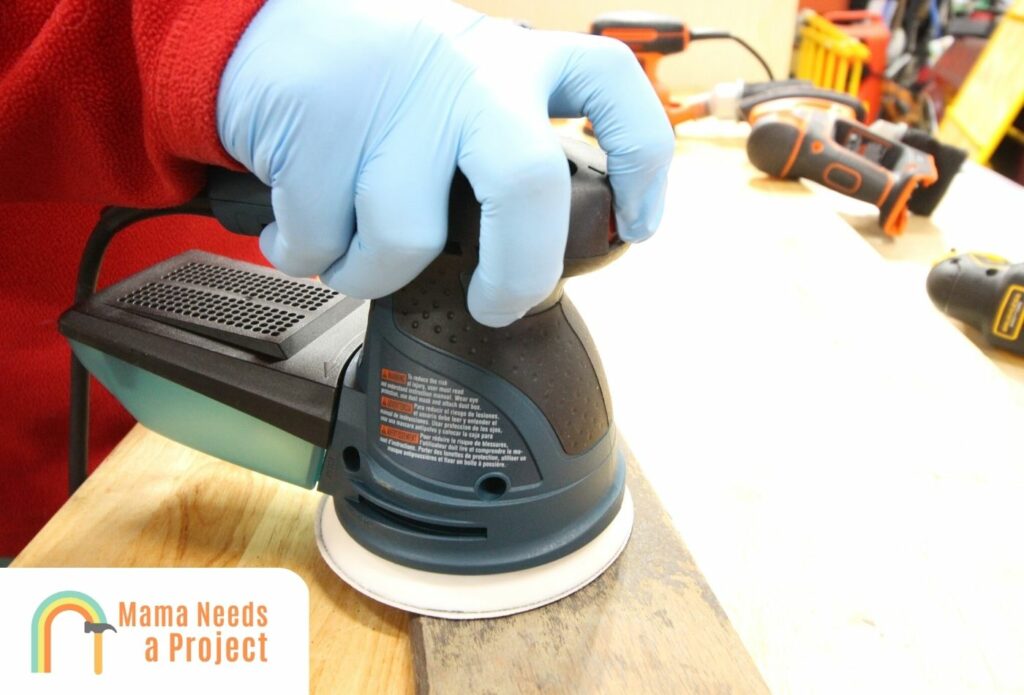
Along the same lines, you should always sand any wood you intend to paint. Afterward, make a quick pass with a damp cloth to remove any dust, and you’re ready to paint.
When to Paint Cedar
Painting new cedar requires expert timing. Paint it too soon, and residual moisture prevents your paint from adhering. Wait too long, and the wood will start to weather. The ideal timing is between two and 12 weeks after installation.
The other timing consideration is outside your control – rain. Before you paint, make sure there’s a 48-hour window of dry weather in the forecast. The paint needs time to fully cure before it’s exposed to water.
Other Ways to Finish Cedar
1. Use a Bleaching Oil
Grey, naturally-aged cedar has a timeless appeal, but it’s also prone to damage. A bleaching oil is designed to achieve the same look while still protecting the wood.
The oil is a light grey but doesn’t change the color much at first. The grey pigment is only there to achieve an initial effect. The oil does most of its work over the next three to six months, as chemical agents accelerate the natural bleaching process.
2. Semi-Transparent Stain
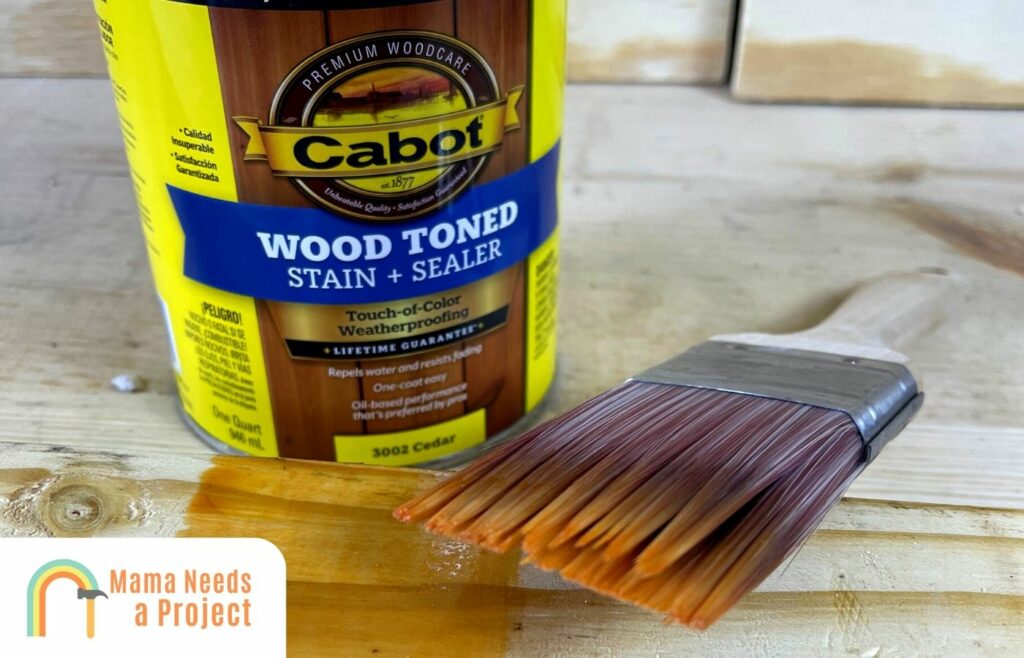
Semi-transparent stain is similar to a cross between paint and a stain.
Like paint, it has some solid-colored pigments that drastically change the wood’s color. But like a stain, it seals by sinking into the pores in the wood. As a result, it doesn’t obscure your cedar’s natural grain.
Stain is best used on new or lightly-used cedar. It will cover up minor blotches, stains, and blemishes. But it won’t cover darker stains, paint, or conceal other colors.
3. Solid Color Stain
Solid color stains are one step closer to paint. They have far more solid particles, and will completely obscure your cedar’s original color. But they still soak into the surface, so you’ll still be able to make out the wood grain.
Solid color stains will block most UV rays, which transparent and semi-transparent finishes won’t. It also does an excellent job of repelling water to keep your cedar wood in great shape.
If you’re looking for a stain, here are the best stains for cedar wood that I recommend.
How to Stain Cedar Furniture
Wondering how to stain cedar wood?
The process begins similarly to painting. First, using medium-grit sandpaper, lightly sand the furniture in the same direction as the grain. Go over everything again with fine-grit paper to smooth it out.
Next, clean the surface with a brush or a vacuum. Follow up with a damp, lint-free cloth to get rid of the finer dust. Then wait about five minutes for it to dry.
If the wood has never been finished before, apply a pre-stain or wood conditioner to help the stain penetrate. You can use a foam brush to achieve a thin, even coat.
Put on some latex or vinyl gloves, and use a stir stick to mix your stain. Make sure to scrape all the gunk off the bottom to ensure your stain is fully mixed. If your stain has been sitting for a while, it doesn’t hurt to turn it upside down a few hours before you start.
Dip the corner of a staining pad or lint-free cloth into the stain, and rub it onto the wood. Follow the direction of the grain, and apply a thick, sloppy coat. Cover the entire surface, and don’t worry about using too much.
Let the stain soak into the wood. The length of time will vary by manufacturer, but will usually be between five and 15 minutes. Keep your eye on the clock, and don’t exceed this time!
Using a clean cloth or staining pad, wipe off any residue, once again following the grain of the wood.
Wait for the stain to dry. Then see if you’re happy with the darkness of the color. If it’s too light, you can apply another coat.
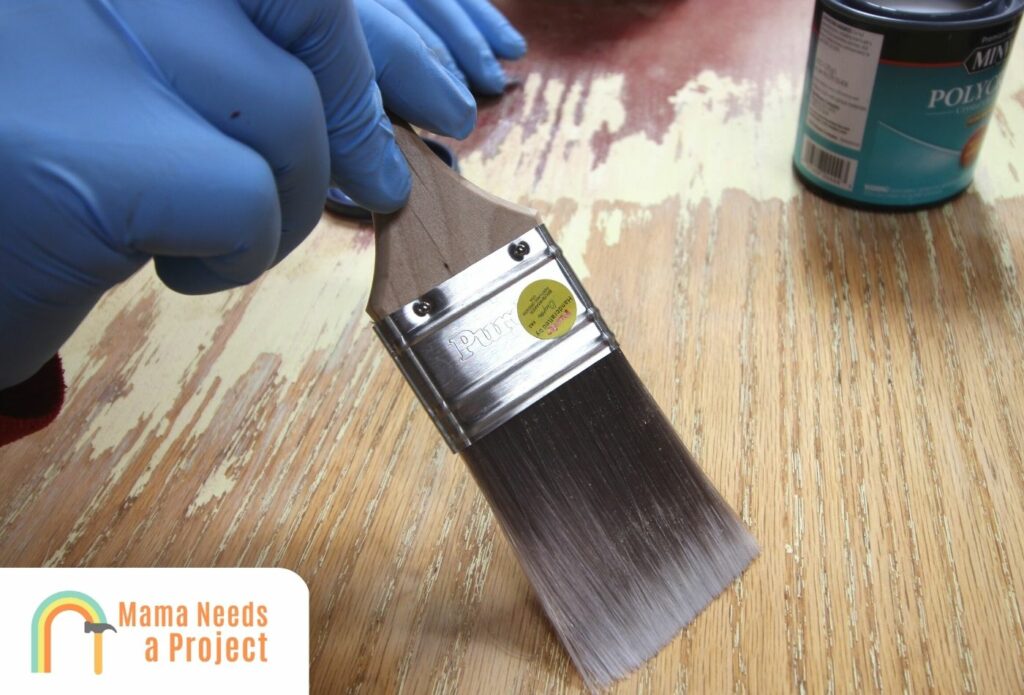
Wait overnight for the wood to fully try. Then, use your stir stick to mix up a can of polyurethane. Apply it with a synthetic brush, and let it dry to the manufacturer’s specifications.
Wait for the clear coat to dry. Then, use fine-grit sandpaper to smooth out the first coat, wipe it clean with a damp cloth, and apply a second coat.
Can I Leave Cedar Unfinished?
From a technical standpoint, there’s nothing wrong with leaving cedar unfinished.
Because of its natural oils, it’s resistant to moisture and even fungus. You can leave siding or a fence unfinished for many years before it suffers serious damage. Many homeowners even use cedar 4x4s for their unfinished decks.
The downside of unfinished cedar is that it doesn’t weather evenly. Instead of turning grey uniformly, it greys in blotches and patches.
You won’t notice this on something as small as an individual siding shingle. But on a whole fence or the side of a house, the uneven weathering is all too obvious. This effect becomes more pronounced when there are differences in sunlight and rain exposure.
If you choose to use unfinished cedar, you should treat it every year with wood oil.
The oil won’t alter your cedar’s color or prevent it from aging. However, it will replenish the natural oils in the wood and keep it from drying out. That way, you get the classic grey look without cracking and splintering.
Final Thoughts
While you can paint cedar wood and siding, it can be more challenging than painting woods like oak or pine.
When painting cedar siding or other wood surfaces, it’s critical that you spend the time to do it correctly.
This means using a quality paint or stain, removing old pain before your new coat, and ensuring the surface is dry and clean.