Apply Polyurethane with Roller (Tips & Tricks)
Polyurethane is a popular finish that’s often used to protect wood, stone, and metallic surfaces.
You can apply it in three ways: using a brush, using a roller, or using a spray gun.
In this post, I’ll explain how to apply polyurethane with a roller, some tips and tricks to get the job done, and much more. Let’s dig in!
Yes, you can apply oil-based polyurethane and water-based polyurethane with a paint roller. Foam rollers, lambswool rollers, and microfiber rollers will often work best.
- Applying polyurethane with a roller is best for larger projects and surfaces where there aren’t a ton of tight spaces. Otherwise, it might be a better idea to brush or spray polyurethane for a better finish.
Can You Apply Polyurethane with a Roller?
Yes! Rolling polyurethane is one of the most popular application methods for large wood surfaces that require a large amount of poly.
It’s faster than applying polyurethane with a brush and it can yield a smoother finish.
How to Apply Polyurethane With a Roller
Want to apply polyurethane with a paint roller? Here’s how!
1. Gather Your Materials
The first thing you need to do is gather the necessary materials. Here’s what you’ll need:
- A roller (lambswool, foam, or microfiber)
- Polyurethane (oil-based or water-based)
- A paint tray
- Mineral spirits or denatured alcohol
- A few clean cloths
- Sandpaper or steel wool
2. Prepare Your Work Area
Once you have all your materials, you need to ensure your workspace is ready.
You should open some windows, turn on a couple fans, and make sure there’s a tarp under the workpiece.
If you’re applying polyurethane to a wood floor, you won’t need a tarp. Also, you won’t be able to use a floor fan, so a ceiling or window fan will be necessary.
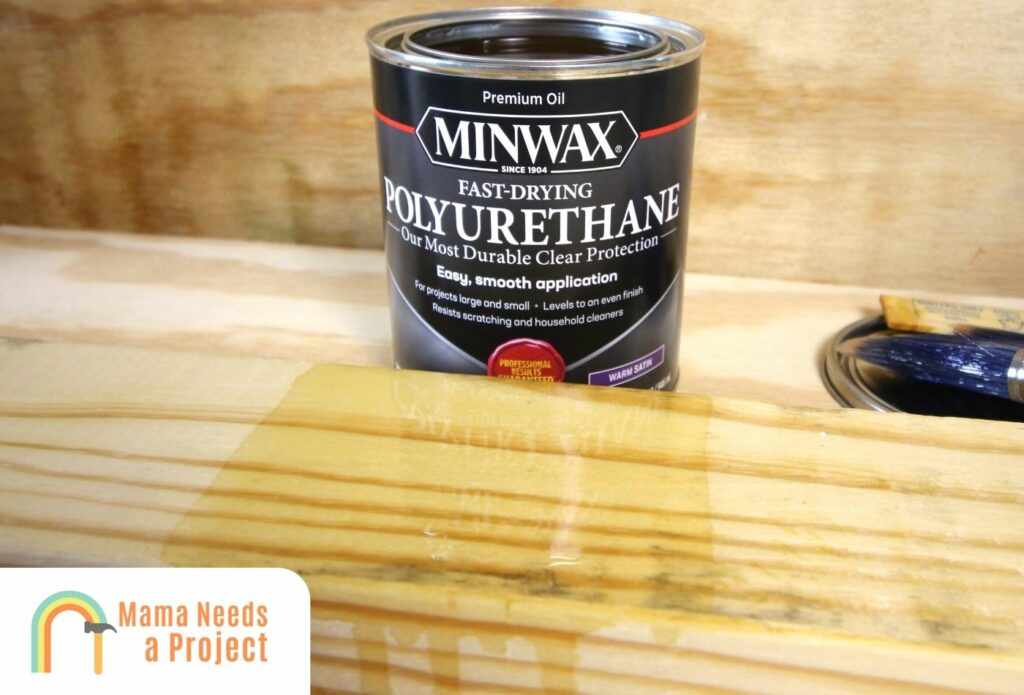
3. Prepare the Polyurethane
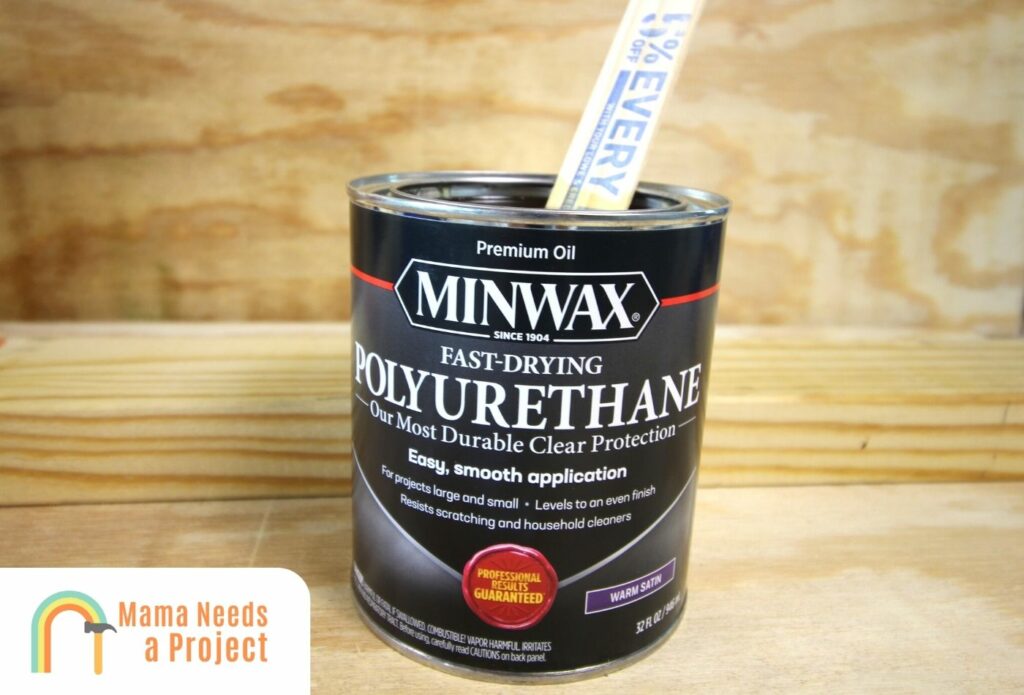
You need to prep the polyurethane before it can be applied.
Specifically, you need to thin oil-based poly with mineral spirits (paint thinner); water-based poly won’t need thinning but it will need to be mixed.
Mixing prevents bubbles and ensures the components are evenly distributed throughout the viscous substance.
4. Clean the Surface
Cleaning the surface before you apply polyurethane is essential. Many people overlook this step, but it’s important.
If you apply polyurethane over dirt, dust, and other erosive elements, the polyurethane won’t be as sound and it’ll probably wear down quickly.
You can clean the surface with warm, soapy water if you don’t want to use mineral spirits, but this will take longer and you won’t be able to remove as much grime.
After it’s been cleaned, let the surface dry out for at least 12 hours before you work on it again.
5. Lightly Sand the Surface
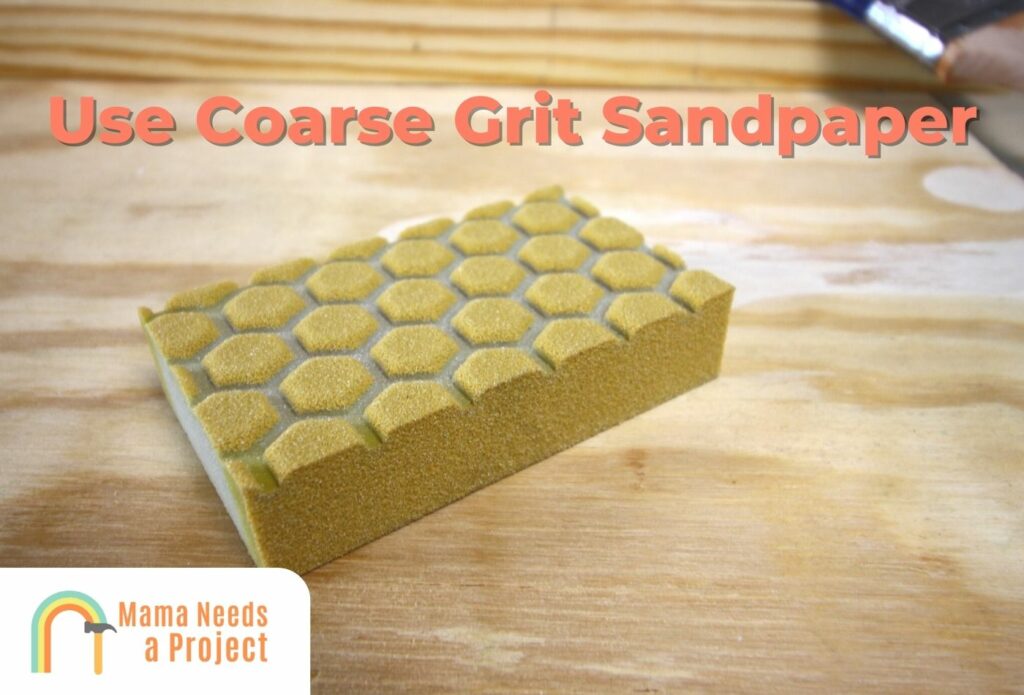
Now it’s time to sand the surface. You don’t want to take off a lot of the surface; it’s more like you’re scuffing the surface so the polyurethane can adhere to it better.
Sand with fine-grit sandpaper or fine steel wool. I like using sandpaper because it’s easier to grip and doesn’t take a lot of material off if you refrain from sanding rigorously.
Sand in a circular motion, either clockwise or counter-clockwise, to get the best results.
6. Apply the Polyurethane
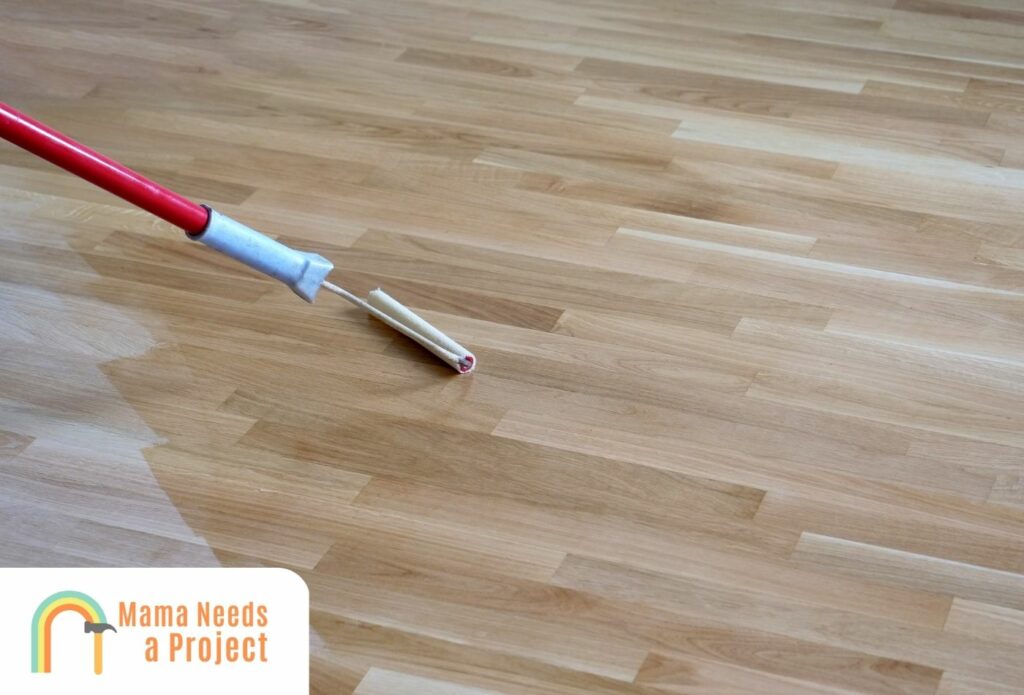
Begin rolling the polyurethane on. Start at one edge of the surface and zig-zag your way in an up-down motion to the other edge. Applying poly this way ensures no area gets over-saturated.
And when you’re applying poly, it’s best to go with the wood grain, but this isn’t necessary.
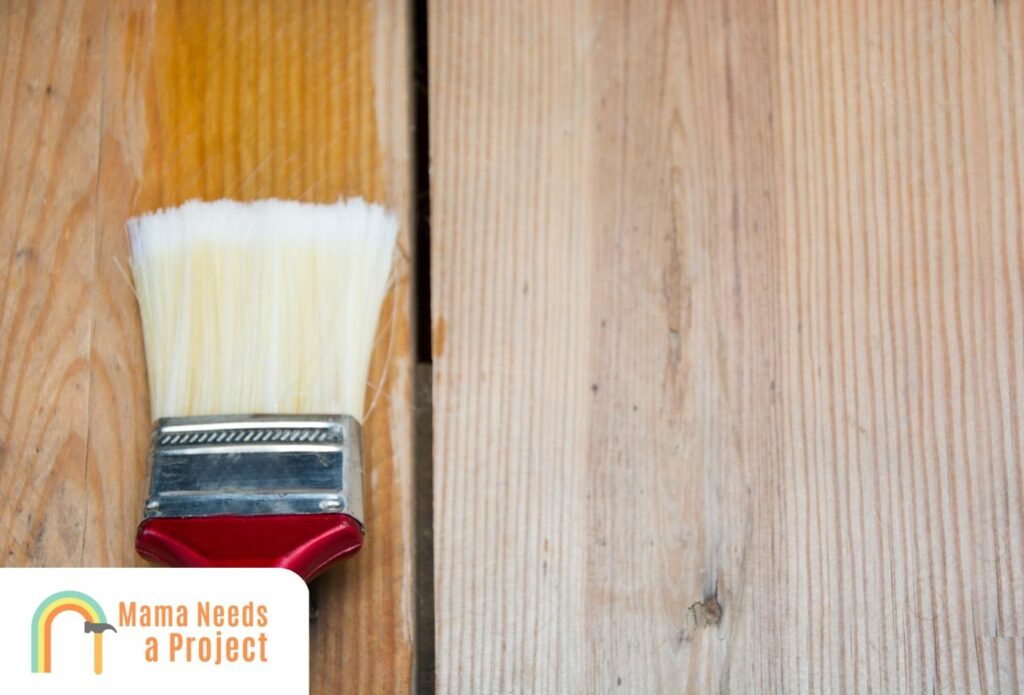
After you’ve covered most of the surface with the roller, get your brush so poly can be applied to the joints, knots, and crevices. Speed is important—you’ll need this to ensure a totally smooth and even surface.
7. Wait for the Polyurethane to Dry
After the surface has been totally covered in poly, you’ll need to wait five to seven hours for it to become semi-dry (if it’s oil-based polyurethane); water-based takes just under an hour to dry.
The curing time of polyurethane will take even longer. You should refrain from heavy wear and tear on the area until it has completely cured.
If you need more help, check out the video below!
Advantages of Applying Polyurethane With a Roller
Faster for Large Areas
When you have to apply polyurethane to a large surface—like a wood floor or a big slab of concrete—it makes sense to use either a lambswool roller or a foam roller, as both rollers can apply polyurethane much faster than even a large, natural-bristle paint brush.
Plus, a roller will help you achieve a smoother overall finish, since you can apply coats evenly without ever running the risk of applying too many coats.
Even Finish
Rolling poly is one of the best ways to get an even surface. Of course, there’s a chance you may apply too much poly if you use an especially large roller, but even in this case there wouldn’t be brush marks showing up in the finished surface later on.
The key to ensuring an even, smooth surface his patience. If you roll slowly to avoid overlapping, no section will have too much poly, so you won’t have to wipe off excess polyurethane later on.
It’s very important to ensure the first coat is even, as the evenness of successive coats depends on the evenness of the base coat.
Eliminates Brush Strokes
While rolling poly prevents brush strokes, you can create roller marks if you’re not careful.
Lambswool rollers are generally better than foam rollers when it comes to avoiding roller marks.
That said, foam roller marks that show up in wet polyurethane can be buffed out after the poly dries.
Dries Quicker
Rolling polyurethane almost always leads to thin coats, and thin coats dry much quicker than thicker ones, whether we’re talking about oil-based or water-based poly.
In the case of oil-based polyurethane, you’ll have to wait five to seven hours for the surface to be semi dry.
Water-based poly, on the other hand, becomes semi-dry in just under an hour. So if you have a large workpiece and you don’t want the application process to take forever, opt for a foam roller over other kinds of applicators.
Disadvantages of Applying Polyurethane With a Roller
Difficult to Reach Corners and Tight Spaces
The one area where a roller lacks significantly is maneuverability. You won’t be able to get polyurethane in gaps, crevices, knots, and joints, even if you use the best foam roller there is.
Rollers are just too big; even a mini roller won’t be small enough to address all the hard-to-reach areas a wooden surface may have.
This is why it’s best to have some brushes ready to go, even if more than 90% of the poly is going to be applied with a roller.
Simply put, there are times when brushes are indispensable, and this is one of them.
You can also apply polyurethane with a rag for these hard to reach areas.
Hard to Avoid Bubbles

Bubbles can prevent you from achieving a totally smooth polyurethane surface, which is why you should take steps to prevent these from popping up.
But make no mistake about it—keeping a roller from producing bubbles is no easy task, mainly because you can’t wipe the sides of the paint pan before applying (like you would with a brush).
If you do see bubbles forming after you’ve applied poly, you should knock them down with the end of the roller or flatten them with a craft stick.
And don’t forget to thoroughly stir the poly, especially if it’s an oil-based poly, before submerging the roller. A thin, well-mixed poly won’t be as prone to bubbling.
Cost
Since there’s a chance you could apply more polyurethane than is necessary when using a roller, this method of application is often seen as more expensive.
On the other hand, if you’re a roller master, it could be less expensive to roll polyurethane because you can apply thinner coats.
Tips for Rolling Polyurethane
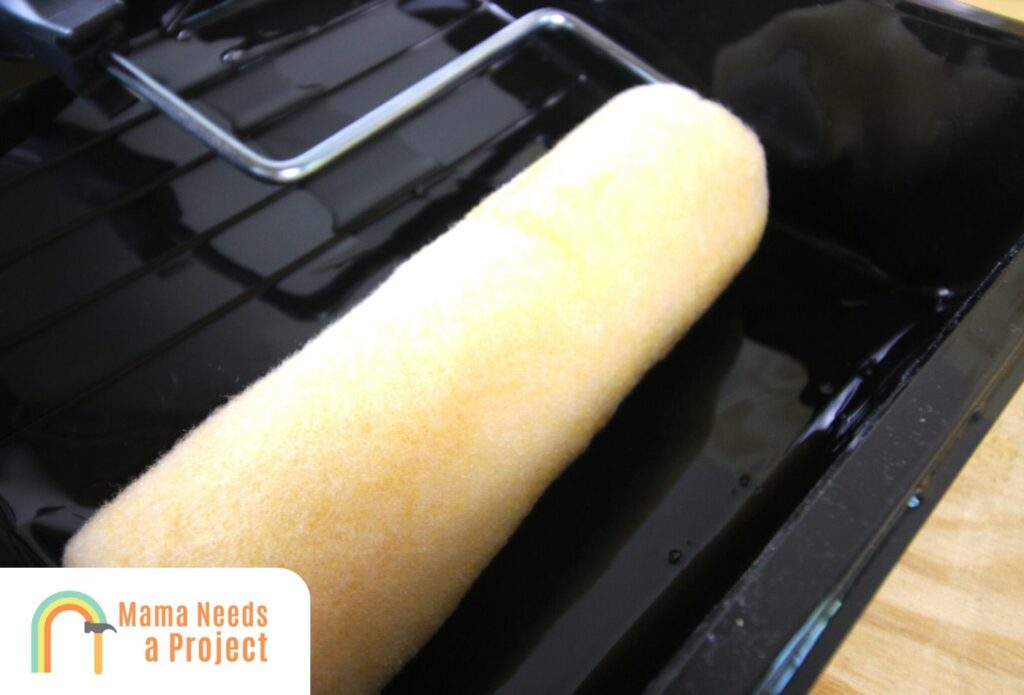
Submerge the Roller in the Poly
Make sure you submerge the entire roller in polyurethane before you start applying the finish. This is especially important if you’re going to be using a lambswool roller on a larger surface.
If the roller doesn’t have enough poly when you start applying, eventually you’ll have to go back to the tray to get more, and each time you do this you run the risk of allowing bubbles to form, either on the brush or on the poly that’s already been applied.
Also, using a roller that’s been completely submerged in poly ahead of time will help you apply an even coat with minimal effort.
Split Area Into Sections
Whether you’re applying polyurethane to a hardwood floor, a door, a tabletop, or another larger surface, you’ll need to divide the area into sections.
I split doors, tabletops, and other larger surfaces into 2 sections, whereas hardwood floors get split into three to four sections.
Sectioning off the area will help you apply an even coat, and it’ll also prevent you from providing too many polyurethane coats in one area.
Note: A couple times during the polyurethane application process, you’ll have to apply poly across two sections, and when it’s time to do so you need to make sure the section that’s already been coated with poly doesn’t receive too much additional poly.
Don’t Apply Downward Pressure
Applying too much pressure when rolling out polyurethane can result in an uneven surface. This is because rolling with too much pressure will thin out poly that’s already been applied.
Light pressure, on the other hand, will help you achieve a smooth polyurethane finish.
Heavier rollers like a high-density foam roller and certain paint rollers should be avoided, especially if you’re using water-based polyurethane, because these will thin the poly out too much, whether you apply a lot of pressure or not.
Note: If your roller is wobbly, this will prevent you from applying the necessary amount of pressure. This is why I always use brand new rollers to apply polyurethane.
Roll Out Marks at the Edges
If you apply polyurethane properly, it’s more than likely you won’t be dealing with roller marks later on; this is true whether you use a foam, lambswool, or microfiber roller.
If roller marks are going to appear anywhere, they’ll appear along the edges of the surface. To ensure these don’t show up, start applying polyurethane at one edge of the surface and then roll in an up-down zigzag until you reach the other edge.
When you reach the other edge, roll up and down alongside it twice or thrice before zigzagging back to the other edge. This is easier to do with foam rollers because they roll better.
Continue rolling in this way until the entire section has been adequately coated with polyurethane.
Use Self-Leveling Poly
When applied properly, durable and long-lasting polyurethane can be quite cost-effective, which is why I recommend using high-quality polyurethane with a high-quality roller.
The high-quality stuff—whether we’re talking about oil-based or water-based poly—is self-leveling, and this quality significantly reduces the overall time it takes to apply polyurethane.
Especially if you roll lightly, the polyurethane will eventually reach equilibrium, at which point you can stop rolling and wait for it to dry.
The self-leveling nature of high-quality poly ensures successive coats are just as even and smooth as the base coat.
Ensure There’s Good Ventilation
I can’t stress enough the importance of good ventilation.
Especially if you’re applying oil-based polyurethane, you need good ventilation and air circulation, otherwise the fumes this poly emits could overwhelm you—and the last thing you want is the poly application process being halted because you passed out.
So whether you’re brushing or rolling polyurethane, I recommend having at least two to three windows open and a ceiling fan going.
And after you apply the polyurethane, you need to stay clear of it, as it’ll be emitting its strongest fumes soon after application.
Remember, you should not sleep in a home after applying polyurethane on wood floors so be sure to consider this before getting started.
Note: If the surface is a large, hardwood floor, you may need to spend at least three days away from your home; only after such time has passed will the fumes be tolerable and much less dangerous.
Should You Roll or Brush Polyurethane?
The debate over which is better—brushing or rolling—when it comes to polyurethane application has been going on for a long time.
Some insist that only a natural-bristle brush can effectively apply thin and even coats of both water- and oil-based polyurethane, while others insist a roller is the only applicator that can efficiently cover a large surface with poly.
I’ve achieved fantastic finishes with both applicators, and I firmly believe that neither is superior. In fact, it’s really a matter of preference.
- If you don’t mind brushstrokes or the process taking a little bit longer, then use a brush to apply polyurethane. (Check out these best brushes for applying poly)
- If you want the process to go quicker and you don’t mind wiping off excess poly often, choose a foam roller.
Most woodworkers agree it’s best to use both applicators. Specifically, you’d use a roller to get most of the polyurethane on, and then switch to a brush to get poly in the gaps, crevices, knots, and joints.
Don’t Forget Sprayers
Polyurethane can be sprayed on as well, but this method works best with water-based polyurethane.
You could thin oil-based poly with mineral spirits or denatured alcohol to make it more sprayable, but I’ve found this unnecessarily elongates the process, so stick with water-based polys for spraying.
Also, you should be familiar with this kind of applicator before you start spraying poly, otherwise you’ll have to learn as you go, and this is likely to result in a poor-quality finished product.
You’ll need a work environment that allows for spraying too; it should have plenty of ventilation, but there shouldn’t be any fans going.
Honestly, spraying polyurethane is the fastest way to achieve an even finish (if you know what you’re doing). Still, however, you’d need a brush or two so poly can be applied to those hard-to-reach spaces.
Which Roller Applies Polyurethane Best?
Wooster Lambswool 100 Roller
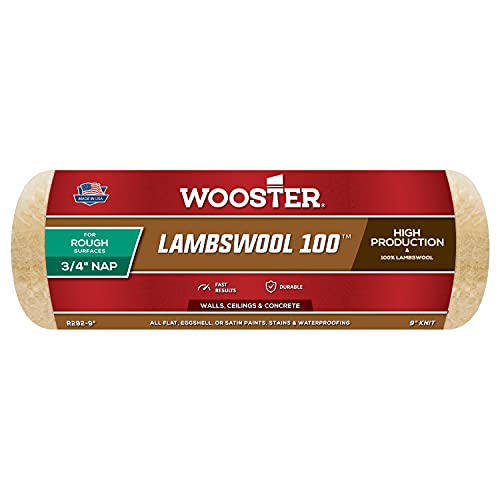
- Buff-colored 100% natural lambs wool is knitted into a synthetic backing for consistent quality
- Quickly applies stains waterproofing and all flat or satin paints including latex
- Green double-thick polypropylene core resists water solvents and cracking
The Wooster Lambswool 100 is a popular roller that’s often used for applying polyurethane.
It’s great for applying poly because it has a thick, 1/2-inch nap. Also, it’s made of durable materials, so you don’t have to worry about the poly rendering it ineffective after just one coat.
Plus, it’s designed for rough surface application, meaning it’ll deliver smooth coats even if the surface has been lightly scuffed by sandpaper or something else.
And at less than $20, it’s one of the most affordable high-quality rollers on the market right now.
Final Thoughts on Rolling Polyurethane
In the end, using a roller is one of the best ways to apply polyurethane, provided you apply the poly correctly.
- You can cover a lot of area quickly.
- You can avoid brush strokes.
- You can achieve an overall smooth finish with minimal effort.
Rollers work with concrete, metallic, and wooden surfaces, and you can use a foam, lambswool, or microfiber roller when you need to apply polyurethane.
But don’t forget to have at least a brush or two handy, as a roller can’t get at those hard-to-reach places.