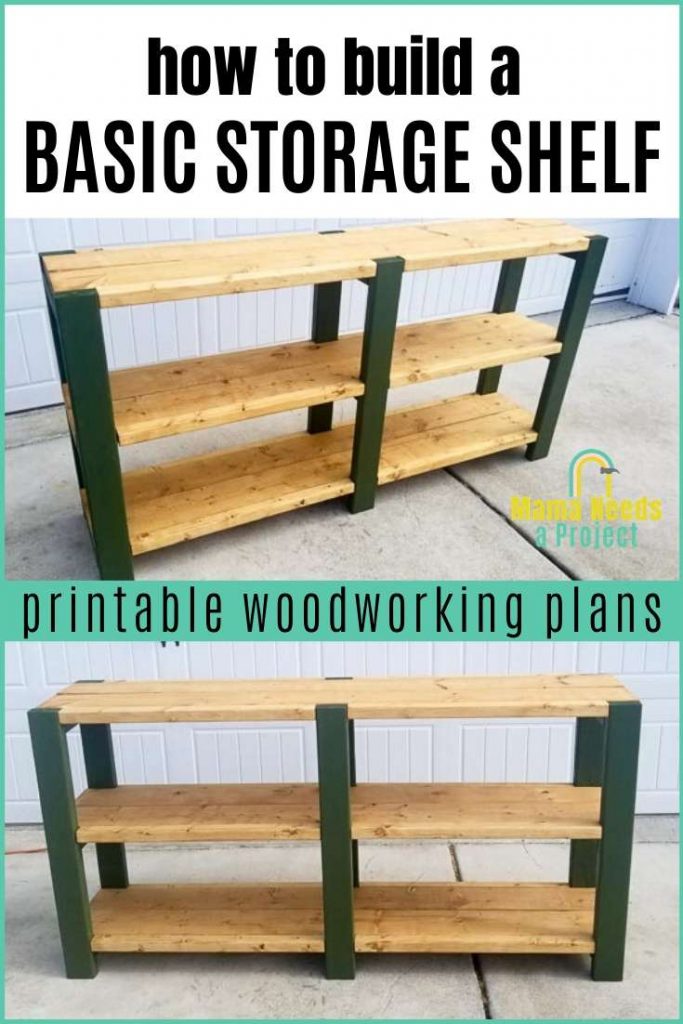
Basic Storage Shelf Plans | Build a Simple Storage Shelf
These basic storage shelf plans are the perfect beginner woodworking project to get you organized! The woodworking plans can be easily customized to build a storage shelf that is the perfect fit your space.
Save to Pinterest!
A couple weeks ago I set out to organize our walk-in pantry. It had become a collection place for EVERYTHING – random papers, cooking gadgets, cleaning supplies, open bags of chips that had been pushed to the back of a shelf for… months? It was a mess and I finally broke down and decided to start organizing.
And somehow sorting through all the expired food and junk turned into ripping out all of the wire shelving and completely re-doing the pantry. Oops!
My Budget Pantry Makeover has been a bit of a challenge because we keep a stand-up deep freezer in the pantry and that sucker takes up a lot of room! But by keeping the new shelving simple and working around the freezer I think I can make the most of this little makeover.
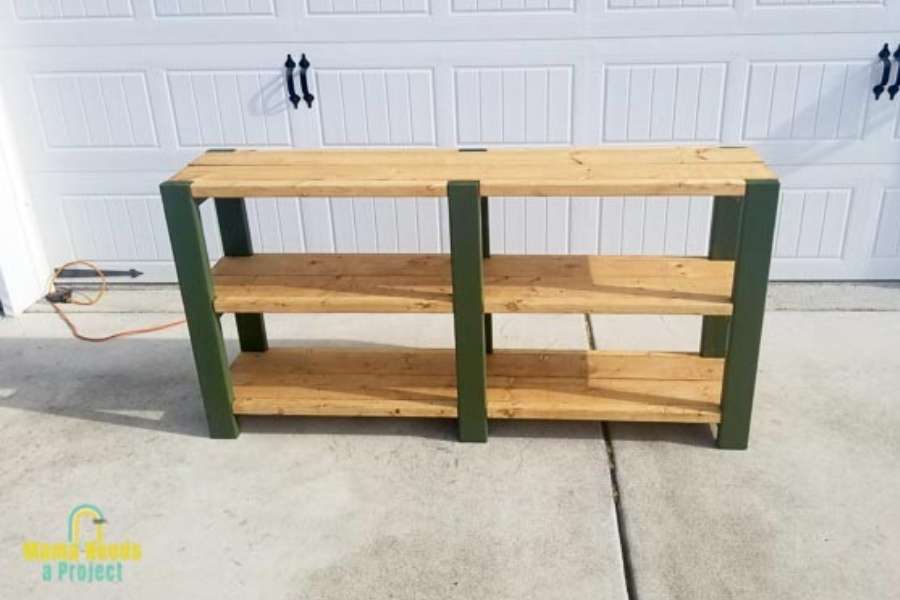
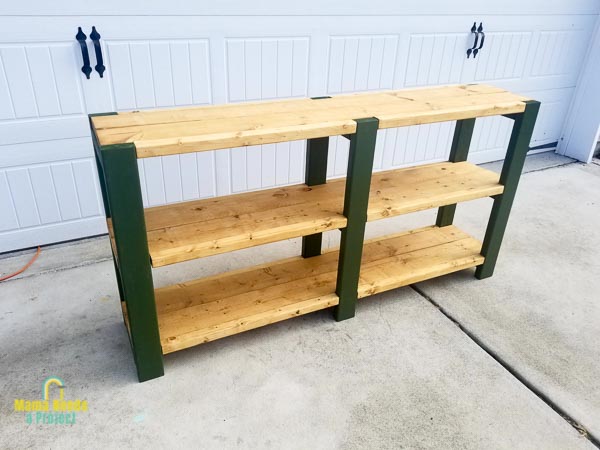
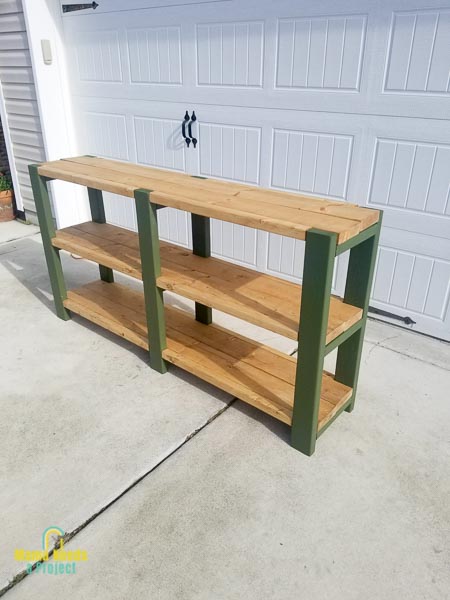
The first project I decided to tackle for my Budget Pantry Makeover was to build a basic storage shelf. I wanted something counter height and simple. This basic storage shelf build did the trick!
Basic Storage Shelf Plans
Before I started the build I created some basic storage shelf plans that are available in my woodworking plan shop. I’ll share some building tips with you here, but you can get the full detailed instructions and cut list in the Basic Storage Shelf Plans.
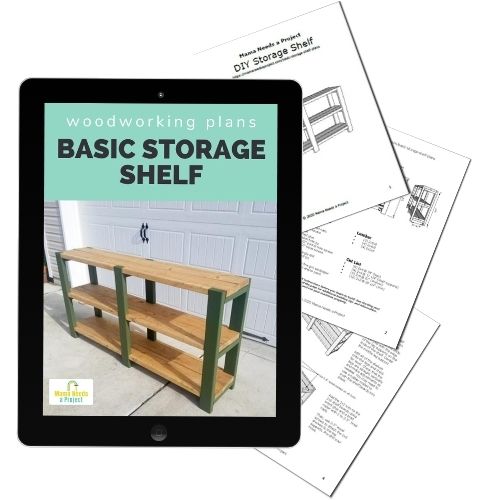
All of the woodworking plans in my shop include a lumber list, cut list and supply list. They also feature digitally rendered images and detailed instructions that walk you through each step of the build. I use easy-to-understand language that’s perfect for beginners.
This post contains affiliate links.
Build Your Simple Storage Shelf
Project Time & Skill Level
I built this storage shelf in short bursts of time over a couple of days while I worked out the kinks in the woodworking plans. But, with the completed woodworking plans you can easily build this project in 1 day. The Basic Storage Shelf Plans outline the steps to build your simple storage shelf and include a shopping list and cut list for the project.
For this build you will need to be comfortable using a saw to cut your wood to size. Other tools used include a drill, sander and nail gun. These are basic woodworking tools and this project can definitely be completed by a beginner woodworker.
Estimated Cost
Lumber for this project cost me about $50. Lumber prices will vary based on where you live, but if you follow the plans as written expect a similar cost to mine.
Below I’m sharing the materials list to give you an idea of what supplies you’ll need for this project in addition to the lumber.
Materials Needed
- Basic Storage Shelf Woodworking Plans
- (4) 2x4x8′
- (4) 2x2x8′
- (6) 2x6x8′
- miter saw
- Brad nailer
- 2 1/2″ brad nails
- speed square
- level
- wood glue
- Kreg pocket hole jig
- 2 1/2″ pocket hole screws
- 2 1/2″ wood screws
- drill (I used this cheap drill for years, but recently upgraded to cordless drill similar to this one)
- right angle drill
- 1/8″ drill bit
- sander
- coarse to fine grit sandpaper
- wood stain and/or paint
Simple Storage Shelf Building Tips
How to Make Adjustments to the Woodworking Plans
I created the plans to be an exact fit for my walk in pantry, but you can easily adjust them to fit your own space. Here’s how you can customize them for different shelf heights, a different width or different materials.
Adjust the size
Interior Shelf Height: The shelf height written in the plans is 13″ tall, which will accommodate most baskets and the kitchen items I needed to store. You can change the height of the shelves (or add additional shelves) by changing the location of the shelf supports in the Basic Storage Shelf Plans.
Overall Storage Shelf Length: The shelf length written in the Basic Storage Shelf Plans is 67″ long. You can easily shorten or lengthen this by cutting your 2×6 shelf boards to whatever length you want your shelf. Just keep in mind that the legs of the storage shelf should be no more than 48″ apart to provide proper support and keep the shelves from sagging.
Overall Shelf Height: I built my simple storage shelf to be counter height at 34″ tall. (Counter height is generally considered 34-36″ tall.) If you want a shorter storage shelf simple shorten the legs to the height you need. You will also need to adjust the location of the shelf supports. If you want to make the shelf taller I recommend also widening the shelves or securing the completed storage shelf to a wall to prevent it from tipping over.

Fitting the Shelves
In the Basic Storage Shelf Plans I first build the shelf legs and then attach the horizontal shelf boards. Even with making the legs about 1/4″ wider than the shelf boards, it was a tight fit!
To get the shelf boards in place I had to do a lot of wiggling and then use a rubber mallet to hit them down into place.
If your 2×6 shelf boards are not straight you will have a hard time getting them to fit. I suggest being very selective when choosing your lumber to make sure than your boards are straight. (I have tips for how to do this here.)
You can also make your shelf a little wider (add another 1/4″ or 1/2″). This will make it much easier to fit your shelf boards, but will also leave you with a gap between your shelf boards in the middle of your shelf.
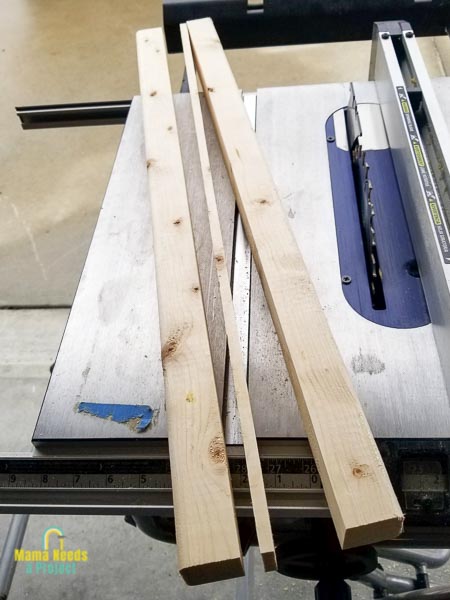
Make your own 2×2’s
When shopping for lumber for my simple storage shelf I could not find any straight 2×2 boards. This always seems to be the case at my local home improvement stores.
So instead of buying 2x2s, I bought 2 extra 2x4s and ripped them down to 2x2s with my table saw.
If you run into the same problem, here are a few tips for ripping your 2x4s down to size.
- Cut your 2x4s to length first
- Set your table saw fence to 1 1/2″ (a standard 2×2 board is actually 1 1/2″x 1 1/2″)
- Keep the rounded side of the 2×4
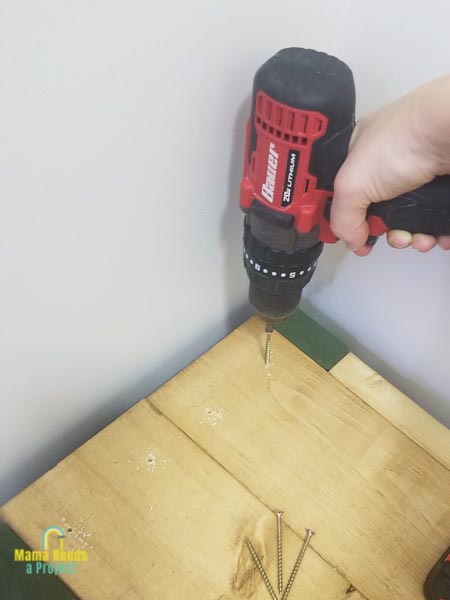
Build your storage shelf without pocket holes
The Basic Storage Shelf Plans instruct you to use a pocket hole jig to build the legs of the storage shelf. Pocket holes are great because they hide the screws in your project, giving you a more finished look. I use this Kreg Pocket Hole Jig to easily create pocket holes in many of my woodworking projects.
However, if you don’t have access to a pocket hole jig you can still build this project.
Instead of using pocket holes for the joints on the storage shelf legs, you can join your boards using wood glue and 2 1/2” wood screws through the outside of the legs. This method will still provide you with a strong joint.
I love the clean look of pocket holes, but this project will still look nice and be functional without them.
Use a Right Angle Drill
If you follow the Basic Storage Shelf Plans as written, it’s a tight fit for your drill when building the shelf legs. I recommend using a right angle drill to get into those tight areas. Here’s a picture of mine:
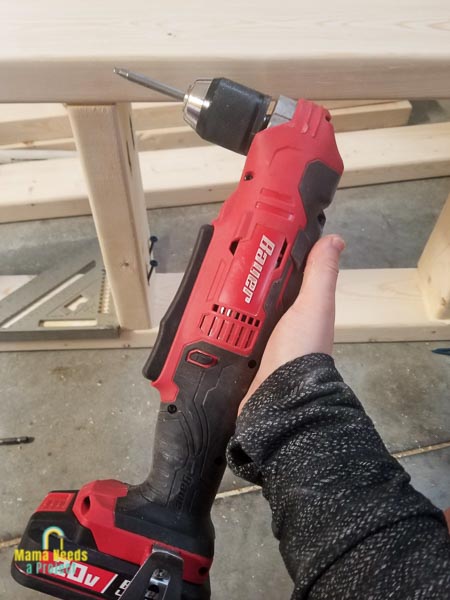
If you don’t have a right angle drill, you may still be able to get your drill into place to drill in the pocket hole screws for the legs. But, it will be much easier for you to follow the instructions above for building the storage shelf without pocket holes.
Sanding
I recommend sanding your boards right after you cut them to size and before you start building your shelf. It is much easier to sand them first so that you don’t have to try to maneuver your sander into tight corners on a completed build.
Stain and Paint
If you plan to finish your storage shelf in two tones like I did, I recommend painting and staining before you attach the shelves. It was much easier and cleaner (for me at least) to paint the legs as soon as I finished building them and stain the shelf and trim pieces at the same time.
A Few General Building Tips
- Wear all of your safety gear and know how to use your tools properly!
- Use a speed square to check for square throughout your build.
- Use wood glue in all of your joints. Wood glue creates a stronger hold than screws and is essential to creating a sturdy shelf.
- When you attach the boards for the top of your storage shelf, be sure to pre-drill your holes. Pre-drilling helps to ensure that the boards don’t split when you drill in the screw.
- Make sure you are using good quality boards. If you need some guidance for buying lumber I have a whole post about how to shop for lumber for woodworking projects.
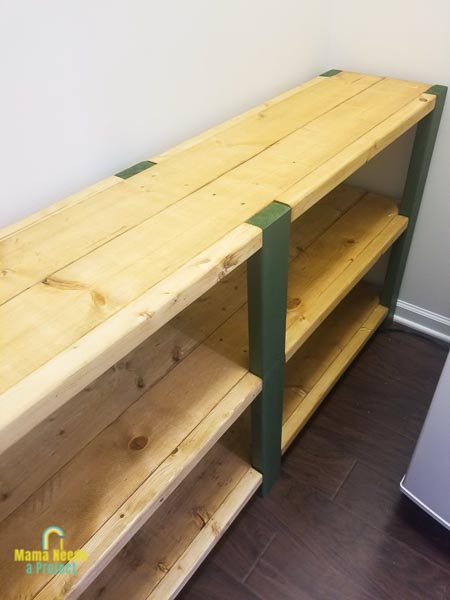
Basic Storage Shelf
I really love how this shelf turned out! It looks so much nicer than the wire shelving I had in my pantry before and it’s totally practical. I’m hoping that having a prettier panty will motivate me to keep things organized in there. We’ll see how that goes.
I want to hear from you!
If you build this project please, please share it with me! I love seeing your creations! You can tag me in pictures on Instagram @MamaNeedsaProject or share to my Facebook page. I can’t wait to see your project!
Save to Pinterest!