DIY Wood Shelf Brackets for Open Shelving
Learn how to build simple and inexpensive wood shelf brackets with this quick tutorial and downloadable woodworking plans. I’ll also show you how I installed my brackets to create the perfect DIY open shelving.
I’m in the middle of a Budget Pantry Makeover for my small walk-in pantry. The first project I tackled for this makeover was my Basic Storage Shelf. Talk about an upgrade!
With that first big project out of the way, I moved on to putting in some super simple DIY open shelving. I decided to build shelf brackets for this project rather than buy them to save a little money.
Today I’m sharing with you the whole process for building and installing DIY open shelving. It’s a super easy and quick project, friends. Enjoy!
*This post contains affiliate links.
DIY Wood Shelf Bracket Woodworking Plans
I’ll go over some of the details of this project here. You can grab the full instructions in the printable woodworking plans in my woodworking plans shop.
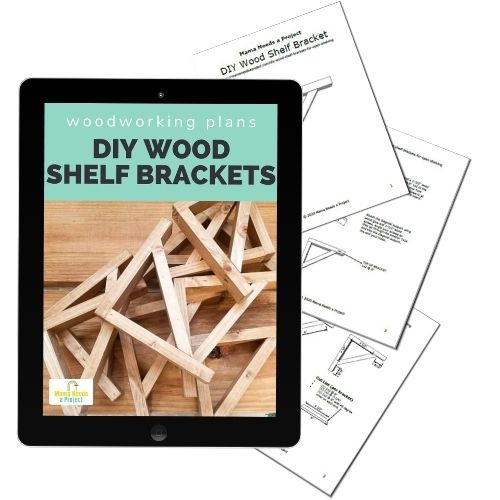
All of the woodworking plans in my shop include a lumber list, cut list and supply list. They also feature digitally rendered images and detailed instructions that walk you through each step of the build. I use easy-to-understand language that’s perfect for beginners.
Planning your DIY Open Shelving
Choosing boards for open shelving
Putting together DIY open shelving is about 100x easier if you use good quality, straight boards. Be super selective with the boards you choose for you shelf. Trust me – spending an extra 10 minutes picking out the perfect board will save you 30 minutes of headache down the road (and a trip back to the lumber yard).
You can also check out these best woods for shelves to use.
If you’re not sure how to shop for good quality boards, I have a whole post that outlines what to look for here.
I chose to use 2×10 boards for my open shelving because I like the look of a thicker shelf. If you’re planning to put heavy things on your shelf like dishes or books I recommend using 2″ thick boards. You can also use 1″ thick boards, but your shelves will not be as strong and may bow under too much weight.
I used common boards for my project.
Bracket Spacing
The spacing of your DIY wood shelf brackets will also have a big impact on the strength of your shelf.
If you are using a 2″ thick shelf board, plan to space your brackets 48″ or less apart. Mine are spaced at 32″.

If you are using a 1″ thick shelf board, space your brackets 36″ or less apart.
Note the board thickness I’m referring to (2″ or 1″) is the nominal board dimensions, not the actual thickness. If you’re not sure what that means, click here to learn about wood dimensions.
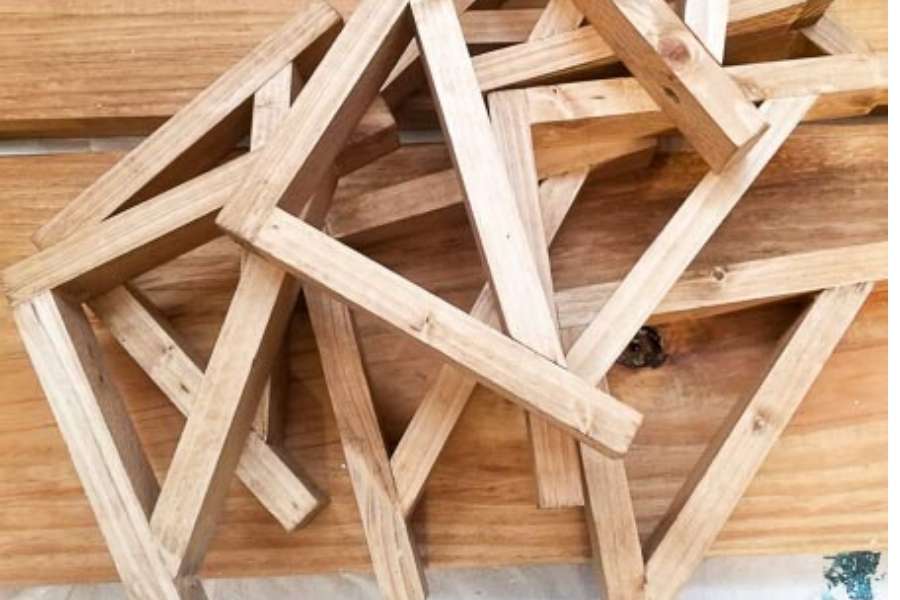
Build your DIY Wood Shelf Brackets
Supplies
- DIY Wood Shelf Bracket Printable Plans
- 1x2x8′ boards (I was able to make about 3 brackets/8′ board)
- wood glue
- miter saw
- drill
- 1/8″ drill bit
- 1 1/2″ wood screws
Cut your 1x2s
Start by cutting your 1x2s to size according to the DIY Wood Shelf Bracket Printable Plans. I used a miter saw to cut all of my pieces but you could also use a table saw or circular saw. The diagonal support for the wood shelf brackets is cut at 45 degrees on each end.
Sand
After cutting all of the pieces for my brackets, I gave them a quick sand using a medium grit sanding block. I didn’t worry about getting the bracket super smooth, but instead focused on fixing up a few areas of tear out.
Connect top & back pieces
Next, connect the top and back pieces of the DIY wood shelf brackets. Use wood glue and a 1 1/2″ wood screw through the top of the top bracket piece. I recommend pre-drilling your hole with a 1/8″ drill bit (mine is from this set) to prevent the wood from splitting.
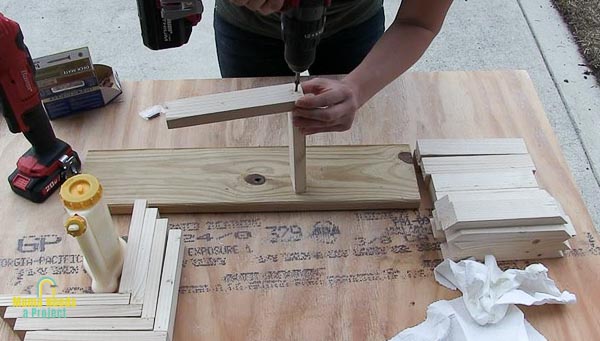
Attach diagonal support
After you have made the “L” shape for your brackets with the top and bottom piece, it’s time to attach the diagonal support. Again, you’ll want to use wood glue and 1 1/2″ wood screws for this.
First, put wood glue on the ends of your diagonal support and then line it up inside the bracket so that it fits snuggly against both the top and bottom of the bracket. Next, pre-drill a hole through the outside of the bracket into the diagonal support. Do this on both the top and the bottom.
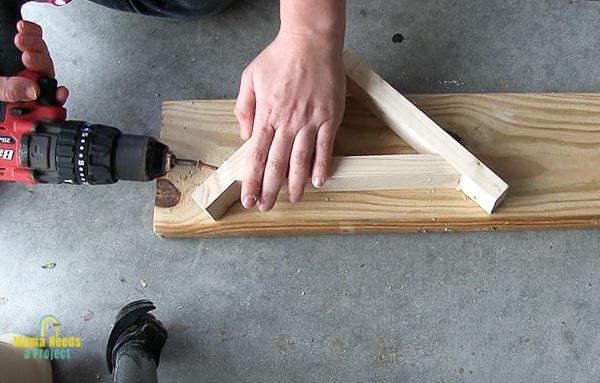
After pre-drilling your holes, drill your 1 1/2″ wood screws in. You’ll want to make sure that your screw is level with the wood or slightly sunken in. This way your bracket will sit flush against the wall and the shelf will sit flush on top of the bracket.
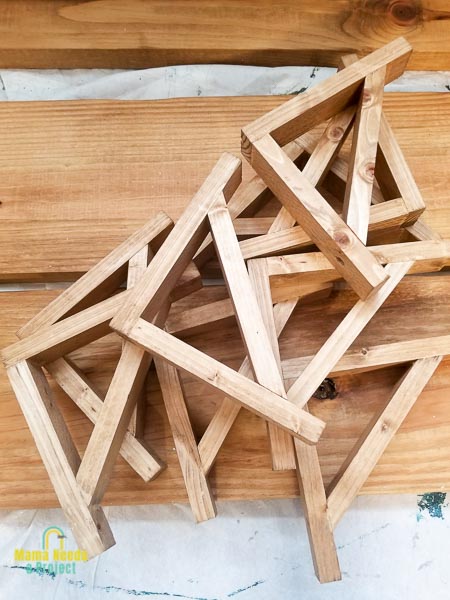
Stain or Paint
Lastly, when you’re finished building your brackets it’s time to stain or paint them. I decided to stain mine with Minwax Golden Oak Wood Stain. This is the same color that I used for the shelves.
Installing DIY Wood Shelf Brackets
Supplies
- long level
- stud finder
- 1-1/2″ lag screws (1 per bracket)
- 2-1/2″ lag screws (2 per bracket)
- 1/4″ drill bit
- wrench
- socket wrench & socket
- drill
- socket attachment for drill
Mark bracket placement
The first thing I did was draw a line on my wall where I wanted the top of my brackets to be. I used a long level to lightly draw a straight line with a pencil. Next, I used a stud finder to mark the studs.
We placed our brackets 32″ apart on the wall studs. This will offer plenty of support for the 2″ thick open shelving that will go on top of the DIY wood shelf brackets.
Pre-drill holes
Before attaching the brackets to the wall, pre-drill the holes both in the bracket and in the wall.
I started by pre-drilling a hole through the back of the bracket. I chose to use a 1/4″ drill bit based on the diameter of my lag screws.
Next, I held the bracket against the wall where I would be installing it and made a mark on the wall through the hole. Then, I removed the bracket and drilled a hole in the wall on the mark.
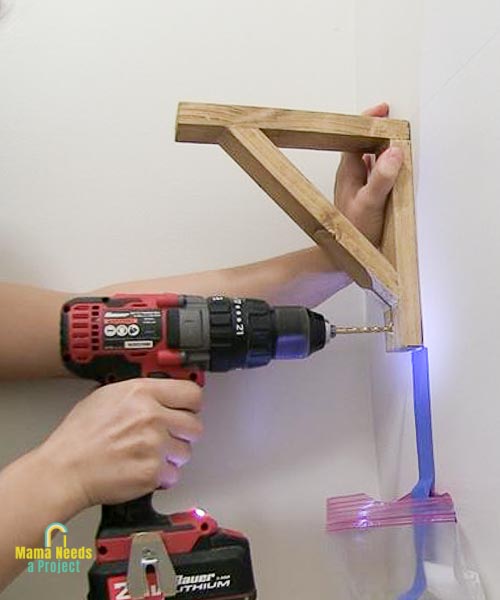
Then, I put the bracket back on the wall and pre-drilled another hole through the bottom of the bracket into the wall.
Attach DIY wood shelf brackets to wall
Once all of the holes are drilled it’s time to install the open shelving brackets using the lag screws. I used (2) 2-1/2″ lag screws to attach each bracket to the wall.
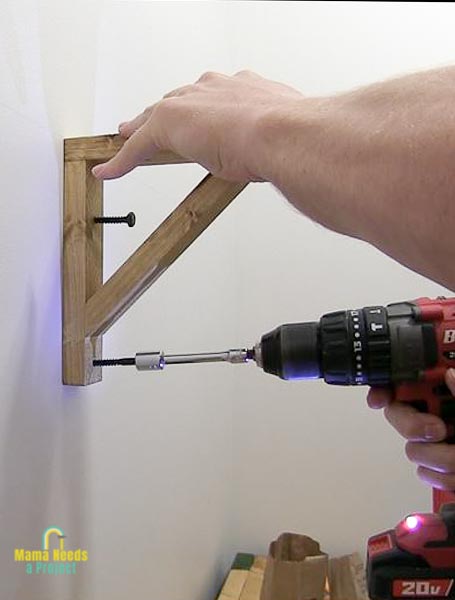
The lag screw on the bottom of the wood bracket can be installed using a drill with a socket attachment. Using the drill is so much easier than muscling the lag screw in with a socket wrench. This set includes sockets, a socket wrench and a drill attachment – everything you should need.
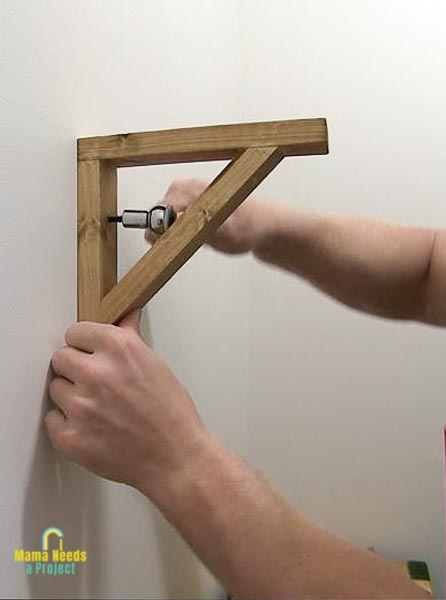
The lag screw that goes behind the diagonal support will have to be installed using a wrench and a socket wrench. There just isn’t enough room in that space to use the drill. This makes the installation take a little longer, but man are these brackets on the wall tight!
Attach shelf
Once you have all of the brackets secured to the wall, it’s time to add the open shelving on top.
Place the wood shelf on top of the brackets and pre-drill a hole through the end of the bracket into the bottom of the shelf. Then, use the socket attachment for your drill to secure the shelf to the bracket with a 1-1/2″ lag screw.
Originally I had planned to attach the shelf using 2 screws (one through the end of the bracket and one behind the diagonal support). But, after installing the lag screw into the shelf through the end of the bracket the shelf was plenty sturdy. So I decided to leave it at just 1 screw per bracket.
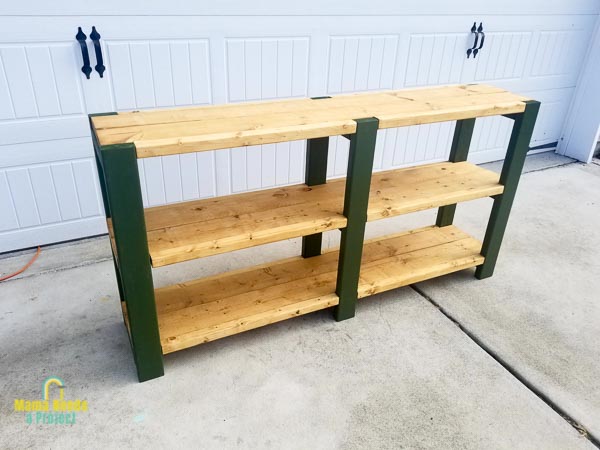
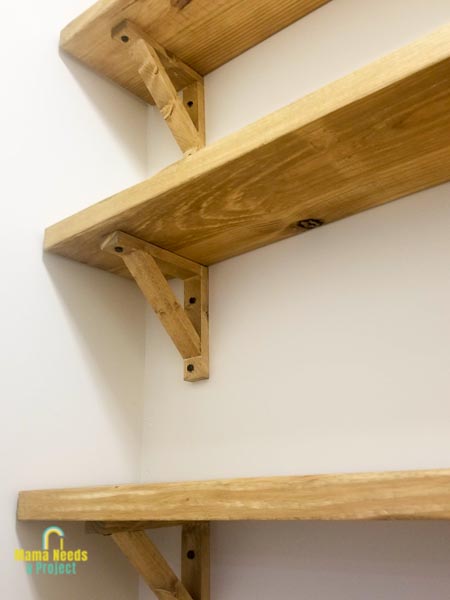
DIY Wood Shelf Brackets & Open Shelving
So that’s how my husband and I installed open shelving in our pantry using DIY wood shelf brackets. I love how the shelves turned out! They are so much more sturdy and pretty to look at than the wire shelving we had in the pantry before.
Save to Pinterest!
I want to hear from you!
Do you have any questions? Are planning to build your own DIY wood shelf brackets? Leave a comment and let’s chat!
If you decide to use this tutorial to plan your own DIY open shelving, I would love to see your project! You can tag me on Instagram and Facebook as @MamaNeedsaProject. I can’t wait to see what you come up with!