DIY Outdoor Plant Shelf | Woodworking Plans
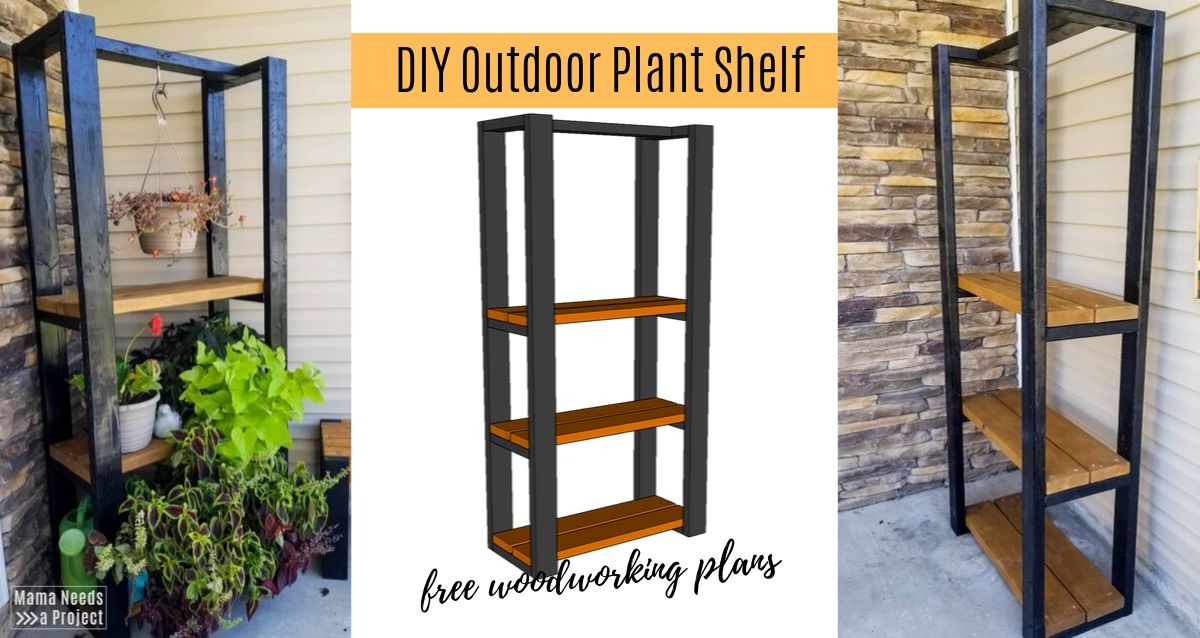
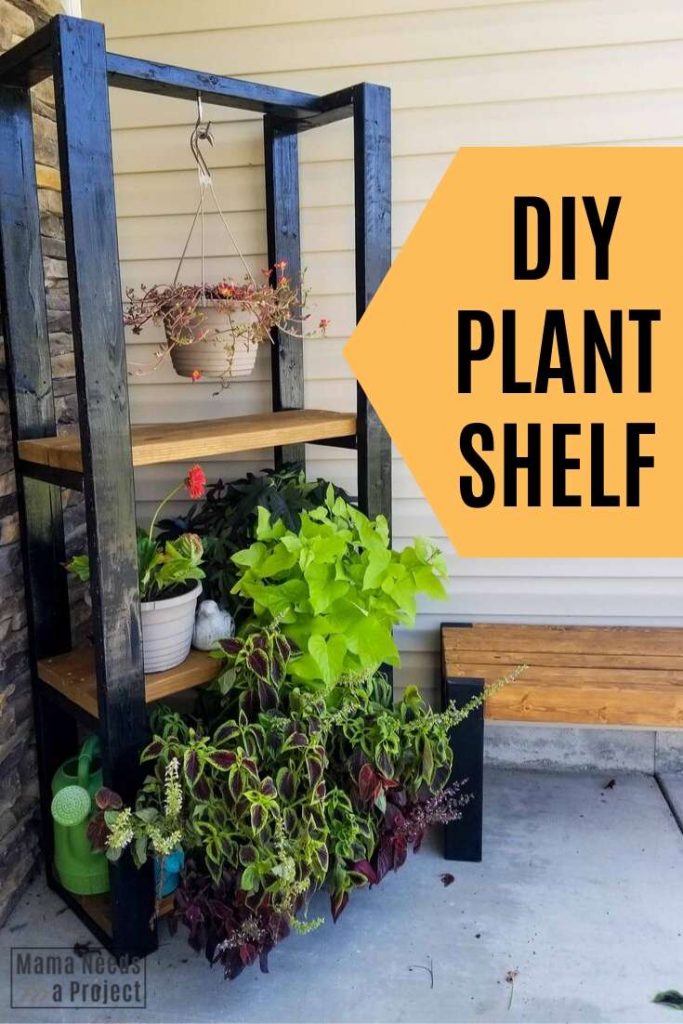
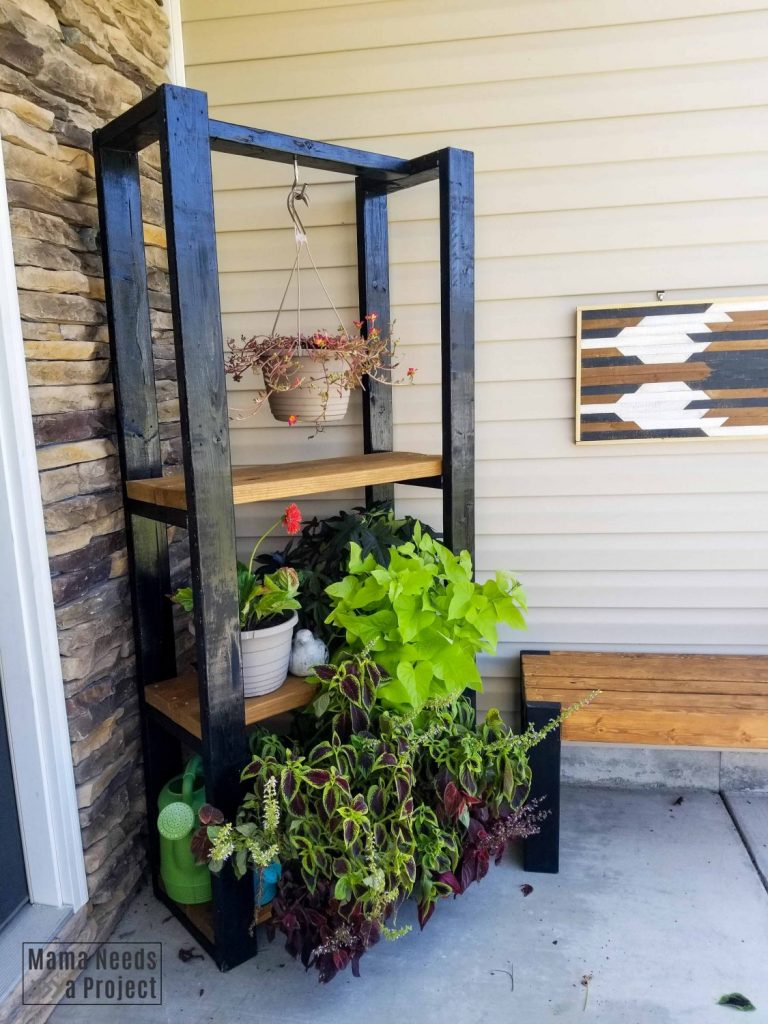
This DIY Outdoor Plant Shelf is an easy afternoon woodworking project that is perfect for beginners! It has a hook for hanging plants and shelves for additional plants and your front porch decor.
Pin for later!
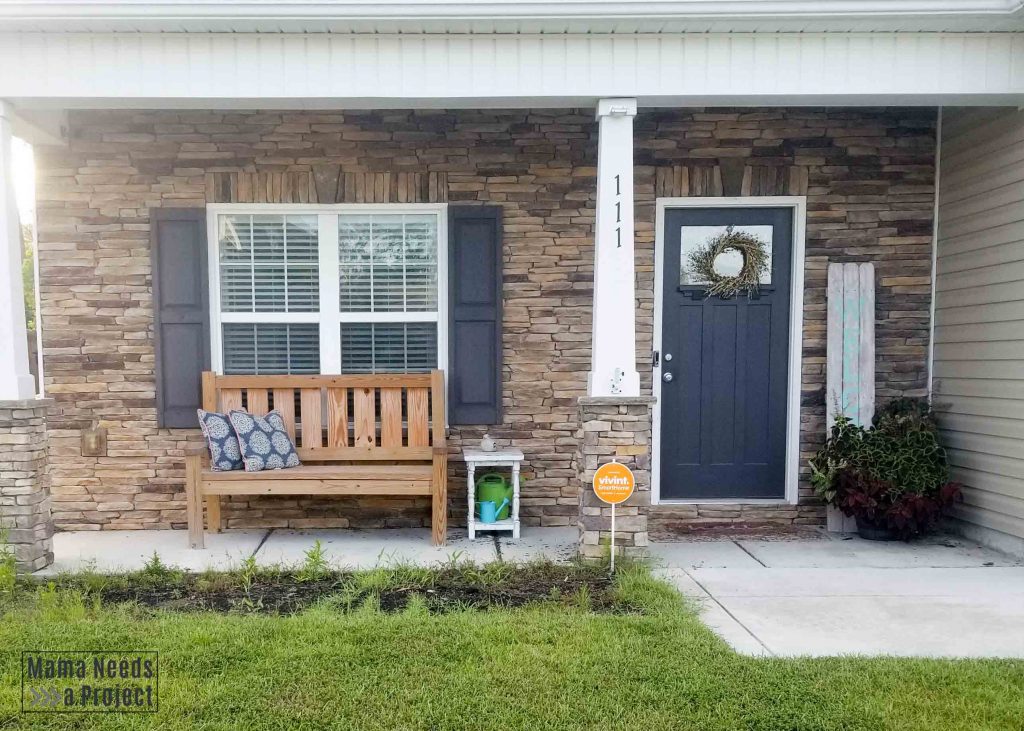
The month of September I have been working on increasing the curb appeal of my home without breaking the bank with my Budget Front Porch Makeover. Before I started my front porch was boring and my front flower bed was pretty embarrassing. See the before picture.
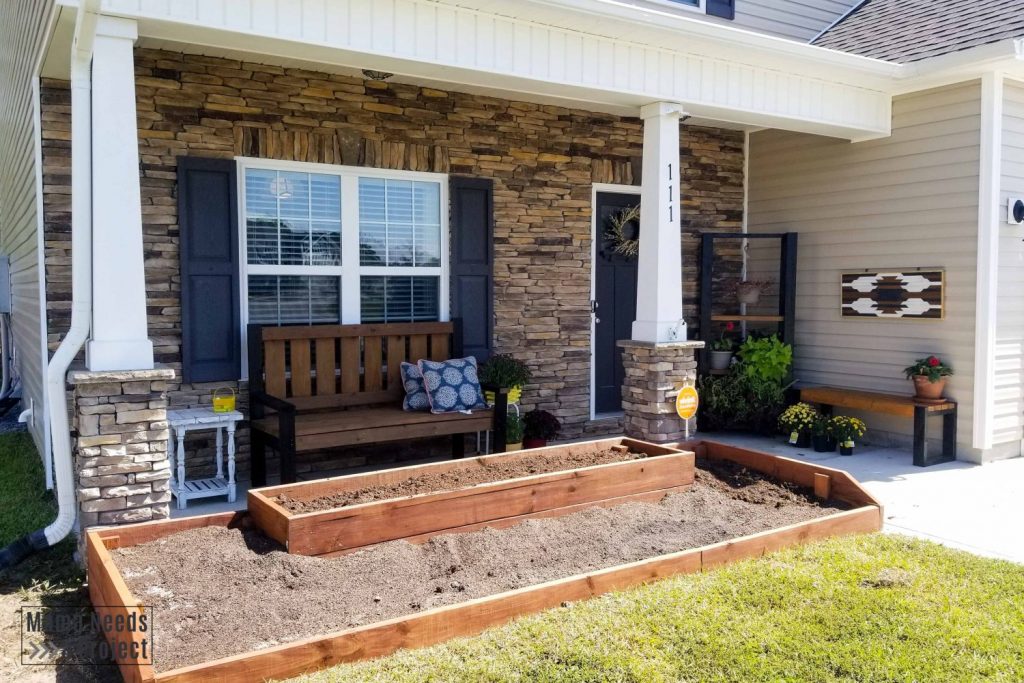
So far I’ve added a Modern 2×4 Bench, DIY Geometric Wall Art and a HUGE Raised Flower Bed. The impact has been huge! But it didn’t feel quite done.
As the month comes to a close I’m working in a few last minute projects to give this area some personality. One of those projects has been this DIY Outdoor Plant Shelf.
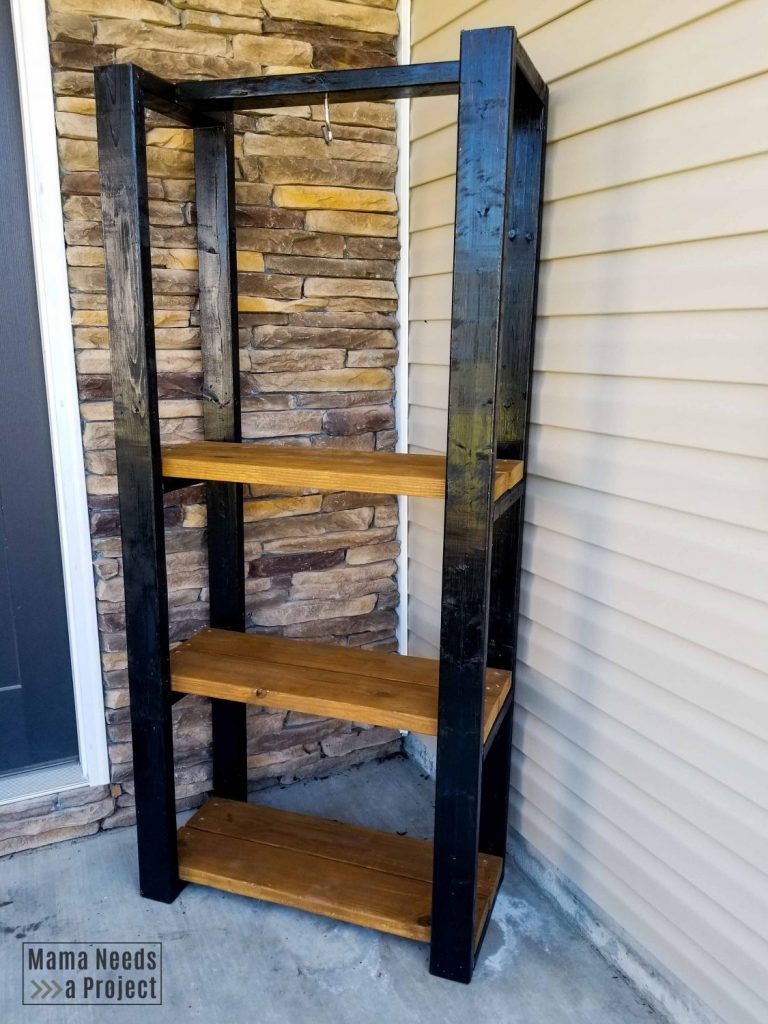
I LOVE having lots of potted plants around my home, but have struggled with figuring out where to put them all. This DIY Outdoor Plant Shelf helps to solve that problem! My favorite feature is the hook on the top for a hanging plant. Right now I have some purslane in there, but I’m picturing a lush fern or bright flowering petunias in the spring – I can’t wait!
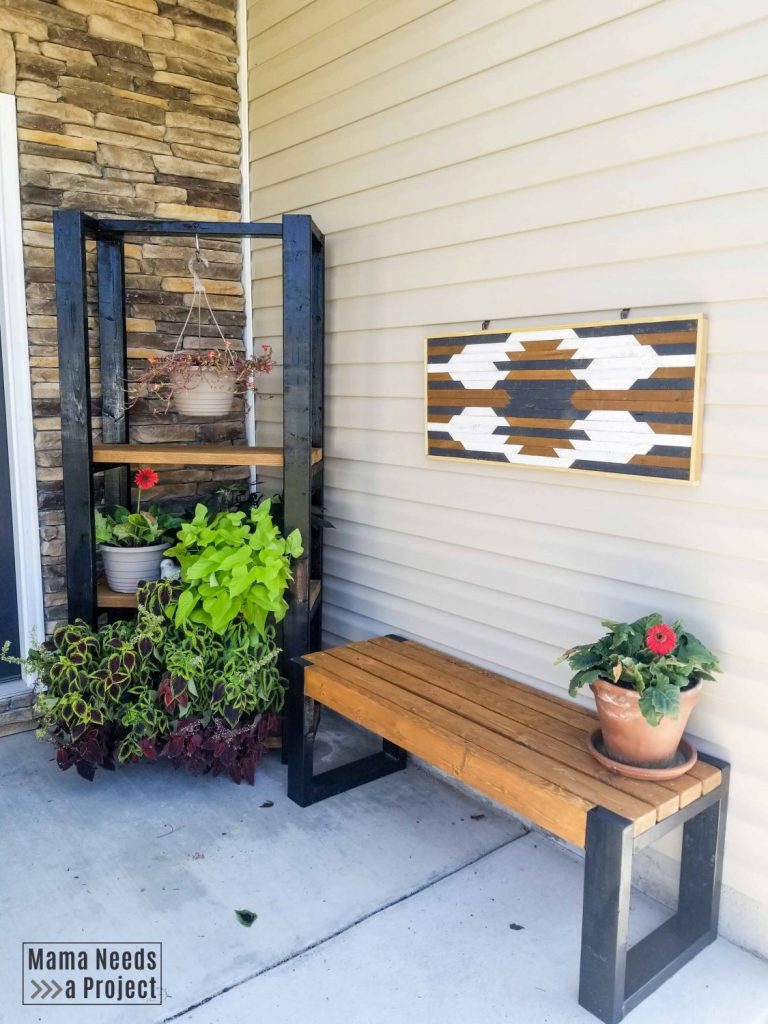
The style of this DIY Outdoor Plant Shelf, goes perfectly with the Modern 2×4 Bench and DIY Geometric Wall Art. It is so refreshing to finally have matching furniture instead of a hodgepodge of different items mixed together.
DIY Outdoor Plant Shelf Woodworking Plans
I created printable PDF woodworking plans for this project that you can grab here. Below I’ll share some building tips for this project. You can get the complete instructions in the plans in my woodworking plan shop.
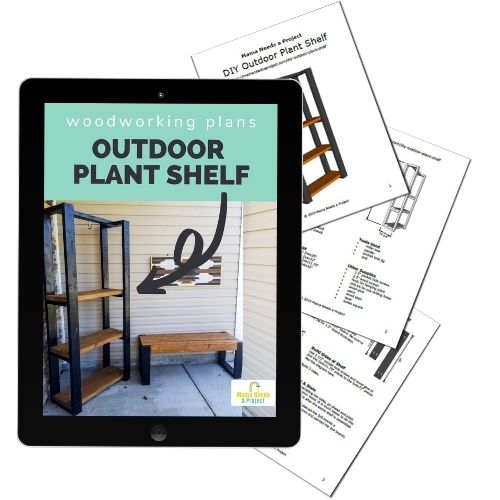
All of the woodworking plans in my shop include a lumber list, cut list and supply list. They also feature digitally rendered images and detailed instructions that walk you through each step of the build. I use easy-to-understand language that’s perfect for beginners.
*This post contains affiliate links.
Build Your DIY Outdoor Plant Shelf
Project Time
This build should take you just a couple hours. The most time consuming part will be waiting for the paint and stain to dry.
Skill Level
This is a beginner project. The only power tools you will need to use are a miter saw to cut your boards to size, a sander and a drill. You will also use a pocket hole jig. These are basic tools and there are no fancy cuts or complicated steps for this project. It’s perfect for one of your first woodworking projects!

Estimated Cost
You can build this shelf with 7 boards. In my area that was less than $30 in lumber. Lumber costs vary based on location and time of year so your costs may differ from mine.
Materials Needed
- DIY Outdoor Plant Shelf Woodworking Plans
- (5) 2x4x8 boards
- (2) 2x6x8 boards
- miter saw
- sander
- pocket hole jig (I recommend the Kreg Jig)
- drill
- 2.5″ pocket hole screws
- 2.5″ wood screws
- hook for hanging plant
- drill bits for pre-drilling holes
- wood glue
- black paint
- wood stain
- level
- speed square
- tape measure
DIY Outdoor Plant Shelf Building Tips
This is a super simple build, but here are some tips to make it a little easier. To get all of the building information grab the woodworking plans from my shop.
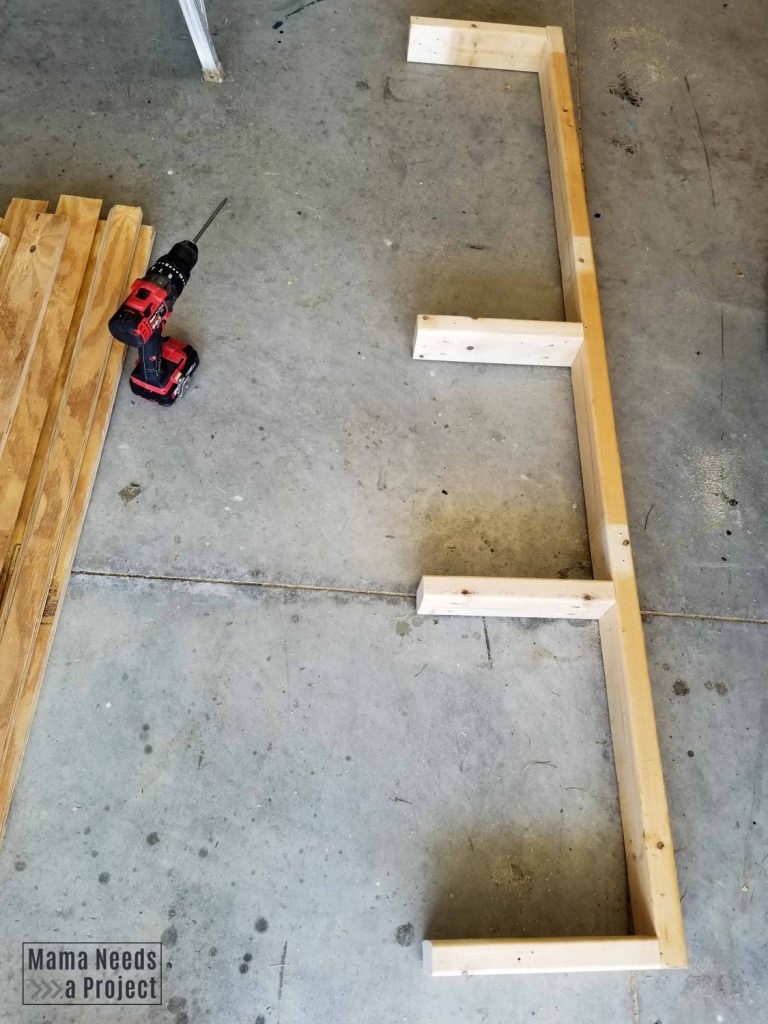
Building the Sides
The easiest way to construct the sides of the shelf is to attach all of the shelf supports to one of the long boards using wood glue and 2 1/2″ pocket hole screws. Then, attach a long board to the other side of the shelf supports.
While constructing the sides you’ll want to use a speed square to check for square throughout the building process.

Adding the shelves
During this build and my previous raised flower bed build I found that not all of the 2x6s I purchased were the same width. This can cause some problems when planning out a project. To make up for that difference, I designed the DIY Outdoor Plant Shelf with some extra room for the 2×6 shelves.
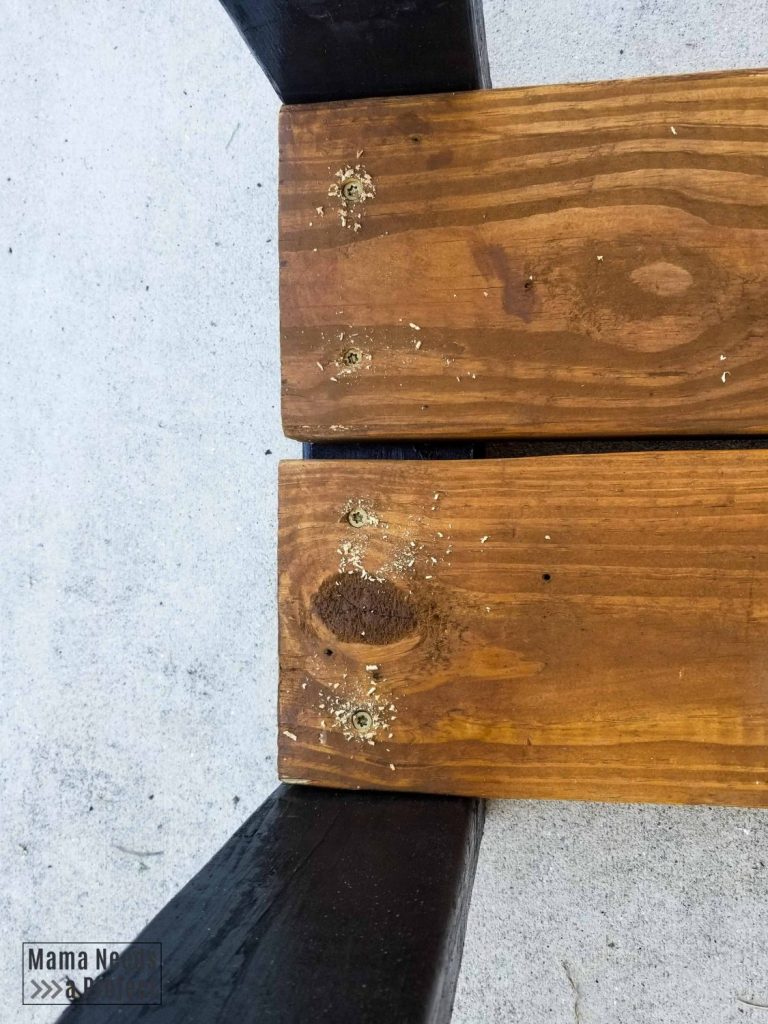
When you install your 2×6 shelf boards, line them up with the front and back of the Outdoor Plant Shelf, leaving a gap in the middle. This gap will allow you some wiggle room in case your 2×6 boards aren’t the standard 5.5” width – mine were a bit wider.
Also, the gap will allow for drainage from your potted plants so it’s a win-win.
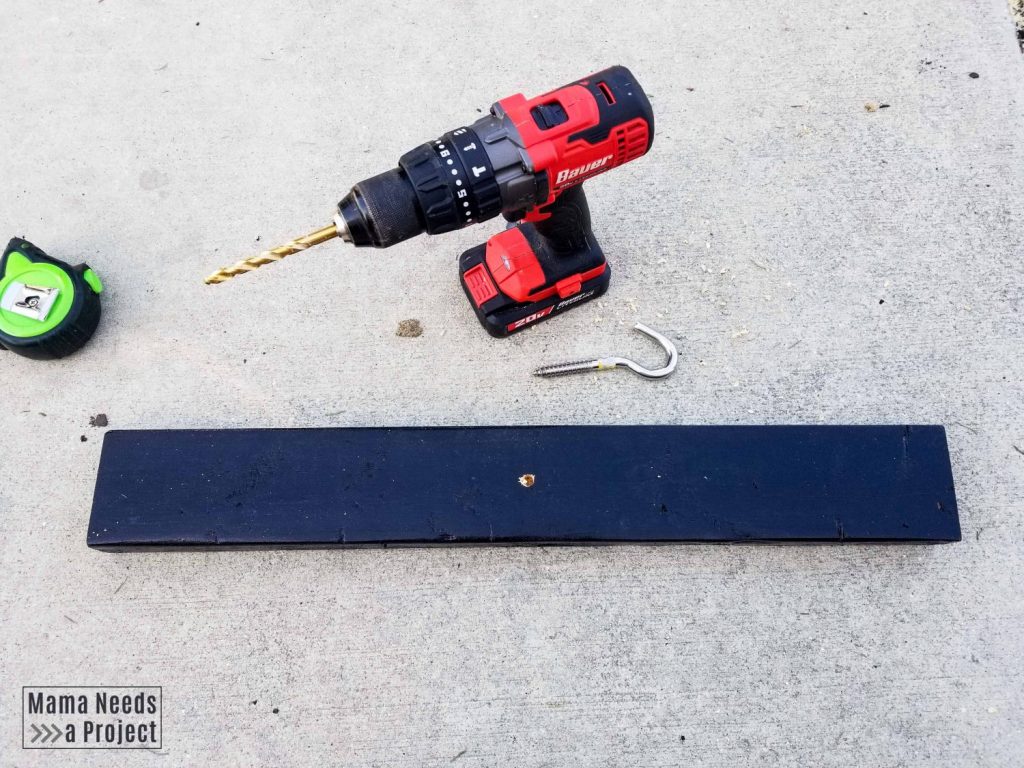
Installing the hook
I used a hook that I already had in my garage for the top of my plant shelf. It’s not very pretty, but it’s super strong.
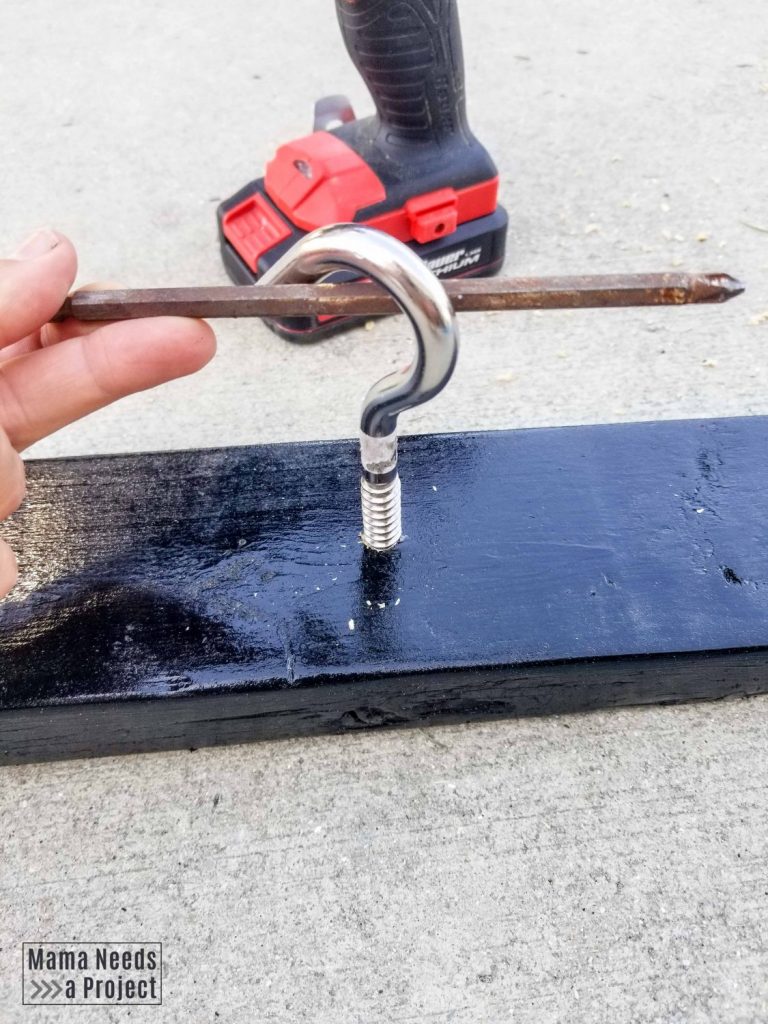
To install the hook onto the top board of your shelf, you’ll need to pre-drill a hole to screw the hook into. Use a drill bit that is the same width at the hook minus the threads. Drill a hole into your board, being careful not to drill through the board. After drilling the hole, screw the hook into the hole by hand.
This can be hard to do. A trick is to use something long, like a long drill bit, through the hook to give yourself some leverage when turning it. Here’s a picture of how I do it.
Sanding, Stain & Paint
- Sand your boards before you start building your shelf. It is so much easier and quicker to sand them first so that you don’t have to try to maneuver your sander into tight corners on a completed build. I recommend one of these wood furniture sanders that do an amazing job!
- Paint and stain before you finish constructing your shelf. This way you don’t have to worry about accidentally getting paint on the stained pieces. Paint the legs once you finish building them and stain the remaining pieces at the same time. Here are some great stains for outdoor furniture.
- The finishes I used I used a gloss black paint and Rust-Oleum wood stain in Wheat. I couldn’t find that color available, but here is a similar stain color.
Kreg Jig Tips
- When setting up your Kreg Jig to drill the pocket holes for this project, don’t forget to adjust the jig for 1 1/2” board thickness. You will need to adjust both the jig and the drill bit. (I only mention this, because I have forgotten many times.)
- Use pocket hole screws! It really does make a difference in the stability of the joint. For years I used regular wood screws in my pocket holes and only recently have I started buying and using pocket hole screws. It has made a huge difference in the quality of my projects! With pocket hole screws the joints are much tighter and there’s no wiggle. I won’t ever go back to using regular screws for pocket hole joints.

General Building Tips
- Wear all of your safety gear and know how to use your tools properly.
- Make sure you are using good quality boards. If you need some guidance for buying lumber I have a whole post about how to shop for lumber for woodworking projects.
- Use a speed square to check for square throughout your build.
- Use wood glue in all of your joints. Wood glue creates a stronger hold than just using screws and is essential to creating a sturdy shelf.
- When you attach the shelves, be sure to pre-drill your holes. Pre-drilling helps to ensure that the boards don’t split when you drill in the screw.
- You can also use a beginner table saw instead of a miter saw.
I want to hear from you!
If you build this project please, please share it with me! I love seeing your creations! You can tag me in pictures on Instagram @MamaNeedsaProject or share to my Facebook page. I can’t wait to see your project!