How to Prep Wood for Stain (EASY Step by Step Guide)
Preparing wood for stain is an essential step for any wood finish to ensure an even coat of stain on your project.
I’ve worked on countless DIY projects and can tell you from experience how important it is.
In this guide, I’ll show you exactly how to prep wood for stain the right way for your next wood finishing project. Let’s dig in!
- To prepare wood for stain, it’s best to first clean it off with mineral spirits and sand it down to get an even finish. Be sure to remove the existing finish first before applying stain.
- If you don’t prep wood properly, your stain may dry blotchy and uneven.
How to Prepare Wood for Staining
Preparing wood for staining is important because it can make the difference between a splotchy stain that looks bad, and a stain that goes on smooth and looks great.
In this guide, I’ll explain how to prepare wood for staining, from cleaning and sanding the wood to using a pre-stain wood conditioner, and I’ll offer some tips for getting the right tools and setting up your work area.
1. Cleaning Wood Before Staining
Not cleaning your wood properly before staining can result in a number of problems, such as stain that doesn’t adhere as well, or impurities that cause blotching. Depending on what type of stain you’re using, unclean wood can even result in peeling – which nobody wants.
There are a lot of methods you can use to clean the wood before staining, depending on what’s on the surface and what type of project you’re working on. You may need to use one of the following methods to clean the wood:
- If you’re staining a wooden fence or outdoor furniture, the easiest method is to hose it off.
- If the wood is really dusty, you can vacuum it off.
- If the wood has a layer of paint or polyurethane, use a paint stripper and putty knife to remove it.
- If the wood has a layer of wax, use a polish remover.
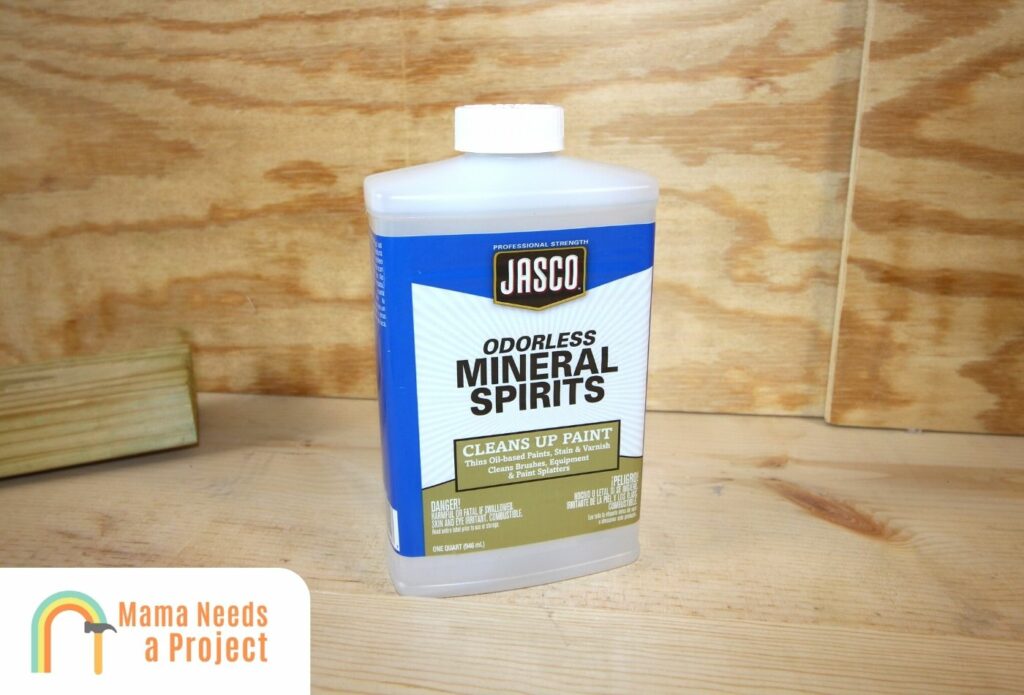
- If you’re staining a piece of furniture for the first time, you can use a rag and some mineral spirits to clean the wood.
Before you start sanding or staining wood, it needs to be free of all dirt, oils, and residues, so for the best results, take your time with this step.
2. Sanding Wood Before Staining
Next up is sanding.
Sanding wood changes how it absorbs stains and can mean the difference between an ugly, splotchy stain job and a smooth finish. I’ll explain more about sanding preparation and how to use sandpaper, plus I’ll offer some tips on sanding different species of wood.
Sanding Preparation
Once your wood is clean and dry, you can start sanding.
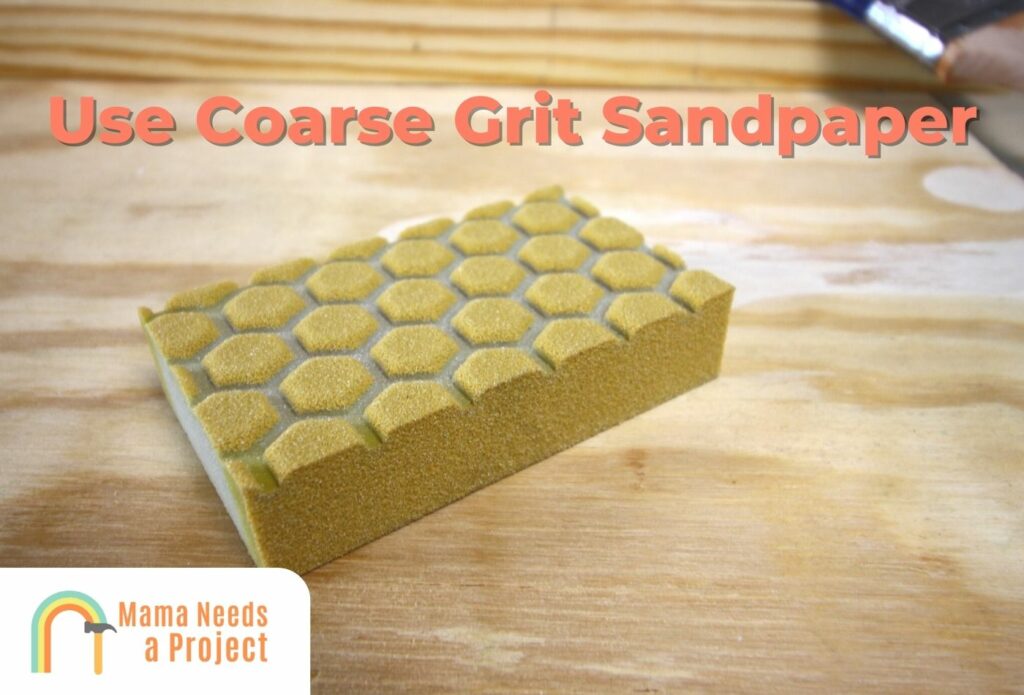
Start with a rough sandpaper grit and work your way to a finer grit. To make this job easier, use an orbital sander. You can also sand by hand with a sanding block or sanding sponge.
If you’re using a gel stain over an existing finish, you can lightly sand the surface to scuff it so that the gel stain will adhere to the wood. However, for most wood staining projects, you need to have a wood surface that is completely clean and dry before you can start sanding.
Using Sandpaper
When using sandpaper on wood prior to staining, you don’t want to over-sand because it can seal the wood and interfere with the absorption of stain. Depending on the species of wood, start with 120-grit sandpaper and work up to about 150 or 180 for the final sanding.
Finer sanding will result in a lighter color of stain, but you’ll have a smoother, more polished finish. Here are some different grits of sandpaper and their uses:
- Very coarse sandpaper– under 30 grit- for rough wood
- Coarse sandpaper– 36 to 50 grit- for distressing wood for different staining effects or for rounding out corners and smoothing end grains
- Medium sandpaper– 60 to 100 grit- best grit to start most wood projects to remove rough textures
- Medium fine sandpaper– 120 to 220 grit- for finish sanding before applying stain
- Very fine sandpaper– 240 to 600- for polishing after staining
As you sand, move with the grain of the wood and maintain steady pressure on the wood surface. One trick I like to use is to scribble a pencil line across the surface of the wood. Starting with medium grit sandpaper, continue to sand until the line is gone, then move to finer grit for the final sanding.
You can also use liquid sandpaper to even the surface of your wood.

Sanding Different Wood Species
It’s important to understand how to sand different types of wood species. Hardwoods are more resistant to sanding, and the hardness of the wood will affect how it accepts stains.
Here are some general guidelines for sanding different types of wood, from the first sanding to the final sanding:
- Oak, maple, birch, fir, white ash – 120, 150, 180
- Mahogany, walnut- 150, 180, 220
- Pine, cherry – 120, 150, 220
3. Using Pre Stain Wood Conditioner
For a beautiful, smooth stain, I like to use pre stain wood conditioner. It can be applied to every species of wood to ensure an even coat, but it’s even more important for wood staining projects made with softwoods like pine and porous hardwoods like maple, oak, hickory, and ash.

- PRE-STAIN TREATMENT FOR ALL WOOD – Ensure wood projects look great with Minwax Pre-Stain Wood Conditioner….
- PREVENT BLOTCHES – By Minwax Pre-Stain Wood Conditioner prior to staining with oil-based wood stains, you…
- ASSURES EVEN STAIN PENETRATION – Wood is porous, and tends to absorb stain unevenly. But this wood…
Pre stain wood conditioner works by stabilizing the grain and allowing the wood to soak up the stain in a more consistent fashion. The main goal when using pre stain is to avoid blotchy staining, which will help the stain bring out the natural beauty of the wood grain.
There are water based and oil based wood conditioner products available. Since oil and water don’t mix, use oil based wood conditioner with oil based stain and water based conditioner with water based stain.
Apply wood conditioners after you clean and sand the wood surfaces of your project. Either wipe it on with a rag or apply with a foam brush, aiming for an even application. After you apply it, wait five minutes and wipe away whatever excess is left on the wood.
You can apply stain anywhere from 15 minutes to 2 hours after applying pre stain wood conditioner. Read the manufacturer’s instructions for more details about the wood conditioner you’re using.
Application Methods for Staining Wood
Wood stain can be applied in various ways, and choosing the right one depends on factors like the scope of your project, the type of wood you’re working with, and the type of stain you’re using.
Rags
A lot of woodworkers swear that using a rag is the best way to apply wood stain, and there are many advantages to using this method. Always use a lint-free rag if you’re going to apply stain this way, and protect your skin and hands with gloves.
Stain pads are an improved version of staining with rags. These lint-free MaKRS Stain Pads are perfect for staining wood because they have a foam core and are covered with a microfiber cloth.
There are some pros and cons to using rags to apply wood stain that you’ll want to consider.
First, they provide a smooth, even finish without brush strokes, making it easy to work the stain into the wood. And best of all, you can throw the rag away when you’re done for an easy clean up.
Conversely, there are some disadvantages to using a rag to apply wood stain. It takes a lot longer to apply wood stain on large projects with a rag, but it’s still faster than using a brush. Remember that the longer you leave the rag on the wood surface, the darker the stain will be.
Brushes
Applying stain with brushes is the best choice when you’re working on smaller projects or there are hard-to-reach areas. Brushes can be used for large projects, but it’s a much slower process than if you use a paint sprayer or roller.
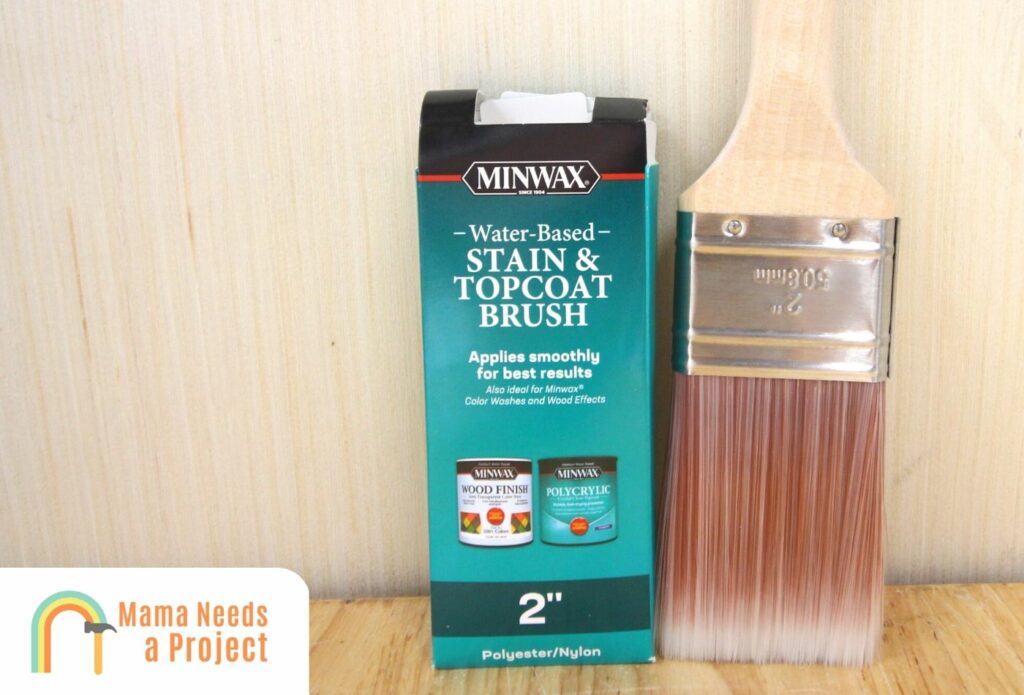
Brushes come with either natural or synthetic bristles, and the type you choose will depend on the type of stain you’re using. Natural bristles work best for oil based stains, and since they are easier to clean than synthetic bristle brushes they tend to last longer I’ve found. You can check out my list of the best brushes for staining wood for more help finding the right brush for your project!
A synthetic bristle brush is less expensive, and they don’t become limp like natural bristles do. You can use synthetic bristle brushes for either oil or water based stain which can come in handy.
Here are some tips for using brushes to apply wood stains:
- Use a foam brush to get in the nooks and crannies of your project, then wipe off excess stain before switching to a regular brush.
- Go with and against the grain to work the stain into the wood. Always finish a section of your project by going in the direction of the grain.
- Apply thin coats to avoid drips, and wipe away excess stain if you accidentally use too much.
Sprayers
Sprayers generally work better with thinner wood stains, but they are a great way to get an even finish and professional results. Sprayers are the perfect choice when working on a large wood staining project like decks, fences, and exterior wood siding.
You don’t have to spend an arm and a leg buying an expensive professional airless sprayer, but those are the best for applying thick, viscous wood stains. The only disadvantage of airless sprayers is that they are hard to clean.
For many DIYers, you can use a pneumatic sprayer or an HVLP (high volume low pressure) sprayer. Because water based wood stains are easier to clean up than oil based stain, they are often a better choice for DIYers who are applying stain with a sprayer for the first time.
Rollers
Rollers are another method used for large-area projects like wood floors and decks. When you’re using rollers to apply wood stains, you must choose the right type of roller for the stain that you’re applying.
For oil based wood stain, the best roller to use is a natural fiber roller. However, natural fiber rollers tend to get matted when you use them with water borne stains.
Synthetic rollers, on the other hand, can be used with either water based stains or oil based wood stains.
Rollers come with varying nap lengths, and the best one for your project depends on the texture of the wood surface. Choose a roller with a 3/16 to 1/4 inch nap for smooth surfaces, and use a longer nap like 3/8 to 1/2 inch for rough surfaces. If you’re applying stain to weathered exterior wood on a fence, you may need an even longer nap but be aware that you’ll use a lot more stain.
Just like when you use a roller for painting, you’ll need to have a brush handy for those hard-to-reach areas.
Selecting Stain Colors
Choosing the perfect wood stain color can be fun and exciting, but it can also be challenging if you’re trying to match your stain to existing furniture or floors. Here are some tips to guide you in the stain-matching process.
Choosing the Perfect Wood Stain Color
Choosing the perfect wood stain color for your home, whether for outdoor furniture or indoor applications, requires attention to the desired outcome. How do you want your home to feel?
By choosing warm or cool wood undertones, you can impact the atmosphere of your home. Warm colors make your home feel cozy and inviting, while cool colors make it feel calm and serene.
Matching Existing Stain Colors
If you’re trying to match or complement existing stain colors, it’s a little more challenging than just picking out a color you like. Matching existing stain colors is a complicated process and can take several attempts to get it right.
Testing the Color of Your Stain
Once you find a stain you like, test it before you use it because how it looks on a brochure can be quite different than how it looks on your wooden fence, for example.
When testing the color of your stain, prepare the wood the same way as the rest of your project. Then, apply one coat and let it dry completely. After the first coat, if you want a darker color, you can apply a second coat.
Keep in mind that the finish you use on top of the wood stain will also affect the final look.
Are you searching for a way to stain wood like a pro? Check out the video below!
Final Thoughts
When you stain wood, prepping it ahead of time is key for a great looking finish.
Sometimes, preparing the wood for stain can take longer than the actual staining, but don’t skip it! Trust me, you’ll thank me later.
All you need to do is clean off the wood with a rag, sand it down, remove any sanding dust, and apply a wood conditioner (optional) to get the best results.