How to Use Liquid Sandpaper (EASY Step by Step Guide)
When it comes to woodworking – sanding is part of the job.
And while traditional sandpaper can get the job done, it’s one of the messiest, dustiest, and nastiest parts of woodworking. Therefore, liquid sandpaper was invented to circumnavigate this mess and hassle, creating a new way to remove the glossy sheen of a stained or painted surface.
In this guide, I’ll explain exactly how to use liquid sandpaper to smooth uneven surfaces and prep it for a new coat of paint or stain. Let’s dig in!
How Does Liquid Sandpaper Work?
As the name implies, liquid sandpaper is not like traditional block or paper sandpaper. It’s a liquid made up of a chemical solution that includes naphtha, ethyl acetate, ethyl alcohol, and potentially tri-sodium phosphate, along with other chemicals and ingredients.
Thanks to this concoction of chemicals and ingredients, liquid sandpaper works by eating away at the glossy surface of paints over stains. It can then eat away at any base layers but does not eat into the wood, resulting in damage.
Liquid sandpaper works very similarly to how acid works when it gets poured on something. It dissolves paints and stains, allowing you to apply a fresh coat of finish to your wood surface.
What’s the Difference Between Liquid Sandpaper and Regular Sandpaper?
The main difference between liquid and regular sandpaper is that one is a liquid, and the other is a solid. They also feature different paint and stain removal methods, as liquid sandpaper dissolves finishes, while traditional sandpaper roughly scrubs it off.
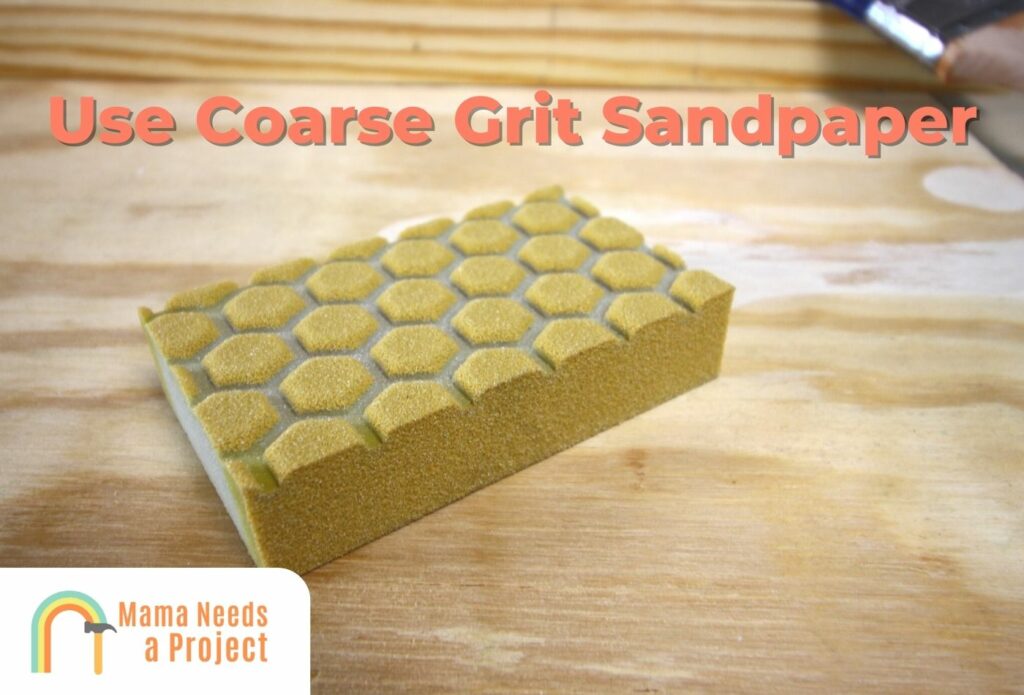
Traditional and liquid sandpaper also have different uses because of how they work. For instance, because liquid sandpaper is more of a deglosser, you can’t use it to smooth uneven surfaces or really dig into the grains of wood surfaces to correct imperfections.
Instead, for heavy-duty sanding, you will need to use traditional sandpaper rather than the liquid kind.
How to Use Liquid Sandpaper Properly
1. Prepare the Surface For Application
Before pouring out liquid sandpaper and letting it do its job, you first have to get the wood surface ready to receive the chemicals. To do this, use warm water with a dash of dish soap and a clean cloth to wipe down the surface.
Next, let the surface air dry, or speed up the process by wiping it down with a lint-free cloth. You don’t want to leave any threads or fibers behind, so using a lint-free cloth is crucial.
If the surface is wet or moist in any way, it could keep the liquid sandpaper from doing its job.
2. Apply the Liquid Sandpaper

When the surface is nice and dry, go ahead and pour some of the liquid deglosser/sandpaper into a fresh, lint-free cloth. You don’t want to pour the solution directly onto the wood because it’s harder to rub in, and you risk oversaturating the wood.
When the cloth is nice and damp, use circular motions to wipe the liquid sandpaper onto the wood surface. Don’t worry about rubbing too hard or vigorously with the cloth because liquid sandpaper won’t work any better just because you rubbed it in harder.
Make sure to cover every square inch of the wood surface, including nooks, crannies, corners, and other hard-to-reach areas.
3. Use a Rag to Wipe It Dry
After applying the liquid sandpaper, follow the instructions on the bottle regarding how long to let the sandpaper sit. After the prescribed amount of time, use a fresh, lint-free cloth to wipe the liquid sandpaper dry.
While you don’t rub overly hard, you can be a little more aggressive than you were when you applied the sandpaper. How hard you should scrub will vary from one product to another, so check the instructions again for exact details.
4. Perform an Inspection
Once you’re done drying and rubbing the surface, step back and take stock of your work so far. If it looks like the surface is scuffed up and enough of the sheen has been removed to apply a fresh coat of paint, you’re work is finished.
However, if you think there’s still too much of a sheen or finish on the wood, you can apply more liquid sandpaper and repeat steps 2-3 above. In most cases, however, if you have a good liquid deglosser, a single application will get the job done.
5. Proceed With Your Project
If you’re satisfied with your work, you can go ahead and apply a fresh coat of paint or stain to the wood surface.
Pros and Cons of Liquid Sandpaper
Pros
Speed
One of the biggest downsides of traditional sanding is that it’s a very time-consuming process. You need to get the wood surface ready and then vigorously scrub it for anywhere from several minutes to several hours, depending on the scope of your project.
On top of that, there’s a lengthy clean-up process after you’re done sanding to remove dust particles and sawdust. You also need to be methodical and calculated with your sanding strokes so that you don’t damage the wood.
With liquid sandpaper, however, you briefly prep the surface, apply the liquid sandpaper, and sit back while it does the work for you. If you’re working on multiple projects, you can use the sandpaper’s drying time to get started on other jobs.
Ease of Use
In terms of which option is easier to use, there’s no comparison between liquid sandpaper and traditional options. Liquid sandpaper doesn’t require any intense sanding, and you don’t have to be nearly as meticulous.
Even if you use a power sander that does the work for you, you still need to be careful not to over sand an area or apply too much pressure. You don’t have to worry about any of these things with liquid sandpaper, as it’s produced specifically to degloss rather than sand down.
Less Mess
While liquid sandpaper is faster and easier to use than traditional sandpaper, the biggest advantage of using liquid is that it doesn’t create a mess. Even the most experienced of professionals can’t get around the fact that sanding produces dust particles and sawdust, which are both messy and bad for your lungs.
Therefore, if you don’t want to spend as much time cleaning up after yourself as you do actually sanding, liquid sandpaper is the way to go.
Increased Versatility
Another advantage that liquid sandpaper has over traditional sandpaper is that it isn’t limited to flat, wooden surfaces. As a deglosser, you can apply liquid sandpaper to many different surfaces if your only goal is to remove a layer of finish, paint, or stain.
This means you can use it on copper, iron, and metal surfaces, among others. Additionally, you can also apply liquid sandpaper to nooks and crannies that are difficult to reach with a hand or power sander.
Perfect For Certain Projects
Finally, when it comes to deglossing arts, crafts, and other detailed projects, liquid sandpaper is superior to traditional sandpaper. You don’t have to worry about scrubbing too hard or being too aggressive with liquid sandpaper because it merely removes the surface coat of wood.
Using a hand or power sander could damage the fine details of ornate objects if you aren’t careful.
Cons
Can Be Dangerous
The biggest downside of liquid sandpaper is that it is a highly volatile and potentially dangerous liquid. The same chemicals and ingredients that make it an excellent deglosser also make it flammable, toxic, and downright dangerous.
Therefore, you should never let liquid sandpaper come into contact with your skin or hair. You should also avoid inhaling the fumes, as these are terrible for your lungs.
Isn’t Right For Every Job
Additionally, because of how liquid sandpaper works, it isn’t right for every job. In the same way that it’s better than traditional sandpaper for certain projects, there are certain things liquid sandpaper can’t do.
For instance, if you are sanding something with the intention of smoothing uneven surfaces or correcting physical defects, you can’t use liquid sandpapers. Only by applying pressure with the rough edge of standard sandpaper can you remedy these issues.
Safety Considerations When Using Liquid Sandpaper
As I briefly touched on, liquid sandpaper has a volatile, toxic nature. Therefore, it’s important to protect yourself, your loved ones, and your pets if you plan to use liquid sandpaper for a household project.
Wear Protective Gear
Step one of protecting yourself is to wear proper protective gear. Failing to do so will put you at risk of burns, inhaling toxic fumes, or damaging your eyes. Here’s a list of protective gear you should wear and why it’s important.
- Safety goggles because a single drop of liquid sandpaper to the eye can cause temporary or permanent blindness.
- A respirator because inhaling liquid sandpaper fumes can cause breathing difficulties, asthma flare-ups, and permanent lung damage.
- Gloves because accidentally spilling liquid sandpaper on your hands can burn and irritate them. Additionally, because you need to apply liquid sandpaper using a rag that’s coated in it, there’s a 100% chance that you’ll make some contact with these dangerous chemicals.
Ventilation
Proper ventilation and airflow are extremely important any time you are working with chemicals. Applying liquid sandpaper in an unventilated area will result in the fumes hovering in place, waiting to get inhaled by anyone who passes by.
Ventilation will also help the sandpaper dry at the right speed so that it doesn’t pool on top of the wood or saturate too quickly.
Flammability
It’s important to note that all types of liquid sandpaper are highly flammable since they contain ethyl alcohol and ethyl acetate. Therefore, you should never use it near an open flame or heat source.
Proper Storage and Disposal
Keeping flammability in mind, it’s also important to store your liquid sandpaper in a cool, dry area that isn’t exposed to much heat or open flames. While liquid sandpaper isn’t considered explosive, it can act as an accelerant if a fire breaks out.
Additionally, once you’re finished with an empty liquid sandpaper container, or it has expired, you must dispose of it properly. Never pour liquid sandpaper down a residential or commercial drain or throw it into the trash.
Instead, dispose of it at a nearby hazardous waste facility or site. Pouring it down the drain or directly into the ground could lead to it getting into the local water supply, which is toxic and extremely dangerous.
These same waste tactics also apply to the rags and cloths that you use to clean, dry, and apply liquid sandpaper.
Are you wondering what your project would look like after applying liquid sandpaper? Check out the video below!
FAQs
Can you use liquid sandpaper on particle board?
While you can use liquid sandpaper on a wide range of surfaces, you can’t use it on particle board. Because of its composition, particle board is very dry and will absorb liquid sandpaper if you try to use it.
Are you supposed to wipe off liquid sandpaper?
Regardless of what type of liquid sandpaper you use, you will always have to wipe it off. However, it’s important to wait for the recommended amount of time to wipe it off, or it won’t have the desired effect.
How long does liquid sandpaper need to sit?
There are many types of liquid sandpaper, and they don’t all have the same dry times. In general, however, liquid sandpaper will need to sit for 5 to 15 minutes. Klean Strip Liquid Sandpaper, for example, has a drying time of 10 minutes before you can wipe it off.
Final Thoughts
As long as you take the proper safety precautions, it’s fairly easy to use liquid sandpaper. The important things to remember are that you need to apply it to a clean, dry surface, let it sit for the recommended amount of time, and apply it thoroughly to every inch of the surface.
As long as you follow these steps and wipe it completely dry once it has done its job, you can use liquid sandpaper on a wide range of surfaces and for many projects. Just remember that liquid sandpaper is highly volatile and should be used, stored, and disposed of responsibly.