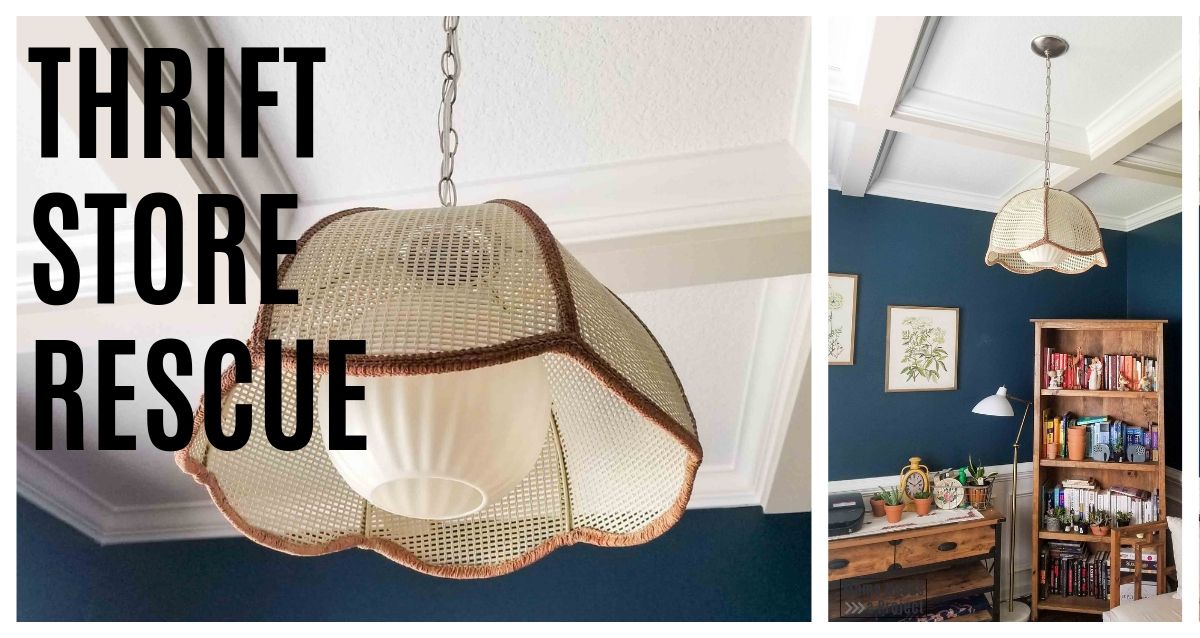
Vintage Swag Lamp | Thrift Store Rescue
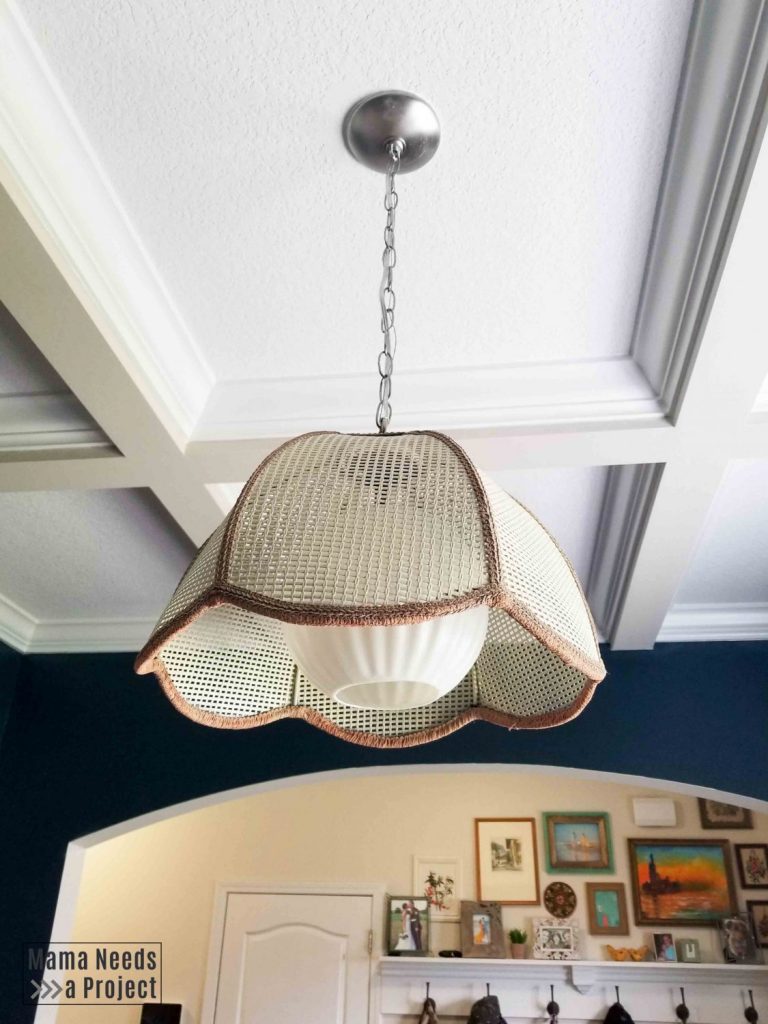
On one of my recent thrift shopping trips I spotted this adorable vintage swag lamp! I HAD to have it!

I don’t often have that reaction, but this lamp totally spoke to me. And, it said, “Hi Emilee, I’m the vintage lamp of your dreams. Buy me now or live out your remaining days in soul crushing regret.”
Who can argue with that?
So I checked the price tag and much to my delight this dusty little beauty was listed for only $15!
I couldn’t believe my luck! I powerwalked to the front of the store, roped a tall person into getting the lamp down for me, tucked my treasure securely in my cart and spend the rest of the day living on Cloud 9.
That’s how everyone reacts to finding an amazing deal, right?
Cleaning a Vintage Swag Lamp
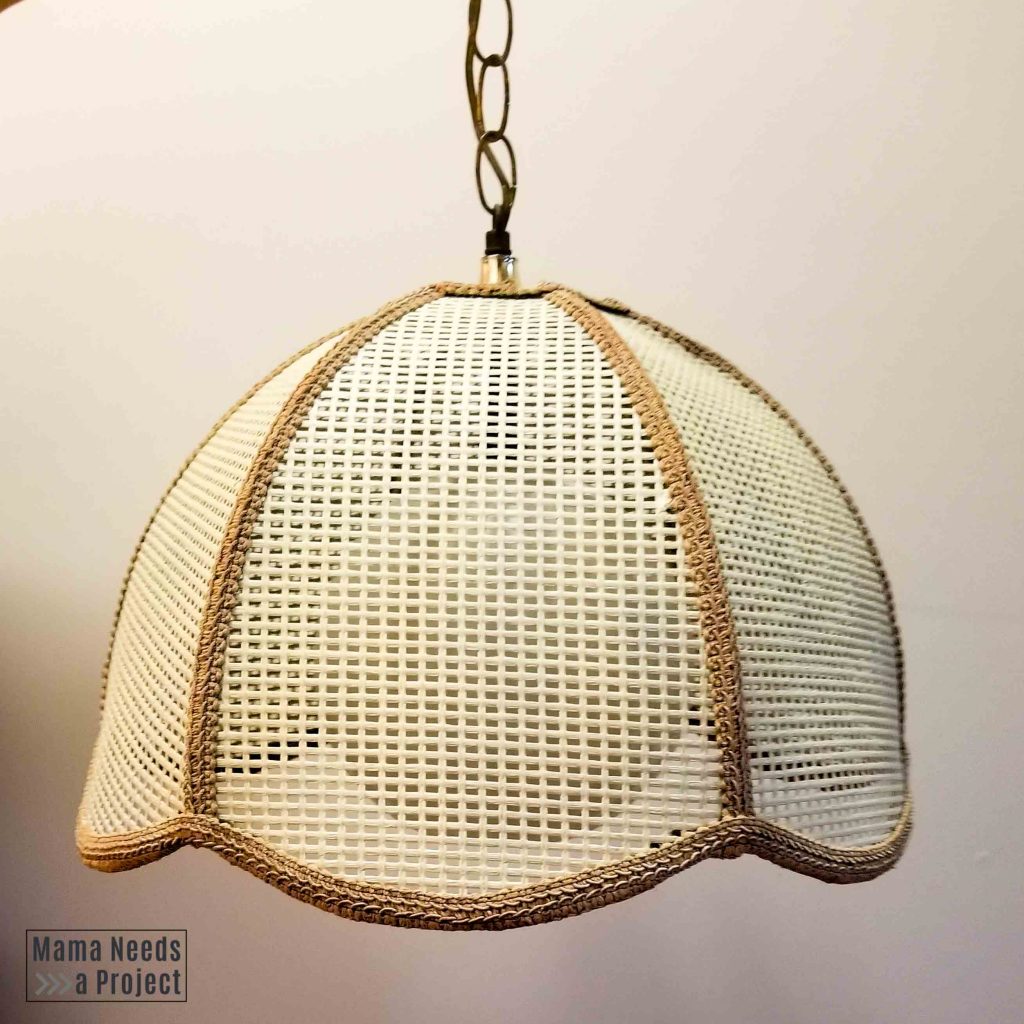
There were YEARS of dust and grime on this vintage swag lamp. The shade was dusty and the chain and cord were sticky with grease. I’m guessing this baby had been hanging in someone’s kitchen. Plus, it had that old musty smell that comes along with buying vintage items.
But even with how gross this hanging lamp was, cleaning it was fairly quick and easy.
Clean the shade
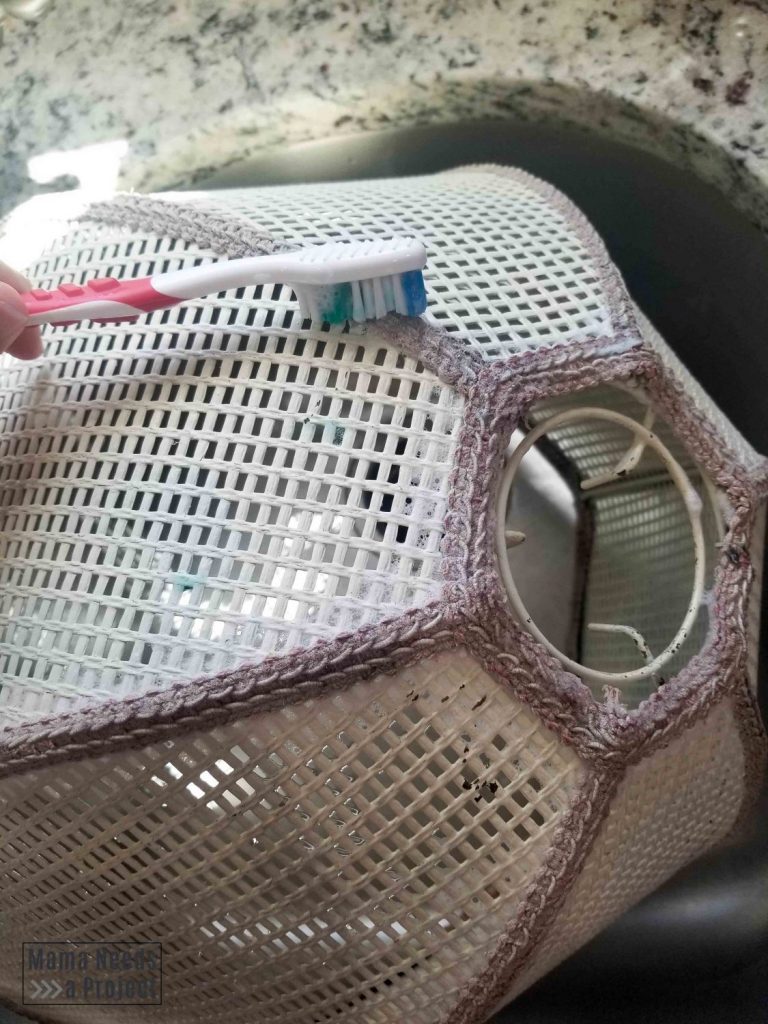
I cleaned the shade with water, Dawn dish soap and a soft bristle toothbrush. Cleaning it not only helped to remove the dirt, but also dulled the musty smell that was lingering on the shade.
First, I cleaned my kitchen sink and then filled the sink about a quarter of the way full with water. Then, I added a few squirts of Dawn dish soap. I dipped the lamp shade into the water, turning it until all of the sides were wet. I tried not to leave any part of the shade in the water for too long.
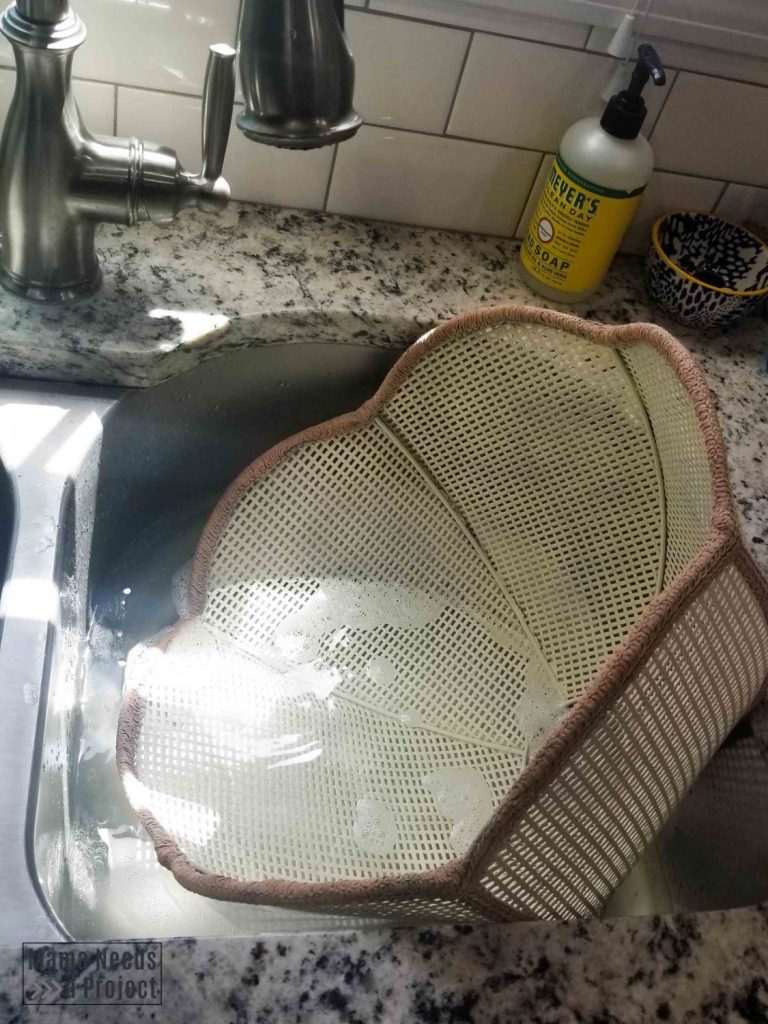
Once it was all wet, I got to scrubbing. The dust came off of the wicker right away. It was much more difficult to clean the fabric trim. The fabric that made up the trim was starting to come apart from age so I wasn’t able to do much scrubbing. Instead I settled for gentle scrubbing and rinsing for the trim. I wasn’t able to get it completely clean, but at least I got much of the dirt off.
When I was done cleaning the lampshade I set it out in the sun for a couple hours to dry.
Clean the chain
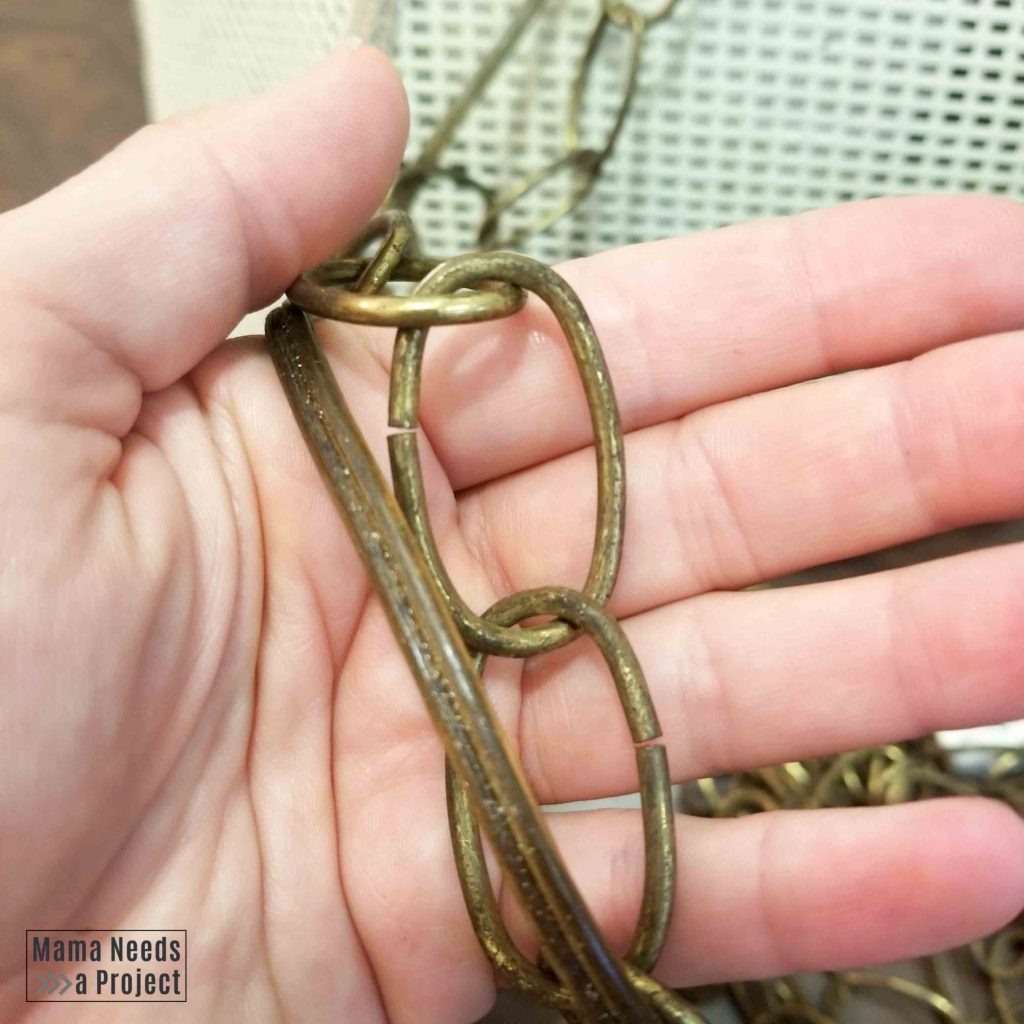
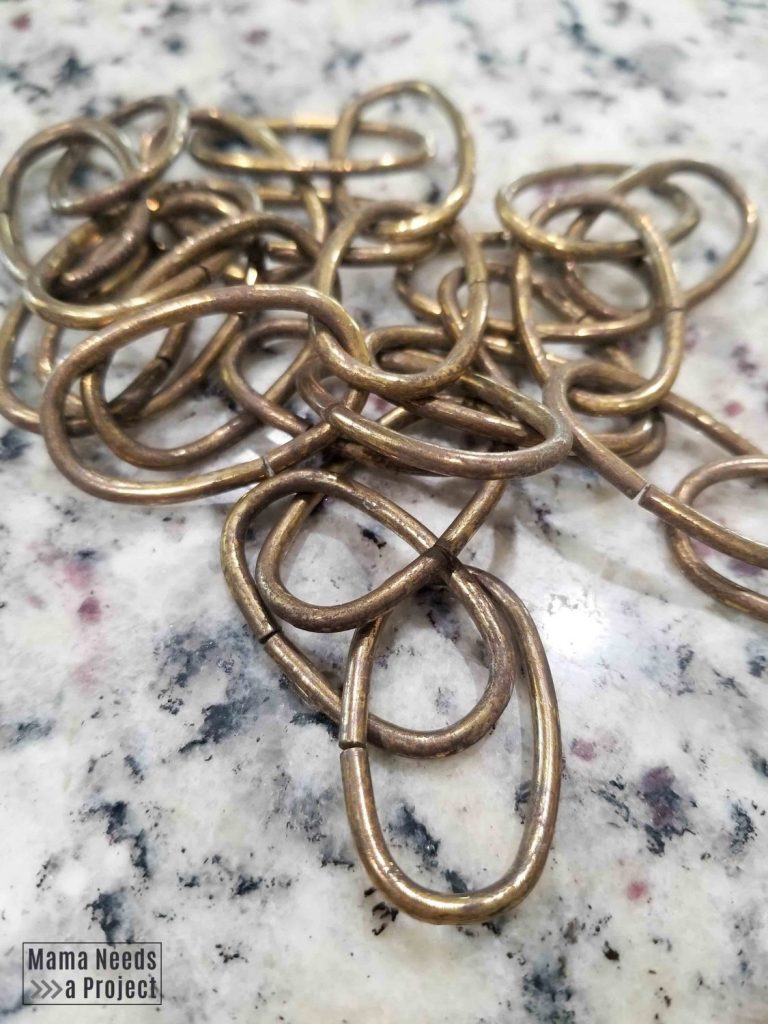
The chain and other hardware attached to the lampshade were brass. The chain was incredibly dirty. It was sticky and completely tarnished and black in some areas.
I cleaned the chain the same way I cleaned the brass handles in this tutorial. I’ll go over it quickly here, but you can find more in-depth instructions in that post.
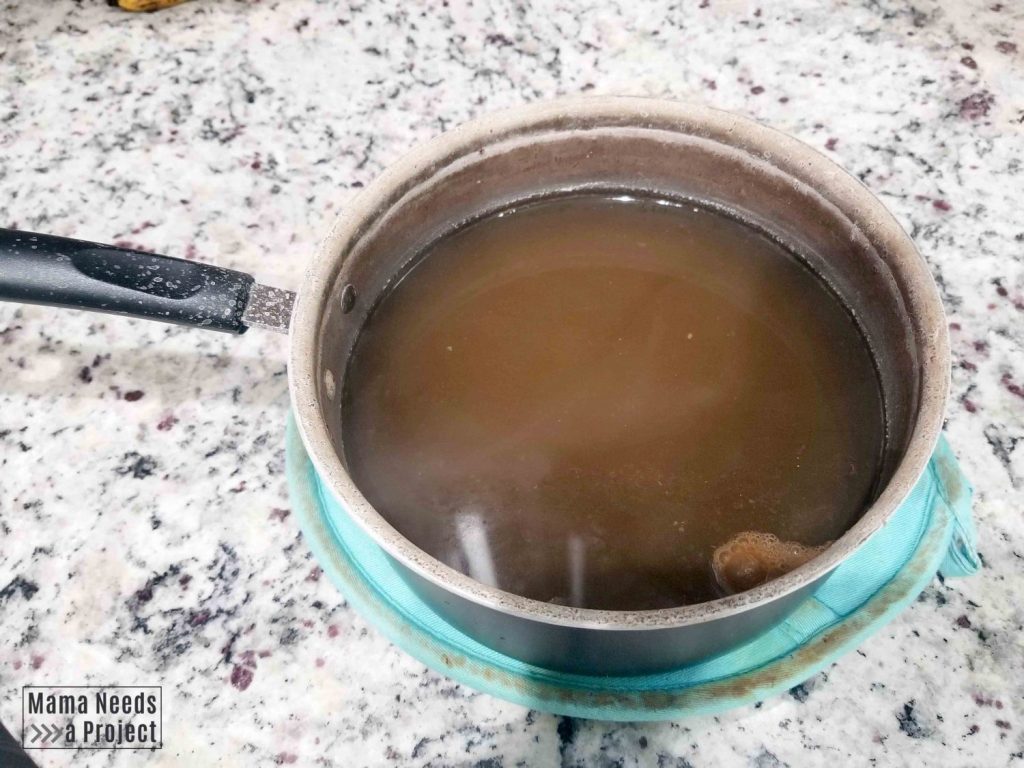
To clean the chain I dipped it into a pot of boiling water with baking soda. The dirt instantly started coming off of the chain and it completely got rid of the stickiness. After removing the chain from the boiling water, I gave it a quick scrub with the toothbrush and some dish soap.
When it came time to hang the lamp we actually ended up using the chain from our old light fixture so all of this cleaning wasn’t necessary, but I’m sure I’ll find another use for it.
Rewiring
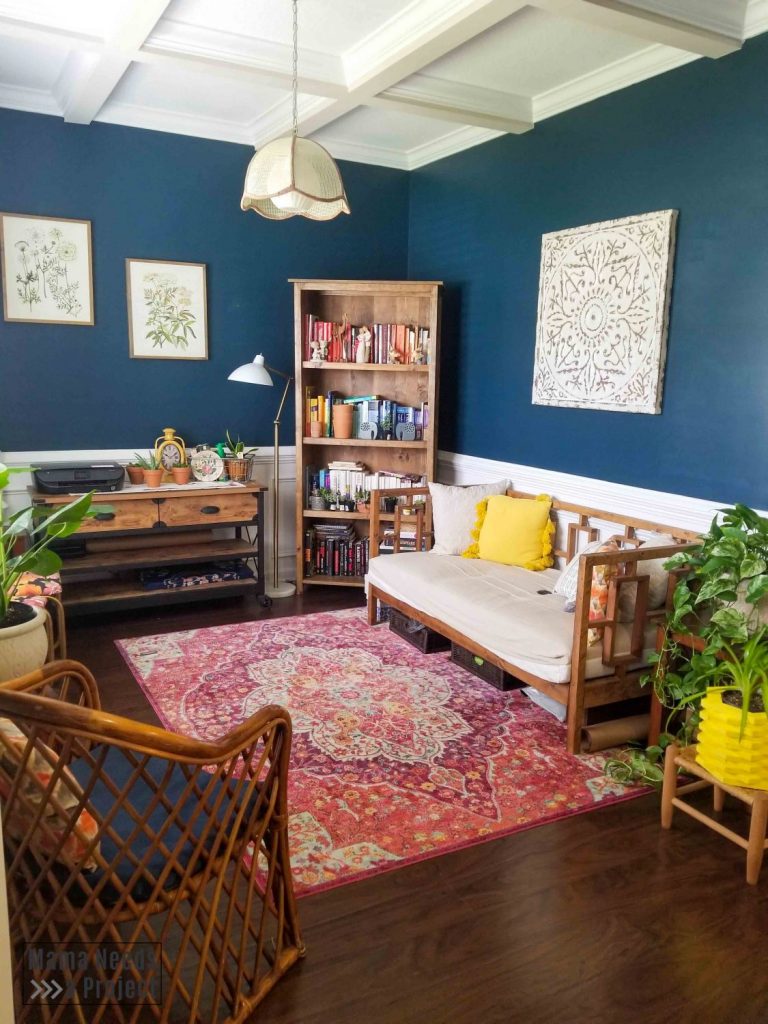
After changing my mind several times, I decided the best place for my new light fixture was in the room at the front of our home that I very creatively call “The Front Room.” The vintage lamp replaced the builder grade light fixture that has been hanging in that room since we moved in.
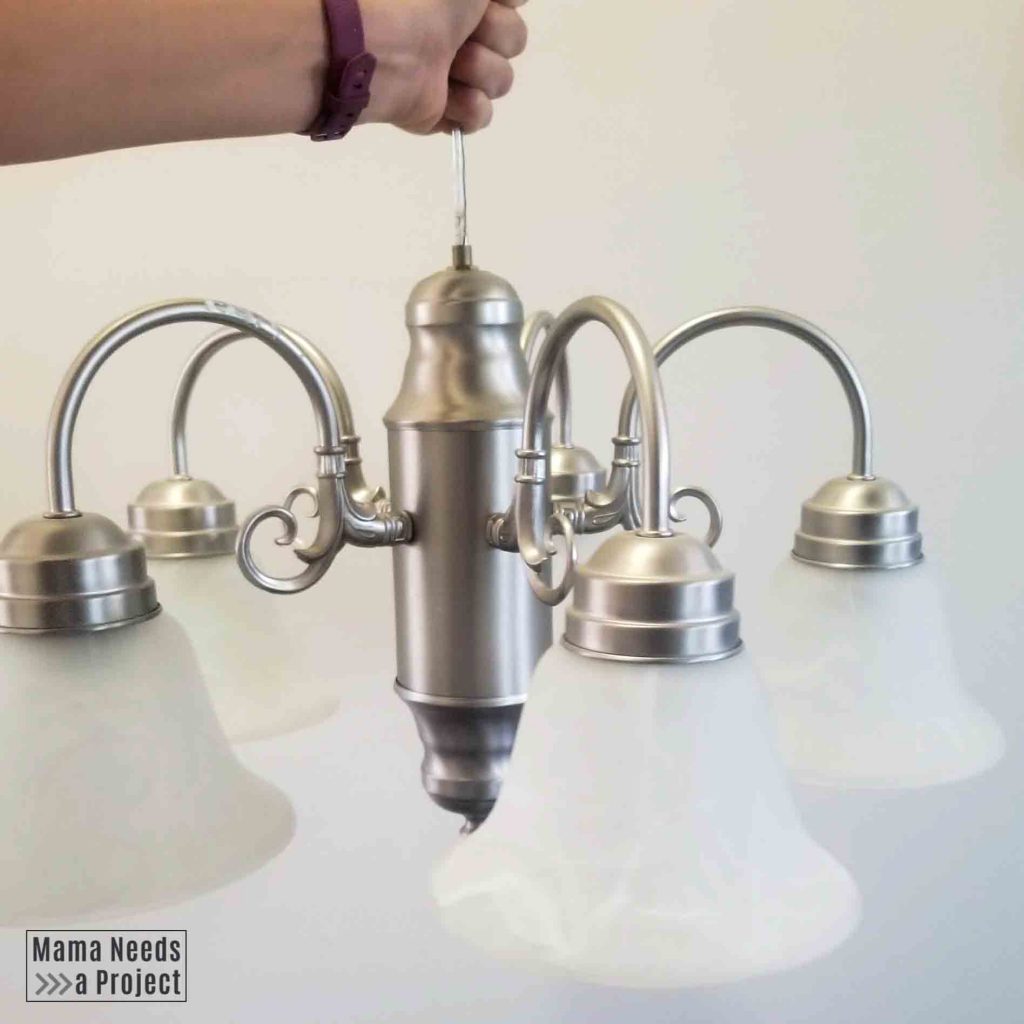
I was so excited to get my new light hung that I forgot to take a picture of the original light fixture in the room. So here’s my attempt to take a picture while holding this heavy original light – it’s harder than you think!
The lamp had to be rewired so that it could be used with the light switch instead of plugged into the wall. I have very little electrical knowledge, but thankfully my husband was home for a few weeks between traveling for work and was able to do this part for me.
I can’t provide you with in-depth information about rewiring, but I can give a brief overview of what we did.
Because we didn’t plan on using the original light fixture again, my husband cut the cord connecting the original fixture to the ceiling. We purchased a new light socket for the vintage lamp and my husband wired the new socket into the wiring for the original light fixture. Then, we put back together all of the pieces for the vintage swag lamp (the shade, globe and spacers) and hung it with the new socket.
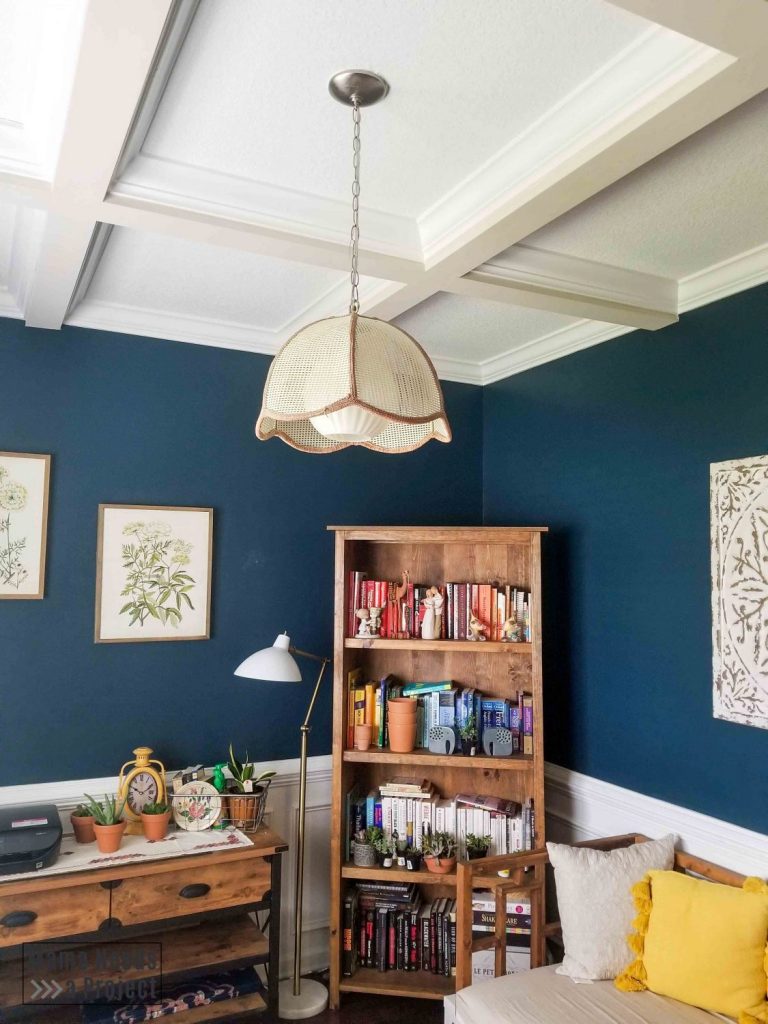
Vintage Swag Lamp
This light upgrade was so much quicker than I expected! I was dreading the electrical side of it, but my husband had it done in a flash.

I love the impact this new light fixture has on this room! It is so perfect in this space and for only $15 it is a project that just makes my little cheapskate heart giddy.
I want to hear from you!
Have you had any great thrifty finds lately? This has been my best find for a while! I’d love to hear about your treasures!