How to Make Polycrylic Slippery (EASY Step by Step Guide)
Polycrylic finish is one of the most common types of finishes I use for woodworking projects today. It’s a water-based protective finish available in several sheens, colors, and textures which I’m a big fan of.
But how do you make polycrylic slippery?
In this guide, I’ll show you exactly how to make polycrylic slippery for cornhole boards or other projects! Let’s dig in!
How to Make Polycrylic Finish Slippery
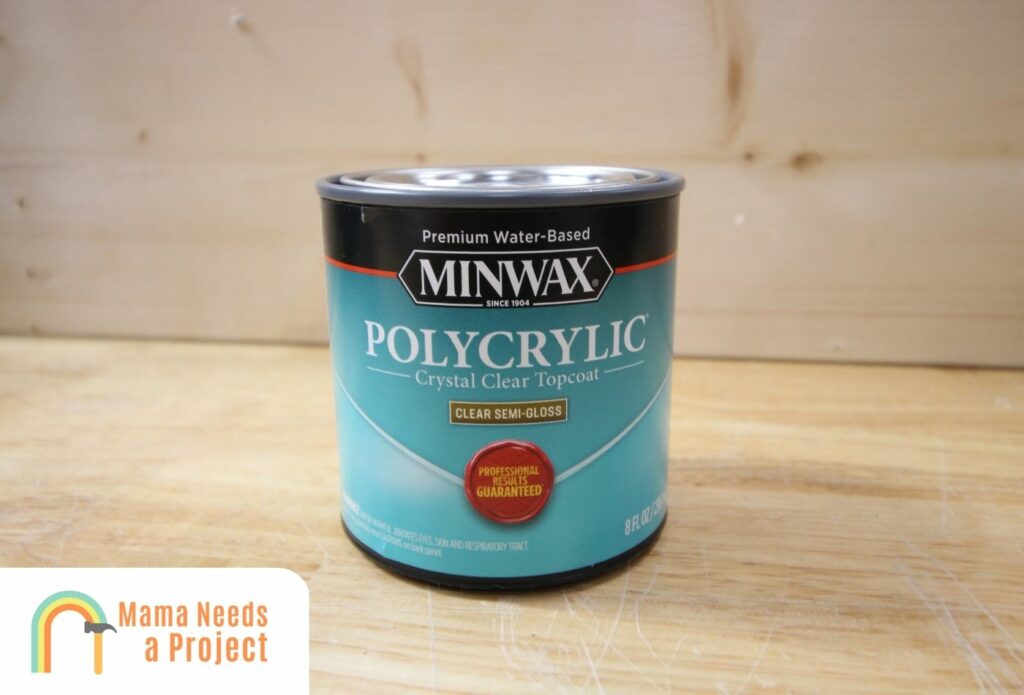
Because it’s more slippery and cheaper than water-based polyurethane and oil-based polyurethane, polycrylic is the preferred option. While polycrylic is naturally slick, it loses its slip and slide over time, and you’ll need to take corrective measures to get the surface you want.
The best way to make a polycrylic finish slippery again is by applying several fresh coats of finish to each cornhole board.
Doing this properly, however, requires a five-step process that must be done correctly. Otherwise, your new coats of polycrylic finish won’t have the desired effect and may, in fact, make your cornhole board or boards even less slippery.
1. Start With a Gentle Sanding
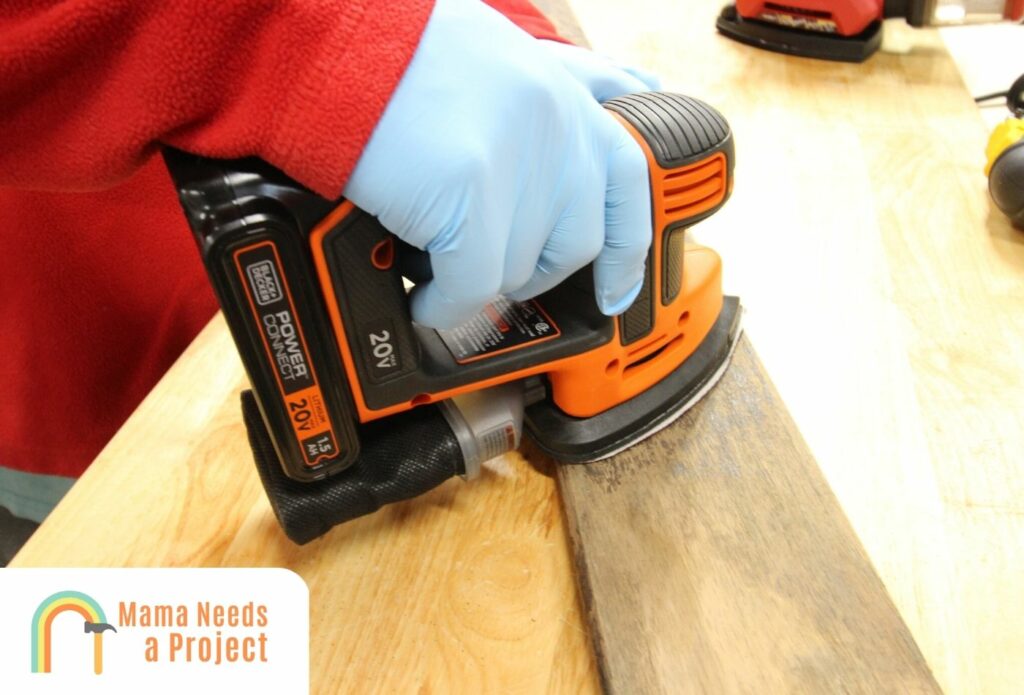
If you’re making something slippery with an existing polycrylic finish, you’ll need to sand and scuff up the finish so that the new coat will properly adhere to it. The best way to do this is to gently sand the surface of the wood.
The goal of gently sanding the wood isn’t necessarily to remove all of the existing finish. Instead, you’re simply trying to scuff it up to make it rougher and more receptive to fresh coats of polycrylic finish.
You can use either a hand or a power sander to sand the wood, but you should know that power sanders may be too aggressive if you aren’t careful. It’s best to use 320-grit sandpaper because it’s rough enough to scuff up the surface finish but not so rough that it will damage the wood below.
It’s also important that you never start sanding a wood surface that’s moist or wet. This will make for a messy, uneven sanding job, so wait to sand until the wood is completely dry.
2. Thoroughly Clean the Surface
When you’re finished sanding, take some time to clean the surface thoroughly. In addition to the massive mess you just made while sanding, there’s a good chance that your bean bag board desperately needed a good cleaning.
The best way to clean the surface of bean bag boards is to use warm water and a damp cloth. This will effectively remove any dust, dirt, debris, and grime on the boards that could interfere with the finishing process.
Remember, any speck of dust that you miss during the cleaning process will show up when you apply your coats of finish. Therefore, take as much time as necessary to get your boards in tip-top shape.
3. Apply a New Layer of Polycrylic Finish
After you’re finished cleaning the boards, make sure to wait to proceed until they’re completely dry. Once they are, you can proceed by applying the first layer of polycrylic finish to the boards.
While application instructions will vary from product to product, here’s the general run-down of how to apply polyacrylic finish to cornhole boards.
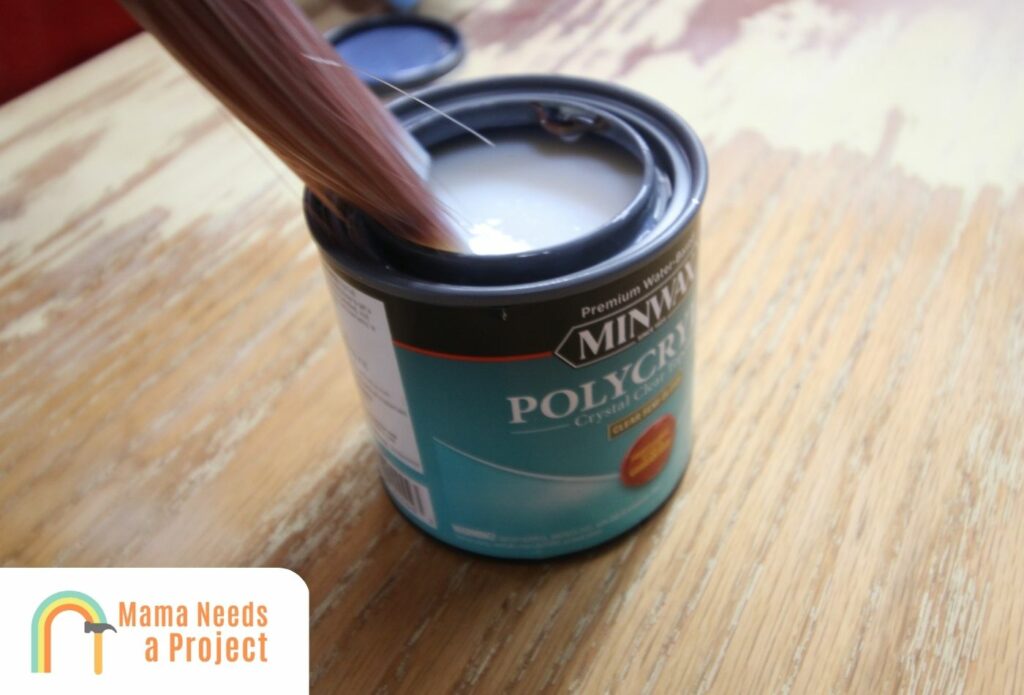
- Thoroughly stir the container to mix the polyacrylic finish.
- You can either pour the finish into a mixing cup or separate container or dip it straight into the polyacrylic can.
- To apply the polyacrylic, it’s best to use a foam brush.
- Ensure that the cornhole boards are flat so the finish doesn’t slide with gravity upon application.
- Dip your foam brush into the polyacrylic and apply it to your boards the same way you would as if you were painting them.
- Make sure to go with the grain while applying the polycrylic to avoid the formation of air bubbles. This could result in a tacky or sticky finish.
It’s important to apply an even, thin coat of finish if you want to make your cornhole boards slick. Thick coats will have the opposite effect and make your boards sticky rather than smooth.
For best results, you should let the poly sit and dry for a minimum of 2 to 3 hours after applying the first coat. It will likely take up to 24 hours to fully cure, so if you can wait that long, it’s ideal.
4. Perform a Very Light Sanding
Even though it might seem counter-intuitive, the next step in how to make polycrylic bean bag boards slippery is to sand them.
Sanding is crucial for opening up and smoothing out each coat of polycrylic so that the ensuing coats apply evenly. As such, it’s an essential step for making polycrylic slippery rather than tacky.
Therefore, follow steps one and two above before adding any additional coats of polycrylic. It’s best to use 320-grit sandpaper, although 220-grit is also acceptable. Remember, your goal is not to completely remove the existing coats of poly but merely to scuff them up slightly.
Once you’re finished sanding the entire surface, take time to clean the boards and let them dry completely.
5. Add Additional Polycrylic Coats as Needed
After re-sanding and cleaning the boards, repeat step 3 and apply a second coat of polycrylic finish. Continue these steps of applying polycrylic, giving it time to dry, then sanding and cleaning your cornhole boards until they reach your desired level of slippiness.
On average, most cornhole boards require a minimum of three to five coats of polycrylic and a maximum of ten. After applying your last coat, lightly sand and clean the boards and then perform a test run.
If your bean bags are sliding the way they should, your job is finished. If they don’t have quite enough slide, you may need to repeat the process again.
Additional Ways to Make Polycrylic Slippery
While the above process of sanding, cleaning, and applying polycrylic is the best way to make your bean bag boards slippery, it certainly isn’t the fastest. Therefore, if you’re bringing your boards out for the first barbecue of the year only to realize they aren’t very slippery, you’ll need a solution that takes minutes rather than days.
Apply Olive Oil
Your first option for a quick slippery remedy is to apply olive oil to the surface of each cornhole board. In the same way that olive oil gets used to grease the bottom of a cooking pan, it can make the wooden surface of your bean bag toss game slippery.
However, you mustn’t apply too much olive oil, as it could soak into the wood too aggressively, resulting in a tacky surface.
Apply Cornstarch
If you don’t want to risk making your surface tacky with olive oil, you can opt for corn starch. Corn starch is a powdery substance that will take any wooden surface and make it smooth and slippery, especially one with a coat of polycrylic.
Corn starch can reduce surface friction on wood, resulting in a very smooth board. The upside of this option is that if you accidentally apply too much corn starch, you can either blow or brush it off.
If you don’t have cornstarch handy, you can use baby powder to do the job. Regardless of what you use, however, be careful not to inhale it, as both baby powder and corn starch can be bad for your lungs.
What to Do If My Cornhole Boards Are Too Slippery?
On the other hand, it’s possible to have the opposite problem where your cornhole boards are too slippery. This will make it difficult to score by keeping your bean bags on the board or sliding them into the hole. If you have this problem, here are several remedies you can turn to.
- Wipe Down the Surface
The first and easiest remedy to try for a slick board is to wipe it down with warm water and a damp rag. It’s possible that there’s simply too much dirt and grime on the surface, resulting in a slippy feel. If that doesn’t work, proceed to one of the next steps.
- Apply Some Sand
If you don’t want to go through the trouble of sanding each board, you can try throwing some sand on top of the boards. In the same way that sand can help your car tires gain traction on ice, it will also grip bean bags as they’re tossed onto the board and slow them down.
- Sand the Surface
If you have time and some rough sandpaper handy, gently sand the surface to rough it up a bit and make it more grippy.
- Use Grip Spray
You can purchase grip spray at most hardware and home improvement stores. To use it, simply shake the can and spray it directly onto the boards. Give the spray time to dry before testing it to confirm that your boards are sticky enough.
Is Polycrylic Finish the Best Finish For Cornhole Boards?
Because of how cheap and easy it is to apply, polycrylic finish is one of the most popular finishes for cornhole boards. However, in terms of which finish is best, polyurethane finish takes the cake. Water-based polyurethane is best because it doesn’t discolor, but oil-based polyurethane is a solid second.
If you don’t have access to polyurethane or polycrylic finishes, you can also use one of the following.
- Semi-Gloss Latex
- Latex
- Gloss
- Varnish
- Semi-Gloss Enamel
FAQ
What is the best way to apply polycrylic?
The best way to apply polycrylic is with a foam brush. Using a roller will likely result in foam bubbles, leading to a sticky surface.
Why is my polycrylic sticky?
If your polycrylic is sticky, there’s a good chance you applied thick coats rather than thin ones or used a roller rather than a brush. It’s also possible that you didn’t sand and clean between coat applications or that you brushed it on going against the grain.
Final Thoughts
While polyacrylic is a naturally smooth and slippy finish, it’s essential to apply it properly if you want this result. Incorrect or thick application could have the opposite effect, and you’ll need to follow the steps above to remedy the problem.
If you’re on a time crunch or don’t have the materials necessary to apply poly, sand, and clean, you can use corn starch, baby powder, or olive oil instead. While these are only temporary fixes, they will work in a pinch.