
How to Make Wood Filler Look Like Wood (Step by Step Guide!)
I can’t tell you how many times I’ve been working on a project only to realize there’s a hole or crack that I didn’t fill.
Aside from using wood filler to patch the hole, the key is to make it look like wood so you can get the appearance you want for your project. Here’s how!
The best way to make wood filler look like wood is by using the matching color wood filler to your wood. Next, you can sand and stain the surface to get an even closer match to the natural color of the wood.
How to Make Wood Filler Look Like Wood
1. Use the Right Color Wood Filler
The most critical way to make wood filler look like wood is by using the right color of wood filler or wood putty.
There are tons of different colors available for most wood fillers, so you need to do your research to find the one that closest matches your surface.
I highly recommend visiting your local hardware store and bringing in a piece of the wood you need to repair so you can get the exact color you need. The color matching process can take some time, but it’s vital.
If you plan on staining the wood filler and surface of your project (which I strongly recommend), you’ll also need to find a stainable wood filler like the one I used.
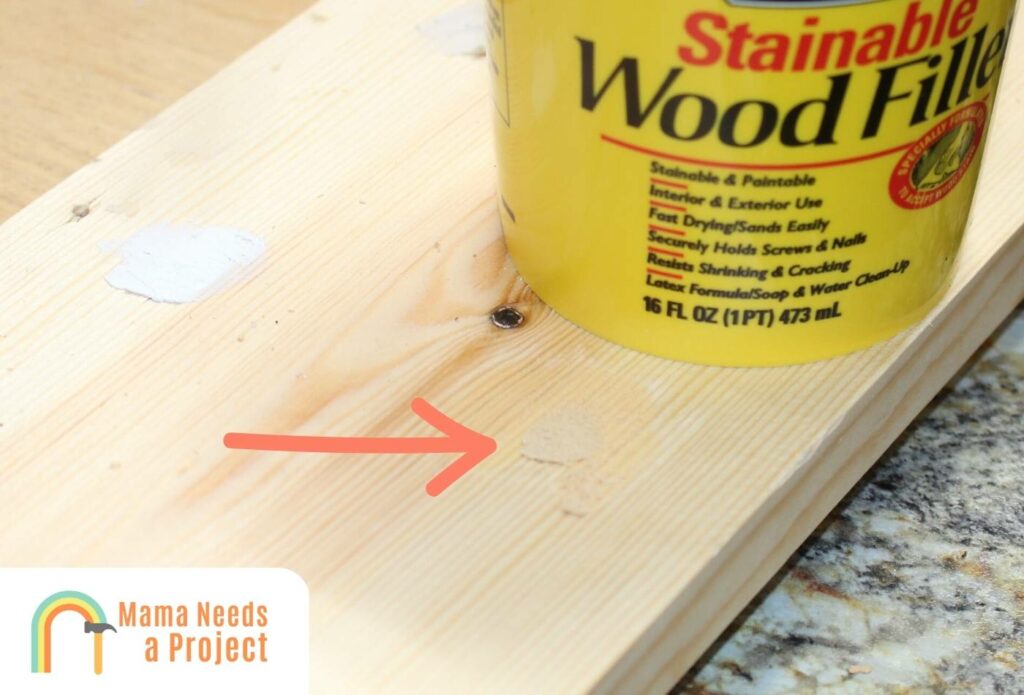
Finding the right color filler is an essential step to making wood filler look like real wood.
Another component to keep in mind, is that because not all wood fillers are waterproof, if you’re working on an exterior project, you’ll want to look for a water resistant option.
Need help picking the right product? Check out my list of the best wood fillers for screw holes!
2. Add Sawdust to Your Wood Filler
To enhance the look of your wood filler and have it more closely match the surrounding wood, adding sawdust from your wood can do the trick.
The key here is to use sawdust from the wood you’re patching. This means you’ll want to lightly sand the surface of the wood to gather saw dust.
You can then mix the sawdust with a little wood glue to make your own DIY wood filler that you can combine with the rest.
It can be difficult to match a homemade wood filler color to your surface, which is why I typically recommend making a small sawdust mixture and adding it to your matching wood filler.
3. Make Your Own Wood Filler
While store bought wood filler can be an easy solution, making your own wood filler can also be a convenient solution to help match the wood surface you’re covering.
By mixing sanding dust from the wood and a binding agent like wood glue or carpenter’s glue you can easily match the color of the area so it blends in.
If you’re patching holes and cracks on a furniture project or something similar, you might consider hide glue instead of traditional wood glue.
4. Apply the Wood Filler in the Right Conditions
When you apply wood filler, you need to make sure the conditions are right otherwise it could end up bumpy, cracked, or discolored.
One major problem that I see people make, is not making sure the wood is completely dry before applying wood grain fillers.
If the wood contains moisture, it can cause problems and leads to cracks in the wood.
You also want to avoid any extremely heat or cool conditions that can cause the filler to crack.
Finally, it’s critical that you remove any dust or debris from the surface. While you’ll complete this step after sanding also, it can be helpful before you start sanding.
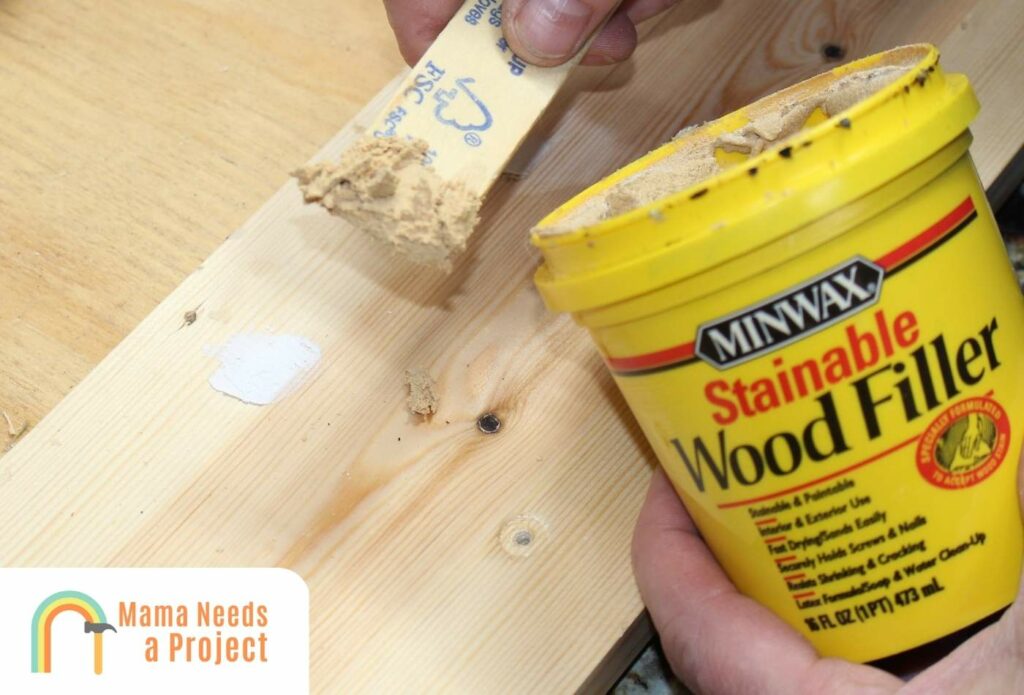
You can use a putty knife to apply the wood filler over any holes or gaps or you can use your finger – although it’s more messy and doesn’t do quite as good of a job.
5. Sand the Surface
Once you apply your wood filler, sanding the surface will help to match the texture of your surface to make it look like real wood.
Before you sand, it’s important to give the filler enough time to dry. It takes anywhere from 30 minutes to a few hours for wood filler to fully dry, depending on several factors.
When sanding, you can use a sanding block or power sander, depending on the size of project you’re working on. Try to sand with the wood grain to get a closer color match.
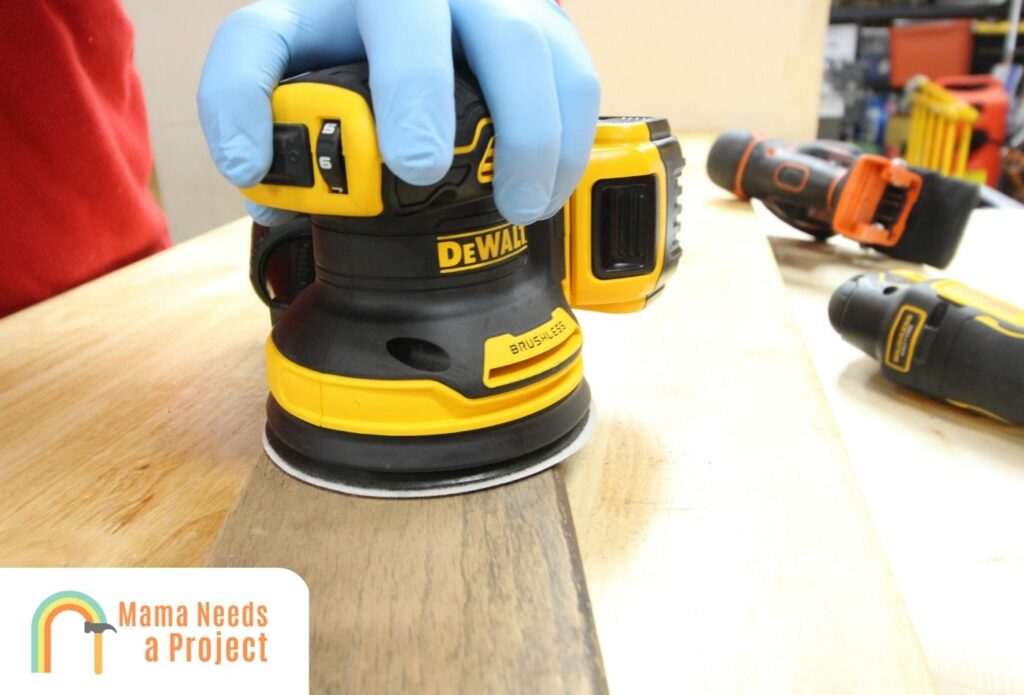
Sanding also helps your stain adhere to the surface, so it’s an essential step in making wood grain filler look more like real wood.
Once you’ve finished sanding, you can use a wet rag to remove any sawdust from the area and prep the surface for stain.
6. Use a Wood Conditioner
Depending on your project and the wood you’re working with, using a wood conditioner can be a great way to help wood surfaces absorb stain and provide an even coat across the entire surface.
It works by preventing wood stain from getting absorbed too far into the wood which can cause an uneven coat. An uneven coat of stain can result in dark spots and streaks – which nobody wants.
Yes, it’s going to require more time to dry and extra work – but I think it’s worth it. Here’s the one I always use.
Wood conditioner is most often used for soft woods like pine, birch, and walnut, but it can be used on other woods as well.
7. Stain the Wood
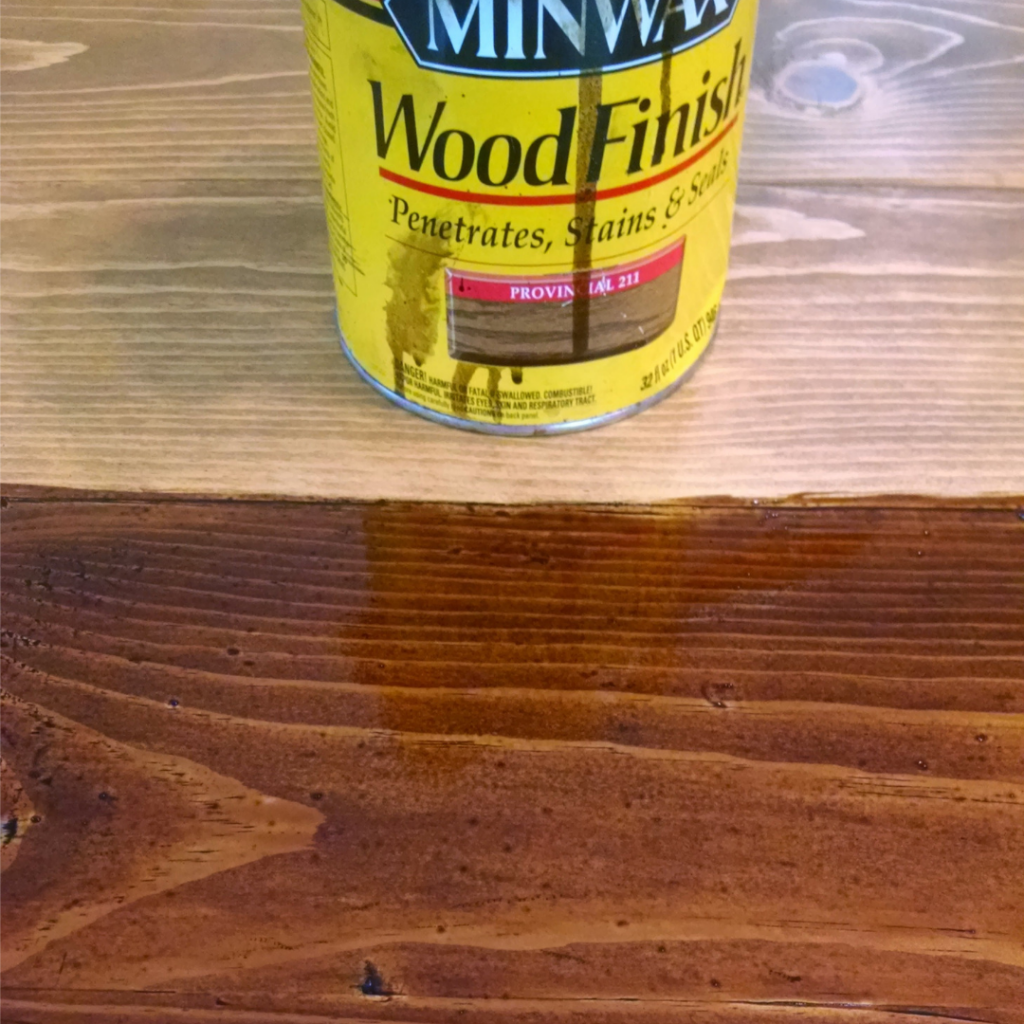
Using wood stain is the final step to make wood filler look like wood.
Depending on the wood stain you use, you might want to thin it out before applying.
Always, always, always test the stain on a piece of scrap wood before you stain the entire surface of your project. This will allow you to choose a different stain if you don’t like the look of it.
To apply stain, you’ll just need a brush and some time. Start with a thin coat over the surface of your area. You don’t want to apply too thick as it can leave an uneven coat that won’t look as good.
Once your surface is covered, let the stain dry. It can take a few hours for it to dry, but it will depend on the type of stain you use and the conditions.
Once dried, you can apply another coat if necessary.
Need to fill gaps or cracks in your floors? Check out these best wood fillers for hardwood floors!
8. Add Wood Finish
Once you’ve stained the surface and you’ve give it time to dry completely, you can finish your project by adding a wood finish like polyurethane.
These finishes add protection to your wood as well as giving it a nice sheen you might be looking for.
There are many different types of finishes depending on your wants and needs. For example, a polyurethane finish does a great job of adding protection to your project. There’s also a lacquer finish, which leaves a thinner coat than polyurethane – which means less protection. Finally, there are wood oils like tung oil, lemon oil, and others.
All are great options, so it’s up to you to find which works and looks best for your project!
How to Hide Wood Filler
To hide wood filler, you want to blend it in to the rest of the surrounding surface.
To do this, it’s best to apply stain or paint over the surface to cover it up. Be sure the area has been sanded before applying any paint or stain otherwise you won’t get an even coat that matches the rest of the area.
Final Thoughts
Whether you’re filling holes, cracks, or gaps – using wood fillers can be a great option to create a smooth surface in your project.
To make wood filler look like real wood, I recommend picking a wood filler or wood putty that matches the color of the surrounding wood. Then you can sand the area once dried, and stain the entire surface to get a polished finish.
If you don’t follow the right steps, your wood filler can stand out like a sore thumb. No thanks!