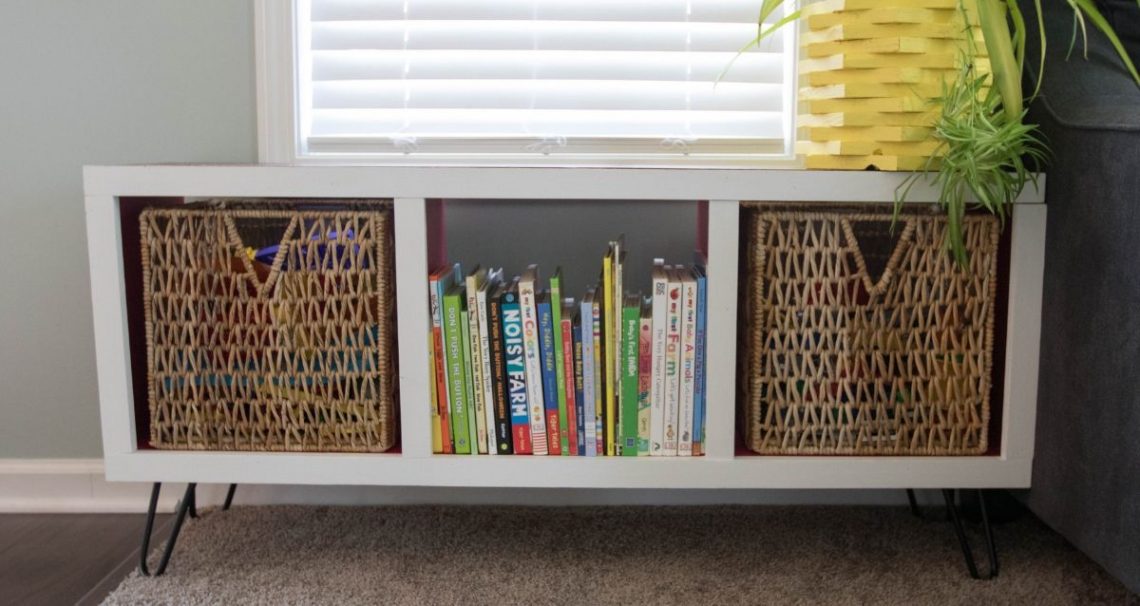
DIY Modern Cubby Shelf
One of my 2019 home goals is to create better toy storage in our living room. We don’t have a dedicated playroom so toys are split between my son’s bedroom and the living room. Since I have been trying to transition my home from neutrals to more color I knew I wanted to use this opportunity to add some bold color to my living room. I am so happy with how it turned out!!
This post contains affiliate links.
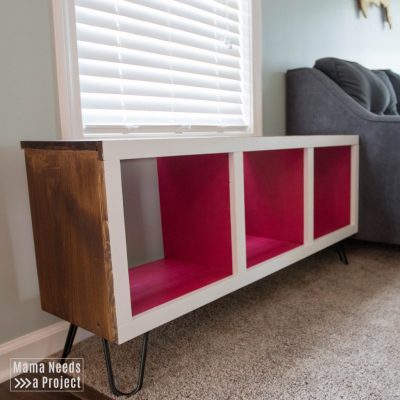
I used Ana White’s free Rolling Cubby Bench building plans as the basis for this build.
I only made a couple modifications.
- Ana’s plans are for a bench with wheels, but I opted for these hairpin legs instead
- Since I knew I was putting this shelf against the wall, I only put trim on the front. I considered putting a plywood backing on, but I decided that I like open.
This build is super simple and great for beginners! It also only uses a few pieces of lumber so it’s pretty inexpensive. I was able to build it using mostly scrap pieces from the never ending pile of scrap wood in my garage. I only had to buy (2) 1x2s and (1) 1×12.
Cut & Sand the Main Pieces
The shelf is made with 1x12s for the body and 1x2s for the trim. I first cut the 1x12s and then sanded the cut wood. I am not a perfectionist when it comes to sanding. I set the bar pretty low and just aim to get the wood smooth enough that no one gets a splinter.
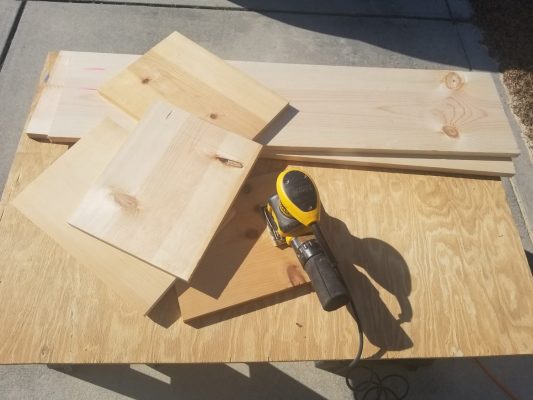
I use this small Dewalt sander. I love it! I have small hands and it is just the right size for me. I’ve used some larger sanders that give me cramps in my arms and hands because they are difficult hold. So, if you’re getting lots of hand cramps I recommend looking at this one!
Prime & Paint
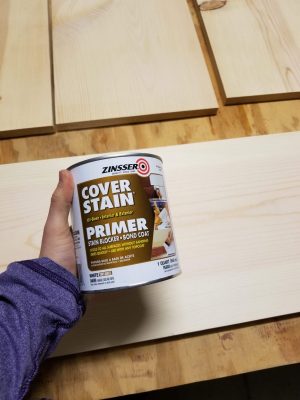
Once I had the main pieces cut, I primed them with a stain blocking primer. I learned the hard way that you HAVE to use primer when painting raw wood. If you don’t use primer, over time the knots and grain in the wood will begin to show through the paint, especially if you’re painting the piece white.
I used 2 coats of Zinsser Cover Stain.
When applying primer I recommend doing it in an open area with good air flow. This stuff smells STRONG and will give you a headache if you don’t take proper precautions. It rains here a lot so I had to apply it in my garage, but I wore a breathing mask to protect myself from the chemicals. Remember to take care of yourself and take the proper precautions!
After priming, I lightly sanded the pieces by hand with 200 grit sandpaper before painting 2 coats of the interior pink paint. I used the color Cerise by Sherwin Williams (SW6580).
Assemble
Once the pieces were all painted and dry, I began putting the shelf together.
The bottom of the shelf sits inside the two outer side pieces. I put glue on the joints and then screwed the side pieces into the bottom piece from the outside using wood screws.
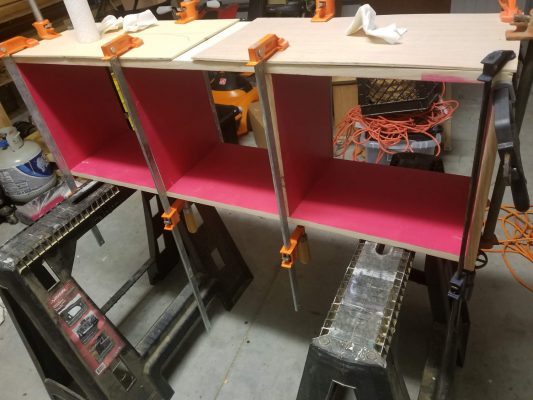
I joined the rest of the pieces with wood glue and clamps. I used scrap pieces of plywood under the clamps to protect the surface of my project from indents from the clamps.
Check for Square
When joining your pieces, you’ll want to make sure each joint is square before tightening the clamps all of the way. Use a speed square to quickly check the angles.
Wood Glue
I use lots of wood glue on my joints. Using wood glue creates a super strong end product – stronger than just using nails or screws.
As you clamp your pieces together, excess glue is going to squeeze out of the joints. I keep damp paper towels nearby to wipe away excess glue when I’m assembling a project. If you don’t get it wiped away while it is wet, you can chip dried wood glue off with a small, flat chisel. Keep in mind that wood glue does not absorb wood stain, so if you plan on staining your project you’ll have to be extra careful to remove any glue from the surface before staining.
Cut, Sand & Attach Trim
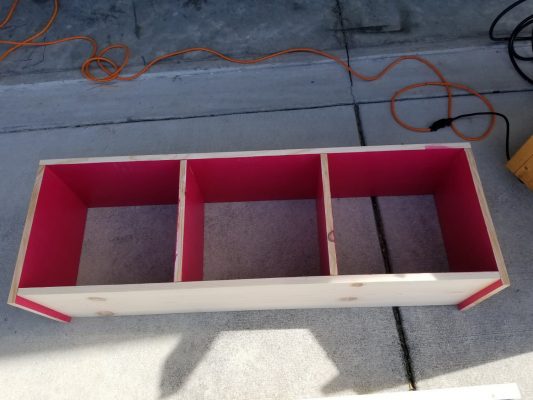
I bought (2) 1x2s at 4 feet long that I sanded and used for the top and bottom trim pieces. I attached these with wood glue and a nail gun.
I then measured each spot for the vertical trim and cut the pieces to fit. I find that it’s best to cut pieces about 1/8 inch too big and then trim them down little by little until they are the perfect fit. When I trim pieces this way I usually just trim the width of the saw blade or less. This process takes a little while, but it gets me a nice tight fit.
I wish I had pictures of this step, but I was down to the last 30 minutes of nap time and was busting my tail to try to get done before my son woke up. So no pictures, just a sweaty and sawdusty Mama.
Paint & Stain Outside
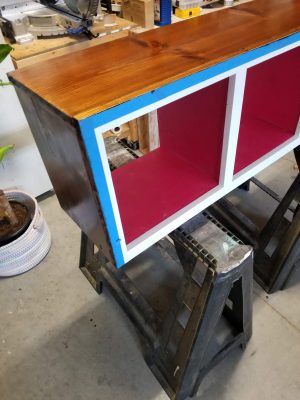
I used primer followed by a couple coats of bright white paint for the front trim.
I was careful to block off areas with blue painter’s tape when painting and staining. I hadn’t used painter’s tape with wood stain before so I was nervous about the tape blocking the wood stain, but it did a great job creating a barrier and protecting the white paint.
I used Minwax Polyshade in Mission Oak for the outside stain on the outside. This product is both stain and polyurethane in one. It gives a deep, rich color that I really like! I recommend applying it with a high quality paint brush in long strokes. I did two coats and lightly sanded by hand with 200 grit sandpaper in between coats.
Add Hairpin Legs
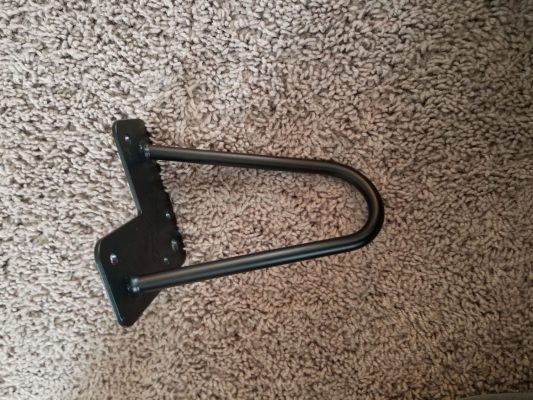
It’s finally time to add those super cool hairpin legs! I found these on Amazon for a great price! They’re great quality and I love the way they look. I’m brainstorming other projects to make with them.
Before adding the feet, I used scrap 1x12s to add support to the bottom of the shelf. I attached the 1x12s to the bottom using glue and a nail gun.
I lined the feet up to each corner and used 3/4 inch screws to secure them.
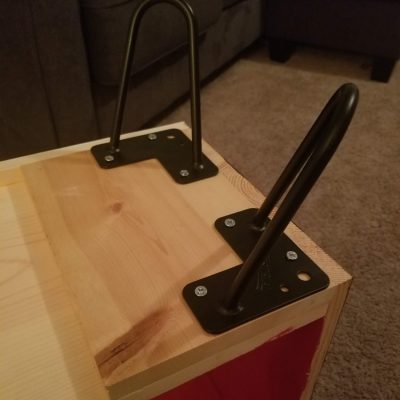
Flip it over – You’re finished!
This cubby shelf is SO STURDY. It is going to last so much longer than the cheap cubby shelves you can purchase at Walmart. And, it is so much cuter. The options for finishes are endless. (But I’m partial to the surprise pop of pink.)
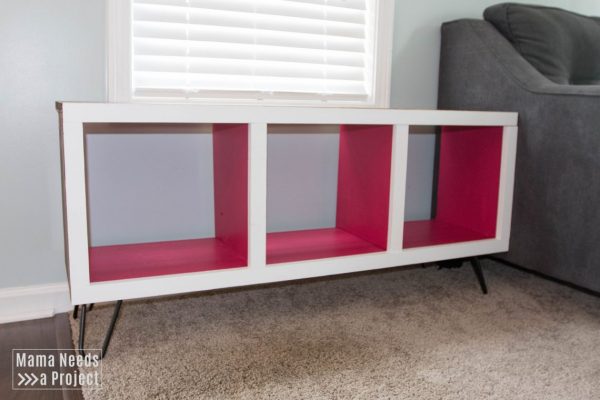
I absolutely love the bright pink and the cool vibe of this shelf! And it’s totally practical for storing my son’s books and toys in a way that feels organized and doesn’t drive me nuts.


