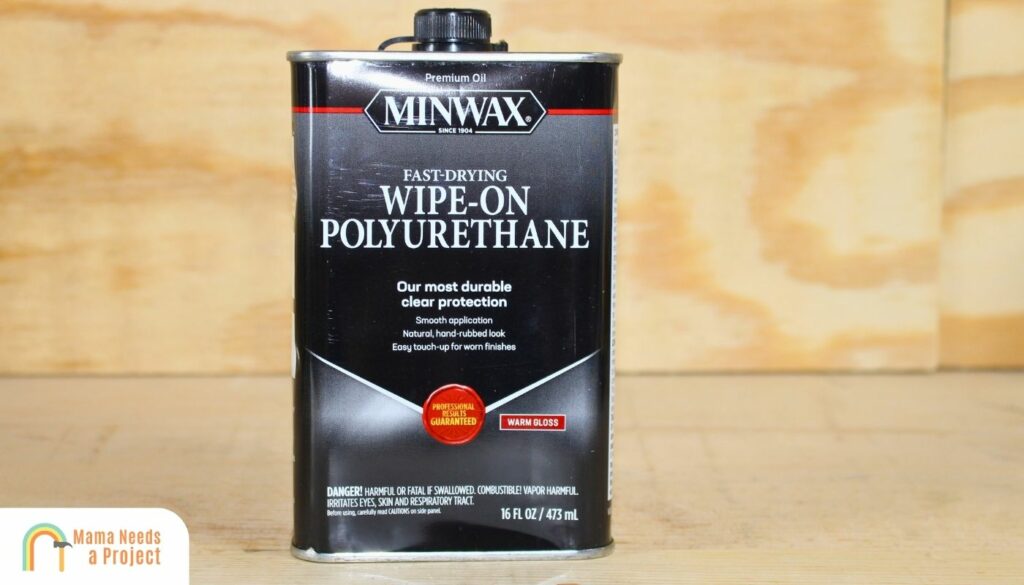
Wipe On Poly Problems (Common Problems & How to Fix!)
Wipe-on polyurethane is one of my favorite sealants for a variety of reasons, but there are some problems that you can run into.
The good news is most of these problems can be avoided and fixed pretty easily if you’re aware of them. Let’s get started!
- Some common wipe-on poly problems include: uneven application, yellowing, bubbles, haze, cracks, white spots, and tackiness.
- Uneven application, bubbles, cracks, and tackiness are all problems that can be fixed pretty easily, but it’s a bit harder to fix poly that’s yellow, hazy, or replete with white spots.
What Are Common Wipe-on Poly Problems?

Uneven Application
An uneven application is something you have to be aware of regardless of which poly application method you choose, but it’s more likely to happen if you wipe on poly.
That said, if you’re aware of this while you’re wiping poly, you’ll have an easier time avoiding this problem.
Basically, you just have to apply the poly little by little, whether it’s the first coat or final coat.
And make sure there are no poly concentrations anywhere, as these will make the surface uneven and prevent it from being 100% dry.
Yellowing
If you’re using water-based poly—or other water-based finishes for that matter—you won’t have to worry as much about yellowing, as water-based products rarely yellow over time.
But if you’re using an oil-based product, you’ll need to take steps to prevent yellowing. For one, you should make sure the poly doesn’t get a lot of direct sunlight.
Also, if there’s high humidity when you’re putting the poly down, it may yellow quicker.
Of course, sometimes it’s impossible to totally prevent oil-based polyurethane from yellowing, but if you’re using a product with a flat sheen, you shouldn’t have to worry as much about the yellow tint being obvious and unsightly.
Bubbles
Bubbles are easier to avoid if you use wipe-on poly, but they can still pop up if the poly wasn’t thoroughly mixed before application.
And if a poly can self-level, you won’t have to worry as much about bubbles.
Just make sure any bubbles that do pop up are flattened before you add another coat, otherwise the bubbles may dry underneath the additional coat, in which case the final coat won’t be smooth.
You can also check out my guide on fixing polyurethane mistakes for more help here!
Haze
Hazy polyurethane is usually the result of improper application, but it can also happen if you don’t mix your poly thoroughly before applying it.
It’s best to give polyurethane varnish at least a couple hours of drying time. Once it’s had adequate time to dry, then it can be sanded and another coat can be added.
But if you don’t let the poly dry, adding another coat will increase the likelihood that the final coat will be hazy.
Also, haziness is more likely to appear on a large surface, since these take longer to dry. Therefore, if you’re working with a large surface, let the poly dry overnight.
Cracks
When polyurethane cracks, this is usually because it wasn’t applied properly, and because of this it’s more susceptible to damage caused by moisture, direct sunlight, and temperature fluctuations.
Fortunately, cracking poly is easy to fix. Just clean, sand, and add a thin coat over the existing surface.
And with wipe-on poly, fixing cracks is a breeze, since it’s easy to apply just the right amount to the spots that need it; the can’t be said of brush-on poly.
White Spots
If there’s moisture in between your thin coats of wipe-on poly, or if there’s too much moisture in the poly itself (which isn’t all that common—then white spots are likely to appear eventually.
And just like it’s hard to prevent yellowing, it’s hard to prevent white spots too.
The best thing you can do is apply the wipe-on poly when conditions are best, i.e. when there’s little humidity and the temperature is neither too hot nor too cold.
If you notice dark spots, there’s a chance the bare wood was still moisture when your wipe-on poly was applied.
Tackiness
Does your polyurethane coating feel tacky when you touch it? If so, it’s probably still wet.
Wipe-on polyurethane dries in 2-6 hours (depending on which kind it is), but it won’t be fully cured till 14-30 days go by.
If you encounter tackiness, it’s best to remove the polyurethane and start over. Once you know your initial coat is good to go, then you can add extra coats.
Applying Wipe-on Poly Properly (Step by Step)
1. Prep Your Work Area & Workpiece
Before you use wipe-on polyurethane, you need to make sure your work area is set up properly.
If you’re using oil-based poly, make sure there’s adequate ventilation so you don’t get overwhelmed by the fumes.
Once your work area is ready, clean off your workpiece with warm, soapy water; use mineral spirits (paint thinner) if you’re going to be applying the poly to bare wood.
After the workpiece is clean and dry, do some light sanding so the poly adheres to the surface better. You’ll also need to sand between coats, but more on that later.
2. Apply the Wipe-on Poly
Use a clean cloth to apply wipe-on polyurethane, and remember to work slow; you really want to make sure there are no bare spots.
And when you’re wiping, do so in small, clockwise circles. Wiping the poly on this way not only ensures it’ll be smooth but mark free.
Using wipe-on poly on legged furniture? Go in one direction to ensure a uniform, smooth finish.
Finally, to ensure a satin finish, lightly sand with 0000 steel wool; just be careful not to leave any scratches.
Here’s a great video explaining how to apply it correctly.
3. Lightly Sand
Once the poly is no longer wet, sand lightly before you add the next coat. But don’t sand too hard, otherwise you’ll take off the previous coat.
4. Repeat Steps Two & Three
For subsequent coats, follow steps two and three, unless it’s the last coat; the last coat doesn’t have to be sanded.
Tips for Avoiding Wipe-on Poly Problems
Thoroughly Clean the Surface First
If you want polyurethane varnish to adhere well to a surface, cleaning that surface before the poly is applied is so important.
Cleaning the surface ensures any debris that could prevent the poly from adhering are removed, and it also ensures the surface is in good condition (visually) when the poly is applied.
Apply a Little Bit at a Time
Applying wipe-on poly slowly is the only method that’s sure to deliver top-notch results time and time again.
For one, it’s easier to ensure the surface is 100% smooth when you wipe the poly on slowly. And since you won’t be wasting any poly, you shouldn’t need more finish later on.
But even though you’re applying a little bit at a time, you need to work at a slightly quick pace, as you don’t want the poly that’s already been applied drying out before you’re done wiping the whole surface.
Sand With Steel Wool
If you’re using wipe-on poly, chances are you to avoid brush marks.
Well, you should avoid sanding marks too, and that’s where steel wool comes in.
Steel wool isn’t as coarse as sandpaper, but it’ll rough up a finish so it’s in perfect condition for receiving polyurethane.
Apply Thin Layers
Want to ensure every coat of poly you apply dries all the way through? Only wipe on thin coats.
And even if you’re using oil-based poly, expect a shorter overall process, since air dries out thin coats quicker.
Essentially, you’ll be able to put down more coats in a shorter period of time, and the coats will collectively form a durable, long-lasting barrier.
You could even complete the whole project in less than 24 hours if the coats are thin enough.
Final Thoughts
To recap, wipe-on poly is used to form a strong, beautiful finish on a variety of materials, but you need to be aware of the common problems associated with this sealant before you use it.
And should you encounter one of these problems, don’t worry! Most are easy to address, and even the more challenging ones can be overcome with time, patience, and determination.

