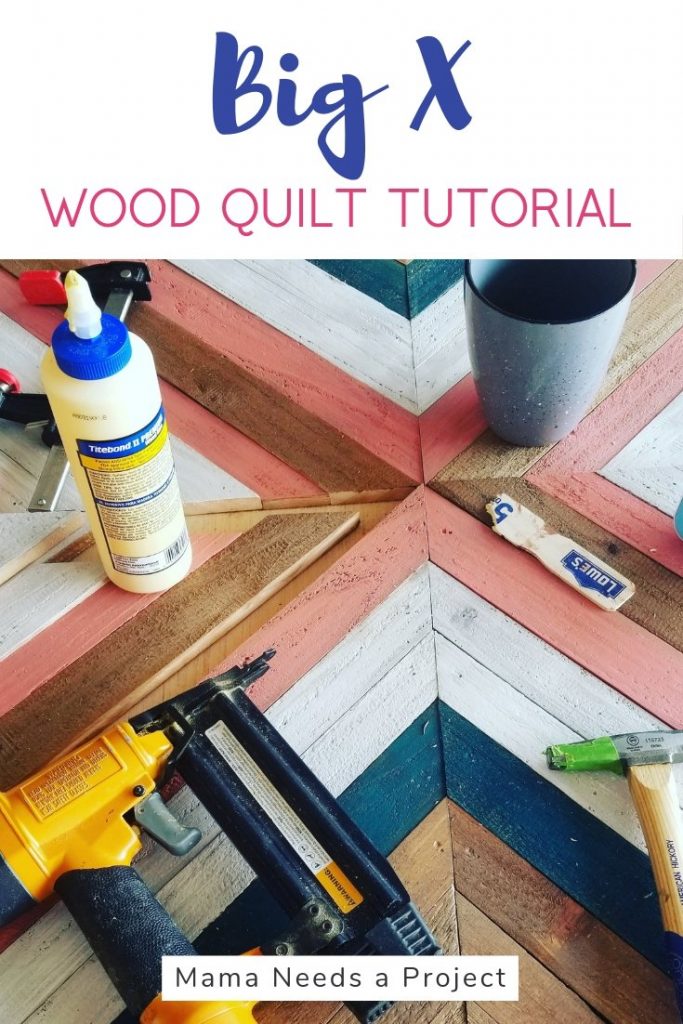
Big X Wood Quilt Wall Art Tutorial
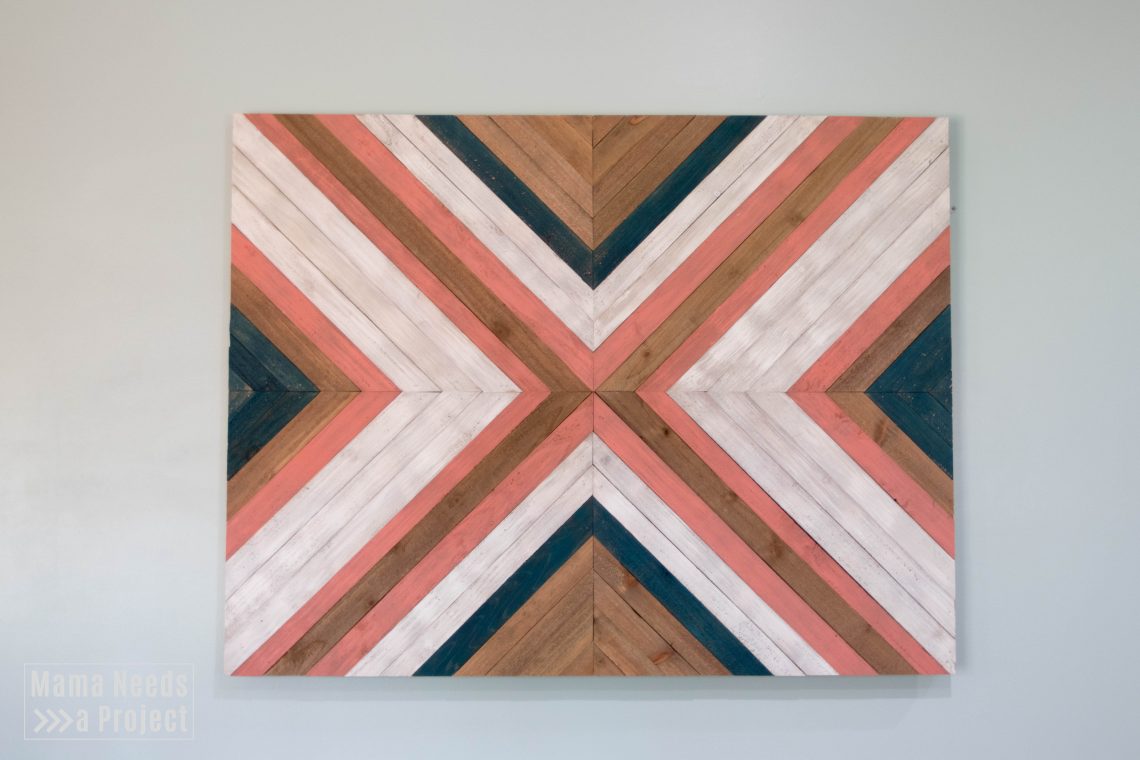
This Big X Wood Quilt turned out even better than I imagined!
I have 2 giant empty walls in my house that I am determined to finally decorate this year. We’ve been in our house for over 3 years and I just can’t seem to get these two walls right. I’m so determined that I actually put it on my list of Home Goals for 2019.
Nothing I buy ever seems quite right so I took the plunge and decided to just build something big enough to fill one of those empty walls. I love it!!

I’ve been seeing Southwestern inspired pieces of wall art for a little while now and decided this was totally something I could figure out on my own. Turns out it was really easy to make! And, thanks to my hoard of woodworking supplies, I actually had all of the lumber, paint and wood stain already in my garage just waiting to be turned into something beautiful.
Let’s dig in!

Read through all of the instructions before beginning your build. Be sure to use proper safety gear.
Dimensions
My finished piece is about 3′ x 4′. It is only this size because I had scrap piece of plywood this size already. You can generally buy plywood sheets that measure 2′ x 4′, and that’s what I would recommend using. I only used the 3′ x 4′ sheet because that’s what I had on hand and I’ve been slowly trying to clean out my hoard of lumber. If you want your final piece to look exactly like mine, you’ll need to purchase a larger sheet of plywood and cut it down to size.
Supplies
Lumber
- 1/4″ thin plywood, 2′ x 4′ (about $7)
- 6-8 cedar fence pickets (about $20)
Tools Used
- sander
- table saw
- miter saw or handsaw with miter guide
- circular saw or jigsaw
- nail gun
Check out all of my beginner tool recommendations.
Other things you’ll need
- wood glue
- 3/4″ nails for nail gun
- clamps
- pencil or pen
- tape measure
- straight edge (like a long level)
- paint & wood stain
- safety gear (read my list of safety gear necessities)
- a work surface
Steps to Building Big X Wall Art

1. Sand cedar pickets
I did a quick sand on my cedar fence pickets to prevent any splinters while I was working with them. Also, a smooth surface is easier to stain and paint. I used 100 grit sandpaper and a palm sander. I wasn’t going for perfection so I did this fairly quickly.

2. Rip cedar pickets
Next, I ripped each cedar picket with my table saw into 3 pieces. I did 2 pieces at a 2″ width and 1 at a 1.5″ width per picket.
The difference in width isn’t really noticeable in the final product, so if you’re looking for more variety in your pieces maybe try out a few different sizes.
3. Cut planks in half at a 45 degree angle
Once all of my pickets were cut down, I used my miter saw to cut them in half at a 45 degree angle. 45 degrees is the only angle for this project – easy peasy!
I cut the pickets in half so that they were an easier size to work with. I cut them down more as I started creating my design on the plywood backing.

4. Find center of plywood
To prep your plywood backing for your design you’ll need to find the center.
Use a tape measure to mark the center in a few spots across your piece of plywood. Then use a long straight edge (like a long level or a scrap piece of wood) to connect your line all the way across. Do this both both vertically and horizontally.
You’ll use these lines to line up your cedar planks and keep them centered on your plywood backing.

5. Create your design
Now that you’ve prepped all of your wood it’s time for the really fun part! Start laying out pieces to create your design. You can alternate sizes or do groups of sizes, what you think looks best.
I trimmed some of my pieces as I was laying out my design to get the most out of each piece of wood. It also helps so that you project doesn’t take up so much room.
You can cut them to size if you’re feeling super confident in your placement OR you can be extra cautious like me and cut them 6 inches or so too long. I did this so that I could trim them all together when I was finished and make sure that I had a straight edge. It also made it easier for me to move pieces around if I changed my mind later. I didn’t have to worry about pieces being too short.
What I should have done
Put your piece of plywood up on a work surface before your start arranging all of your cedar planks. I got my pieces exactly where I wanted them and then realized I couldn’t get the thing off the floor to continue working. (duh!) So I had to call a neighbor over to help me move it onto some saw horses. Be smart and start out on a work surface.

6. Paint & stain
Time to use that creativity, girl! Your color palette and how you want to arrange the colors is all up to you. I dug through my stash of paint and stain to pick out some colors I already owned.
I wanted my finished product to have some color since I am trying to transition my home from mostly neutrals to more colorful. I think these pieces look awesome in natural colors! You could do a variety of wood stains or, if you super bold, a variety of colors only.
7. Glue & nail down
Once your pieces have been painted and are dry, it’s time to secure them onto the backing. To do this you’ll want to use wood glue and nail gun. You’re almost done!
I recommend starting with the pieces in the center and working your way out. I glued and nailed the center piece for one section and then worked my way down to complete the section. Then I moved on to the next section and did the same thing until I had worked my way around the whole piece.
Wood glue is what will hold your project together. The job of the nails is really just to hold the pieces in place until the glue dries and creates a secure bond. So, make sure you use wood glue on each piece of cedar. You only need to use 1-2 nails per pieces unless it is wonky and you’re having a hard time getting it to stay in place.

Wood Glue Tip
I found it really helpful to use a foam paint brush to apply glue to the plywood and cedar pieces. With the foam brush I could make sure there was an adequate amount of glue across the entire piece of wood. I could also add glue to the sides of the cedar pieces so they were glued to each other in addition to the plywood.
Nails
I used 3/4″ nails in my nail gun because that’s what I had on hand. Some of them poked through the back. I’m not too worried about this because I plan to attach 2 horizontal boards to the back before I hand it. This way the nails poking through won’t damage my wall. If you’re worried about the nails poking through I recommend using a smaller size.
No nail gun? No problem!
If you don’t have a nail gun, but are itching to do this project, it’s still totally possible. You’ll need to glue each piece of cedar down to your plywood and then use clamps or something heavy (like bricks or cans of paint) to hold the cedar down until the glue dries.
Doing it this way might result pieces that are less securely attached than with a nail gun, but pieces can always be reapplied using the same method.
You could also use small finishing nails and a hammer if you’re having trouble with the glue and clamps method.

8. Do a final trim
After all of your pieces are attached, it’s time to give it a little trim. I did this using a circular saw.
You’ll need to set up a guide for your circular saw. To do this measure from the blade to the edge of the base plate. Mine is 1.5 inches. Then measure on the back of your plywood 1.5 inches (or whatever the distance is for your circular saw) from the edge. Mark this in a couple places. Next, line up a piece of scrap wood with the marks and clamp it down. This piece of wood will guild your saw so that you get a straight cut.
Tips for using a jigsaw instead of a circular saw
If you don’t have a circular saw, you can use the same guide method described above with a jigsaw. However, you’re going to move A LOT slower. Also, jigsaws vibrate a lot so there is the potential for pieces to be shaken loose from the vibrations. Make sure you have a sharp blade and move slowly. If you lose a couple pieces in the process – no problem. You can re-glue and nail them down when you’re done.
Hanging your finished piece
The easiest way to hang big wood pieces like the Big X Wood Quilt is with a French cleat. They are simple to make and I find it so much easier to hang my pieces level when I use a French cleat.
I have a quick tutorial outlining how I made a French cleat to hang my Big X Wood Quilt. You can find it here.
Share your Big X Wood Quilt!
If you make one of these, will you please, please share it with me?
Tag me in a picture on Instagram or post it on the Mama Needs a Project Facebook page. I would LOVE to hear from you and see your creative take on this fun project!