DIY Wooden Bead and Ring Garland
A few months ago my favorite thrift store had my favorite sale – everything you can fit into a large paper bag for $15. I was in secondhand heaven.
One of the many things I crammed into my paper bags was a set of wooden curtain rings. This was summer, but I was already thinking about Christmas and I knew I wanted to find a way to turn those wooden rings into a garland for my Christmas tree.
And this week, I finally got to do that!
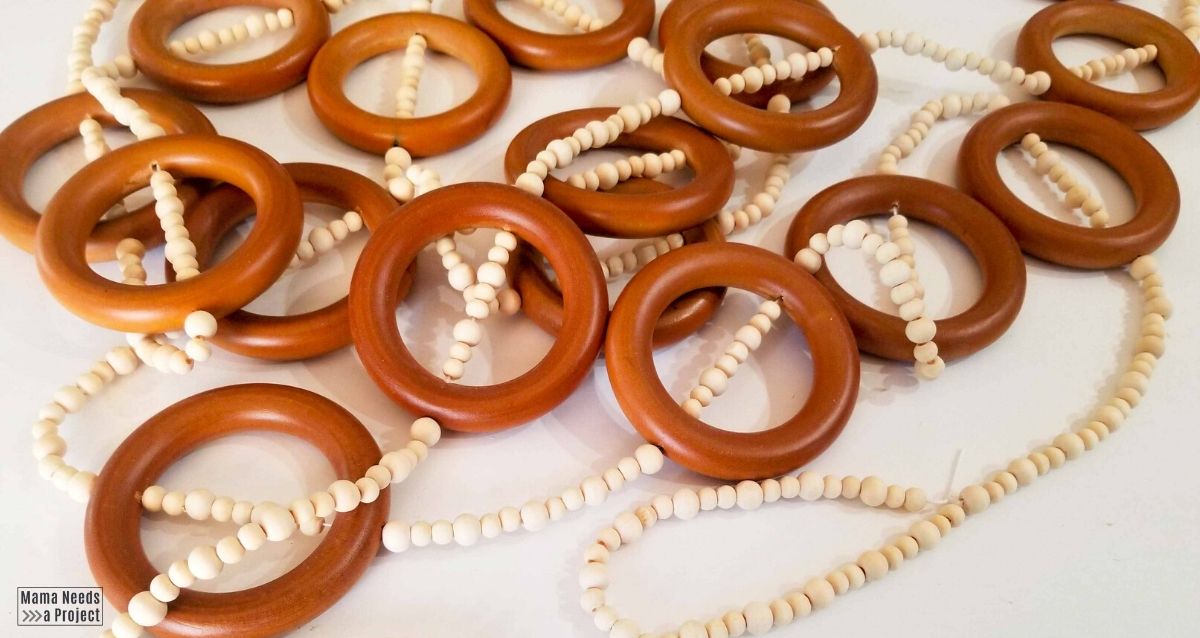
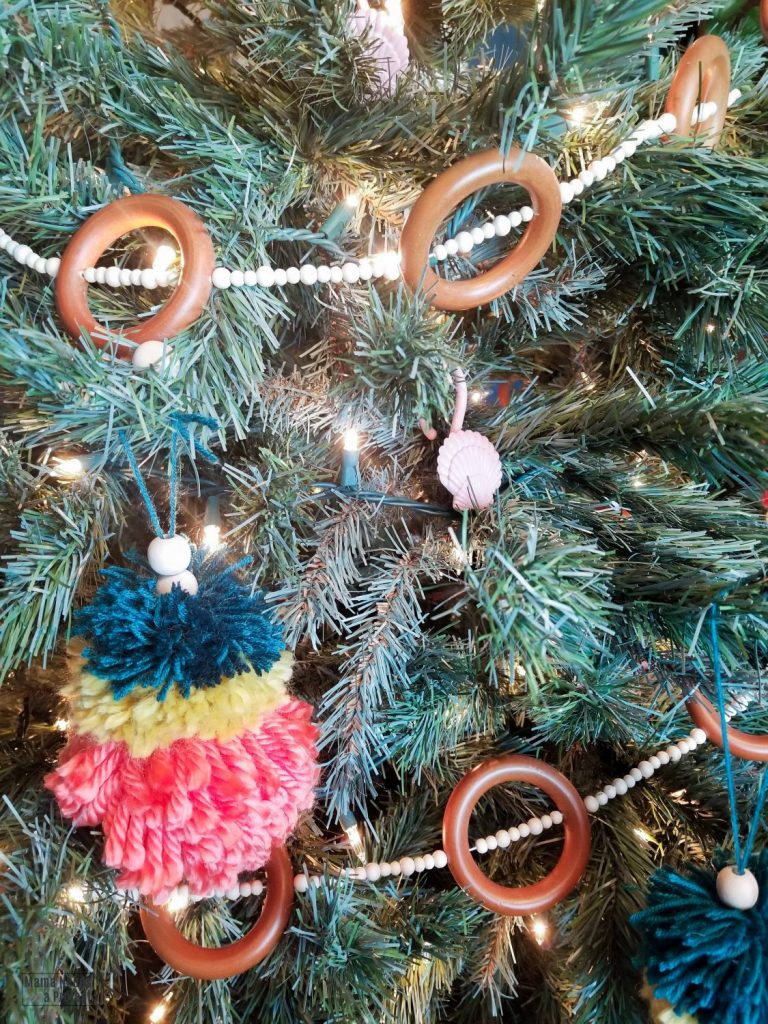
I absolutely love how this DIY Wooden Bead and Ring Garland turned out. The neutrals of the wood are the perfect balance for the bold colors of my DIY Colorful Christmas projects. It’s a fun twist on the standard wooden bead garland and I think it’s seriously amazing!
This post contains affiliate links.
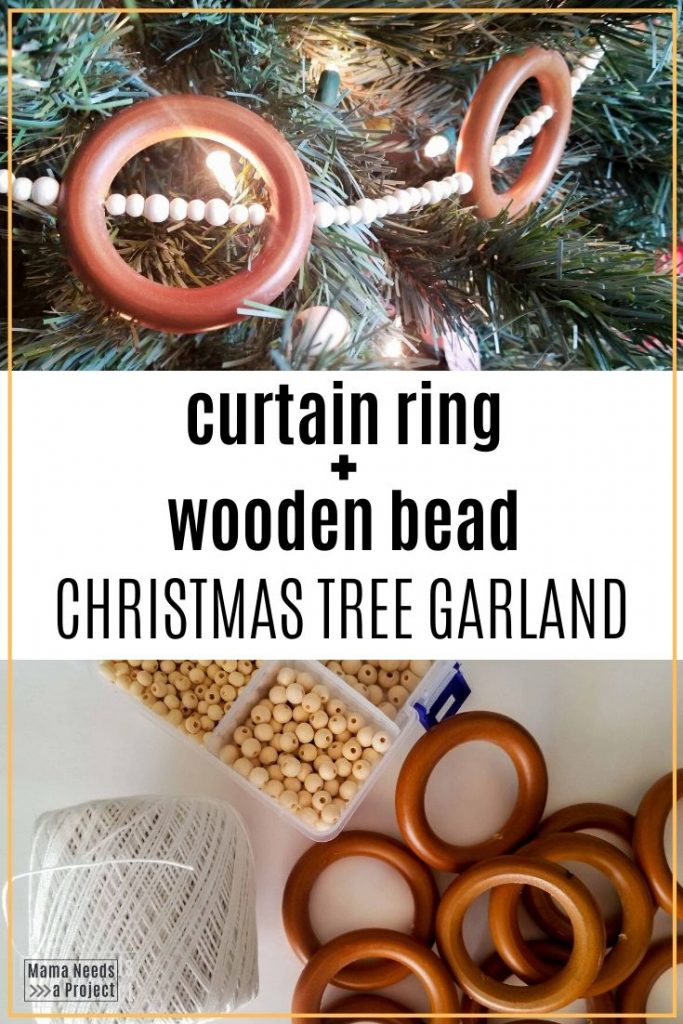
Supplies
- Wooden curtain rings
- Wooden beads
- Needle
- Thread
- Drill
- Small drill bit
- Vise
Prep the Curtain Rings
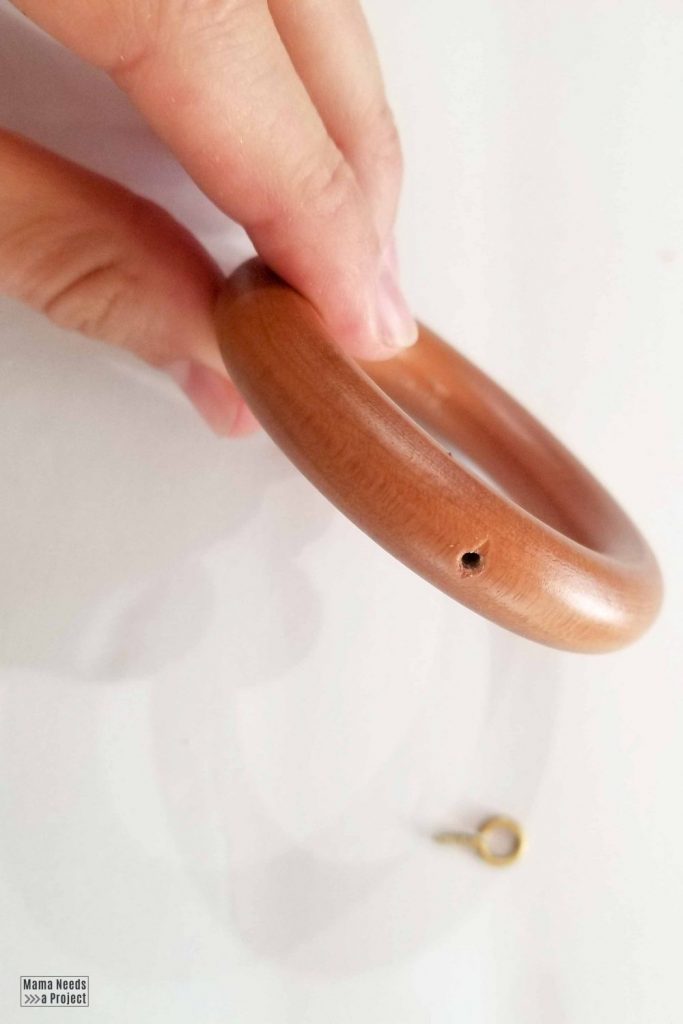
The first thing I did was clean up the curtain rings. They were covered in dust and grime, but a quick wipe with a damp rag cleaned them right up. Next, I removed the hanging hardware.These little eyelet hooks were easy to unscrew by hand.
If you’re like me you’ll stash these little hooks somewhere because you just KNOW you’ll need them someday. I’m a bit of a hoarder when it comes to craft supplies.
Drill the Holes
Next, I drilled holes through all of the rings so the could be threaded onto the garland.
It was tricky to figure out how to steady the rings to drill the holes through them. I first tried clamping them to my workbench, but I just couldn’t get the right angle. I ended up using a heavy duty vise to hold them.
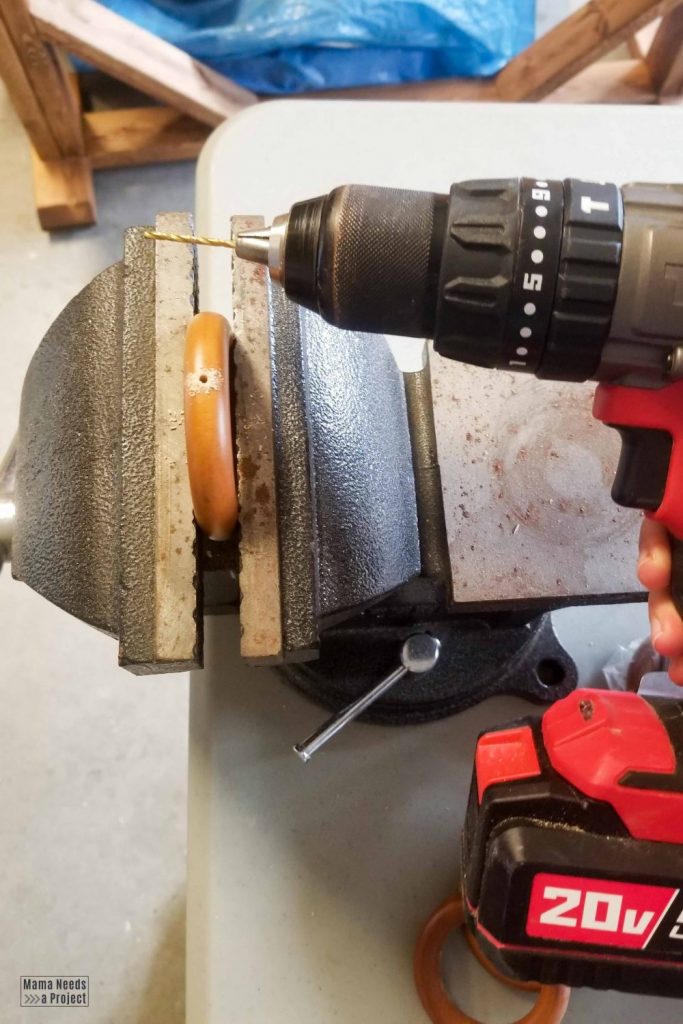
Then, I drilled holes through the wood curtain rings using a small drill bit from this set. I used the hole from the hook as a guide for one side and then flipped the ring over and drilled a hole on the opposite side.
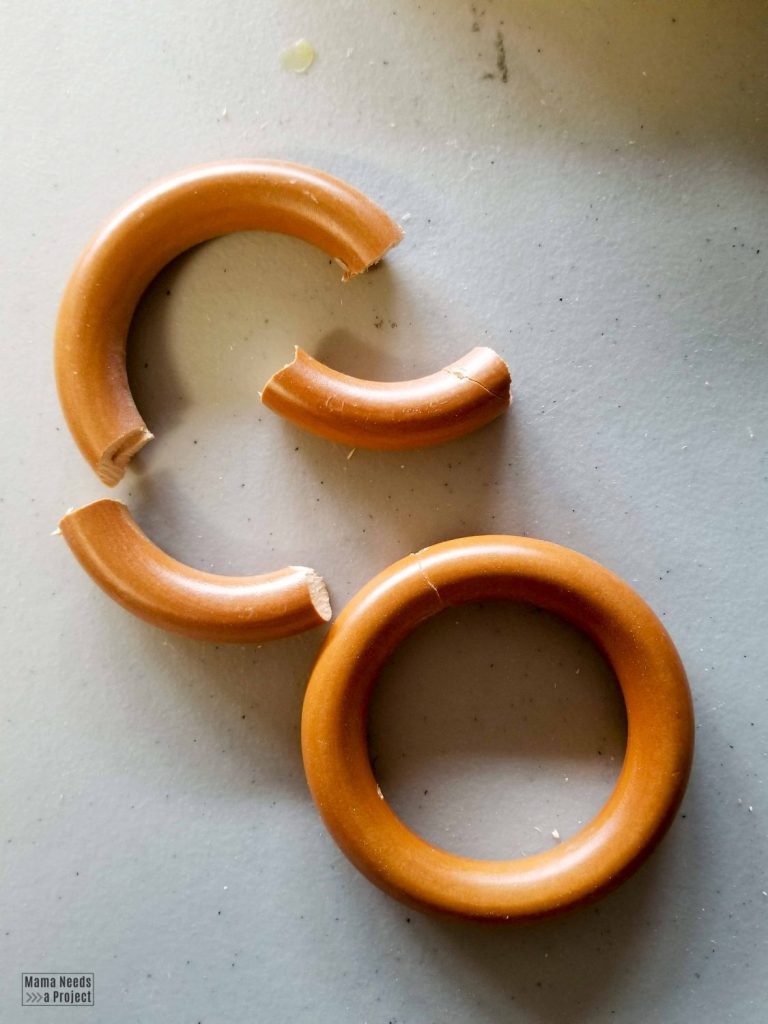
I did end up with a couple broken curtain rings while doing this. I learned to be careful not to put too much pressure on the rings while drilling. Also, it’s important to keep the drill straight so that the hole goes straight through the ring.
This part was super repetitive, but once I got all the kinks worked out it went pretty quickly.
Make the Wooden Bead and Ring Garland
After the rings were prepped and drilled, it was time to start actually making the DIY wooden bead and ring garland. To make the garland you will need a needle, string and wooden beads.
I used this set of wooden beads. They’re the same beads I used for my Simple DIY Hanging Plant Shelf and some of my Easy Pom Pom Christmas Tree Ornaments. There are a variety of sizes in this set and I have gotten LOTS of use out of it! I still have more beads leftover and a few more projects planned with them.
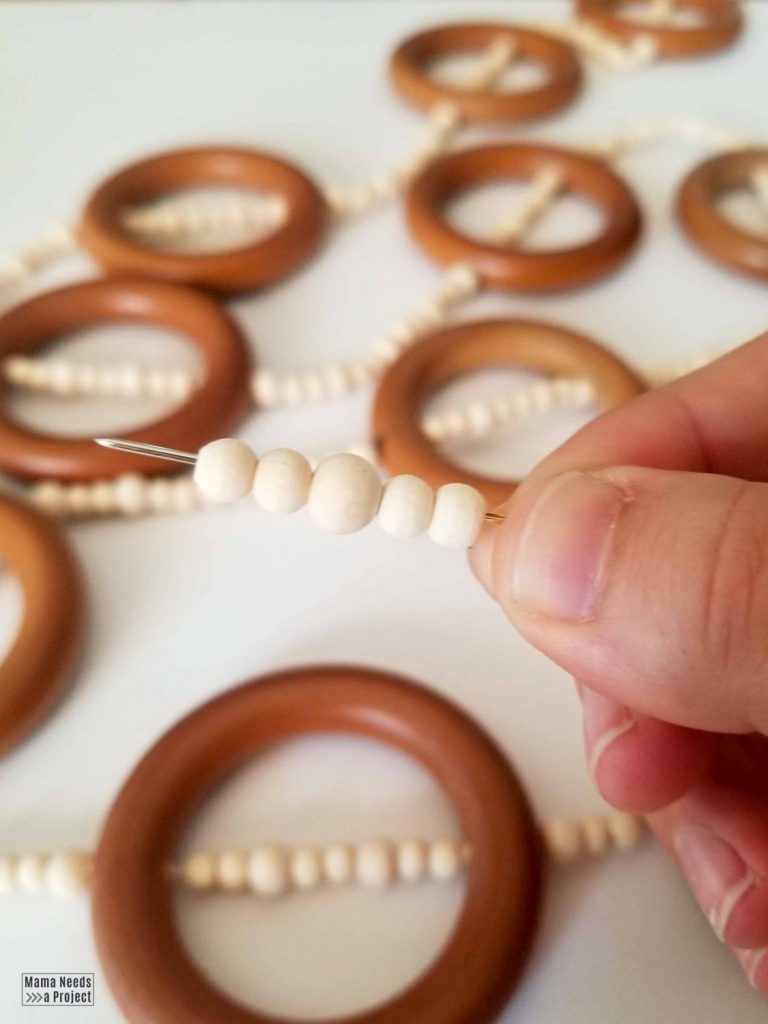
Before starting I choose a pattern for my beads. I used a few of the smaller beads in the set. Once I knew my pattern, I threaded the needle onto the string and started threading the beads and curtain rings. Here’s where I turned on Netflix and got to work. Beading takes a while, but the pretty result is oh so satisfying.
Loop the ends
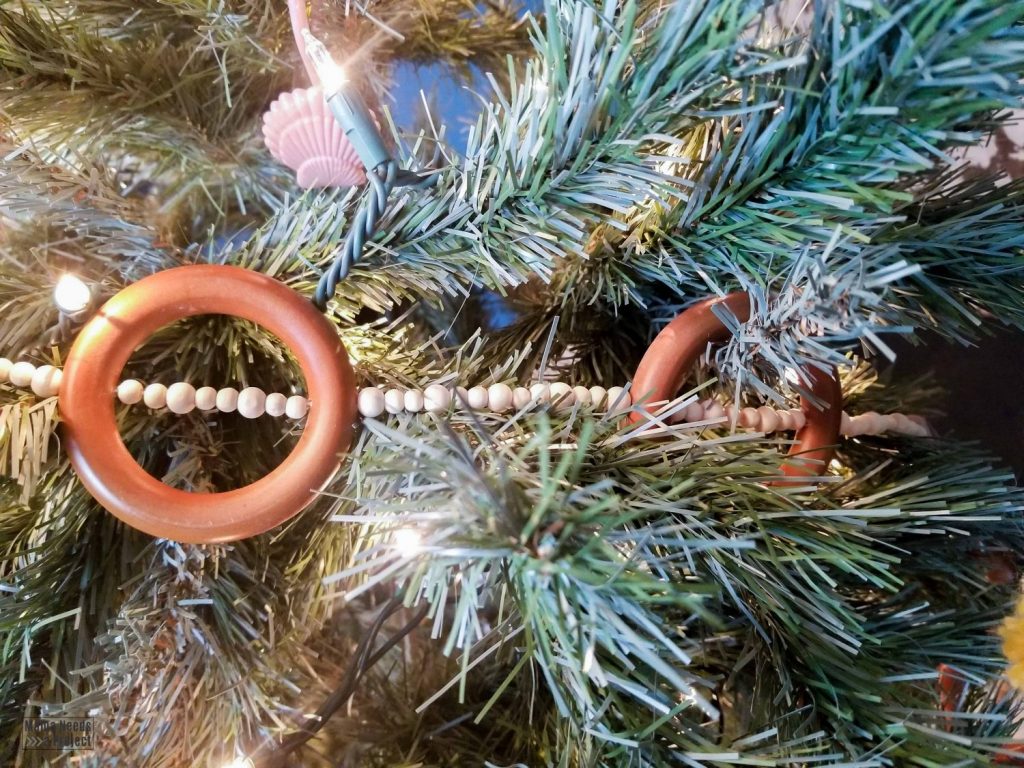
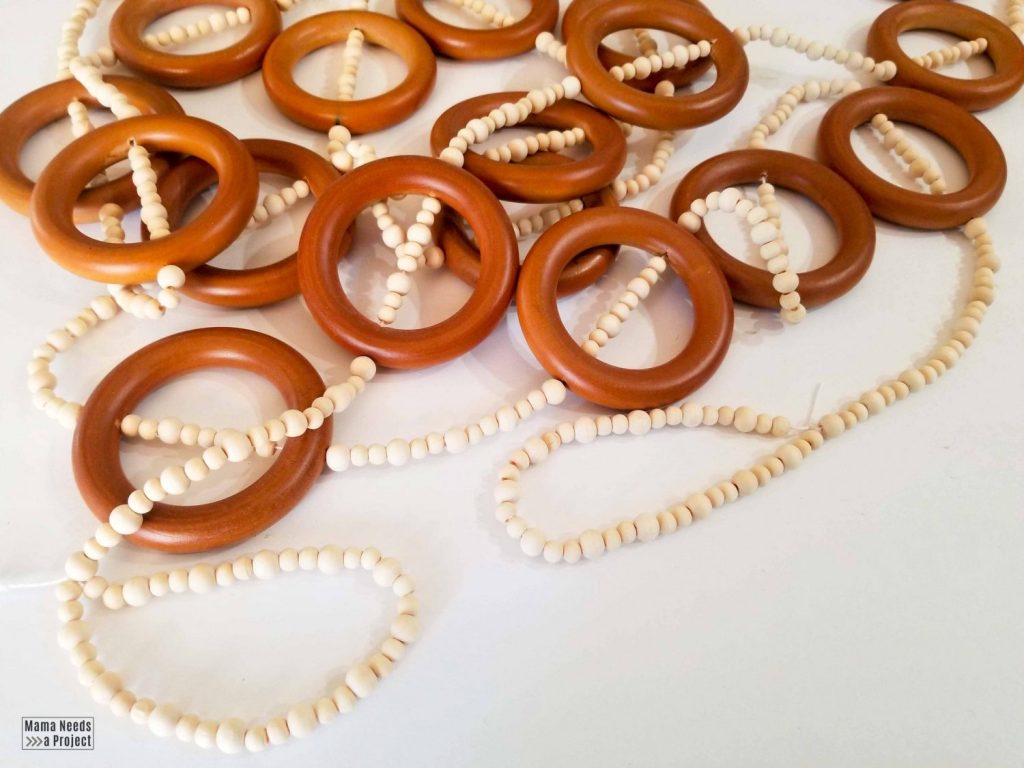
To finish off the ends of my DIY wooden bead and ring garland I created a long string of the beaded pattern. Then, I made a loop with the beaded string and tied it off. When tying the string off be sure to leave some slack in the string so the garland is easy to bend when hanging it up on your Christmas tree.
DIY Wooden Bead and Ring Garland
I seriously love this wooden garland. It is the perfect compliment to the bold colors on my Christmas tree and it’s truly unique. I already know I’m going to have to find a new place for it after Christmas because I just can’t pack this beauty away.
I want to hear from you!
Let me know what you think! Do you like this take on the wooden bead garland? Do you have any questions? Leave them in the comments below and I’ll get right back with you.
If you decide to make this garland, I would love it if you shared it with me! You can find me on Instagram and Facebook as @MamaNeedsaProject.
Happy creating!